Using the Data Source Browser in Astera Centerprise
Astera Centerprise allows users to integrate multiple databases in a single instance. It has a built-in Data Source Browser that not only helps connect to various databases, but also allows users to navigate between the different tables, source data, and run transfers and queries.
In this article, we will cover:
- An overview of the Data Source Browser
- Connecting to a single database using the Data Source Browser
- Connecting to multiple databases using the Data Source Browser
Using the Data Source Browser
The Data Source Browser enables you to connect to and query data from a database server. Astera Centerprise allows you to connect to multiple database servers at the same time.
Steps to open the Data Source Browser
1. Click View>Data Source Browser.
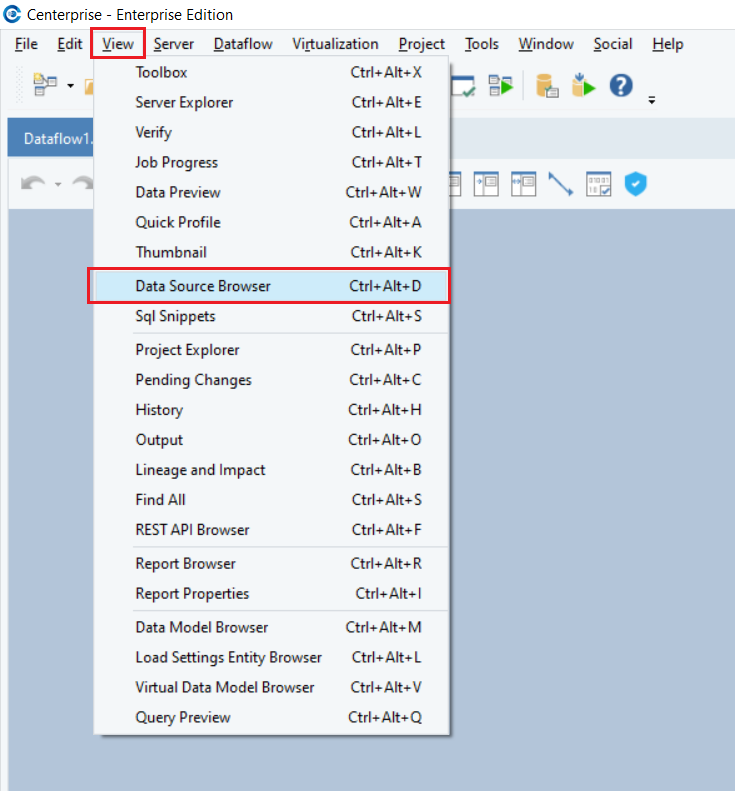
Or press Ctrl+Alt+D.
The Data Source Browser will open on Centerprise client.
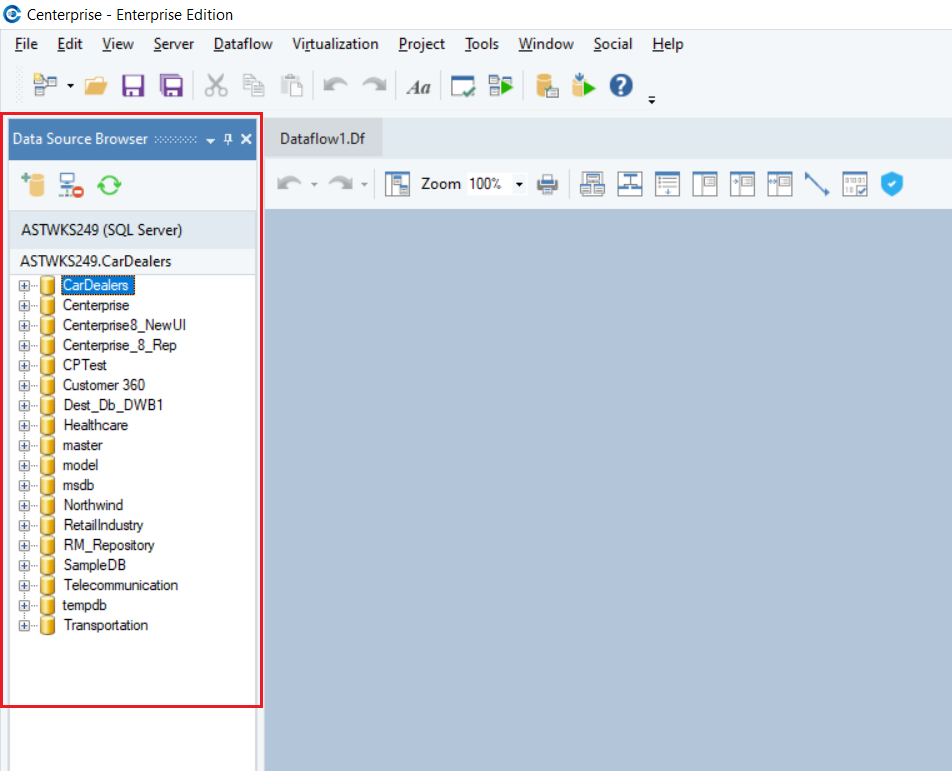
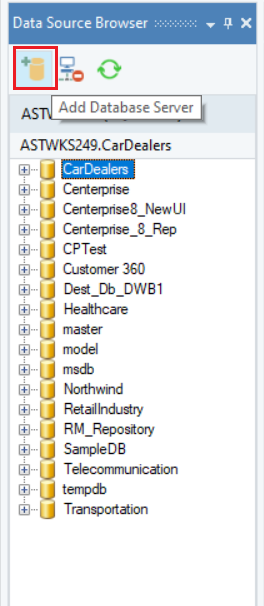
You can click the Add Database Server button inside the Data Source Browser to connect to a database server.
The connected database servers are displayed inside the Data Source Browser.
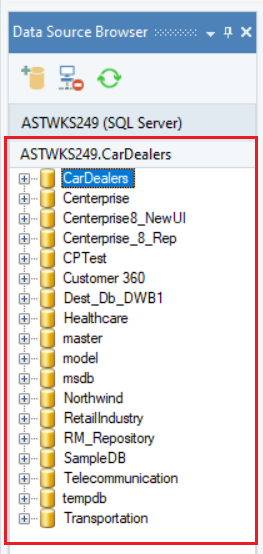
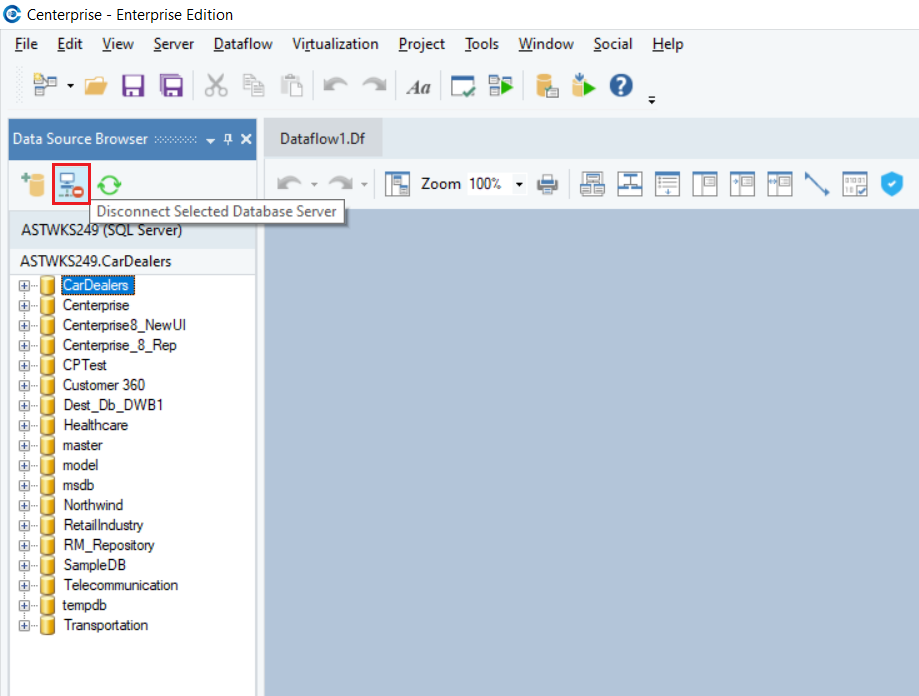
The connected database server is displayed as a tree in the Data Source Browser. You can click the Disconnect Select Database Server button to disconnect from the selected database server.
Using Data Source Browser with Queries
The Data Source Browser can also be used to start a query. The connected database servers are displayed in the database browser window. Right-click on a database server to view the available options.
Steps:
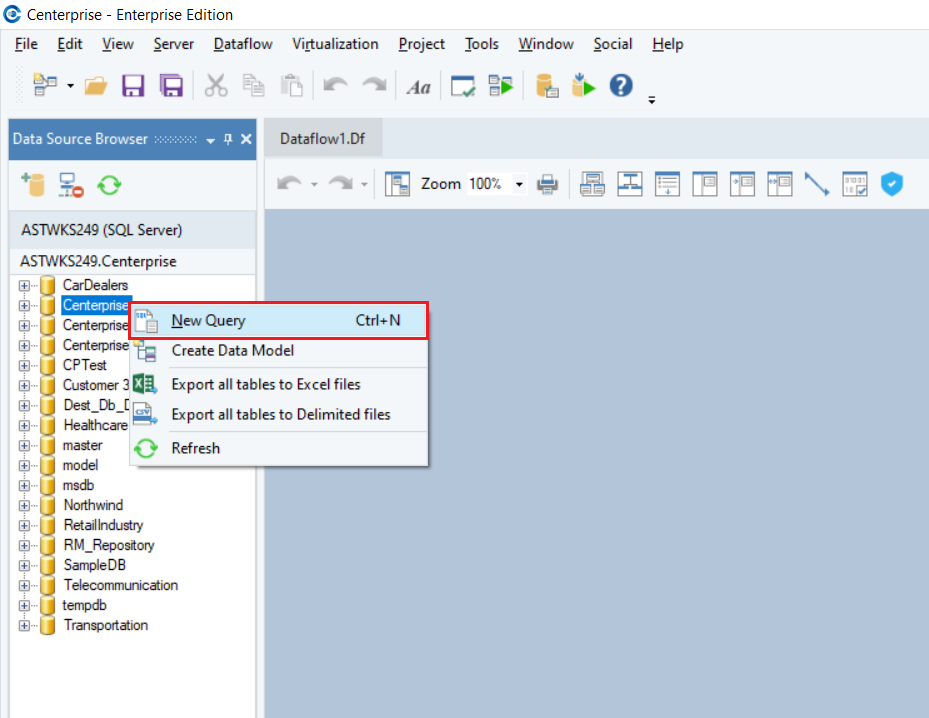
1. Right-click on the connected database server. The context menu is displayed.
2. Click New Query. A new query starts with a database connection already established.
Using Data Source Browser for Transfers
The Data Source Browser can be used to export data to a Microsoft Excel Worksheet or a delimited file from the connected database server in the form of a table. You can right-click on the connected database server to view the available options.
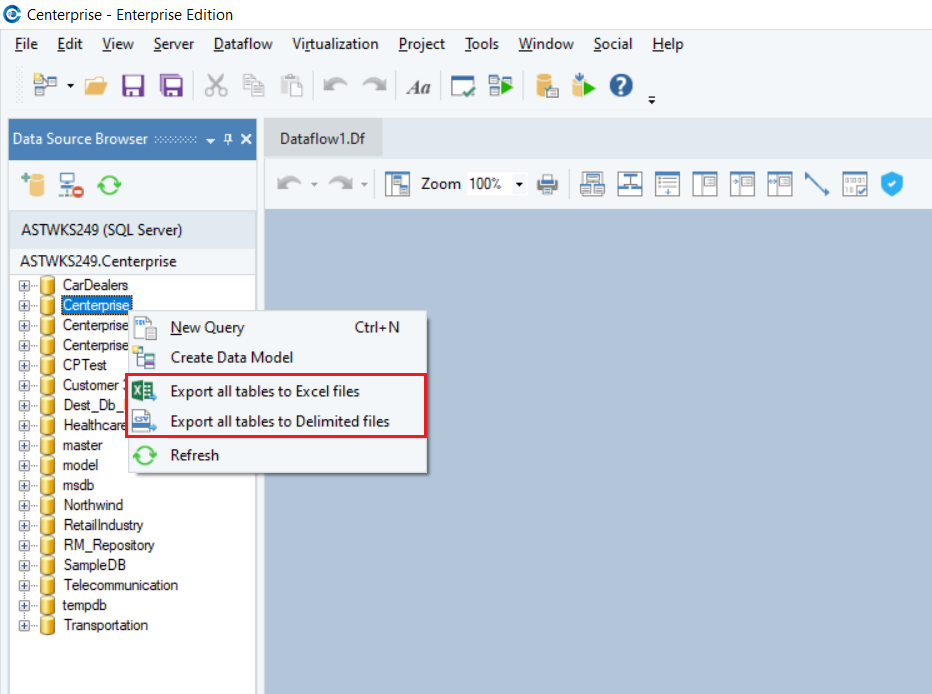
1. Right-click on the connected database server. The context menu is displayed.
2. Click Export all Tables to Excel files or Export all Tables to Delimited files.
3. Provide the destination path where you want to save the exported files.
Exploring the Database Connection Window
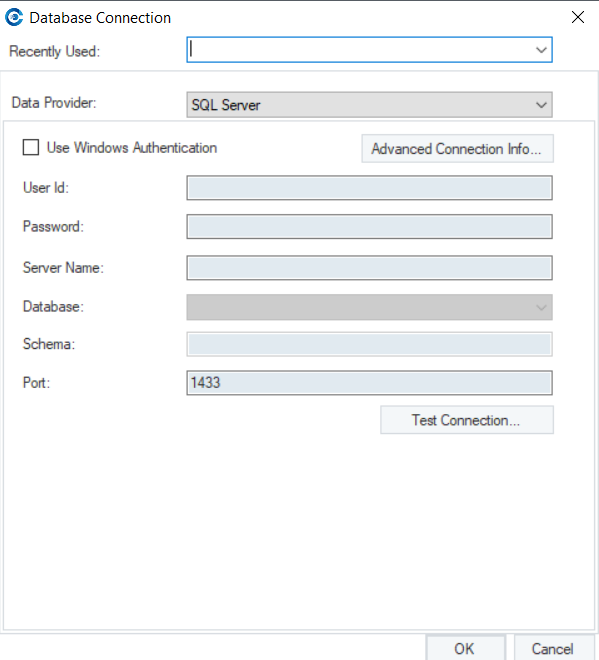
The Database Connection window is where you can establish connection to a database server, while working with with transfers, batches and queries.
The following table describes the options available in the Database Connection window.
| Option | Description |
|---|---|
| Recently Used list | It provides a list of connections that the user has established recently. This allows the user to connect to a recently used database server without having to enter the connection information all over again. If you're connecting to a database for the first time, this list would appear blank. |
| Data Provider | It is a list of supported database types. You can select a database provider from this list and connect to it natively from within Astera Centerprise. Some of the database providers supported in Centerprise include SQL Server, Oracle, DB2, Microsoft Access, Sybase, MySQL, as well as the Salesforce. |
| Use Windows Authentication check box | It is an option to ’log in’ to the database using your windows credentials rather than supply a user name and password. |
| Advanced Connection Info | This button opens the Advanced Connection Info dialog box. This is where a user can specify database specific settings such as connection and command timeout. |
| User Id | Here you need to enter the user ID for the database. |
| Password | Here, you need to enter the password to the database connection. |
| Server Name | It is the name of the server that is running the database management system. |
| Database | This provides a list of the databases you can connect to. This list is retrieved when enough connection information is provided so that Astera Centerprise can ask the database management system for this list. |
| Port | This box displays the port number that the program should use on the remote machine to communicate with it. The defaults provided are the ones that are typically used by each database management system. |
| Test Connection | This button which provides information on connection results, as in, whether or not the connection was successfully established. |
Connecting to a Single Database
To learn more about connecting to a single Database Table Source in Astera Centerprise, click here.
Connecting to Multiple Databases
Astera Centerprise provides you the option to work with more than one database at a time. The steps for connecting to multiple databases are the same as those for Connecting to a Single Database. While connecting to multiple databases, you can connect to an existing data provider or establish a new connection with a different data provider.
The Data Source Browser displays all the active database connections. You can switch between these databases by clicking on the Server name in the Data Source Browser. The active database appears highlighted in the Data Source Browser.
This concludes using the Data Source Browser in Astera Centerprise.