Deploying Astera Centerprise on Microsoft Azure Cloud
Microsoft Azure is an on-premise, hybrid, and future-ready cloud solution. The azure cloud platform has cloud services designed to build, run, and manage applications across multiple clouds. It provides scalable and high-performance cloud computing experience with virtual machines and SQL databases for testing and deployments.
You can now deploy and configure Astera Centerprise on Microsoft Azure Cloud either through the Azure Marketplace or using virtual machines on Azure Cloud.
In this article, we will cover:
- Deploying Astera Centerprise using Azure Marketplace on Azure Cloud
- Deploying Astera Centerprise manually on Azure Cloud
To continue, please login to the Microsoft Azure portal here.
Deploying Astera Centerprise Using Azure Marketplace
Follow the steps below to deploy Astera Centerprise using Azure Marketplace once you login to your Azure portal.
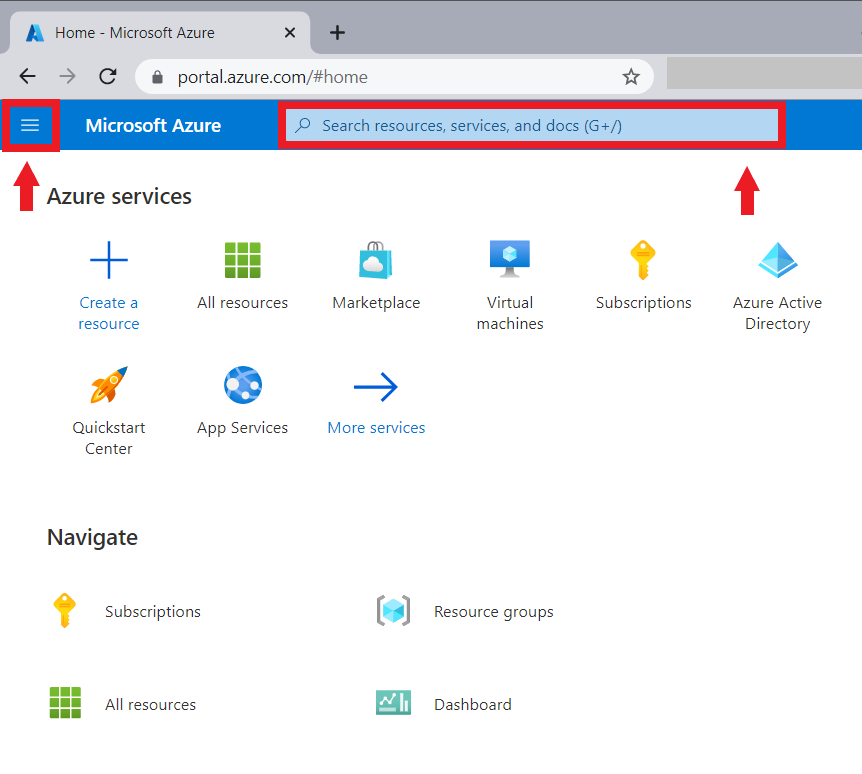
1. Find Marketplace on your portal either through the Portal Menu or by searching for it on the search bar.
2. On the Marketplace search bar, search for Astera Centerprise. You will get the link to Astera Centerprise Virtual Machine.

3. If you open Astera Centerprise on the marketplace, it will give you options to either create your own virtual machine or start with a pre-set configuration. You can choose from the options as required.
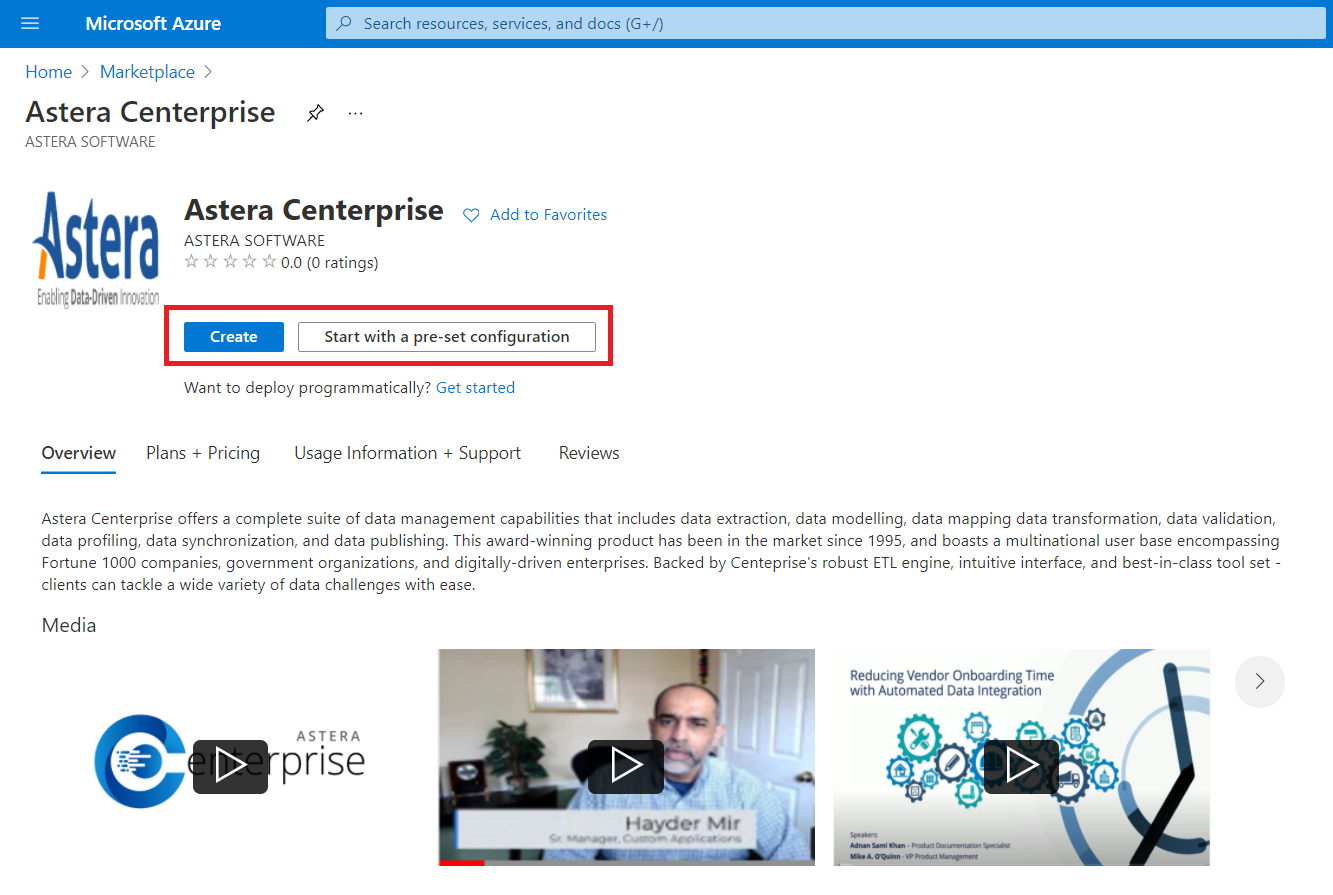
It comes with an overview, plan and pricing, usage information, support, and reviews for more information.
Note: If you deploy it through the marketplace, you have to skip the image selection option in Basics settings and the SQL Server Settings because the credentials have already been configured. The credentials are as follows: MS SQL Database Username: Trial MS SQL Database Password: Trial1234567
Deploying Astera Centerprise Manually
Follow the steps below to deploy Astera Centerprise manually using virtual machines on the Azure portal once you login.
1. Find Virtual Machines on your portal either through the Portal Menu or by searching for it on the search bar.

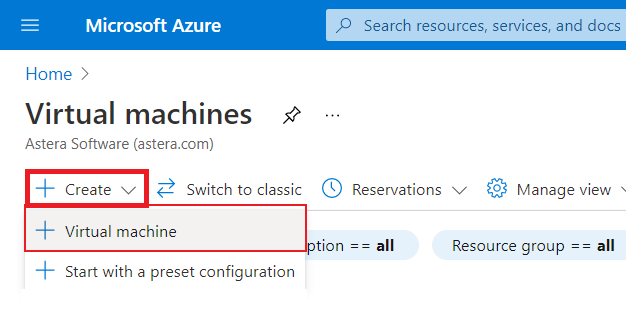
2. Once Virtual Machines open, go to Create and select Virtual Machine.
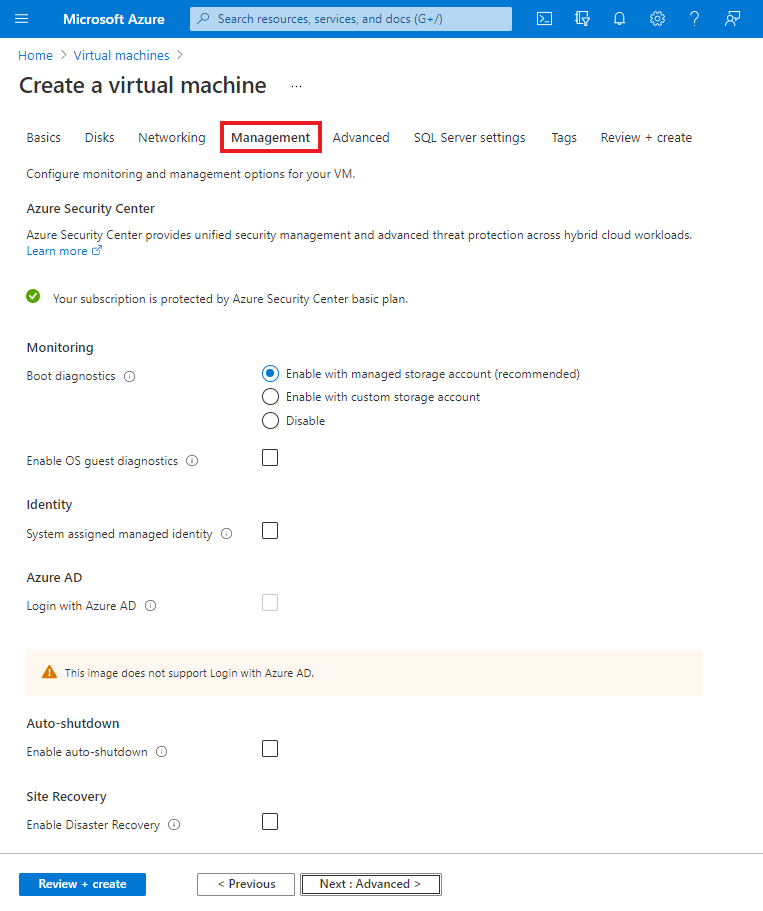
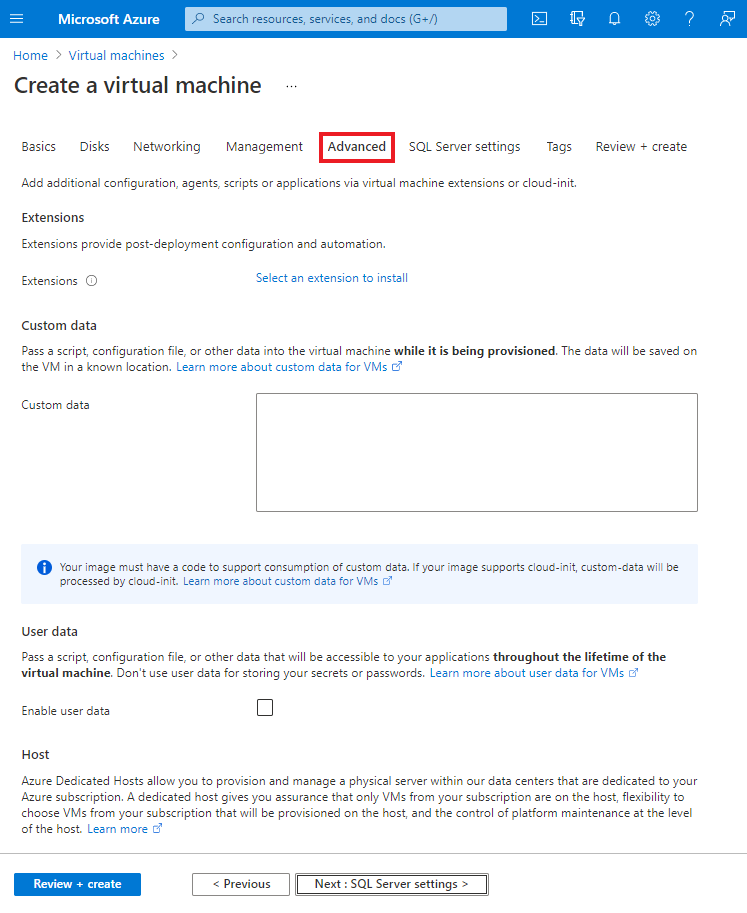
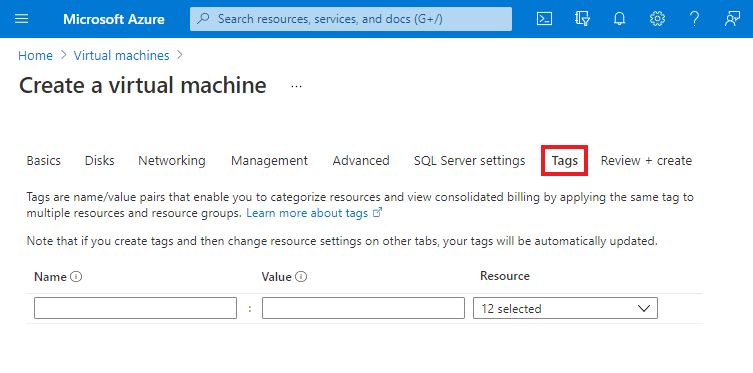
3. You are now redirected to a setting and configurations page for the virtual machine that you want to create. The following steps are involved in the configuration:
Basics
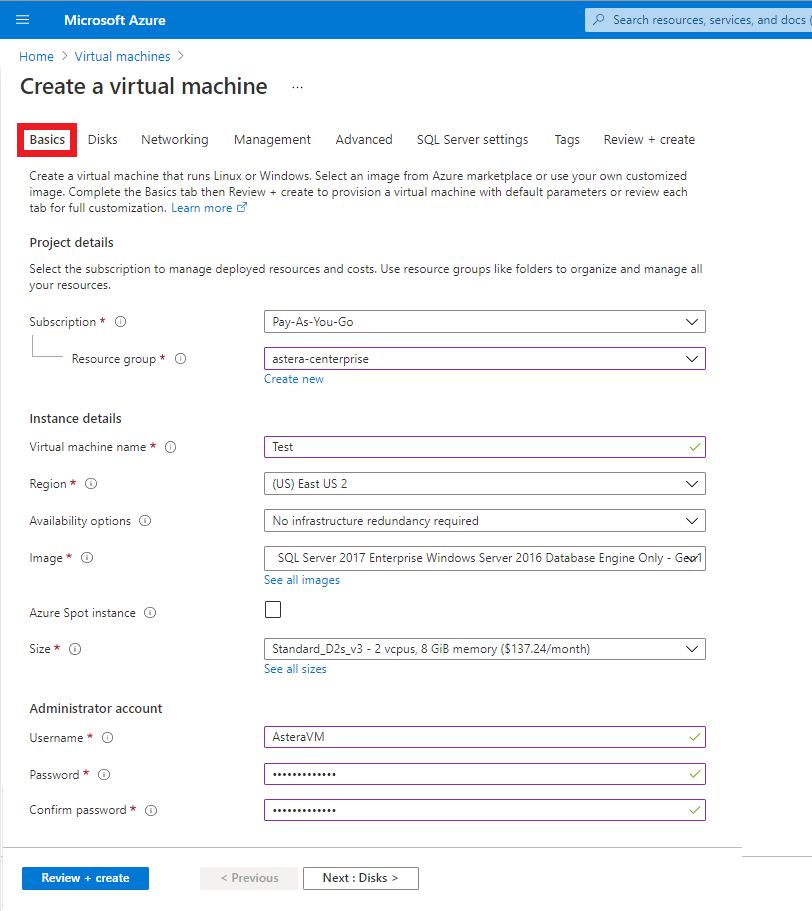
Subscription: Pay-as-you-go
Resource Group: You can either create a new resource group or select one from your already existing resource groups.
Virtual Machine Name: Name your virtual machine.
Region: Select your region
Availability options: Keep default.
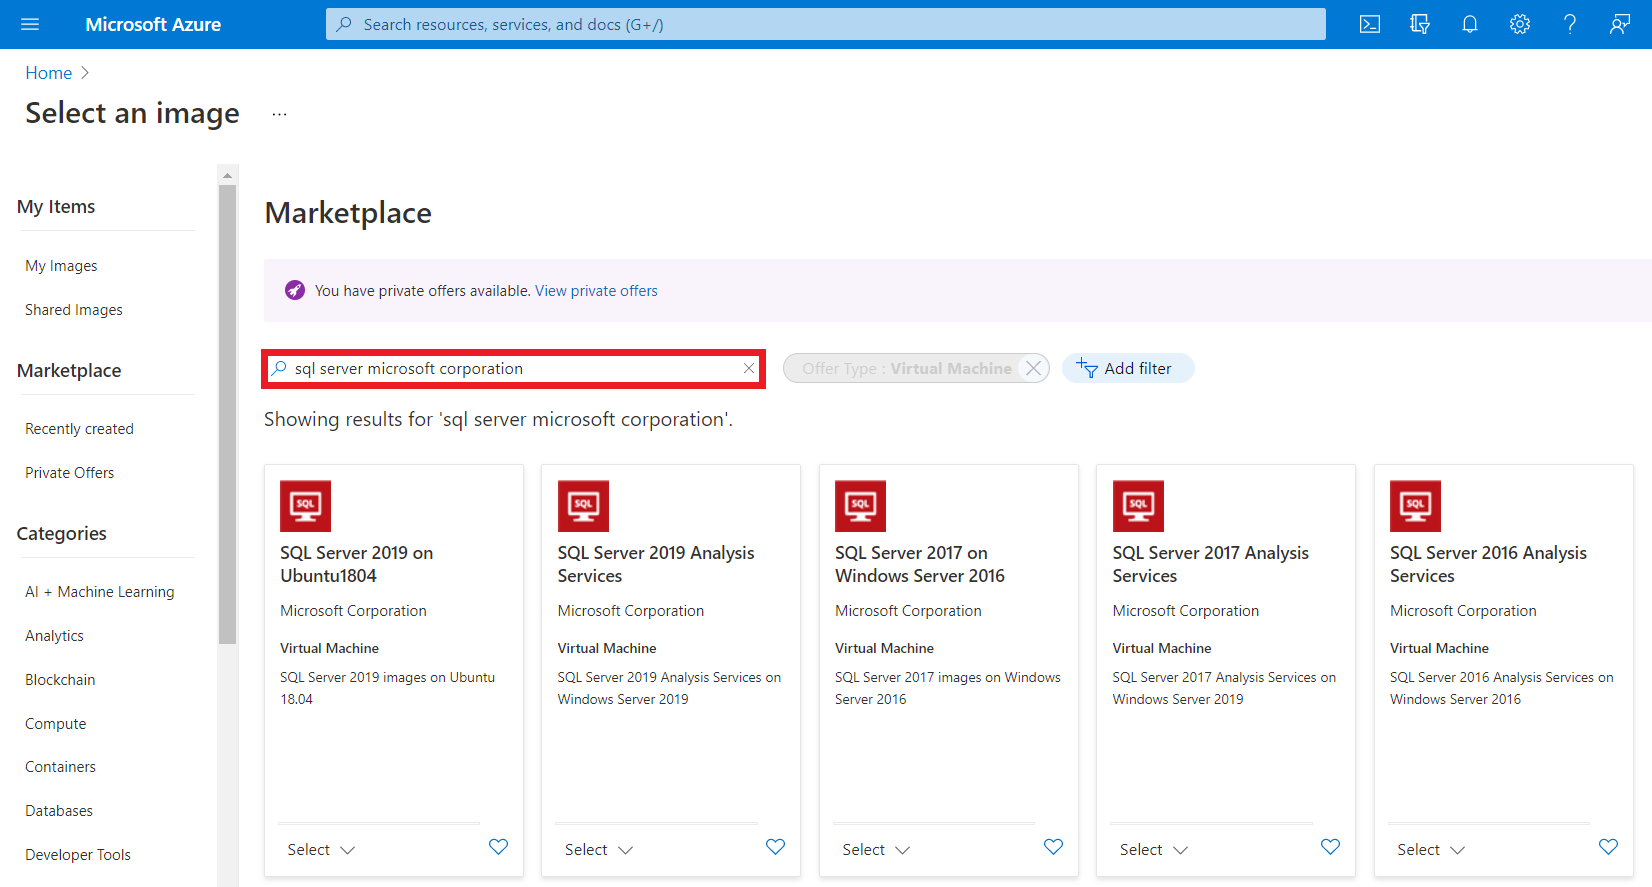
Image: Select ‘See All Images’, it would redirect you to the Azure Marketplace. Here, search for SQL Server Microsoft Corporation. Note: You can select any image officially sourced by Microsoft that is MSSQL 2005 or later on Windows server 2012 R2 or later.
Sizes: You can refer to the system requirements document to select the size, click here.
Username: Set a username to access the virtual machine.
Password: Set a password to go with the username.
Inbound Port Rule: Keep default.
Licensing: Keep default.
Networking
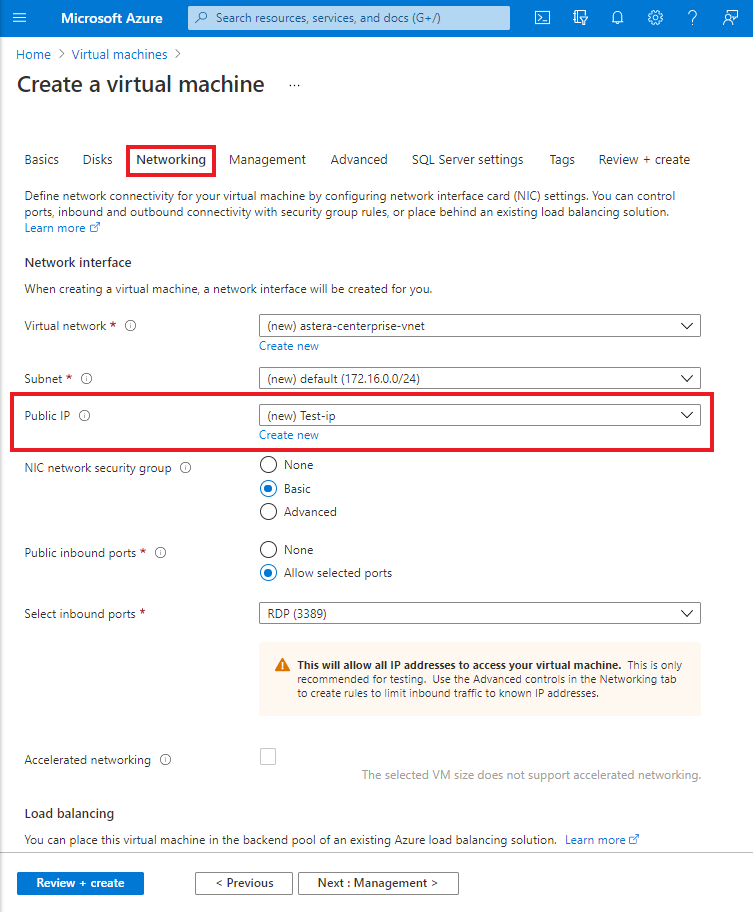
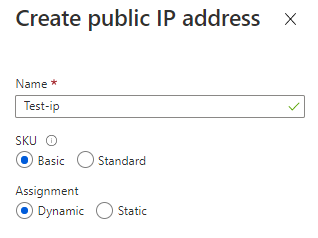
Here, everything will stay by default. You will only have to a create a Public IP, select create new to do that. A side pane will open where you can create your public IP address. Name your IP address and leave its other settings on default.
SQL Server Settings
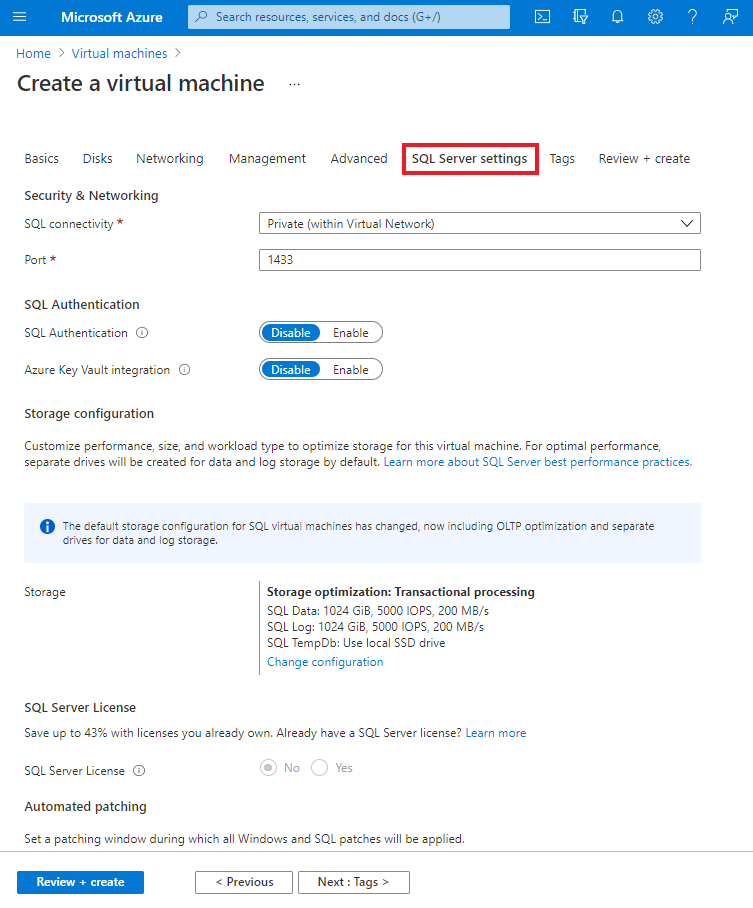
All settings in this section should be set as default.
- You can optimize Storage Configurations as per your requirements.
- If you have the SQL Server License, you can provide that by selecting Yes.
Review + Create
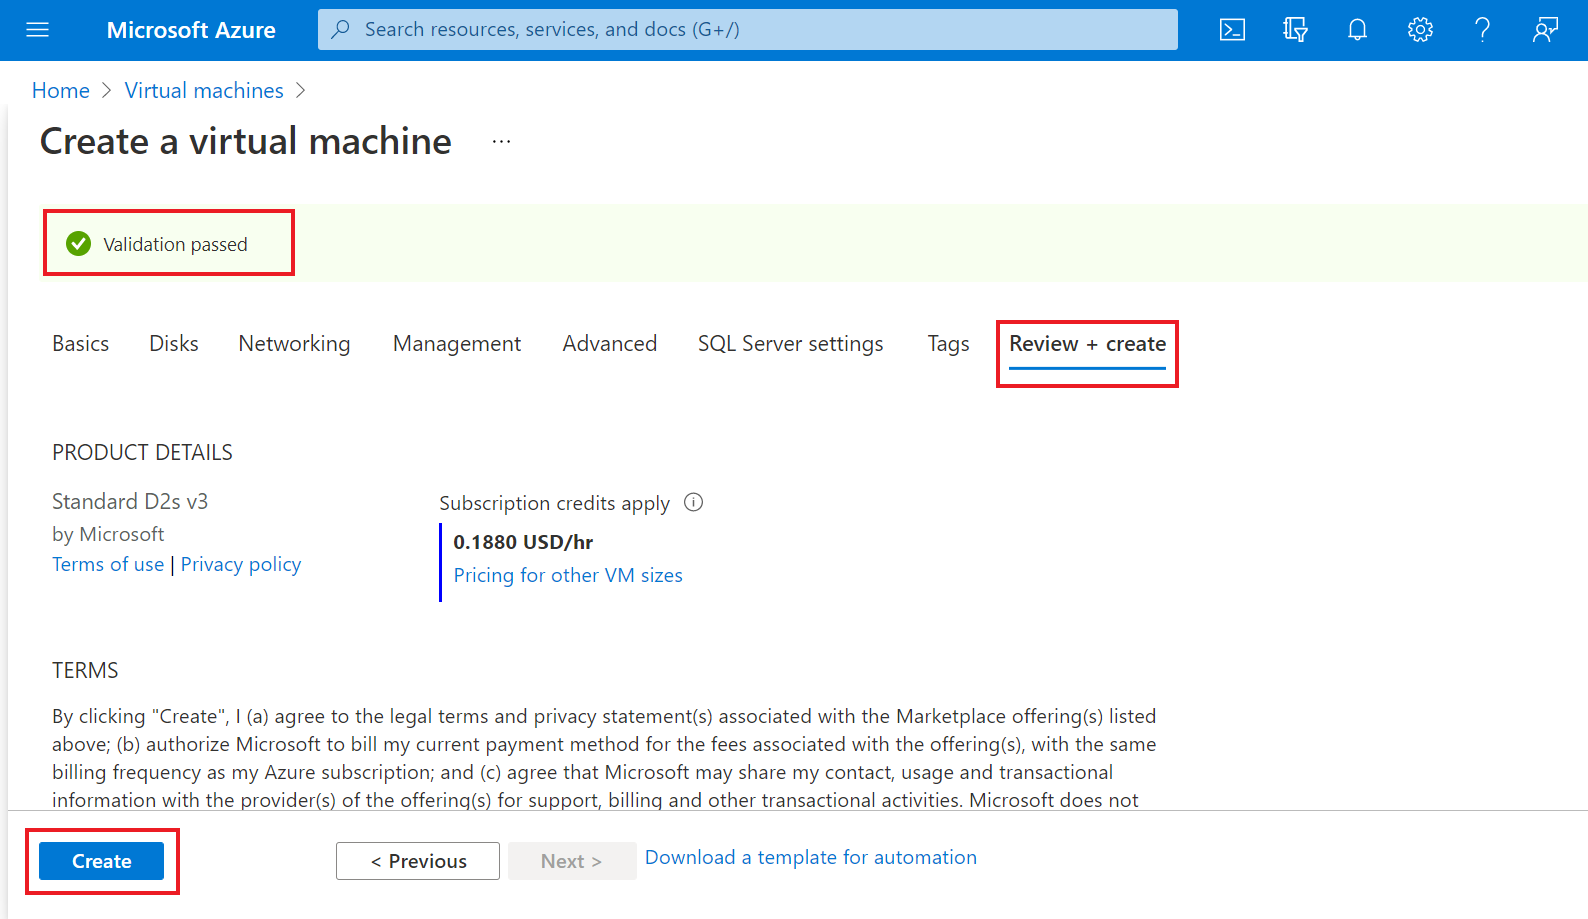
If your settings pass the validation checks, it will bring you to the review and create window. Select Create to create your virtual machine.
4. You can now connect to the created virtual machine by using the Public IP we created in the Networking section on your remote desktop.
5. Once connected to the virtual machine, you can now install Astera Centerprise on it.
- To download the trial of Astera Centerprise, click here.
- To learn more about the installation of Astera Centerprise, click here.
Note: Once you’ve created the virtual machine, you can connect to the SQL database through the Administrator Account credentials that you provided earlier in the Basics section while configuring the virtual machine.
This concludes deploying Astera Centerprise on Microsoft Azure cloud.