Database Lookup
The Database Lookup object in Astera Centerprise is used to look up values from a source. It uses a database table that contains the lookup values as well as a set of corresponding output values. When the lookup is performed, the object returns either a single output field or multiple output fields, depending on the nature of the lookup table. Similarly, the lookup can be performed based on one lookup field or multiple lookup fields. In each case, the output field or fields are returned from the records in which the lookup values match the incoming values.
Use Case
In this use case, we have a sample dataset of customers that is stored in a database table. Within this dataset, there is a field that contains the country of residence for each customer. We have another database table that contains all of these countries and their corresponding codes. Our goal is to replace the full country names with codes while writing the customer dataset to an Excel file. To do that, we will use a Database Lookup object.
How to Work with Database Lookup in Centerprise
1. Drag the relevant source object from the toolbox and drop it onto the designer. In this case, we will select the Database Table Source object from Toolbox > Sources > Database Table Source and configure it so that it reads data from the customer dataset.
To learn how you can configure a Database Table Source object, click here.
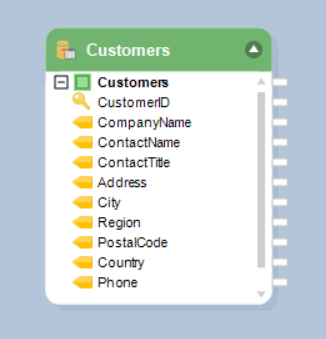
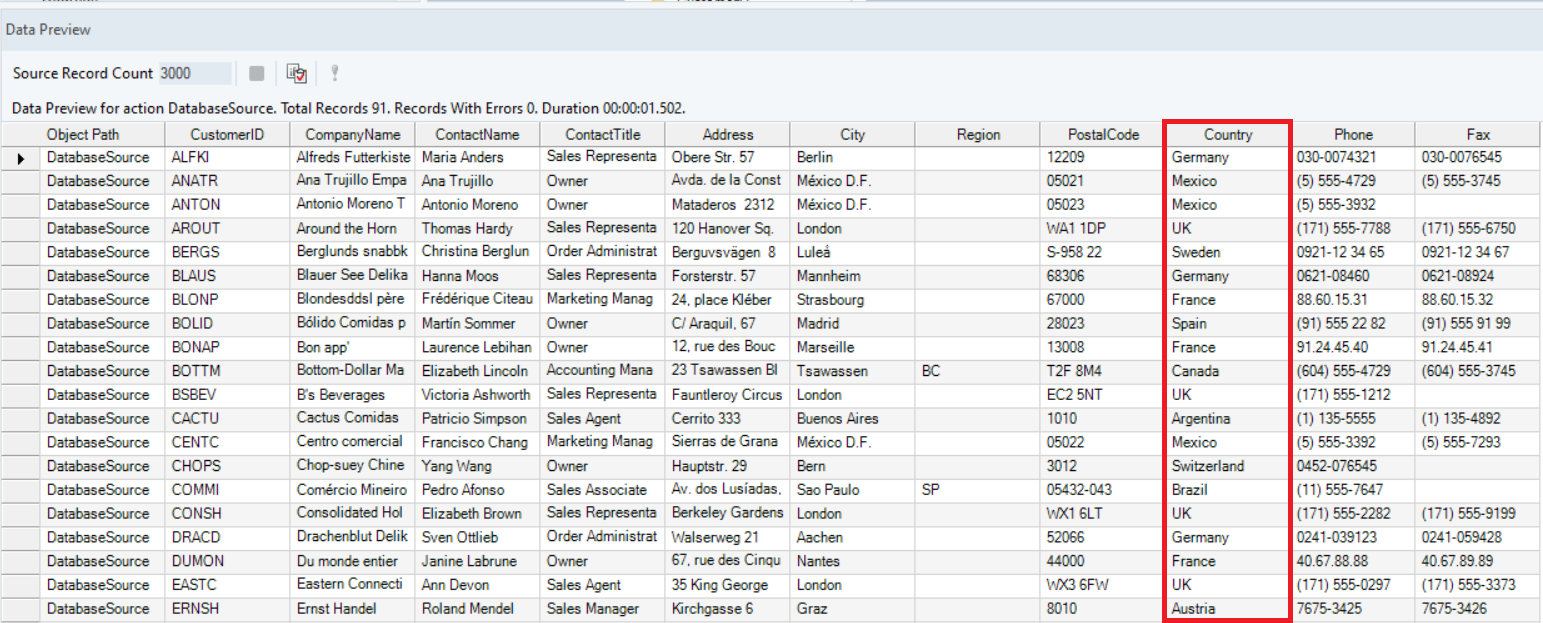
To preview the data, right-click on the object header and select Preview Output from the context menu. Here, you can see that there is a field that contains each customers’ country of residence.
2. Drag the Database Lookup object from Toolbox > Transformations > Database Lookup and drop it onto the designer.
3. Right-click on the header of the Database Lookup object and select Properties from the context menu.
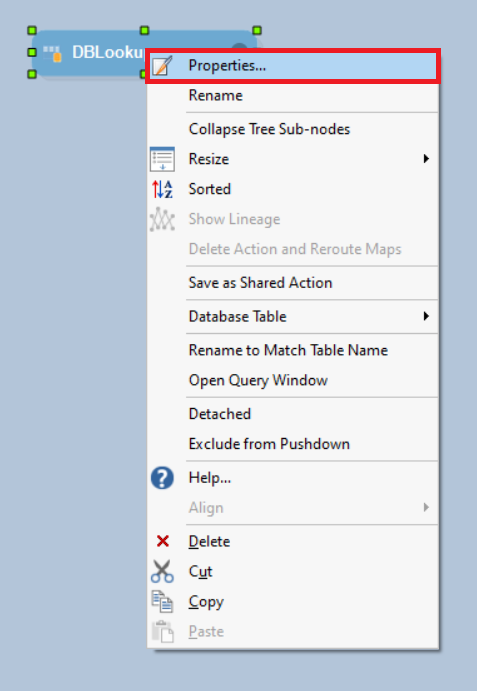
This will open a new window on your screen.
Here, you’re required to configure the properties for the Database Lookup object.
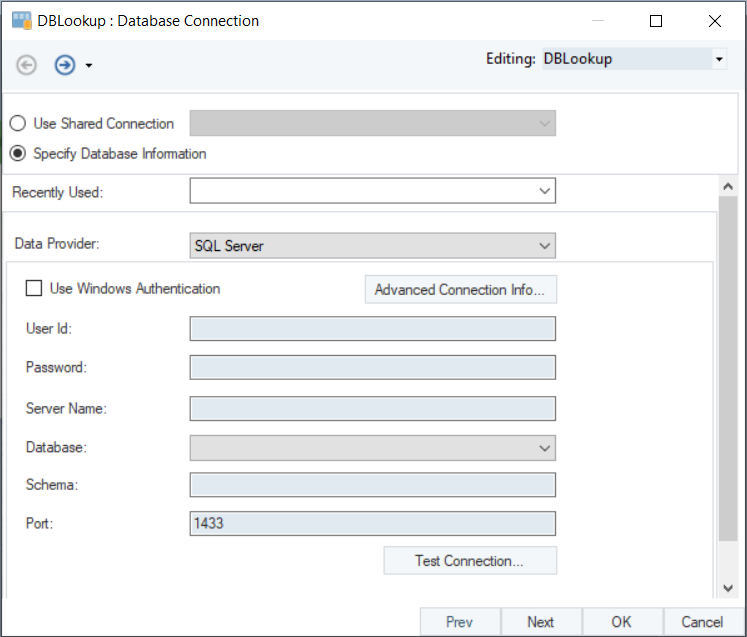
4. On the Database Connection screen, enter the details for the database you wish to connect to.
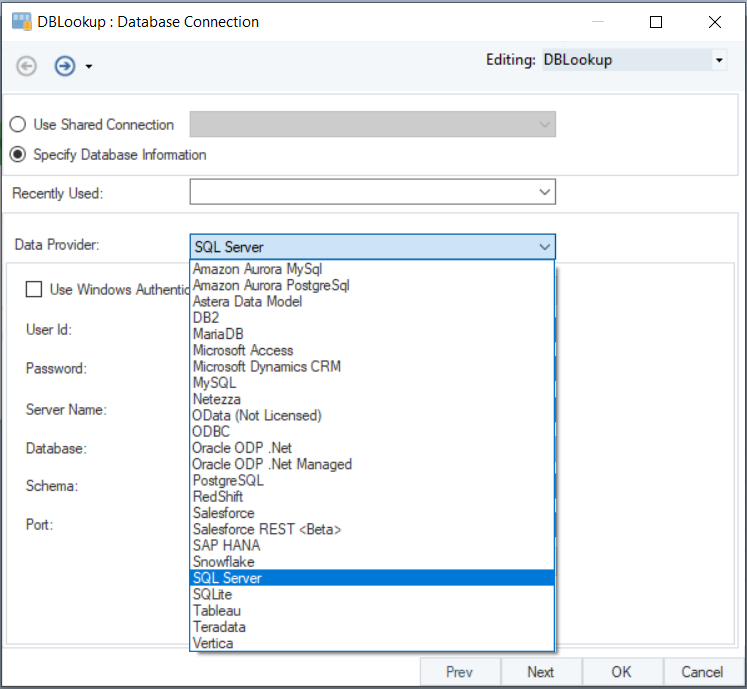
- Use the Data Provider drop-down list to specify which database provider you wish to connect to. The required credentials will vary according to your chosen provider.
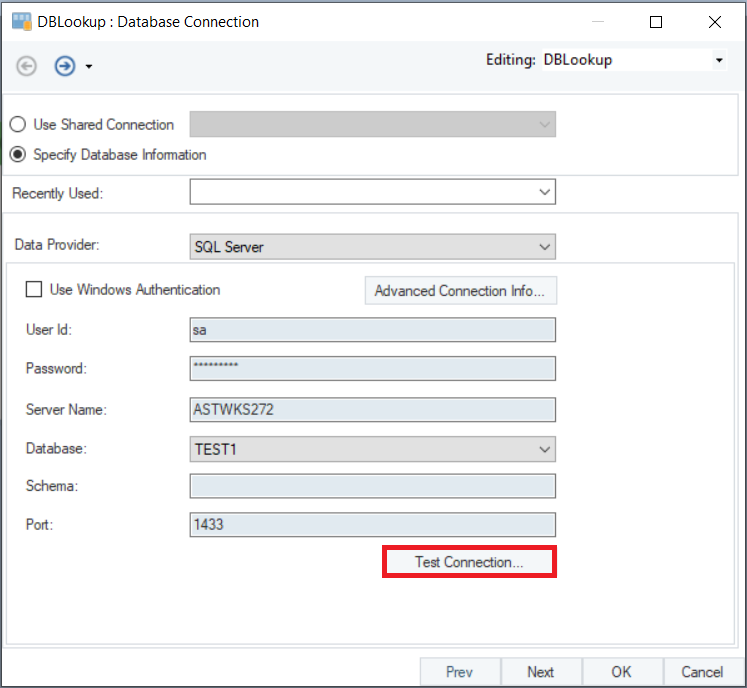
- Provide the required credentials. Alternatively, use the Recently Used drop-down list to connect to a recently connected database.
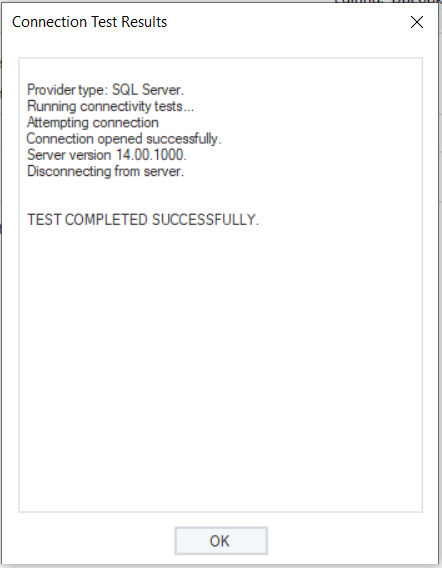
- Test Connection to ensure that you have successfully connected to the database. A new window will open, showing whether your test is successful or has ended up in some error. When the connection has been successfully established, close it by clicking OK, and then click Next.
5. The next screen is the Database Lookup Map Properties screen. Here, you can pick a table from the database that you’ve connected to.
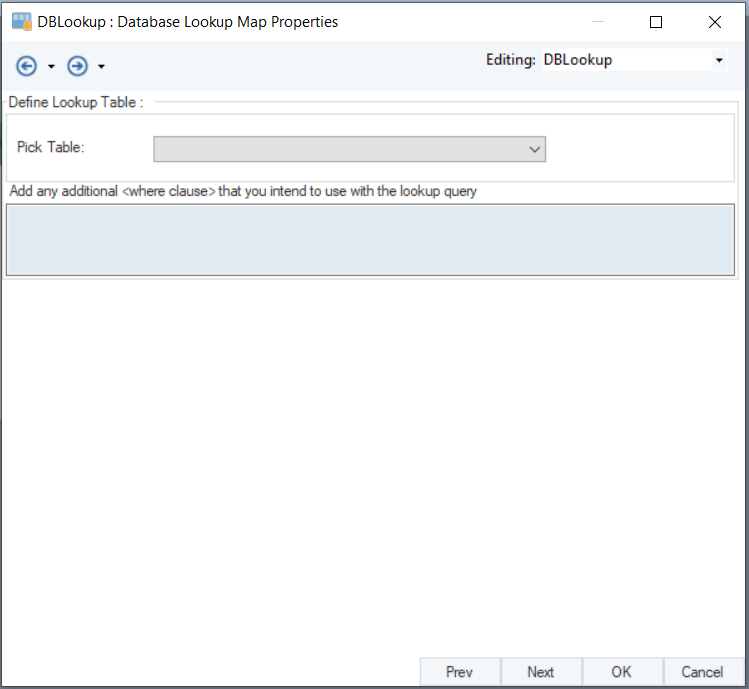
In this case, we will select the table named CountryCodeLookup. This table contains the code for each country and will serve as the lookup table in our use case.
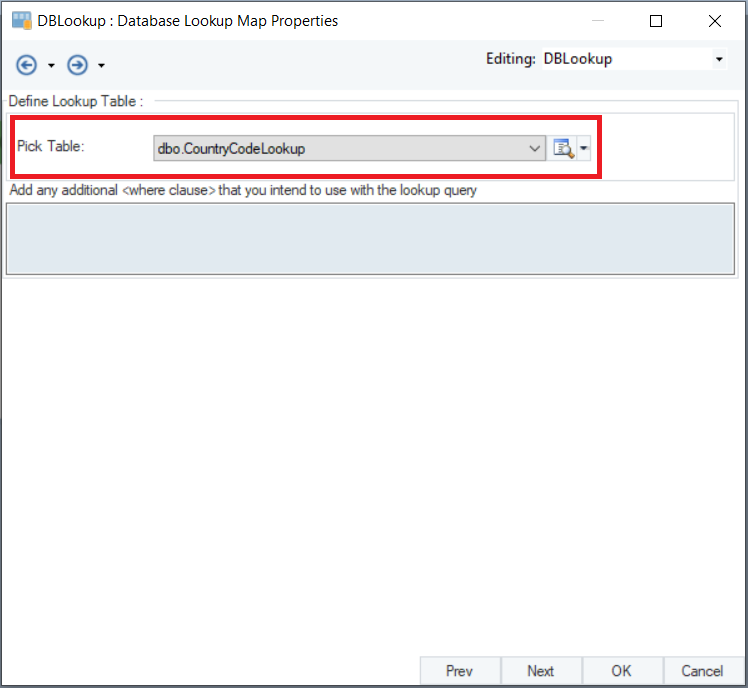
In the text box provided under the Pick Table option, you can enter a where clause to modify the lookup query. In this case, we will leave it empty.
Once you’ve chosen a table, click Next.
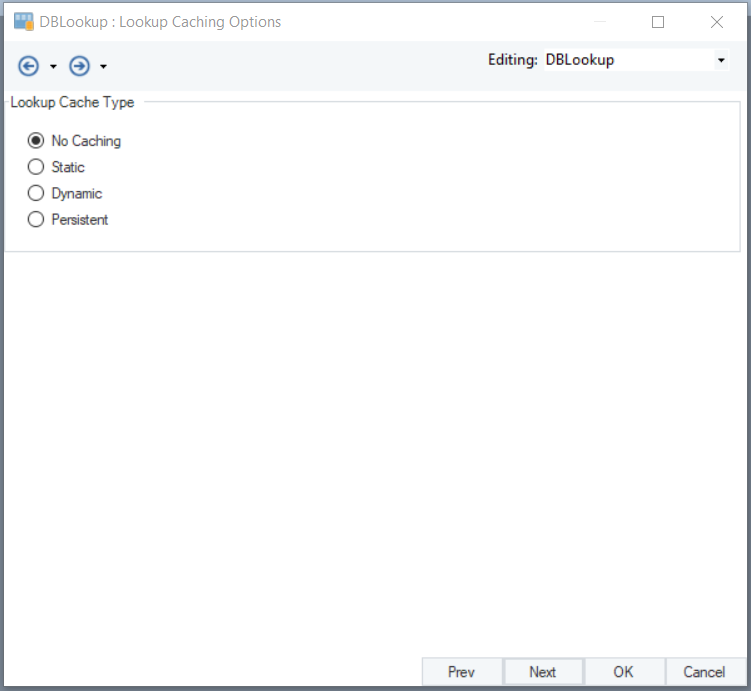
6. On the next screen, you can choose a Lookup Cache Type from the following options:
No Caching: No data will be stored in a cache. This option is selected by default.
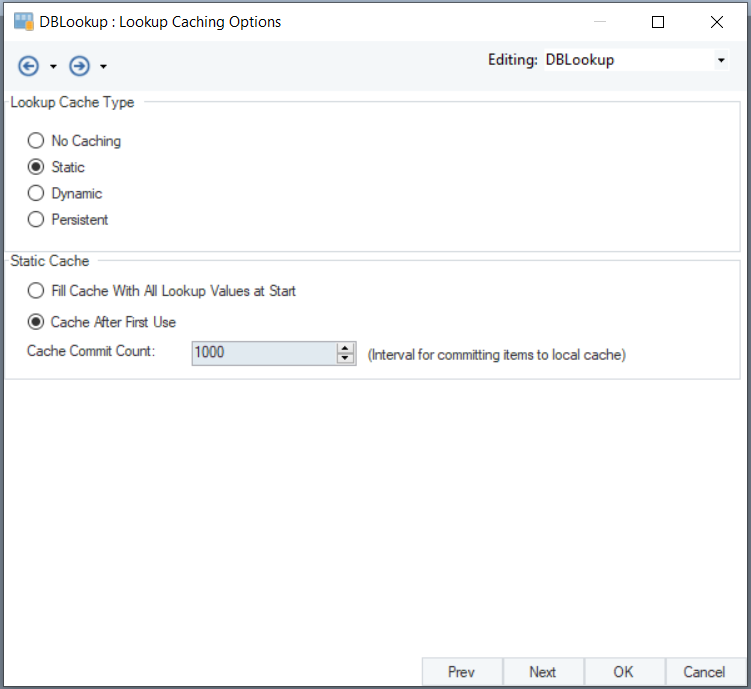
Static: The lookup values are stored in a cache. Once the cache is created, the transformation object will always query the cache instead of the lookup table. When you select this option, the following sub-options are enabled:
- Fill Cache With All Lookup Values at Start: Fills the cache with all of the lookup values at the start and continues to use this cache for every lookup.
- Cache After First Use: Uses the database table for the first lookup and fills the cache right after it is done. This cache is then used for every subsequent lookup. Checking this option enables another sub-option:
- Cache Commit Count: Defines the number of records collected per cache chunk before they are committed to the cache.
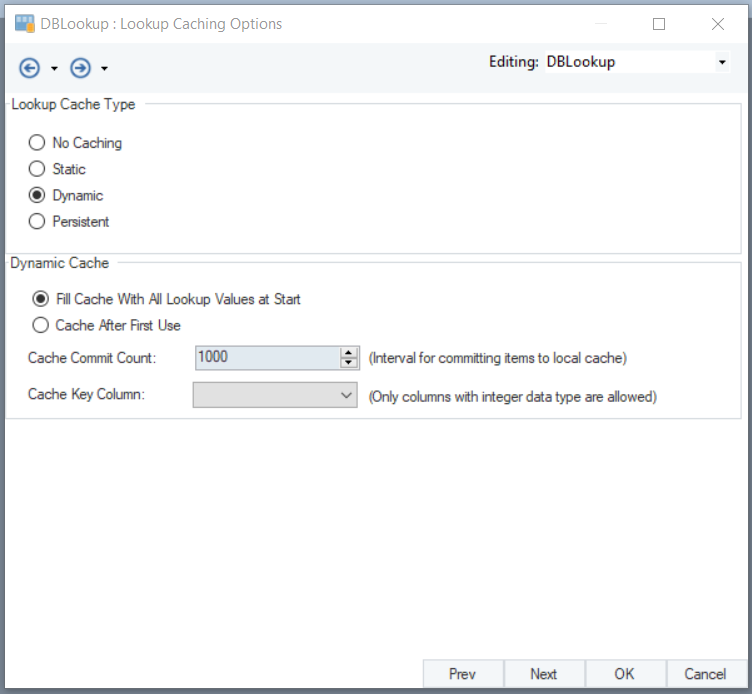
Dynamic: The lookup values are stored in a temporary cache file, which is deleted once the dataflow has been executed. When you select this option, the following sub-options are enabled:
- Fill Cache With All Lookup Values at Start: Fills the cache with all of the lookup values at the start and continues to use this cache for every lookup.
- Cache After First Use: Uses the database table for the first lookup and fills the cache right after it is done. This cache is then used for every subsequent lookup. Checking this option enables another sub-options:
- Cache Commit Count: Defines the number of records collected per cache chunk before they are committed to the cache.
- Cache Key Column: Defines a matching key field to check whether a record already exists in the cache.
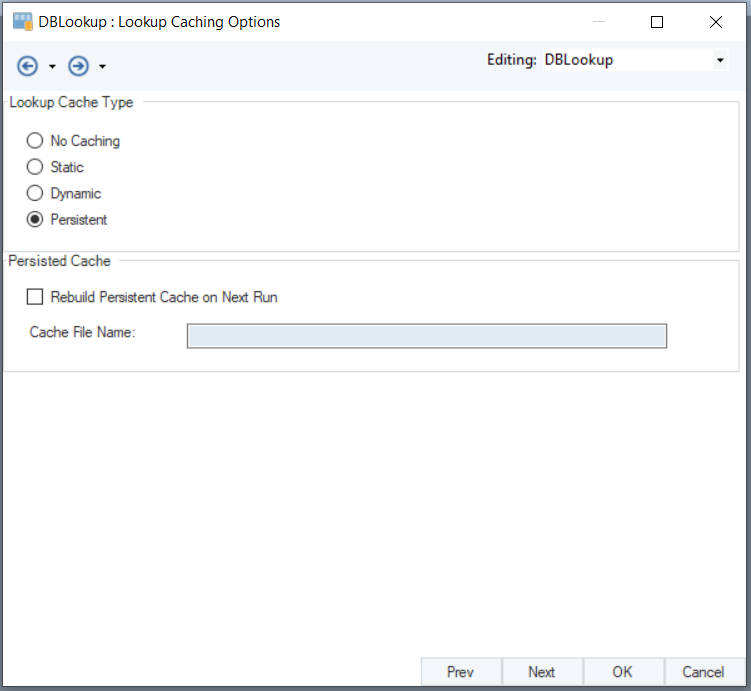
Persistent: Saves the lookup values in a cache file that can be reused for future lookups. When you choose this option, the following sub-options are enabled:
- Rebuild Persistent Cache on Next Run: Checking this option will allow the contents of the cache file to be modified after every run.
- Cache File Name: Here, you can enter a name for your cache file.
In this case, we will select the No Caching option. Once you’re done, click Next.
7. On the Lookup Options screen, you can choose between multiple lookup options.
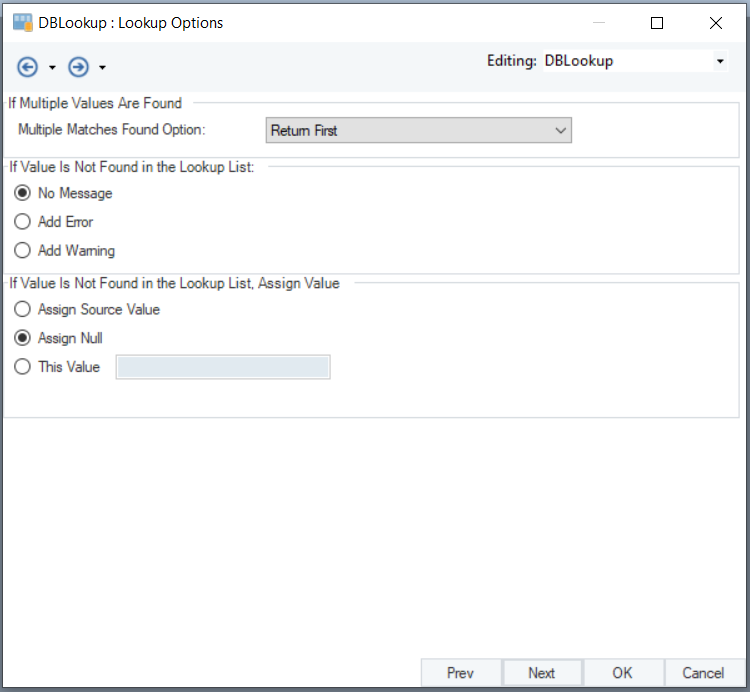
This page provides a set of options for different scenarios that could be faced during a lookup.
If Multiple Values Are Found
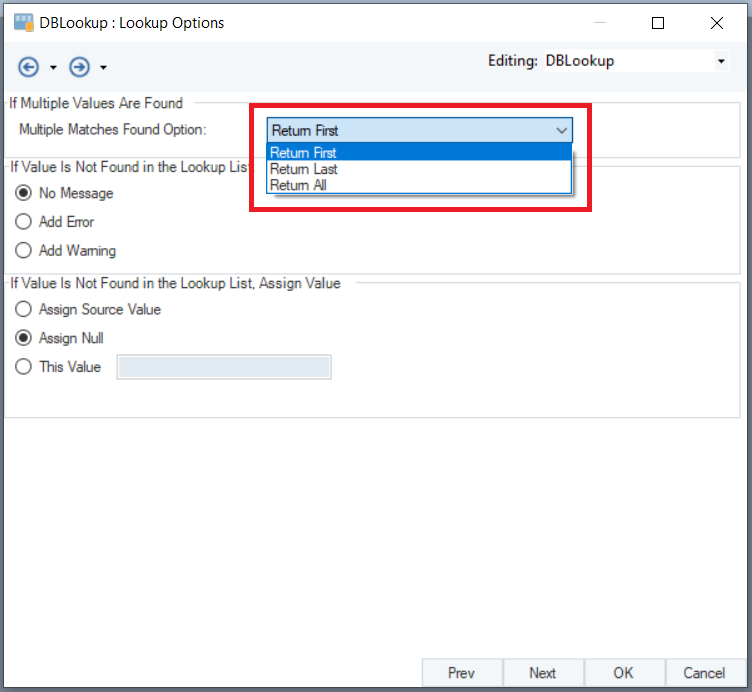
Multiple Matches Found Option**:** This option provides the flexibility to choose the output value if more than one matches are found for a single value in the lookup table. You can select one out of the three options that appear in the drop-down list:
- Return First: Returns the first matched value.
- Return Last: Returns the last value among all matched values.
- Return All: Returns all the matches values.
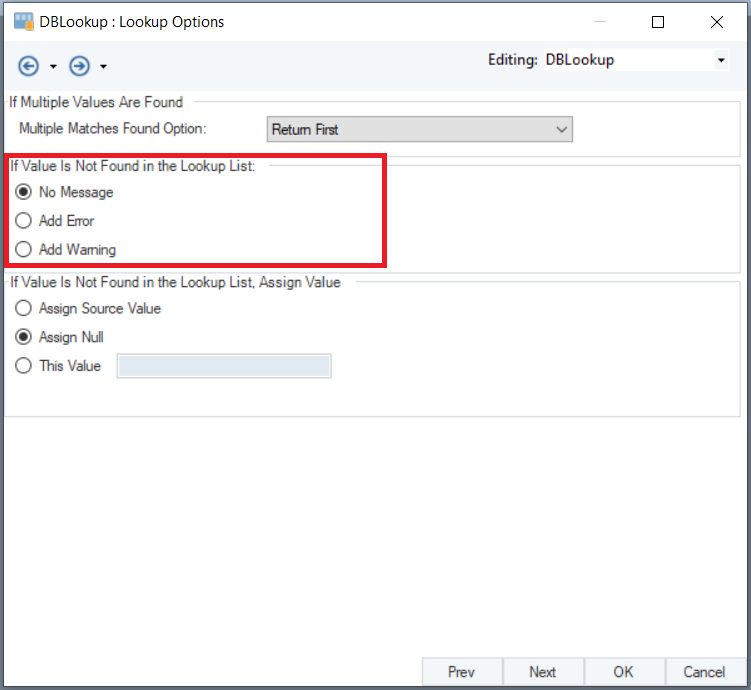
If Value Is Not Found In the Lookup List
If no lookup values are found for a source value, you can choose from the following options to be appended with the output:
- No Message: The output value will be the same as the input value and no message will appear with it.
- Add Error: An error message will appear with the output.
- Add Warning: A warning message will appear with the output.
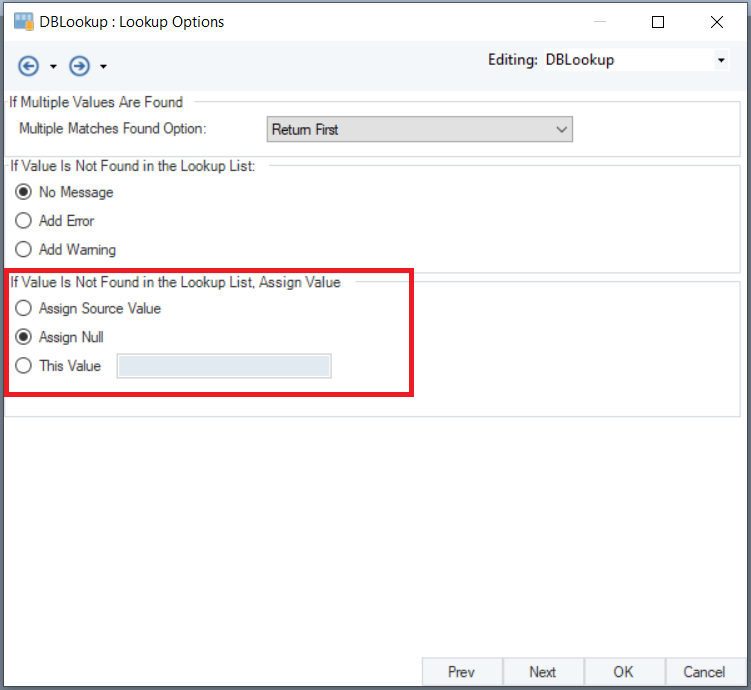
If Value Is Not Found in the Lookup List, Assign Value
If no lookup value is found for a source value, you can assign an output value of your choice.
- Assign Source Value: Returns the source value in the output.
- Assign Null: Returns null in the output.
- This Value: Allows you to enter any value that will be returned in the output.
In this case, there is only one code for each country. Therefore, we will choose Return First from the drop-down list in the Multiple Matches Found Option. Moreover, we will leave the other options at their default selection i.e. No Message under If Value Is Not Found in the Lookup List, and Assign Null under If Value Is Not Found, Assign Value.
Once you’re done choosing the option, click Next.
8. On the Config Parameters screen, you can define certain parameters for the Database Lookup object.
These parameters facilitate an easier deployment of flows by excluding hardcoded values and providing a more convenient method of configuration. If left blank, they will assume the default values that were initially assigned to them.
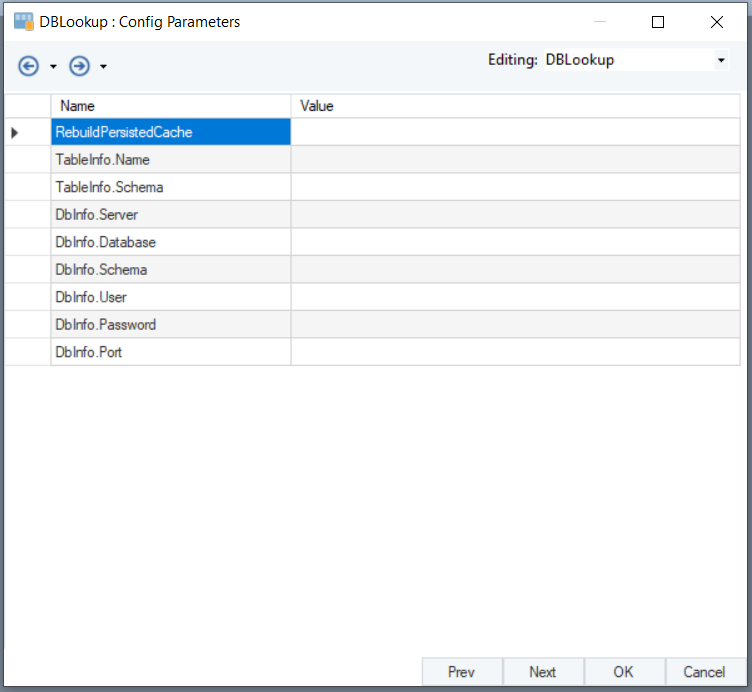
In this case, we will leave them blank. Click Next.
9. On the last screen, which is the General Options screen, you will be provided with a text box to add comments. The general options on this screen have been disabled.
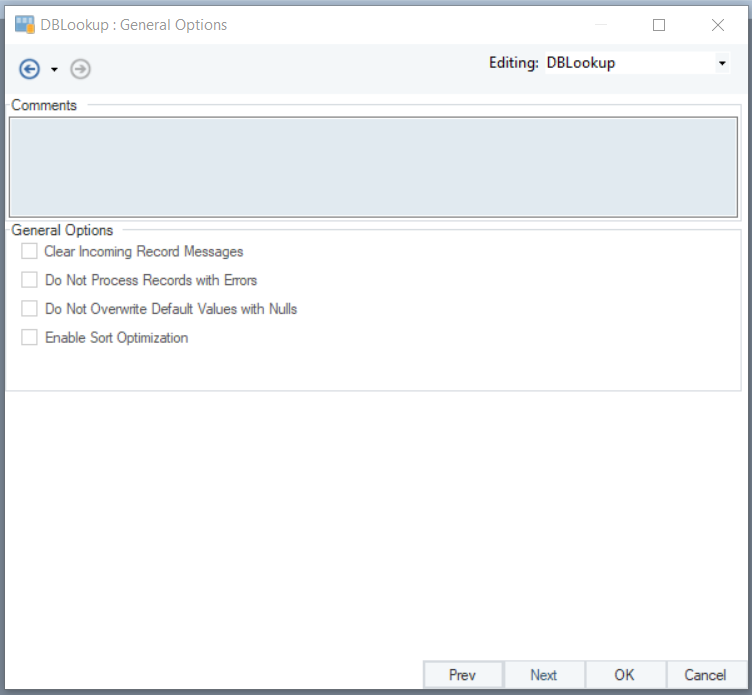
You are now done configuring the Database Lookup object. Click OK to close the configuration window.
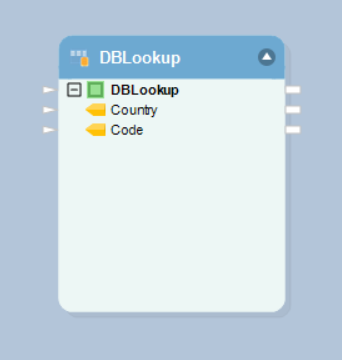
10. Expand the Database Lookup object to view the layout of the lookup table. In this case, it contains two field, Country and Code. The former contains the full name of each country and the latter contains each country’s code.
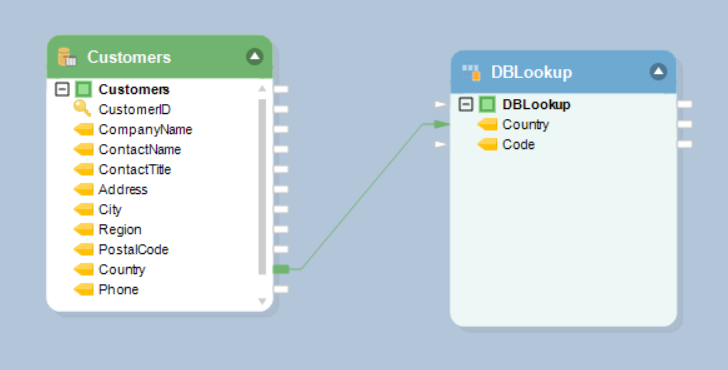
11.Map the Country field from the Database Table Source object to its counterpart in the Database Lookup object.
12. Drag an Excel Workbook Destination object from Toolbox > Destinations > Excel Workbook Destination and drop it onto the designer. Configure the object by providing a name and the path to the directory and folder where you want to save your destination file.
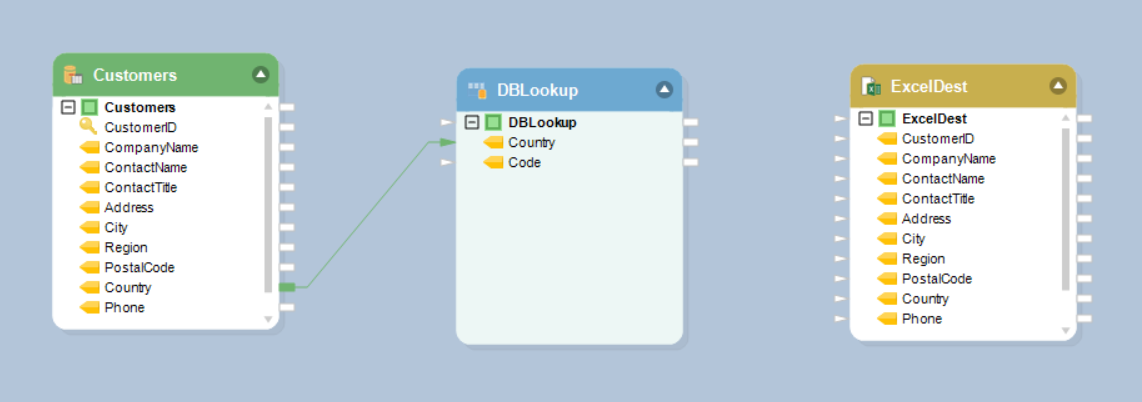
To learn how you can configure an Excel Workbook Destination object, click here.
13. Auto-map the source dataset to the destination object.
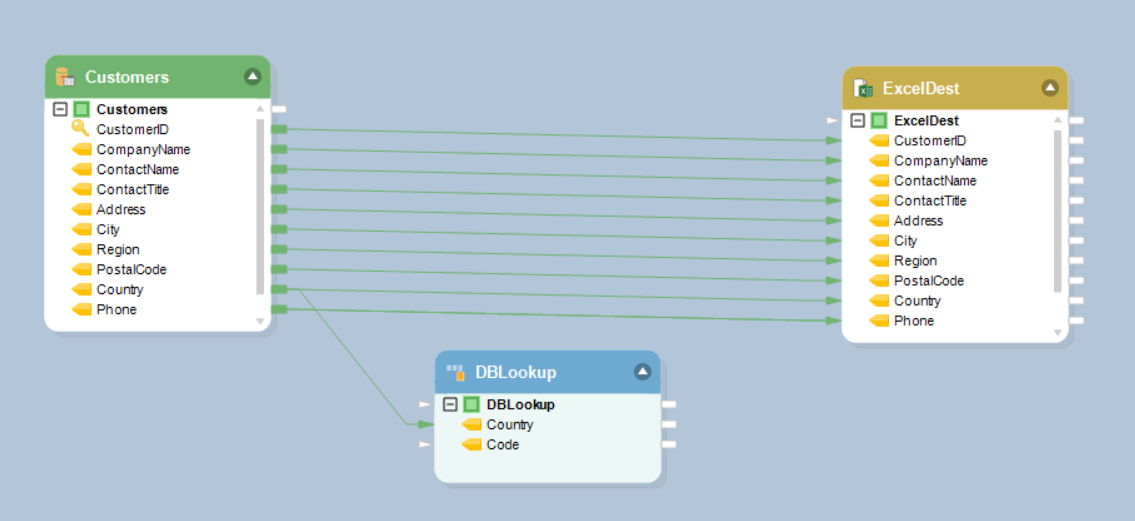
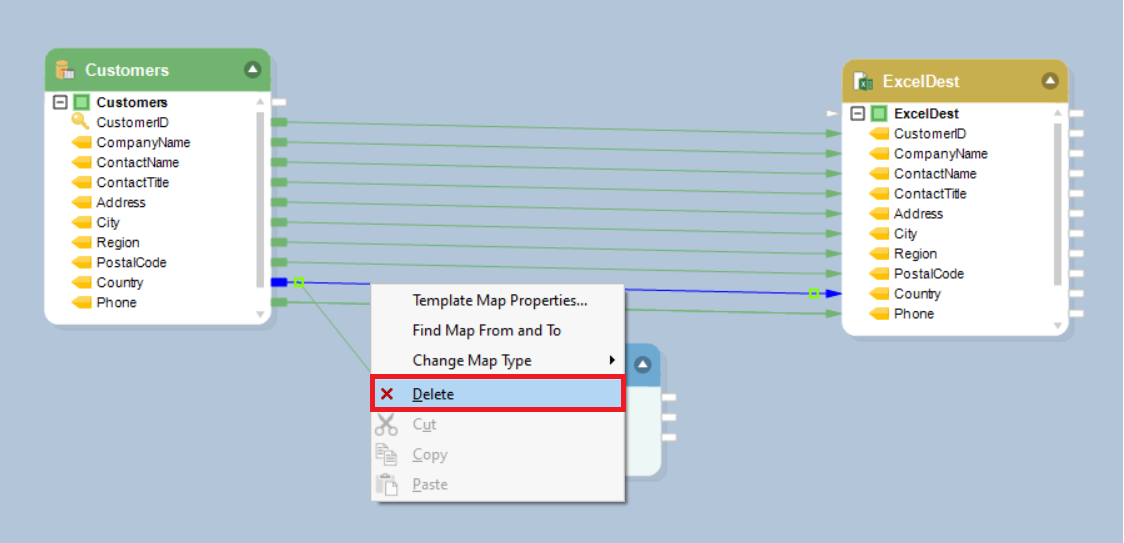
14. Delete the mapping link between the Country fields in the source and destination. To do that, right-click on the mapping link and select Delete from the context menu.
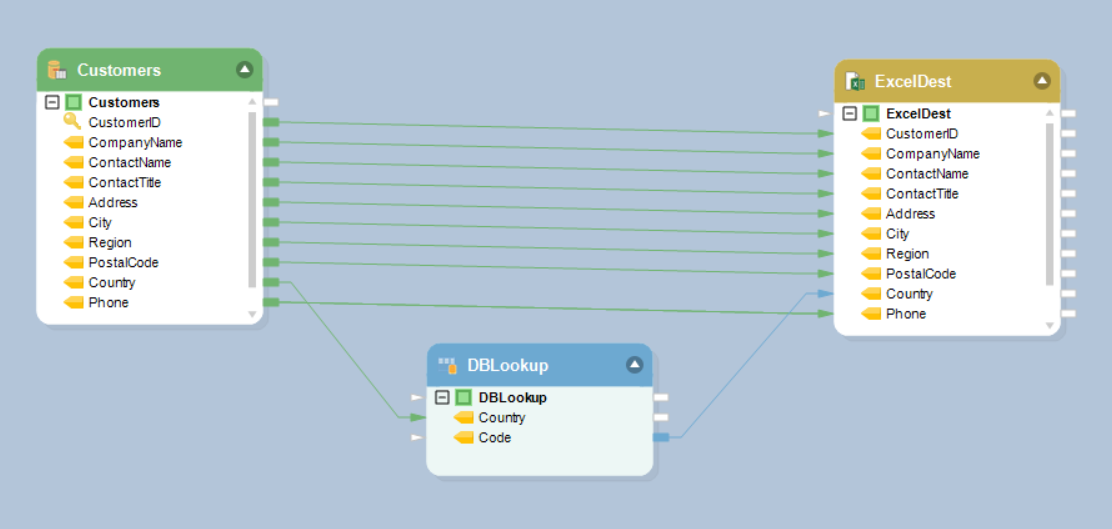
15. Map the Code field from the Database Lookup object to the Country field in the destination object. This is what the final dataflow should look like:
16. Right-click on the destination object’s header and select Preview Output from the context menu.
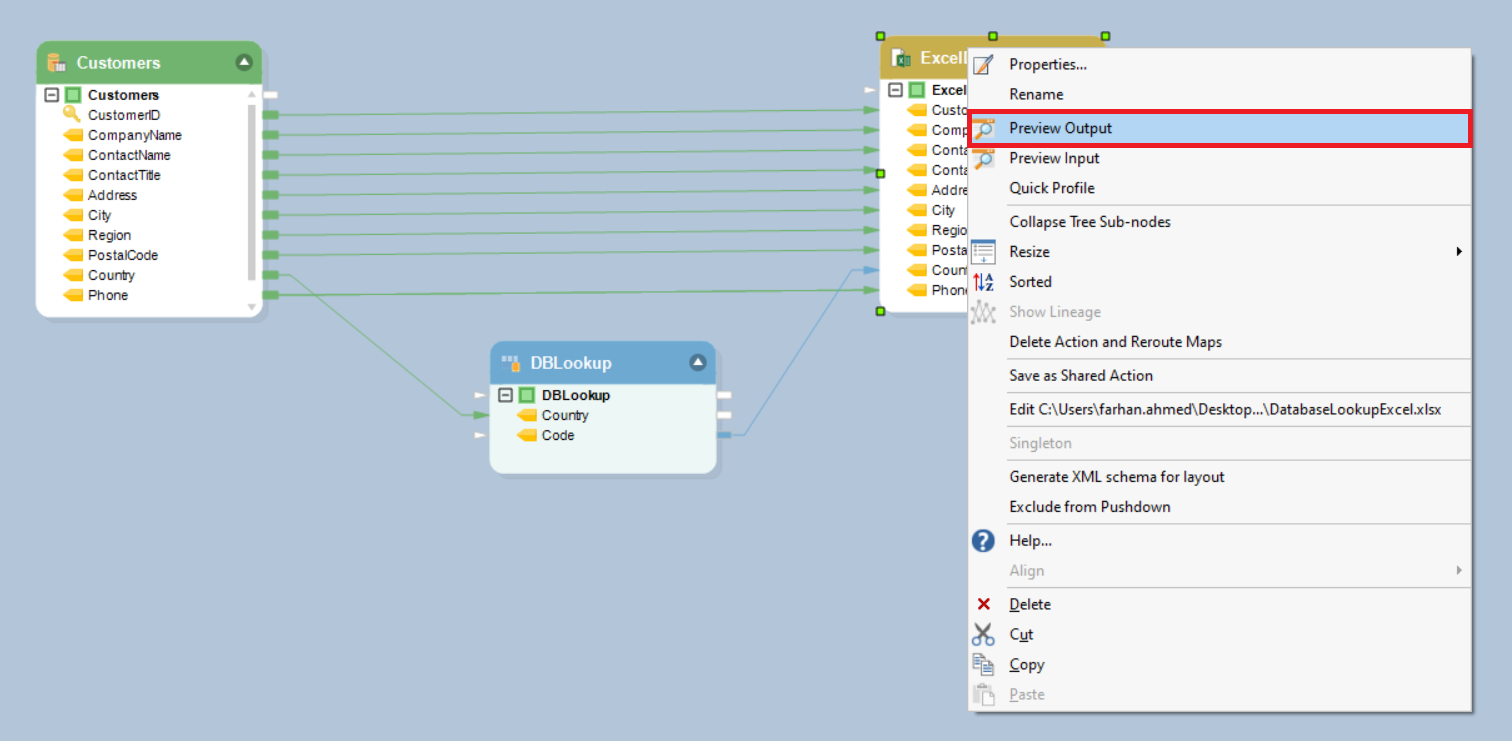
In the Data Preview window, you’ll see that each county name has been replaced by its corresponding code.

This concludes using the Database Lookup object in Astera Centerprise.