Constant Value Transformation
Overview
Constant Value Transformation returns a single, predefined value for all records in a dataset.
Use Case
In this example, we have an excel worksheet containing employees’ data. The data is being written to a database table. The database table contains an additional field that stores the department information. We want to pass a constant value to the Department field and to do that, we will use Constant Value transformation object in Centerprise. Constant Value transformation will be mapped to that field to append the name of the department with the final output.
How to Work with Constant Value Transformation
1. Select a source object from Sources section in the toolbox. In this case, an Excel source will be used.
Read: How to work with an Excel source
2. Select a destination object from Destinations section in the toolbox, where the data would be written. In this case, a Database destination would be used.
Read: How to work with a Database destination
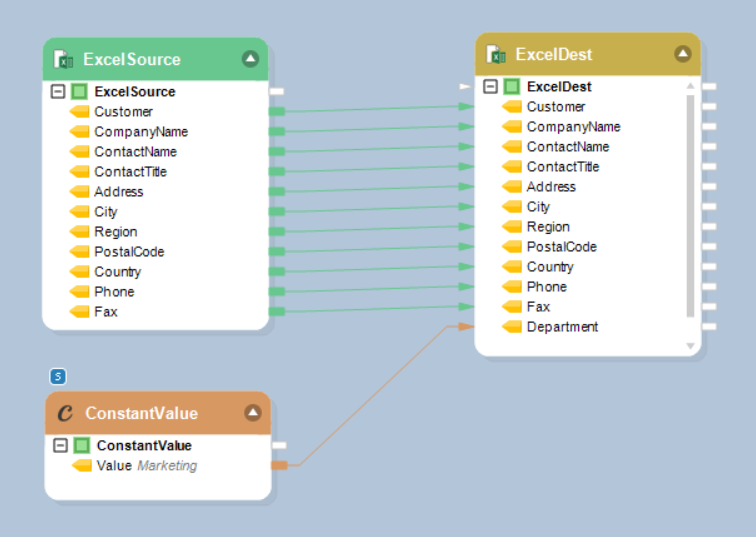
3. Map the Employees source object with the Employees_Database destination object.
Note: There is an additional field (Department) in the destination object but there is no such field in the incoming dataset. To append the Department field with final output, we will use Constant Value transformation.
4. Now, drag-and-drop the Constant Value transformation object from Toolbox > Transformations > Constant Value.
5. Right-click on the ConstantValue transformation object and click on Properties.
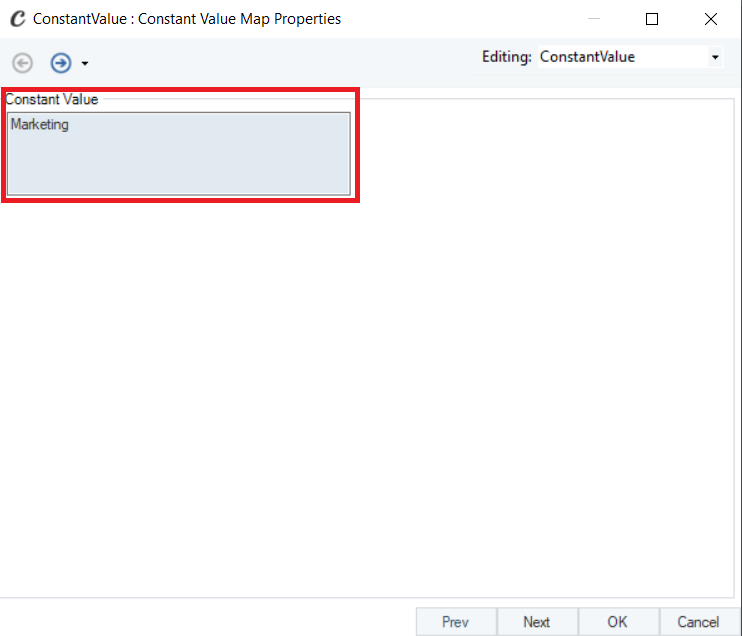
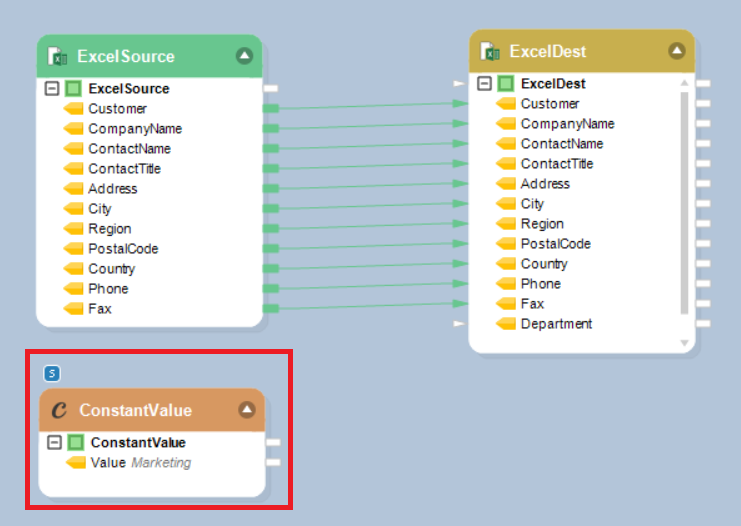
6. Constant Value Map Properties window will open. Here you will see a Constant Value section where you can write any value which you want to append to your output data.
In this case, the value will be Marketing, to specify the department of the employees in the source dataset.
7. Click Next, a General Options window will open then click OK.
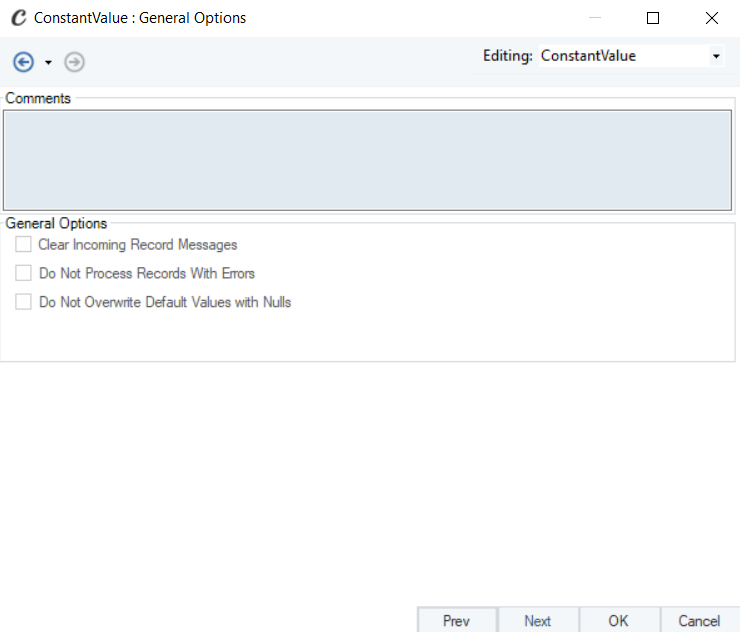
General Options screen:
This screen shares the options common to most objects on the dataflow.
Clear Incoming Record Messages
When this option is on, any messages coming in from objects preceding the current object will be cleared. This is useful when you need to capture record messages in the log generated by the current object and filter out any record messages generated earlier in the dataflow.
Do Not Process Records with Errors
When this option is on, records with errors will not be output by the object. When this option is off, records with errors will be output by the object, and a record message will be attached to the record. This record message can then feed into downstream objects on the dataflow, for example a destination file that will capture record messages, or a log that will capture the messages and as well as collect their statistics.
Your transformation object will look like:
8. Now map the Value field in the ConstantValue object with the Department field in the Employees_Database object.
9. Right click on the Employees_Database object and click on Preview Output.
Your final output will look like:
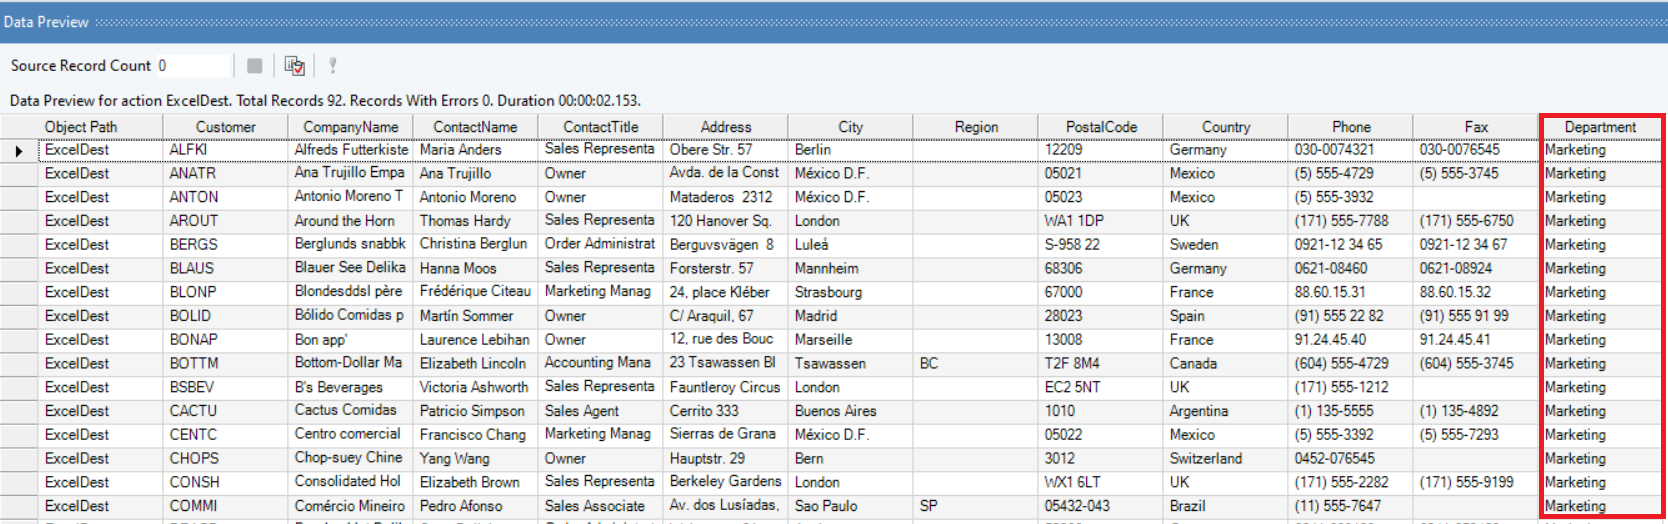
So, the department of source dataset has been successfully appended with the final output using Constant Value transformation.