Connecting to Vertica Database
Vertica is one of the fastest and scalable advanced analytics platforms, trusted by data-driven enterprise across the globe. It is a column-oriented relational database, which means that the data is stored in columns instead of rows. This reduces the memory consumption and disk I/O. Vertica databases are designed to manage large and growing volumes of data and provide fast query performance when used for data warehouses and other query-intensive applications.
Astera Centerprise offers native connectivity to Vertica databases at both source and destination points. The connectivity also extends to other objects such as Database Lookup, SQL Statement Lookup in transformations, SQL Script Task in a workflow, Database Diff Processor and Slowly Changing Dimensions in Database Write Strategies.
To learn more about Vertica and its installation, click [here](https://www.vertica.com/docs/9.2.x/HTML/Content/Authoring/InstallationGuide/Other/InstallationOverviewAndChecklist.htm?TocPath=Installing Vertica|Installing Manually|_____1)
In this article, we will cover:
1. A use case where Vertica Database is being used in Astera Centerprise
2. Connecting to a Vertica database in Centerprise
3. Different data writing options for a database destination in Centerprise
Use Case
In this use case, we’ll be connecting to a Vertica Database and integrate data from it in a dataflow.
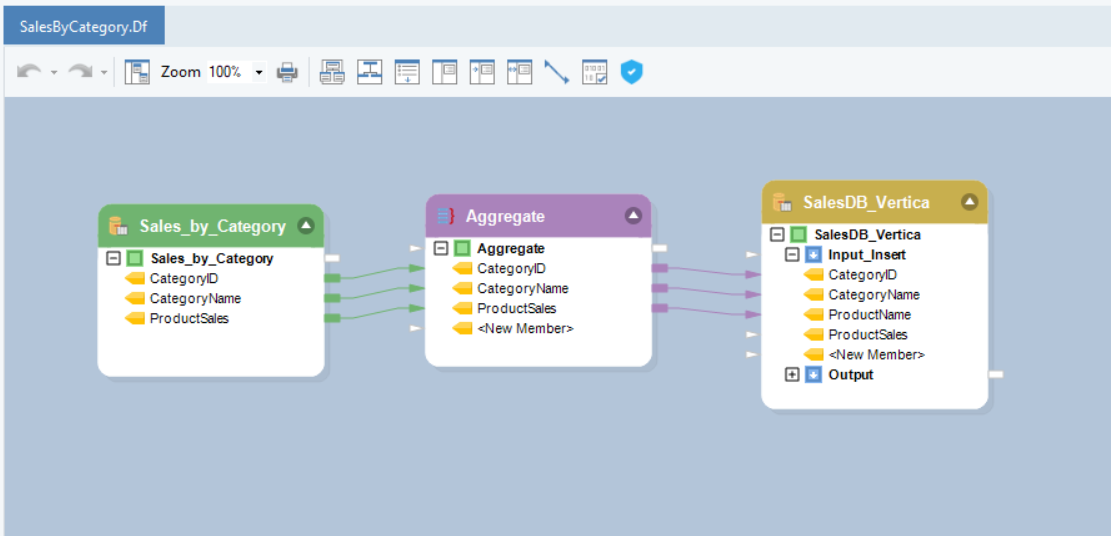
We have Sales by Category data for a month, in a Database Table Source and we want to calculate the total amount of sales closed for each category.
To learn more about how a Database Table Source works in Astera Centerprise, click here.
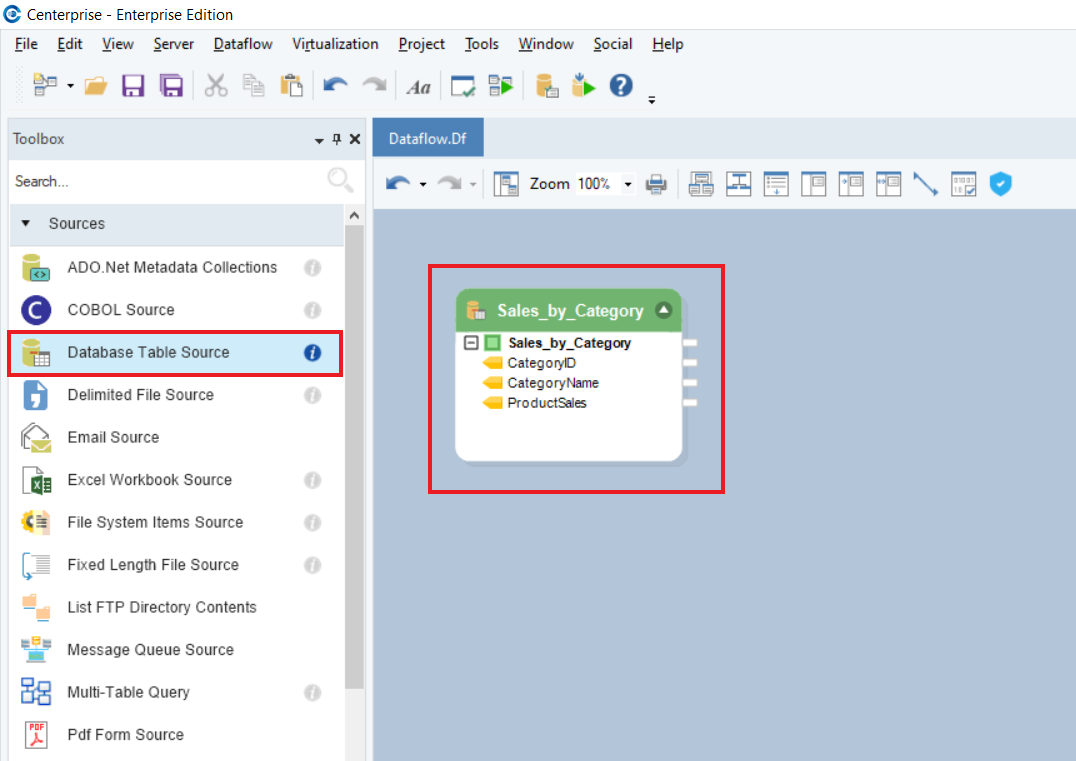
We will use the Aggregate transformation and apply Sum function to the ProductSales field while grouping the dataset by CategoryID.
To know more about how the Aggregate Transformation works in Astera Centerprise, click here.
![]()
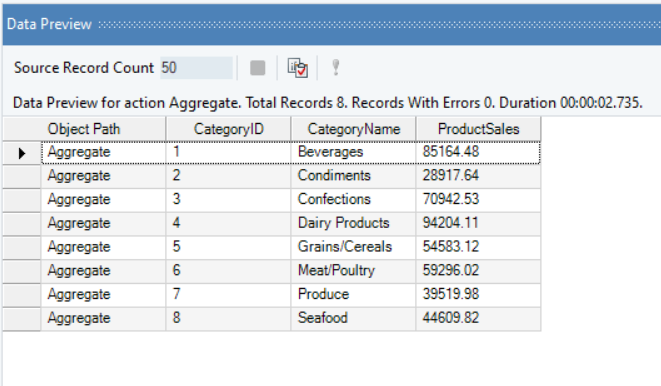
If we preview the output, we can see the total product sales for each category.
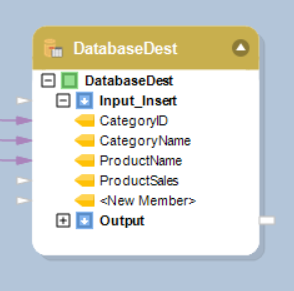
Next, we can write this data to a database table using the Database Table Destination in Astera Centerprise.
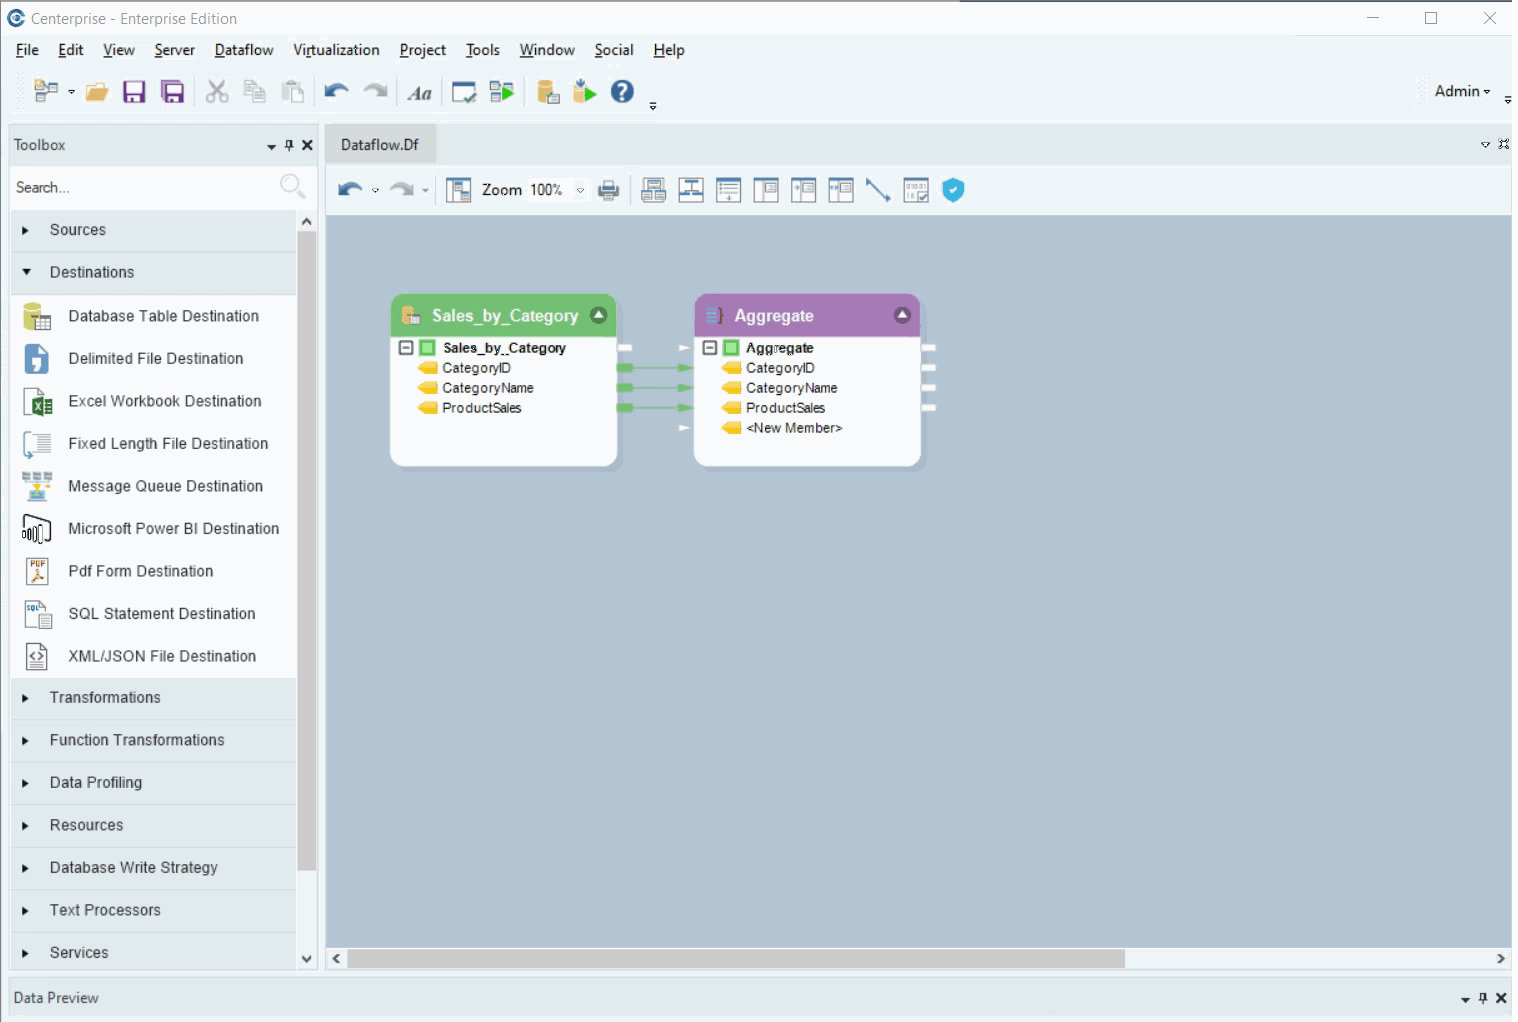
We’ll be using the Database Table Destination object.
1. To configure the Database Table Destination object, right-click on its header and select Properties from the context menu.
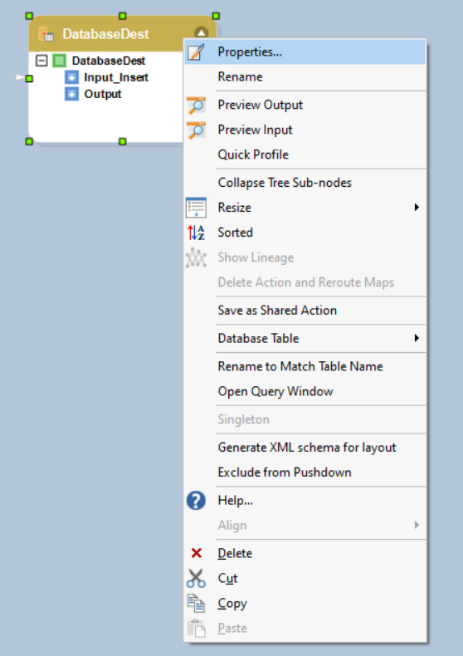
As soon as you’ve selected the Properties option from the context menu, a new window will open.
This is where you can configure the properties for the Database Table Destination object.
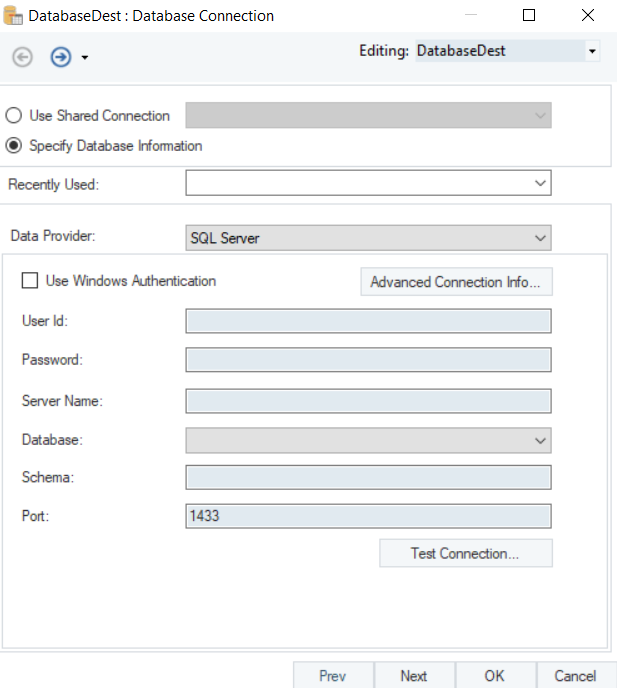
2. The first step is to specify the Database Connection for the source object.
Select Vertica as your data provider from the drop-down list.

- Put in the required credentials for your Vertica data provider account.
- User ID
- Password
- Server Name
- Database
- Port
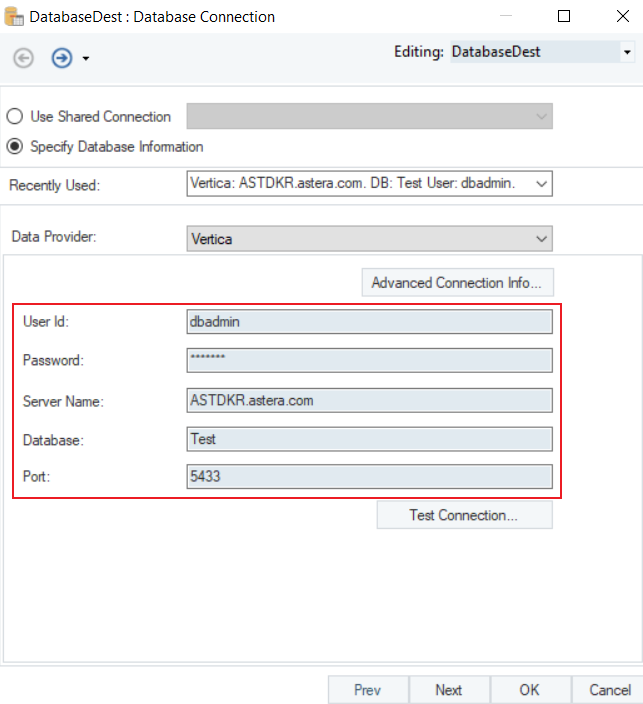
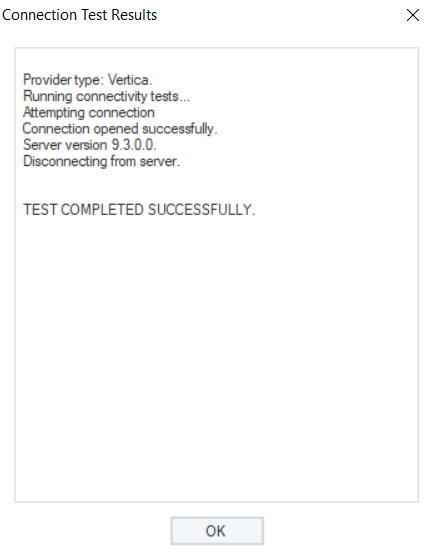
- Test Connection to make sure that your database connection is successful and click Next.
Once the connection is established, next you can Pick Table or Create Table and modify Writing Options for Vertica Database on the Properties screen.
To read more on the different data writing options available for a database table, click here.
You have successfully configured Vertica as your database provider for the Database Table Destination object. The data will now be written to the Vertica Database once the dataflow is run.
We have successfully connected to Vertica Database and completed our use case in Astera Centerprise.