How to Install Centerprise Lean Client
1. Run the ‘CenterpriseDataIntegrator’ application from the installation package to start the client installation setup.
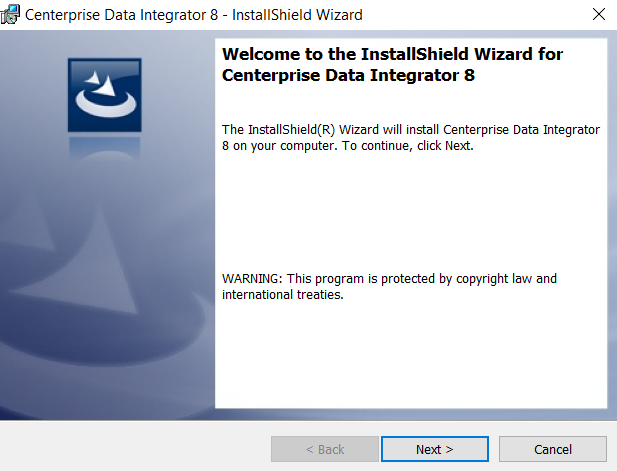
2. You’ll be directed to the welcome screen. Click Next to continue.
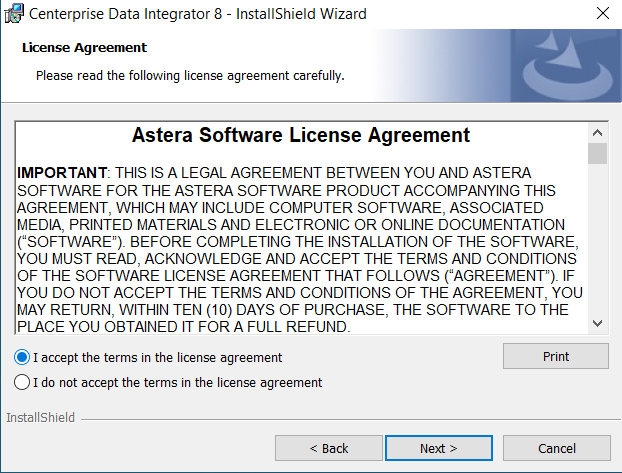
3. On the next screen you will see the license agreement. You can only continue if you choose to accept the terms of the license agreement. Click Next to continue.
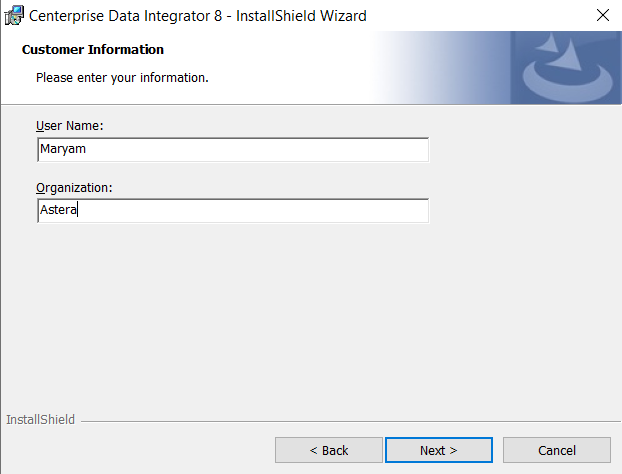
4. On the next screen, enter the user details and click Next to continue.
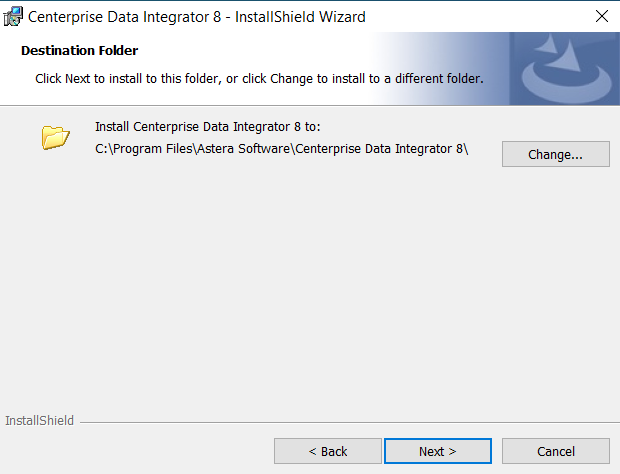
5. You can specify/change the folder for installing Centerprise server on the next screen. By default, it is installed in Program Files > Astera Software > Centerprise Data Integrator 8. Click Next to continue.
6. Select the type of installation (Complete or Custom) you want to proceed with and click Next.
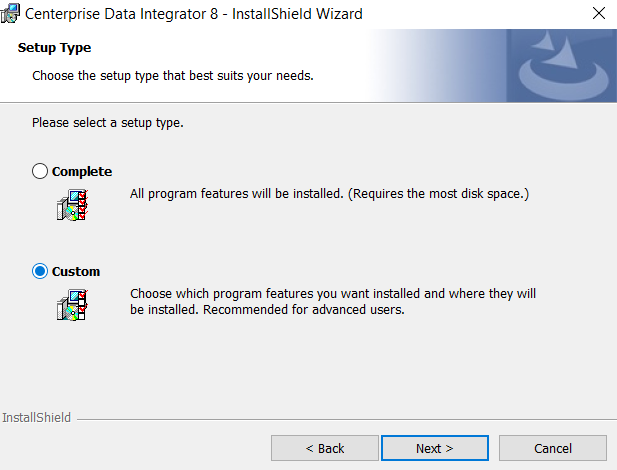
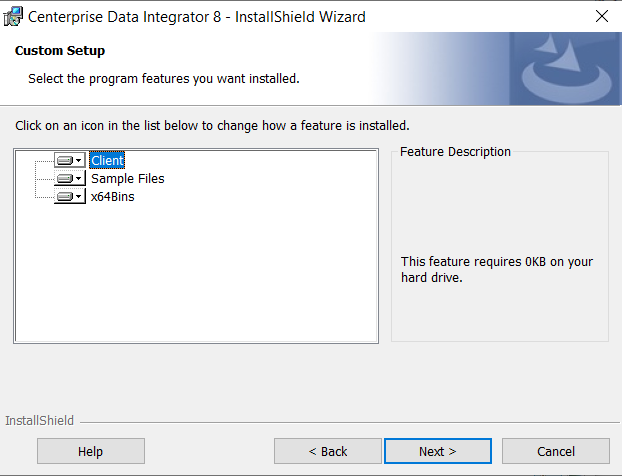
If you select custom installation, you can choose the specific component that you want to download.
I want to install the complete package therefore, I’ll select Complete on the Setup Type screen and click Next.
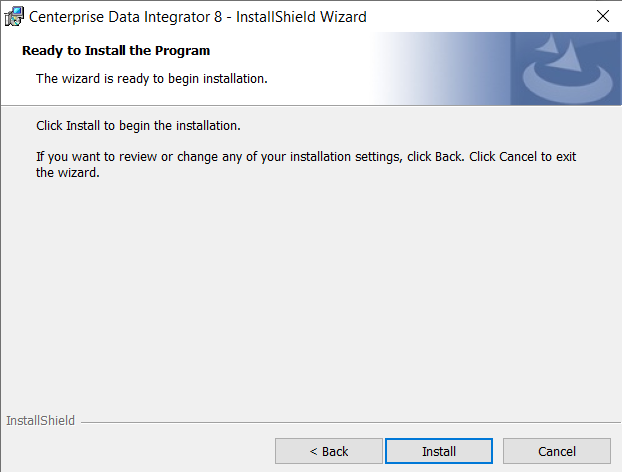
7. Select Install to complete the installation.
8. Select Finish to finish the installation process.
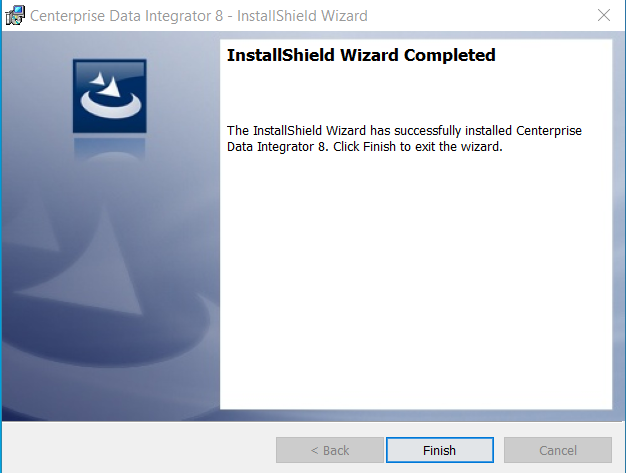
This is how you install Centerprise client application. The next step is to establish a connection between Centerprise client and server. See how to connect to a Centerprise server using lean client.