Centerprise’s Server API
Follow the steps below to learn how to authenticate Centerprise’s Server APIs.
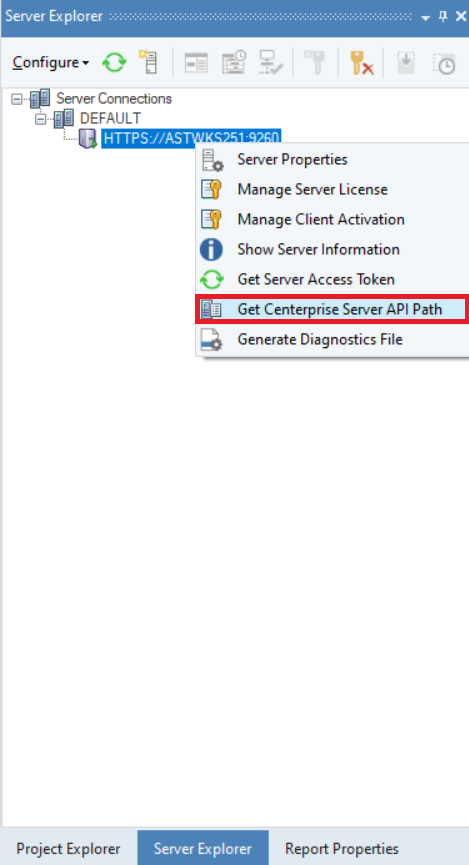
1. Right-click on the server name in Server Explorer > Server Connections > DEFAULT > HTTPS://(ServerName):9260.
2. A wizard will appear with the Centerprise Server API Path. Click on the copy icon at the bottom-left of the wizard to copy it.
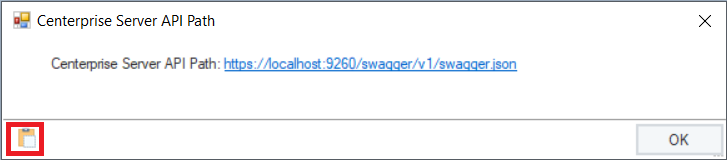
A message will appear to confirm that the text has been copied successfully. Click OK.
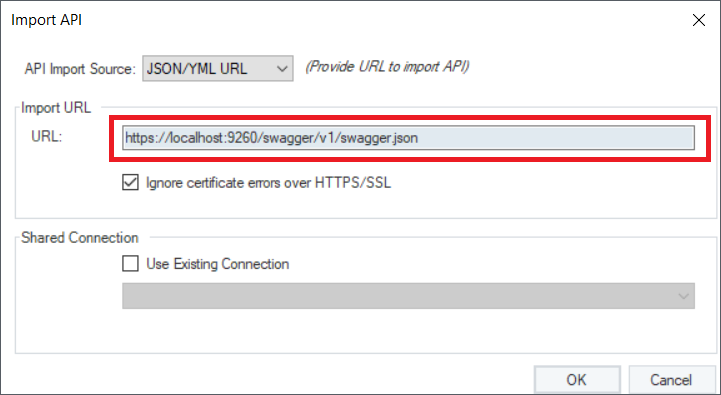
3. Click on the Import API option in the REST API Browser and paste the Centerprise Server API path in the URL box. Then click OK.
Note: Check the “Ignore certificate errors over HTTP/SSL” option to avoid any certification barriers.
4. A wizard will appear notifying you about the shared action file created. Click Yes to set it up.
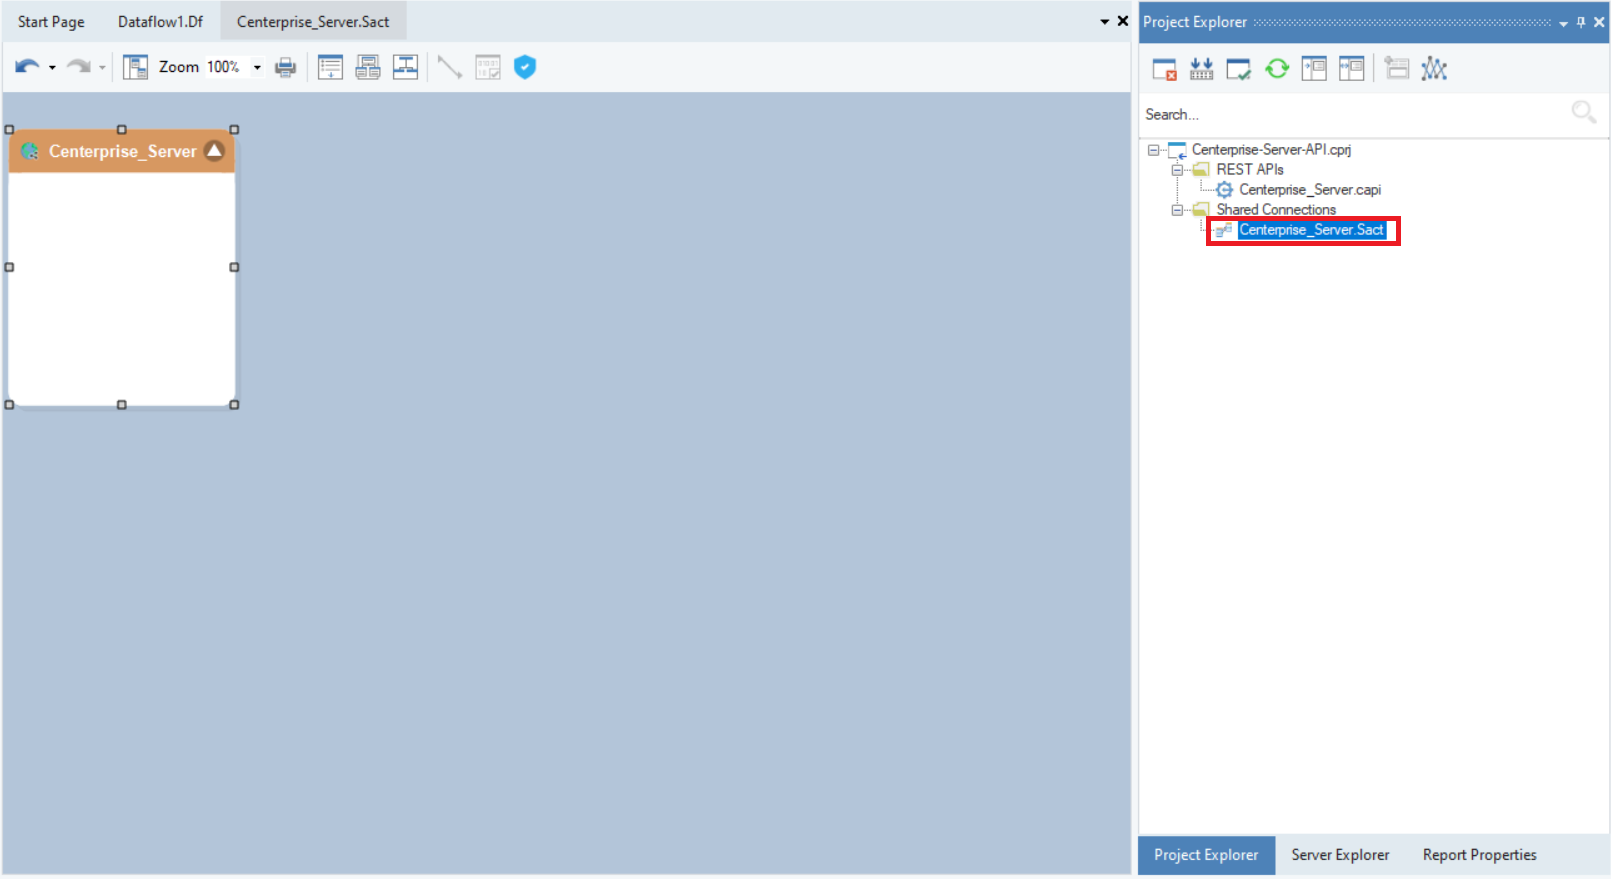
You can also click on the .sact file in Project Explorer to configure the authentication settings.
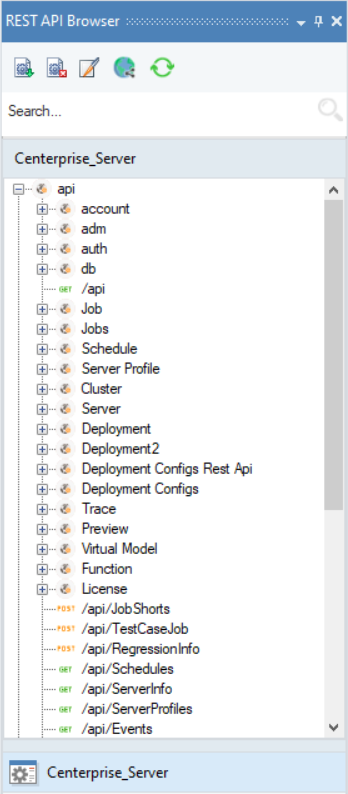
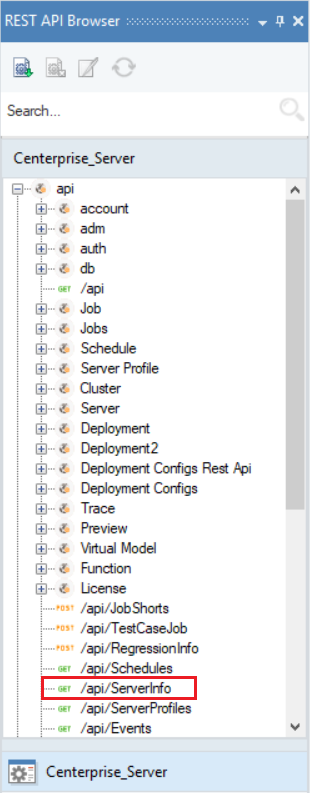
The REST API Browser will be populated with the Centerprise’s Server APIs, which you can use in your dataflow.
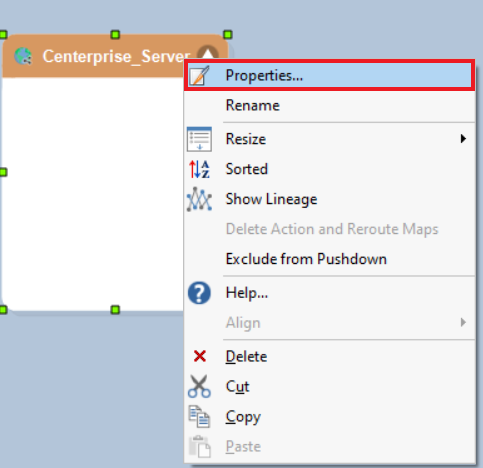
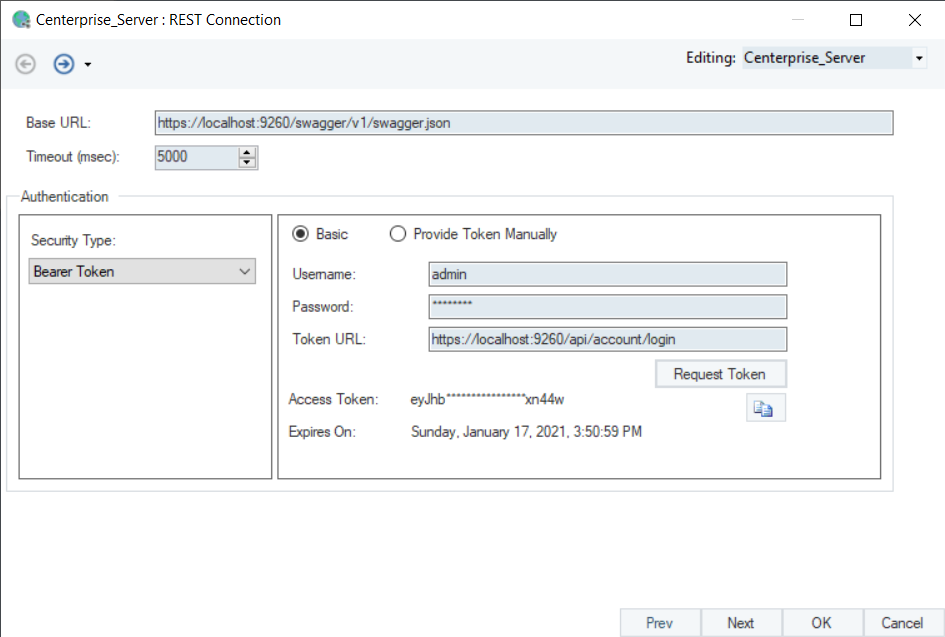
5. Right-click on the Centerprise_Server object and select Properties.
This will open the REST Connection screen. Select the Security Type as ‘Bearer Token’ as Centerprise Server APIs use Bearer Token authentication.
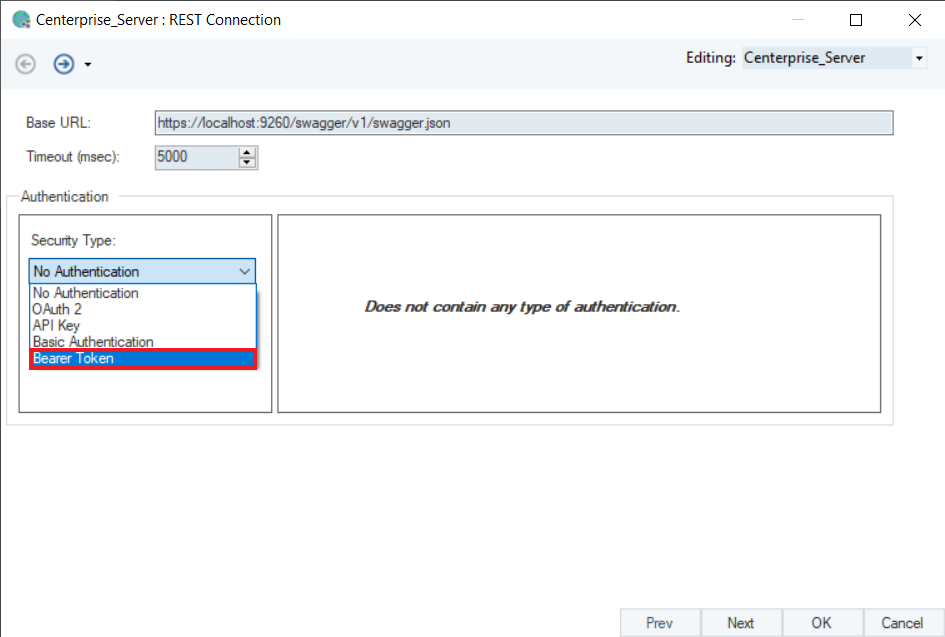
Provide the User Name, Password, and Token URL for Bearer Token. Then click on Request Token to generate a token and click OK. Press Ctrl+S to save changes in the shared action file.
Note: You will have to regenerate the token if the validity period has expired.
6. Now drag and drop the /api/ServerInfo from the REST API Browser to make a GET request.
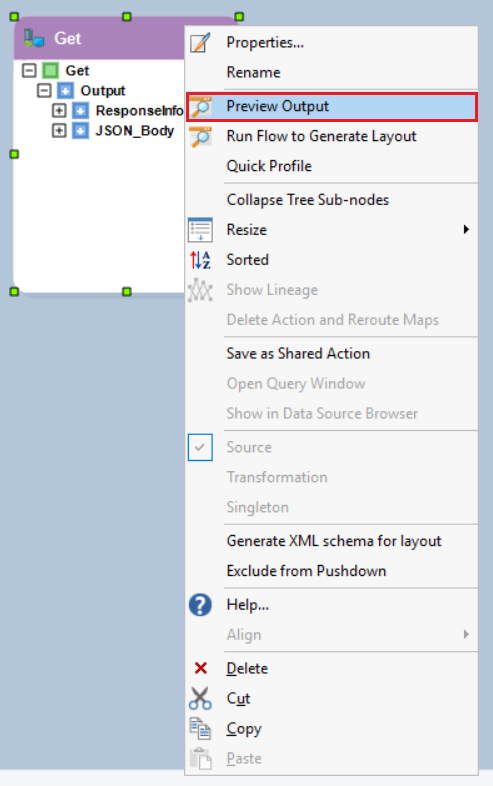
7. Right-click on the object’s header and select Preview Output.
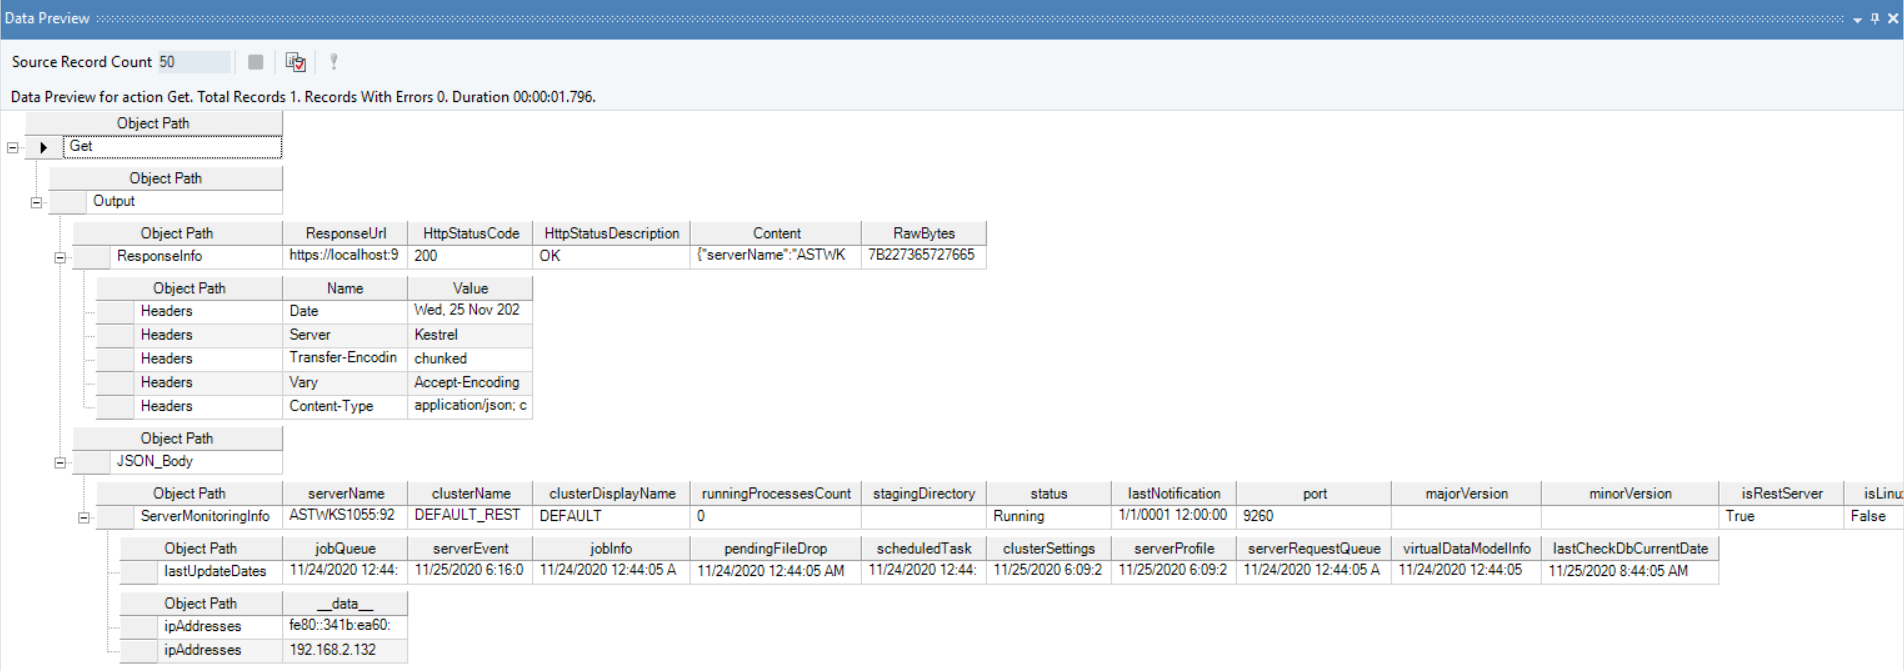
This is how your output would look like:
This concludes working with Centerprise’s Server API in Astera Centerprise.