Connecting to Netezza Database
Netezza is a data warehouse and analytics platform that caters to a wide variety of data-related business needs. It offers meaningful and sophisticated insights on large data volumes that are crucial to enterprises of all kinds.
Astera Centerprise offers in-built connectivity to Netezza databases using a range of objects available in the toolbox. The connection can be established primarily via the Database Table Source and Destination objects. Moreover, the Netezza database can also be accessed through and used in Database Lookup and SQL Statement Lookup in Transformations, SQL Script Task in a workflow, and Database Diff Processor and Slowly Changing Dimensions in Database Write Strategies.
In this article, we will be looking at how Netezza can be configured as a database in Astera Centerprise. However, before doing so, we will need to install the ODBC driver for Netezza.
Installing the ODBC Driver for Netezza
- The Netezza ODBC driver is available on IBM’s website and can be downloaded from [here](https://www.ibm.com/support/fixcentral/swg/selectFixes?parent=PureData System for Analytics&product=ibm/Information+Management/Netezza+NPS+Software+and+Clients&release=NPS_7.2.1&platform=All&function=all). To access the installation package, you will require a valid IBM login ID.
- Once you’ve acquired the installer zip file, run the nzodbcsetup.exe setup. The installer window will appear. Select a language and click OK.
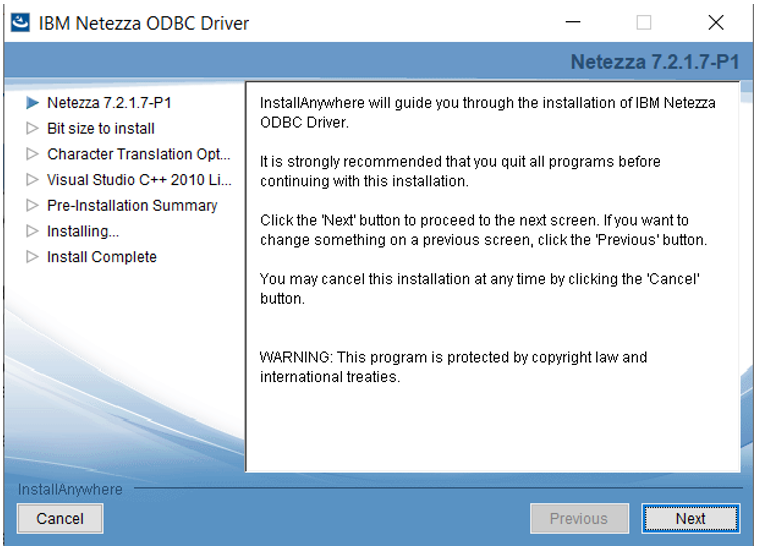
- The next screen will provide some guidelines on the installation process. Click Next.
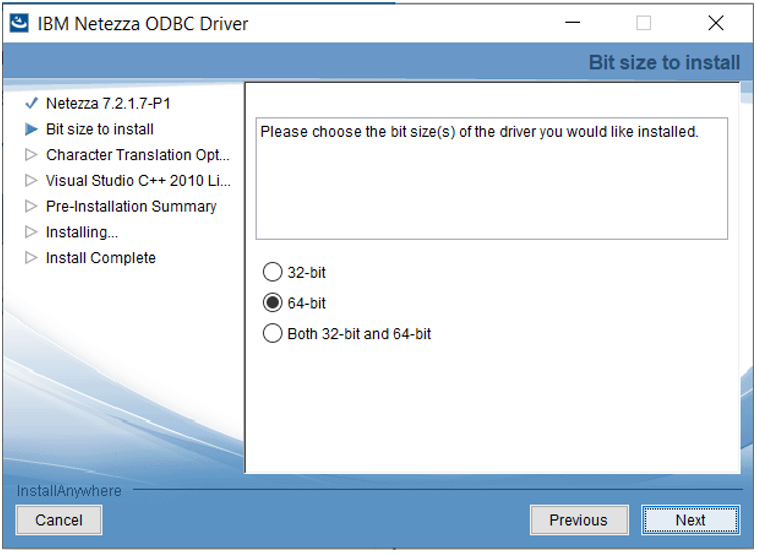
- On the next screen, choose an appropriate bit size for the driver according to your target OS. Click Next.
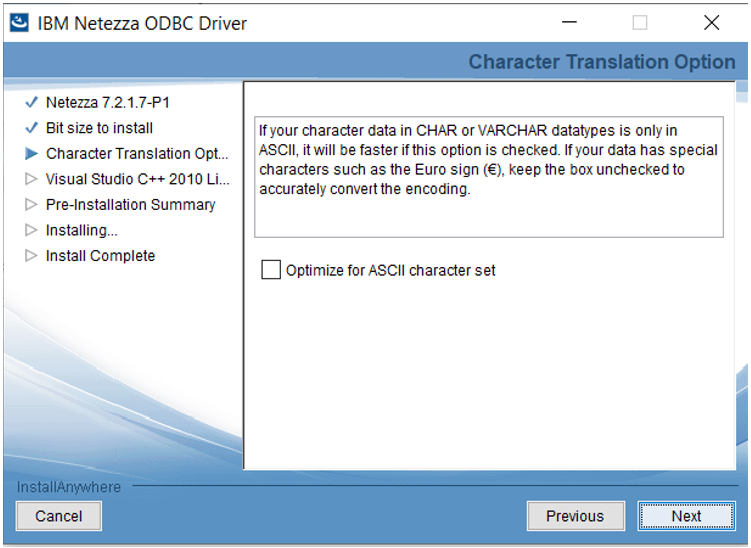
- The Optimize for ASCII character set option can be selected on the Character Translation screen if you wish to convert and optimize your character data. Do not select the option if your data contains special characters. Click Next.
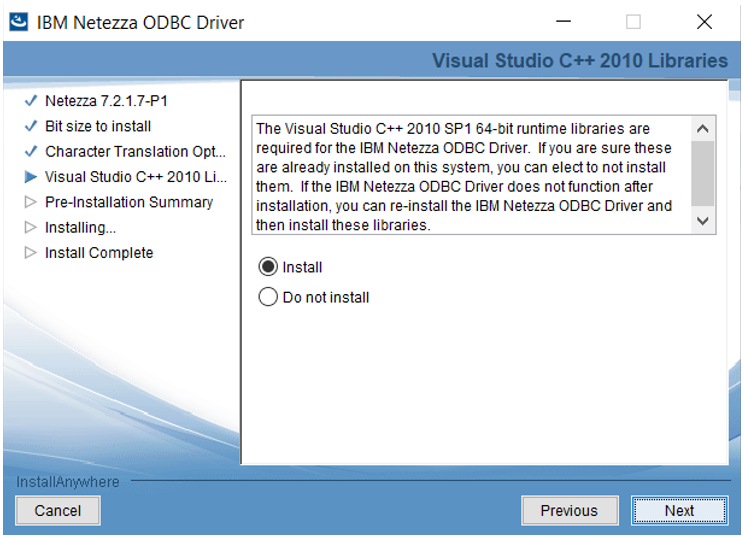
- The next screen will provide the option to install C++ libraries. Select Install and click Next.
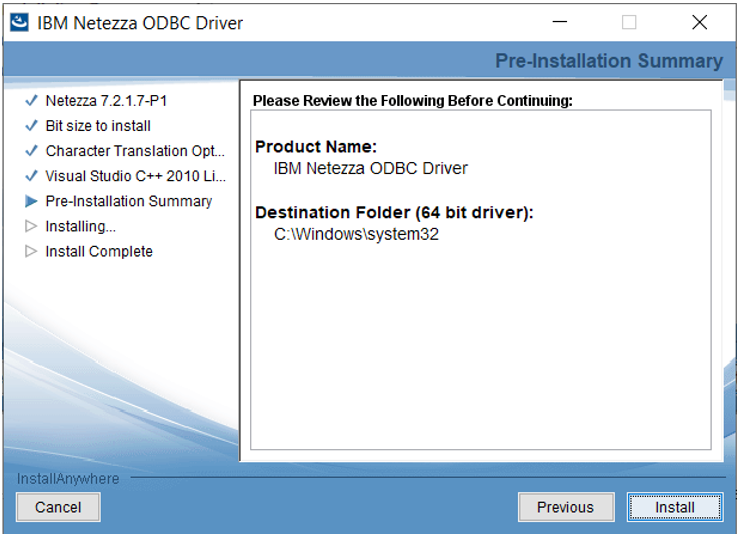
- The Pre-Installation Summary screen gives a brief overview of the product being installed. Click Install.
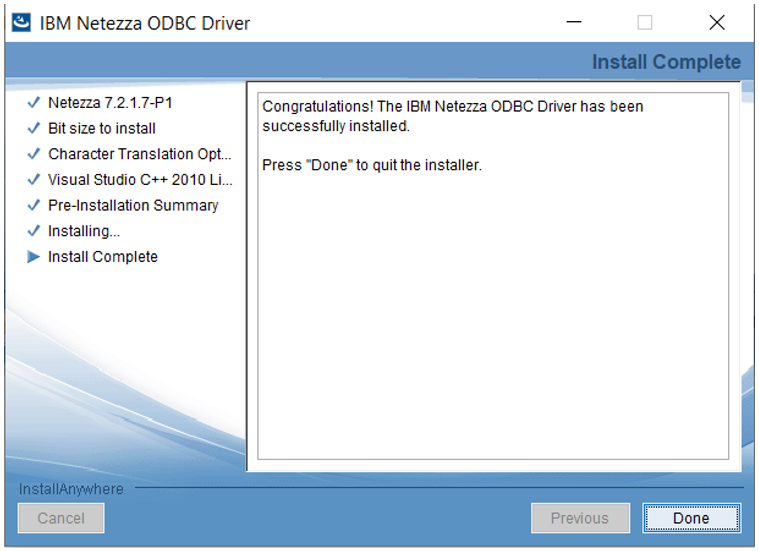
- Wait for the installation process to successfully complete. On the final screen, click Done.

Using Netezza in Database Table Source in Astera Centerprise
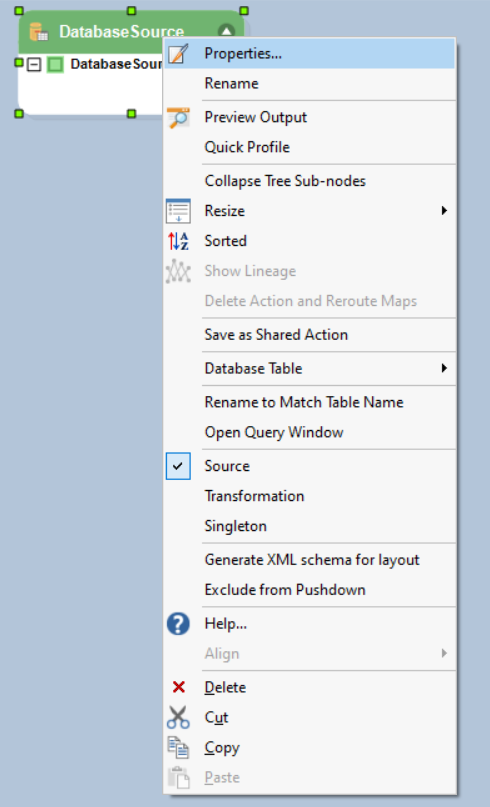
- We will be using a Database Table Source object to establish a connection with Netezza database. To configure the properties of the object, right-click on its header and select Properties.
- A Database Connection window will appear as soon as you click Properties.
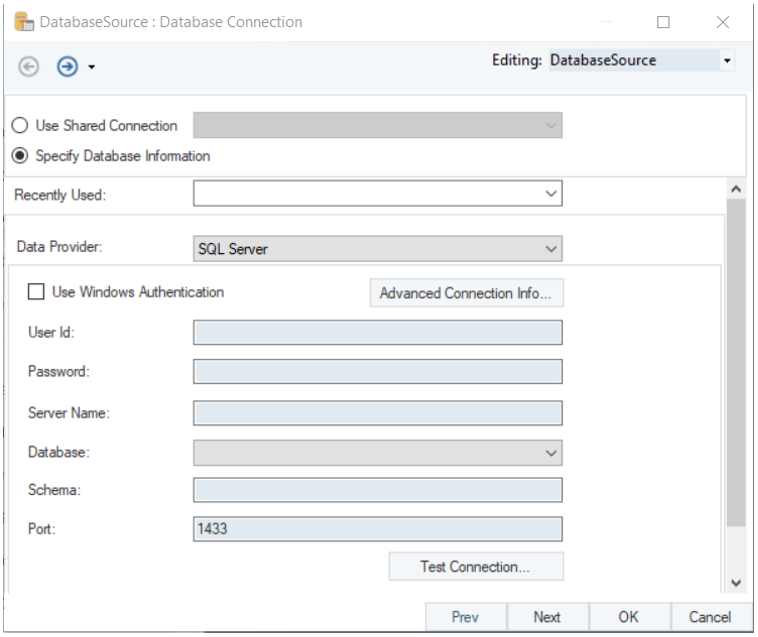
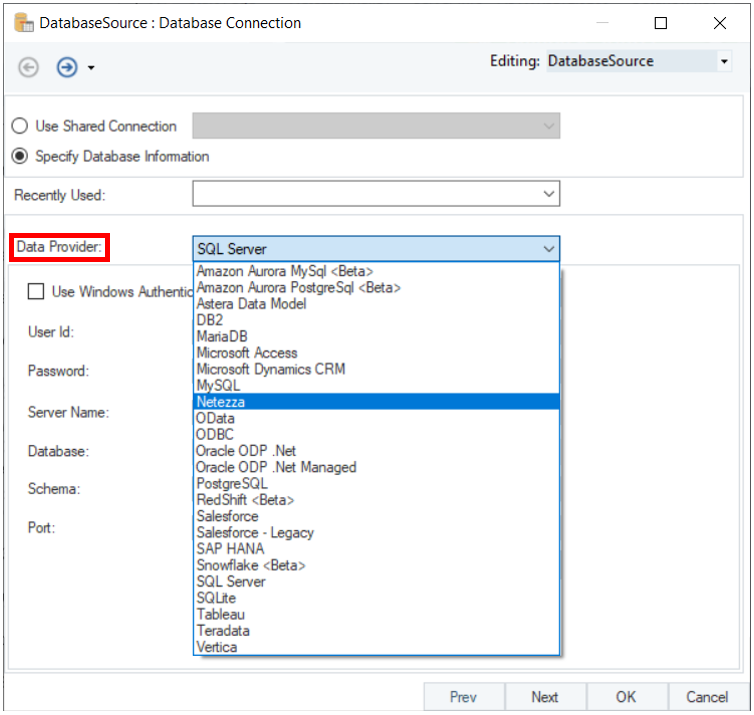
- On the Database Connection window, select Netezza in the drop-down list of data providers.
- Provide the credentials to your Netezza user account.
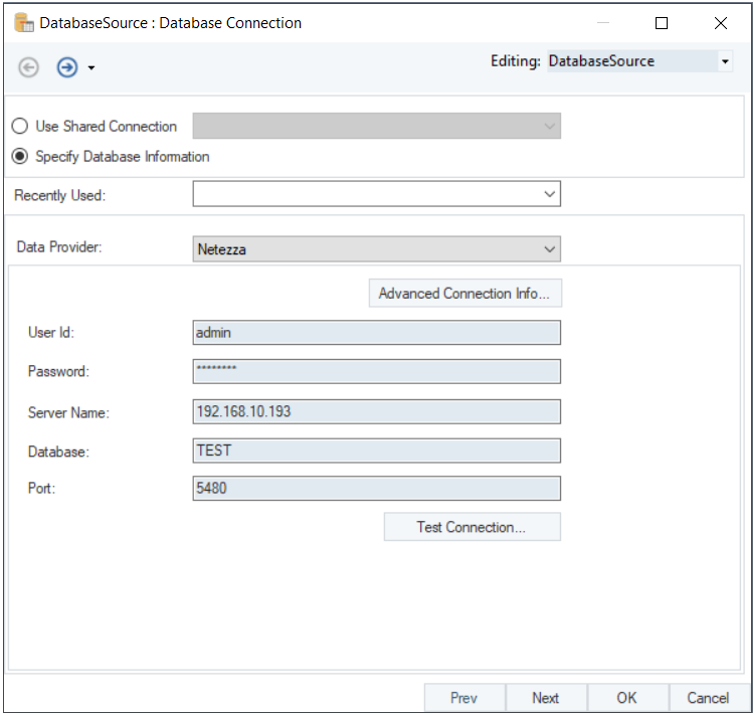
- Test Connection to ensure that your connection is successful. When the connection is established, click Next.
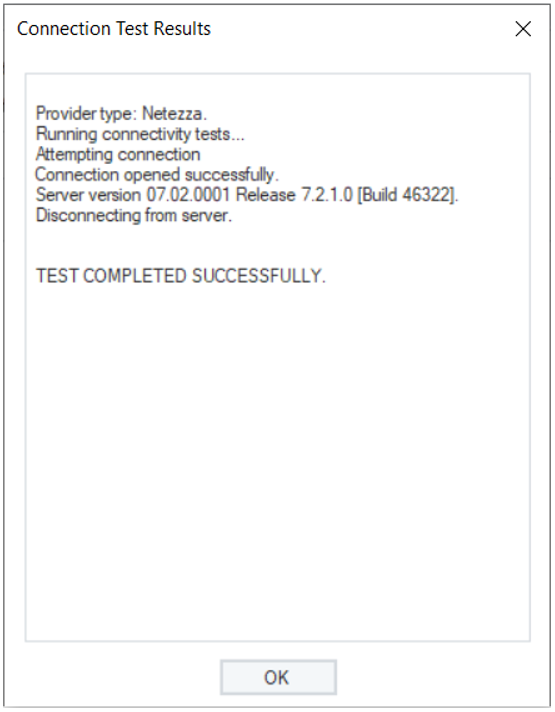
The connection to Netezza database has been successfully established. You can now pick a table from Netezza database and use the data in your dataflow.
To learn more about how to pick a table from a database source and specify other reading options, click here.
This concludes connecting to Netezza database in Astera Centerprise.