Adding Workflow Tasks
There is a dedicated section of Workflow Tasks in the flow Toolbox to facilitate users in orchestrating a data process in Centerprise.
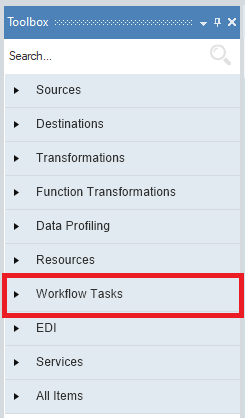
This section expands into several task objects. You can use any number of task objects in your workflow, and these tasks can be mapped in a sequence that controls the order in which the tasks are to be executed.
In this document, we will learn about the various workflow tasks that can be used to orchestrate a data process.
Decision

A Decision task invokes one of the two paths in the workflow, depending on whether the logical expression inside the Decision object returns a Yes (True) or a No (False) flag.
To use a decision task, drag and drop the Decision object onto the workflow designer. Configure the object by right-clicking on the object’s header and selecting Properties from the context menu.

This will open the Decision Properties window. This configuration screen provides the interface to create some decision logic.
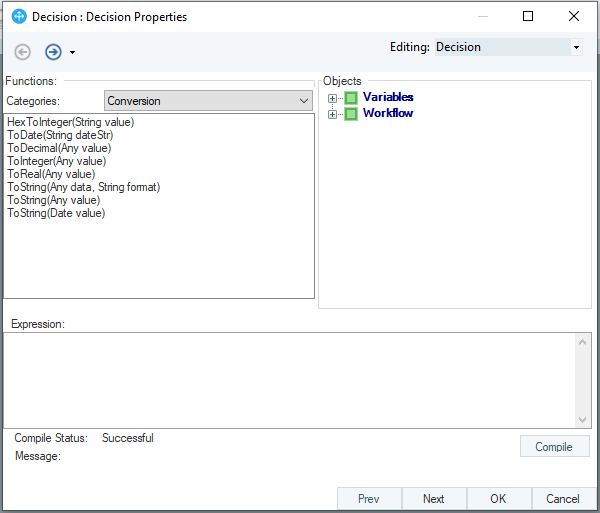
In the Expression input box, enter an expression. This expression should return a Boolean result, such as True or False. An example of this expression is shown below. The expression here is based on the presence of erroneous records in a Run Datafllow task object.
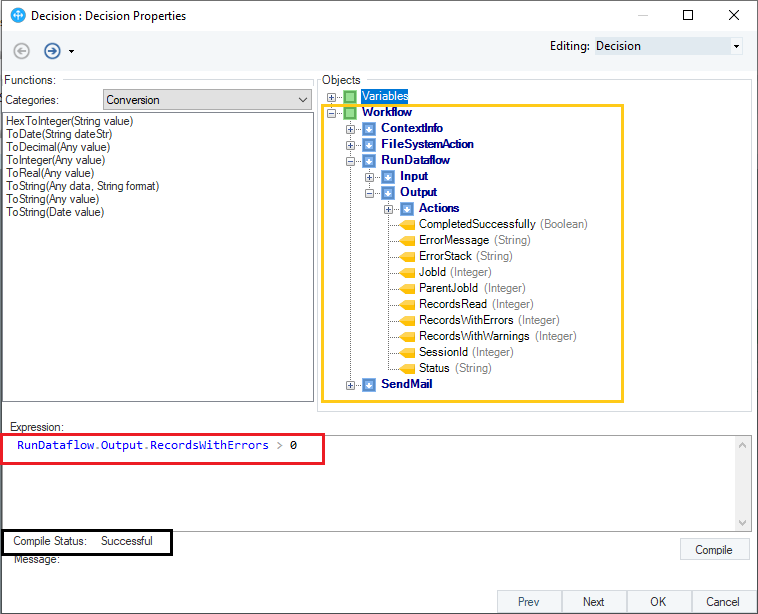
Note: The right-hand pane displays the object tree (highlighted in yellow). You can double-click on an object to add it to your expression.
Click Compile to check for any syntax errors in your expression. The status should read “Successful” for a successful compilation.
EDI Acknowledgement
An EDI Acknowledgement task issues an acknowledgement notification to the sender when an EDI message is received.
To use an EDI acknowledgement task, drag and drop the EDI Acknowledgement object onto the workflow designer. Configure the object by right-clicking on the object’s header and selecting Properties from the context menu.
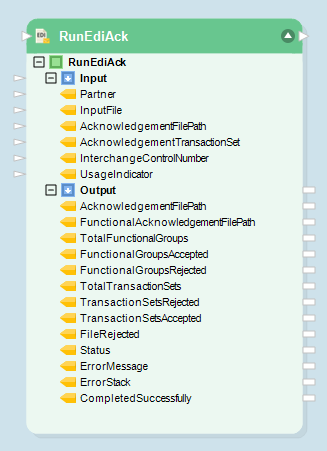
An EDI Acknowledgement Properties window opens as shown below. Here, we need to provide the following information:
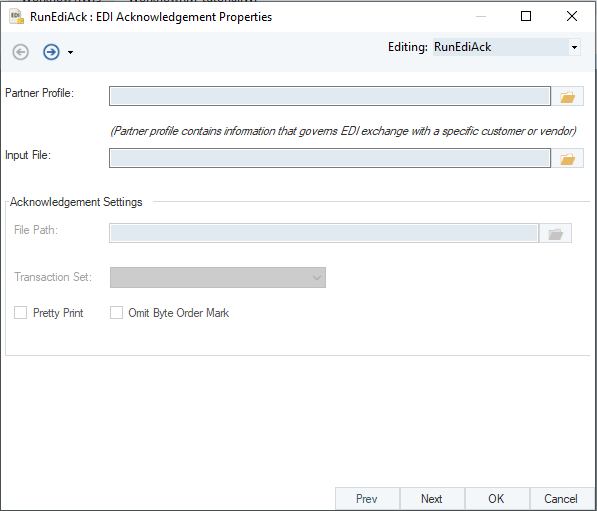
- Partner Profile – is the path to the .tpp extension file that governs the EDI exchange with a specific customer or vendor.
- Input File – is the path to the .edi extension file that contains EDI source file reader.
- Acknowledgement Settings-File Path – is the output file path.
- Transaction Set – is the acknowledgement that is being created, i.e. a 997 or a 999 etc.
- Pretty Print – adds a line break after each segment.
- Omit Byte Order Mark – leaves out the first two bytes for UTF indicating the actual encoding for the rest of the file. (Note: Windows makes use of this, other systems might get confused by these two extra bytes.)
File System
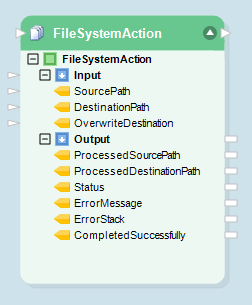
The File System Action task performs actions on a file or a folder, as it is configured. For example, this task can copy a file, move a file to another folder, or delete all files in a folder.
To use a File System Action task, drag and drop the File System Action object onto the workflow designer. Configure the object by right-clicking on the object’s header and selecting Properties from the context menu.
A File System Action Properties window opens as shown below. Here we configure the properties of the File System Action task.
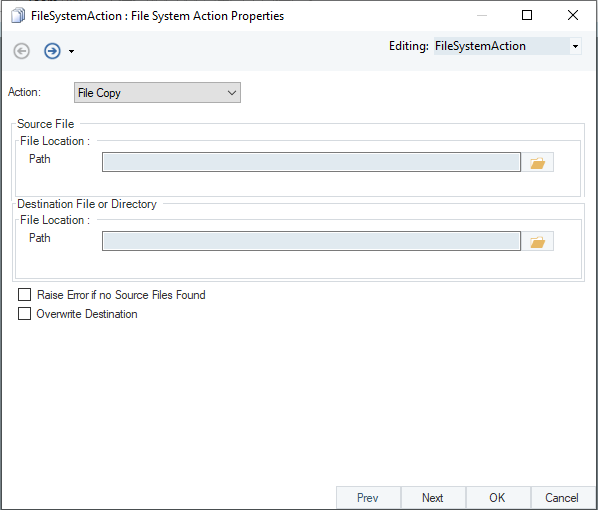
Select an action from the Action dropdown list. The following options are available:
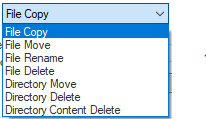
- File Copy – copies a file from a source folder into a destination folder
- File Move – moves a file from a source folder into a destination folder
- File Rename – renames a file
- File Delete – deletes a file
- Directory Move – moves all files in the folder into a new folder
- Directory Delete – deletes the folder along with any files or folders it contains
- Directory Content Delete – deletes all files from the folder, leaving the folder empty (the folder itself is not deleted).
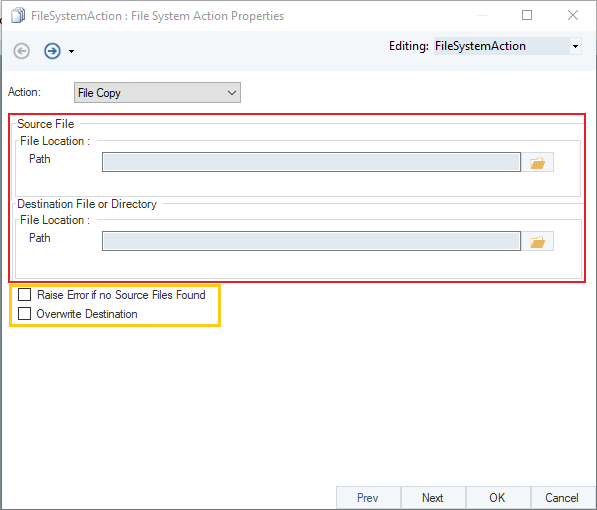
Source File (Directory) Path – specifies the path to the source file or source directory
Destination Directory Path – specifies the path to the destination file or destination folder
Raise Error if no Source File Found – returns an error message if the source directory is empty
Overwrite Destination – overwrites data in the destination file or overwrites files in a destination folder
File Transfer
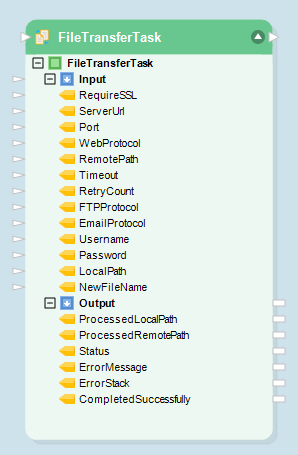
The File Transfer task performs the specified actions on an FTP server. For example, the task can upload a file to an FTP server, rename a file, or delete all files from a remote directory.
To use an FTP task, drag and drop the File Transfer task object onto the workflow designer. Configure the object by right-clicking on the object’s header and selecting Properties from the context menu.
An File Transfer Action Properties window opens as shown below. Here, we configure the properties of the File Transfer task.

FTP Connection – To configure connection with your FTP server, click on the ellipsis. A Web Connection window opens up.
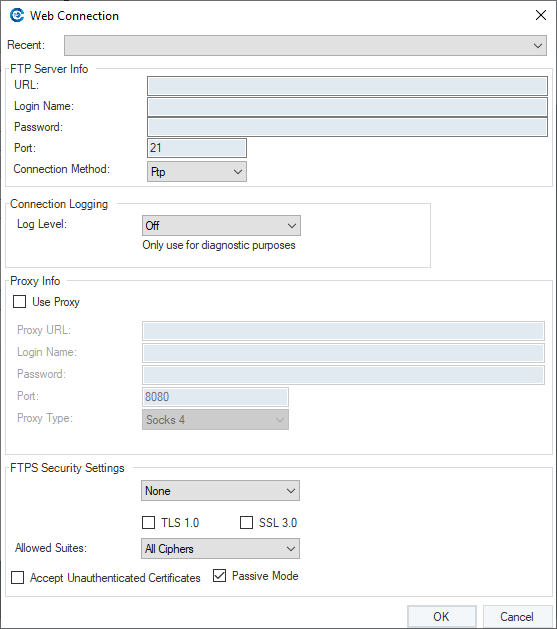
Here, set up the FTP server connection by providing the URL, Login Name, Password. In case of using a proxy, fill in the details under Proxy Info. For security protocols, provide details under FTPS Security Settings.
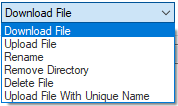
FTP Action – select an action from the FTP Action dropdown. The following options are available:
- Upload a File – uploads a file from a local folder into the remote directory
- Download a File – downloads a file from the remote directory into a local folder
- Delete a File – deletes file from the remote directory
- Rename – renames a file in the remote directory
- Remove Directory – deletes the remote directory
- Upload a File with Unique Name– uploads a file from a local folder into the remote directory, renaming the file if needed to ensure a unique file name in the remote directory.
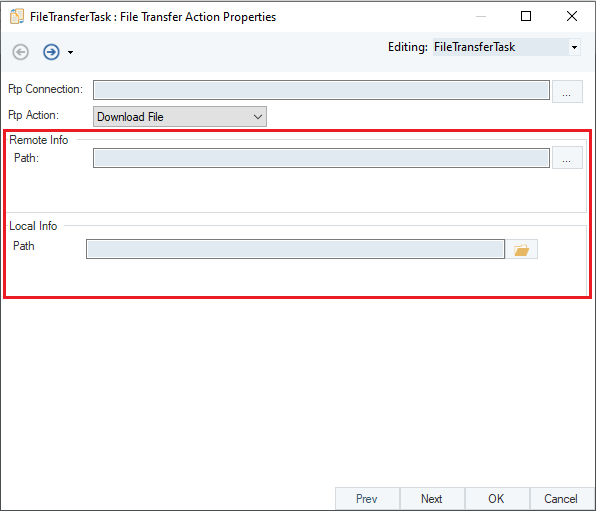
- Remote Info-Path – specify the path of a file or folder on the FTP server.
- Local Info-Path– specify the local path on the server running the workflow.
OR

The Or task works similar to the logic operator “OR”. It returns a true value if any one of its arguments is true, otherwise it returns false.
To use an OR logic operator task, drag and drop the Or task object onto the workflow designer.
When linked with more than one decision task, the Or task triggers subsequent workflow tasks if any one of the decision object returns a true value.

The Or task object does not have a dedicated configuration window. However, a General Options window opens if you right-click on its header and select Properties from the context menu.
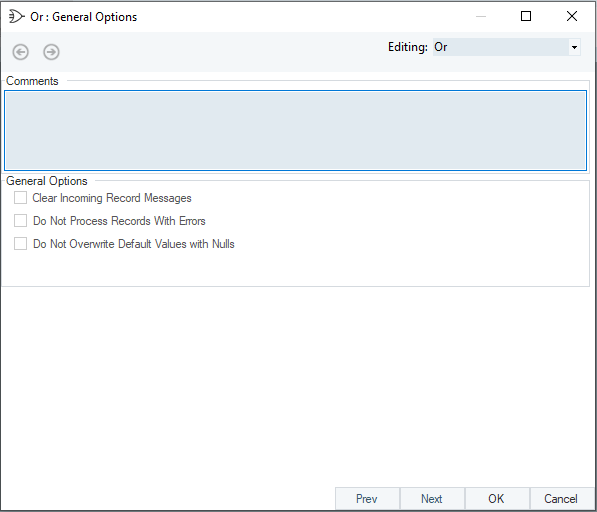
This window appears as the last screen of the configuration window for all flow objects.
The Comments input allows you to enter comments associated with this object. These comments appear as you hover on the object.
- Clear Incoming Record Messages – removes any message attached with a record, these could be an error or a warning message.
- Do not Process Records with errors – filters out all the erroneous records from the incoming data set.
- Do not Overwrite Default Values with Nulls – prevents Centerprise from overwriting any previously assigned default value with a null value.
Run Dataflow

The Run Dataflow task is used to execute a dataflow as part of a workflow. Multiple Run Dataflow task objects can be employed as part of a workflow, to orchestrating a data process.
To use a run dataflow task, drag and drop the Run Dataflow task object onto the workflow designer. Configure the object by right-clicking on the object’s header and selecting Properties from the context menu.
A Start Dataflow Job Properties window opens as shown below.
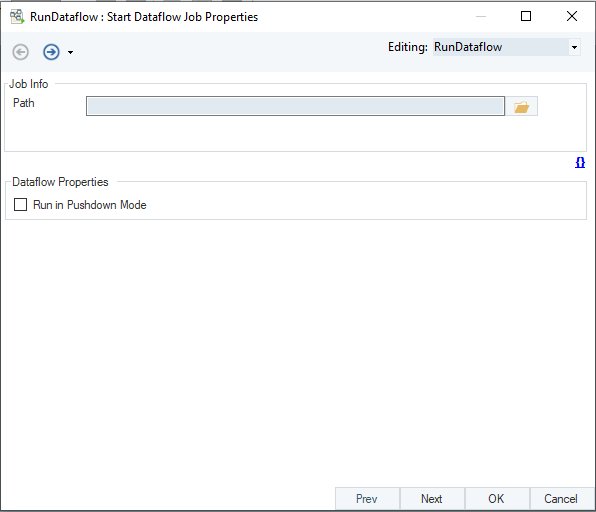
Job Info-Path – specify the path to the dataflow that you want to run.
Note: To ensure that your workflow is runnable on a remote server, please avoid using local paths for the dataflow. Using UNC paths is recommended.
Run in Pushdown mode – executes a dataflow on server without fetching data to Centerprise client.
Run Program
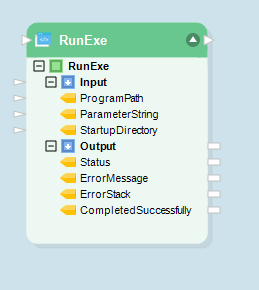
The Run Program task is used to run an executable command, or batch file, as part of your workflow. Tasks, such as a series of commands in other programming language (e.g. Python/R) in the form of .bat extension file, are executed through Run Program task object.
To use a run program task, drag and drop the Run Program task object onto the workflow designer. Configure the object by right-clicking on the object’s header and selecting Properties from the context menu.
A Run Program Properties window opens as shown below. This screen lets users define properties for an executable batch file.
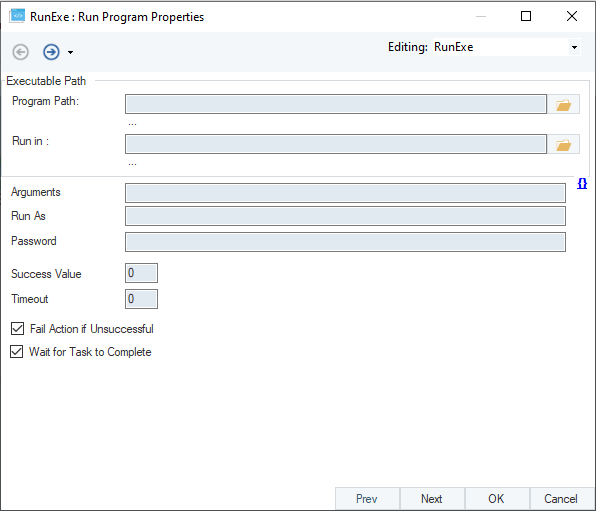
Program Path – specify the file path to the executable batch file that you want to run as part of the workflow.
Run In – specify the default folder where Centerprise will run the batch file. (optional)
Arguments – specify any required or optional arguments for running the batch file, such as providing an external input or indicating an input parameter change.
Run As – enter a user account (if different from the administrator) that should be used for running the batch file.
Password – enter the password specific to the user account entered in the Run As option.
Success Value – a value returned by the executable batch file upon its successful completion. The default value is 0. The Run Program task will expect this value to signal successful completion of the task.
Timeout – define a time after which, if the program task fails to execute, Centerprise will terminate the process.
Fail Action if Unsuccessful – select this option to return an error when the executable batch file ends with an error in the code.
Wait for Task to Complete – select this option to stop Centerprise from proceeding onto the next task in the workflow until the batch file has finished running.
Run SQL File
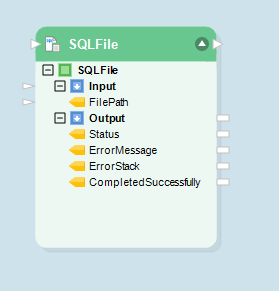
The Run SQL File task runs the SQL code inside a file of .sql extension as part of a workflow.
To use a run sql file task, drag and drop the Run SQL File task object onto the workflow designer. Configure the object by right-clicking on the object’s header and selecting Properties from the context menu.
A Database Connection window opens as shown below. This is where we configure connection with the database.
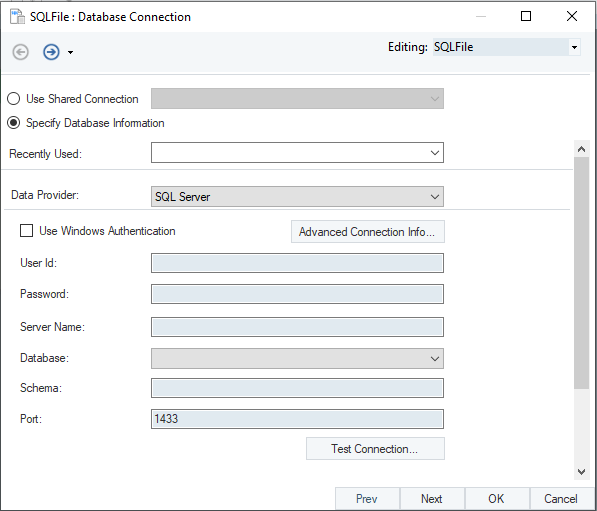
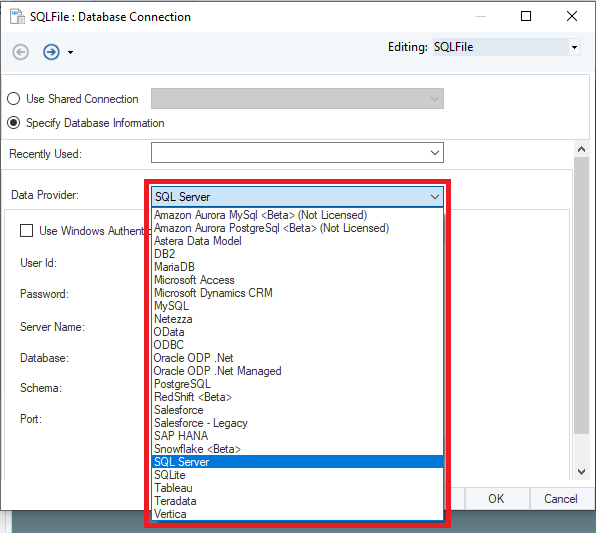
Centerprise offers native connectivity to a number of databases and applications. To connect to a database, click on the drop-down menu next to the Data Provider option and select a data provider from the list.
To establish a connection to a data provider, fill in the credentials such as User Id, Password, Server Name, Database and Schema.
The next screen is Run Sql File Properties window.
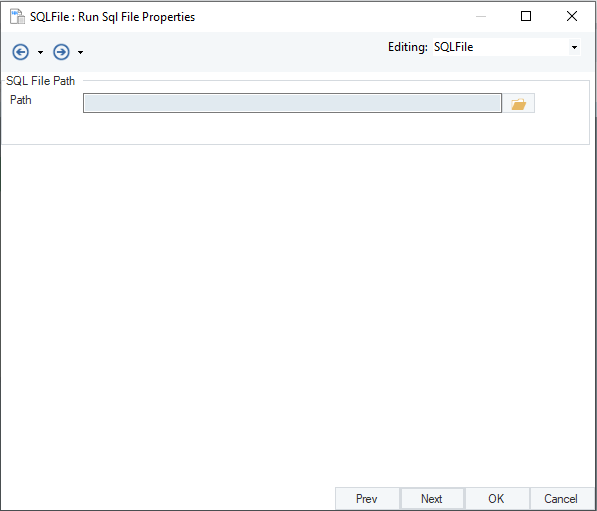
SQL File Path – specify the path to the SQL file that you want to execute through this task.
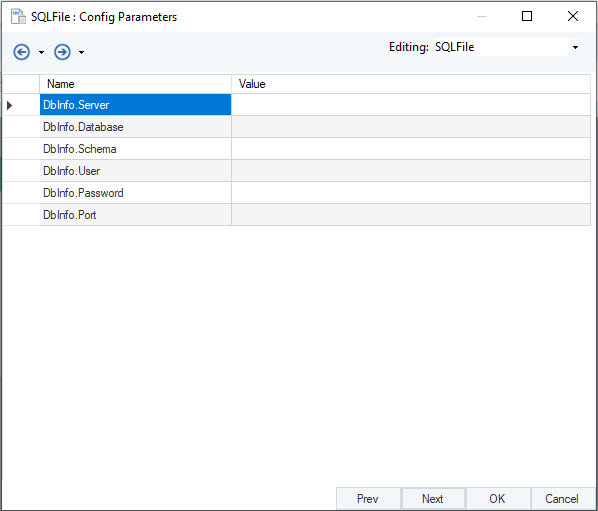
The next screen is the Config Parameters screen. This is where users can set up variable parameters to indicate a run-time change for values in the list on the screen.
Run SQL Script
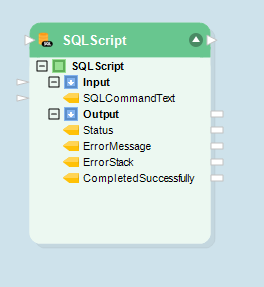
The Run SQL Script task provides flexibility to write a sql code within Centerprise and deploy it as part of a workflow.
To use a Run SQL Script task, drag and drop the Run SQL Script task object onto the workflow designer. Configure the object by right-clicking on the object’s header and selecting Properties from the context menu.
A Database Connection window opens as shown below. This is where we configure connection with the database.
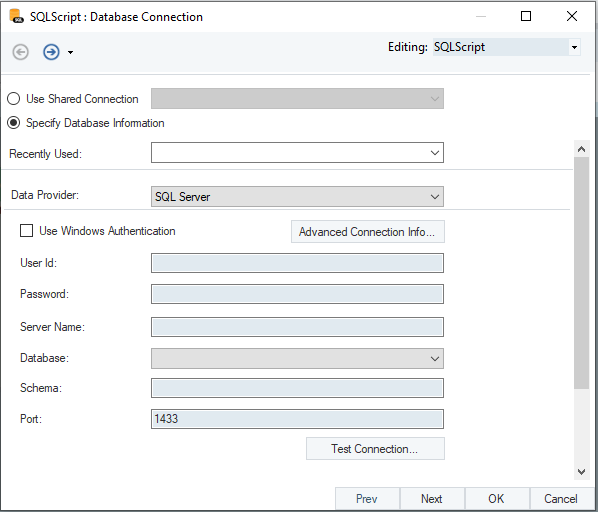
The connection to a data provider is established similar to how it is described for the Run SQL File task object.
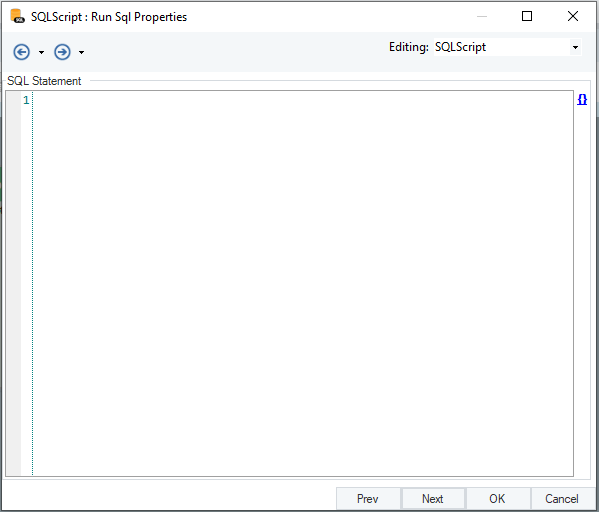
The next is Run Sql Properties screen. In the SQL Statement box, enter the SQL code. This code will be executed by the Run SQL Script task.
Run Workflow
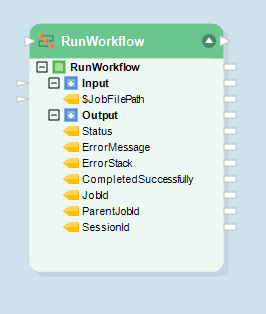
The Run Workflow task starts another workflow as part of a nested workflow. The object works similar to Run Dataflow task.
To use a Run Workflow task, drag and drop the Run Workflow task object onto the workflow designer. Configure the object by right-clicking on the object’s header and selecting Properties from the context menu.
A Start Workflow Job Properties window opens as shown below.
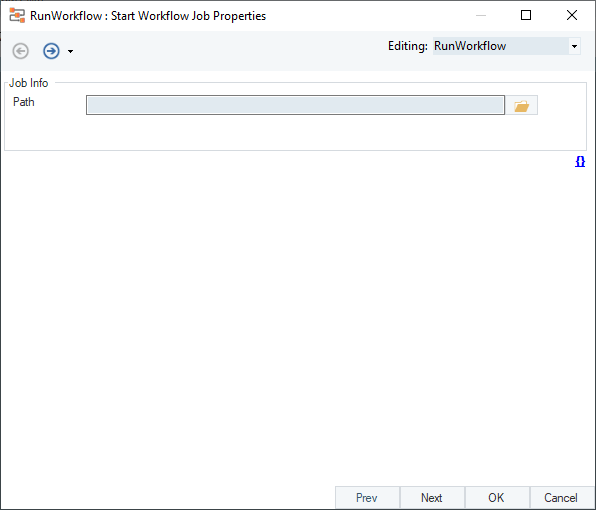
Job Info-Path – specify the path to the workflow you want to run.
Note: To ensure that your workflow is runnable on a remote server, please avoid using local paths for the workflow executed by this task. Using UNC paths is recommended.
Send Mail
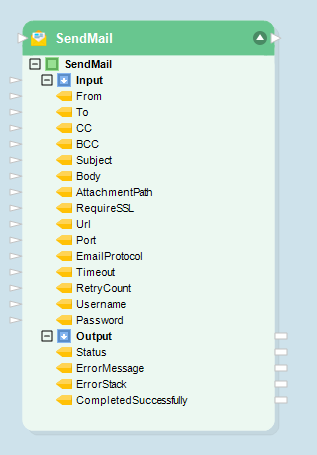
The Send Mail task sends emails to the administrator at appropriate junctions in a workflow.
To use a Send Mail task, drag and drop the Send Mail task object onto the workflow designer. Configure the object by right-clicking on the object’s header and selecting Properties from the context menu.
A Send Mail Properties window opens up as shown below.
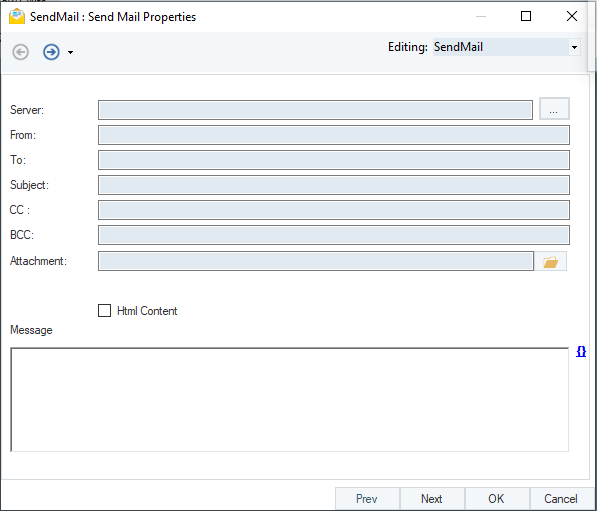
Server – specify the server setting for an email platform by clicking on the ellipsis.
An Email Connection window opens up. This is where we specify the server connection details.
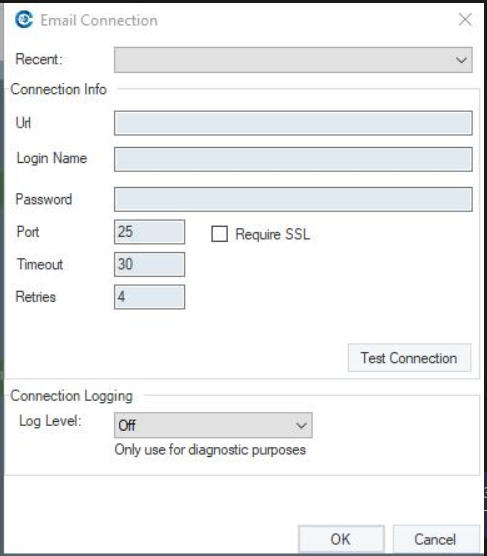
Recent – select from the dropdown list of recent server configurations to automatically populate your connection info.
Options under Connection Info depends on the email provider the user wants to employ.
For more information on server settings for different email providers, click here.
Test your connection with the email provider by clicking on the Test Connection button. A Send Test Email window opens up that lets users send a test mail to the intended recipient. 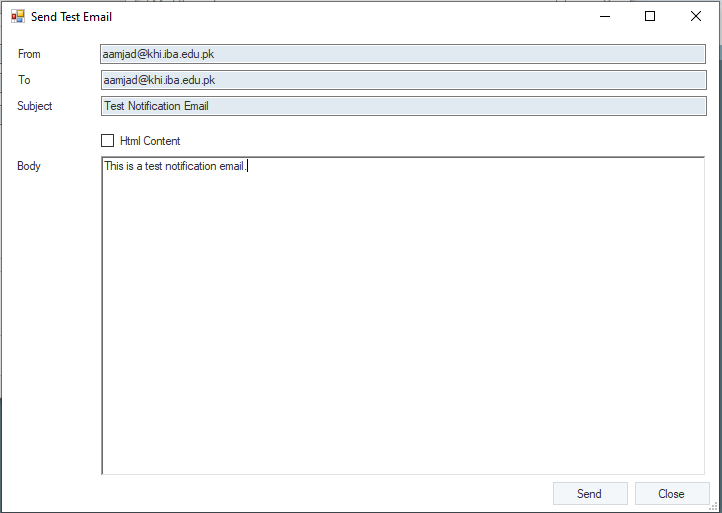
Once the connection with the email provider has been set up, go back to the Send Mail Properties window to fill in the necessary details.
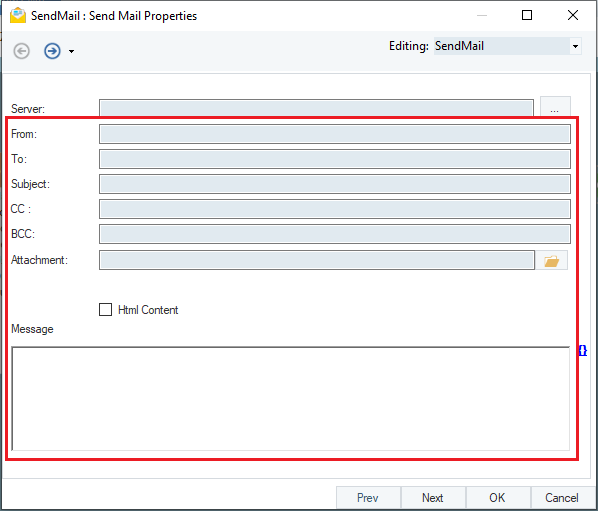
From – enter the sender email account
To – enter the recipients of the email
Subject – enter the subject line for the email
CC – specify any CC recipients
BCC – specify any BCC recipients
Attachment – Provide any attachments that should be sent with the email
Message – Enter the body of the email that will be sent by this task
This concludes the description of the various workflow tasks in Astera Centerprise.