Excel Workbook Source
***Excel File Source*** in Centerprise supports all formats of Excel. In this article we will be discussing:- Various ways to get Excel Workbook Source object on the dataflow designer.
- Configuring the Excel Workbook Source object according to our required layout and settings.
Getting Excel Workbook Source object
In this section, we’ll cover the various ways to get Excel Workbook Source object on the dataflow designer.
From the Toolbox
1. To get an Excel File Source from the Toolbox, go to Toolbox > Sources > Excel Workbook Source. If you’re unable to see the toolbox, go to View > Toolbox or press Ctrl + Alt + X.
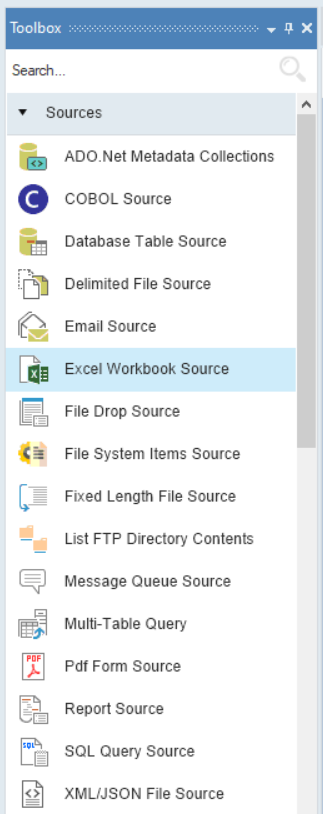
2. Drag-and-drop the Excel Workbook Source object onto the designer.
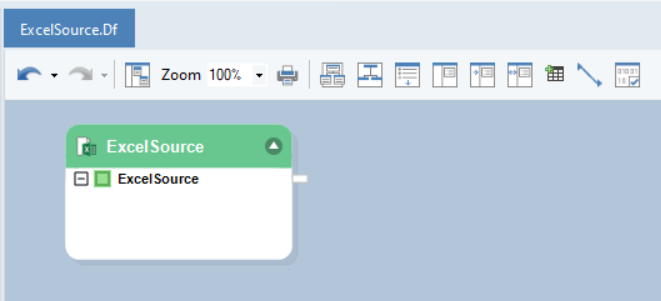
You can see that the dragged source object is empty right now. This is because we haven’t configured the object yet. We will discuss the configuration properties for the excel workbook source in the next section.
From the Project Explorer
If you already have a project defined and excel source files are a part of that project, you can directly drag-and-drop the excel file sources from the project tree on to the dataflow designer. The excel file source objects in this case will already be configured. Centerprise detects the connectivity and layout information from the source file itself.
Note: In this case we are using an excel file with Customers data. The file is a part of an existing project folder.
1. To get an Excel File Source from the Project Explorer, go to the Project Explorer window and expand the project tree.
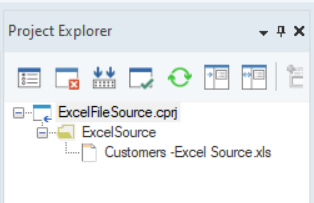
2. Select the excel file you want to bring in as the source and drag-and-drop it on the designer. In this case, we are working with Customers -Excel Source.xls file so we will drag-and-drop it onto the designer.
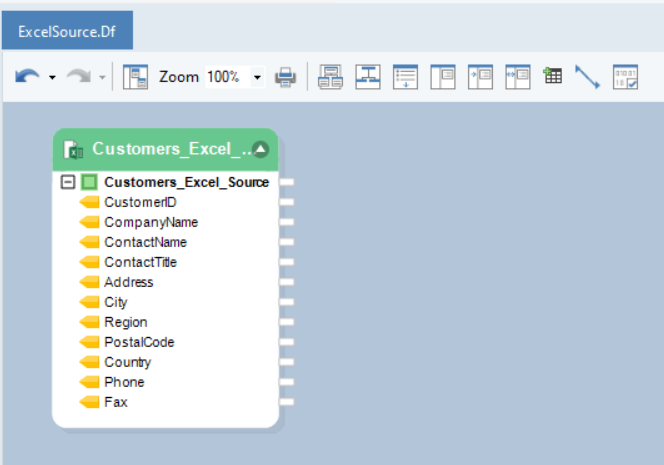
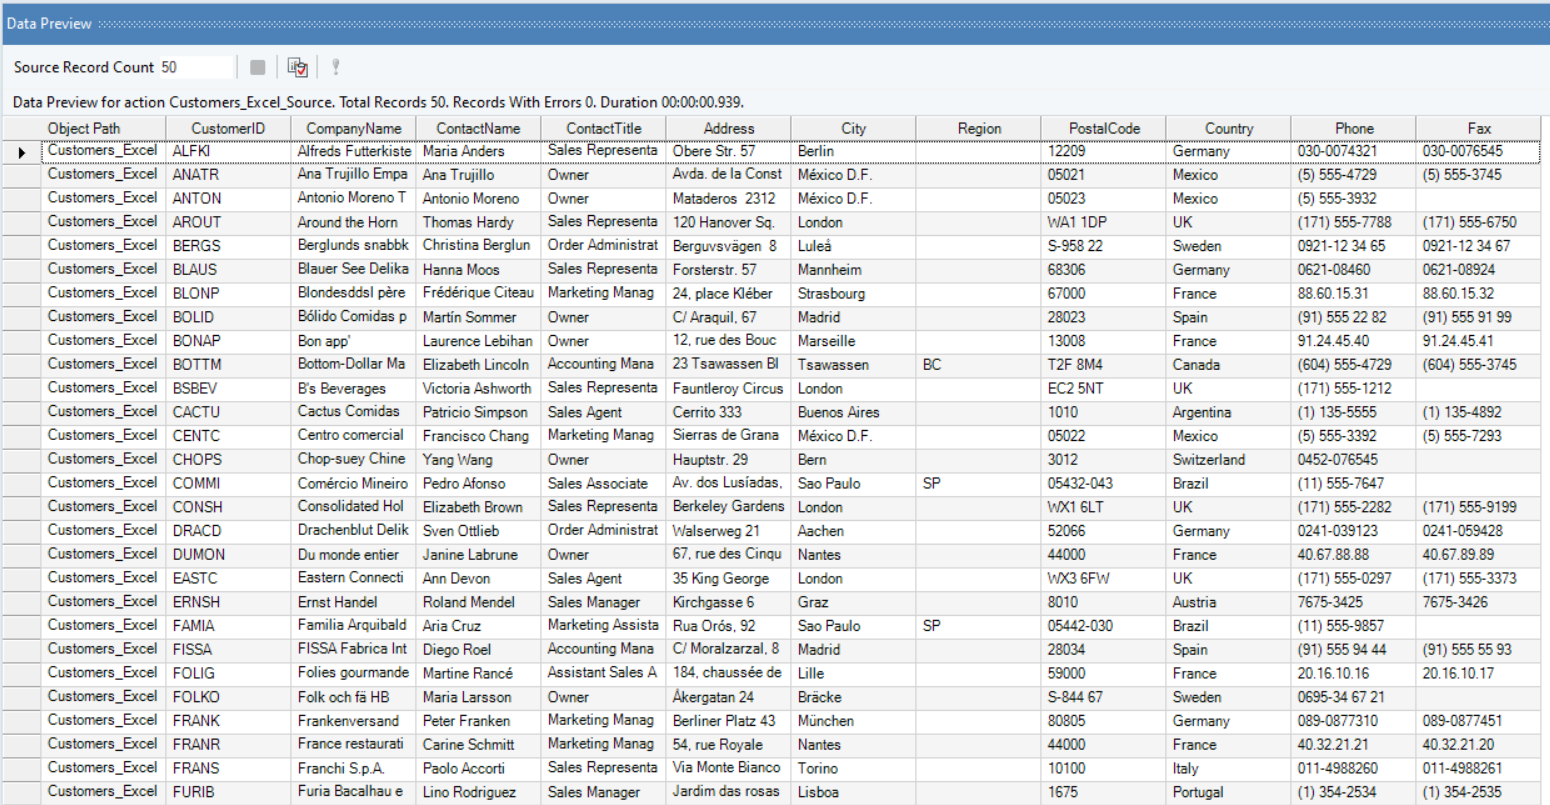
If you expand the dropped object, you will see that the layout for the source file is already built. You can even preview the output at this stage.
From the file location
1. To get an Excel File Source directly from the file location, open the folder containing the excel file.
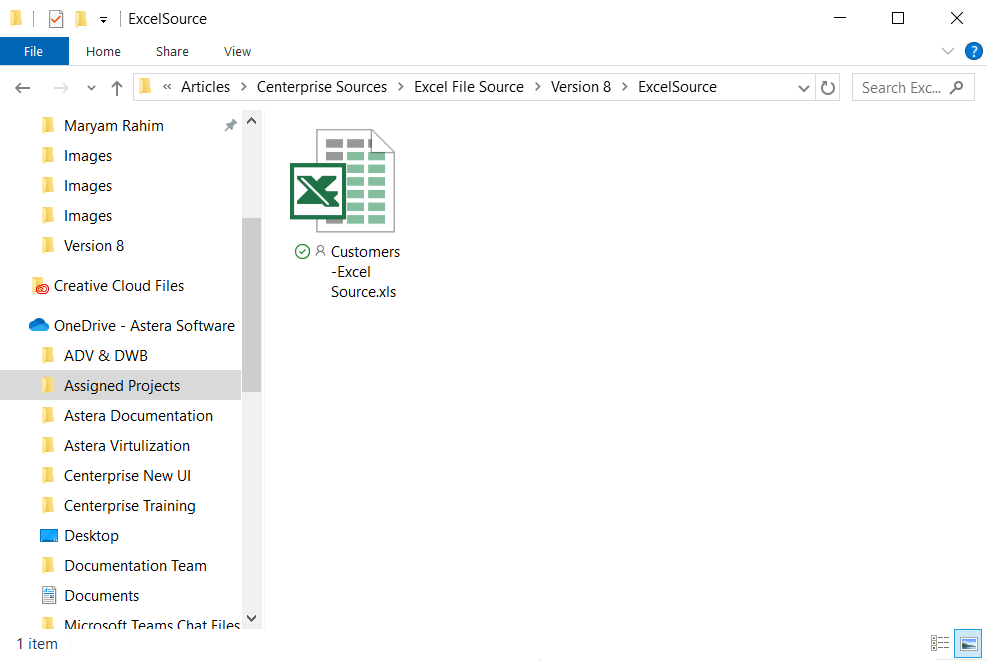
2. Drag-and-drop the excel file from the folder onto the designer in Centerprise.

If you expand the dropped object, you will see that the layout for the source file is already built. You can even preview the output at this stage.

Configuring the Excel File Source object
1. To configure the Excel Workbook Source object, right-click on its header and select Properties from the context menu.
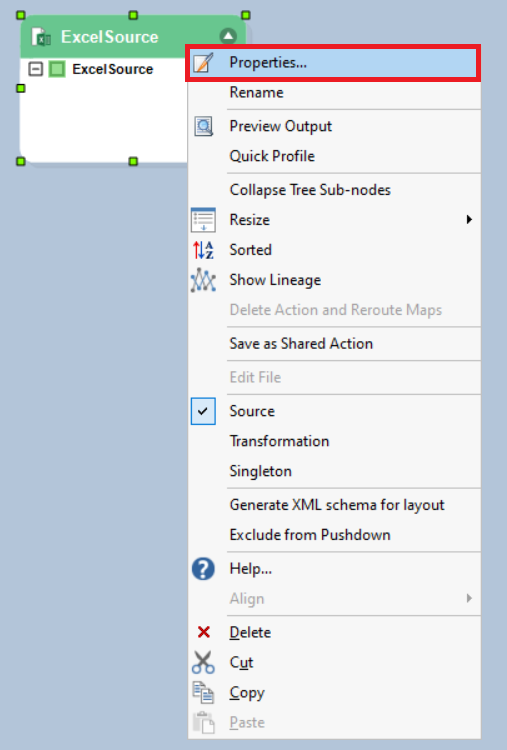
As soon as you’ve selected the Properties option from the context menu, a dialog box will open.
This is where you can configure your properties for the Excel Workbook Source object.
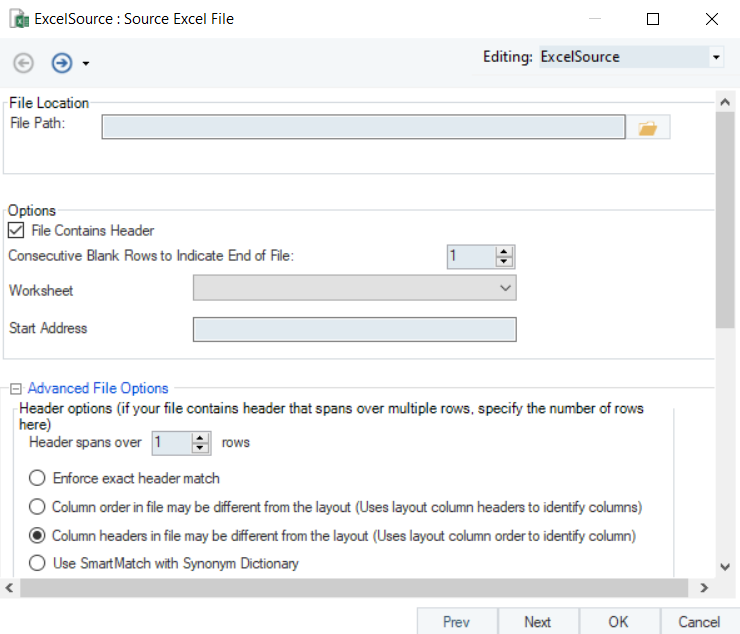
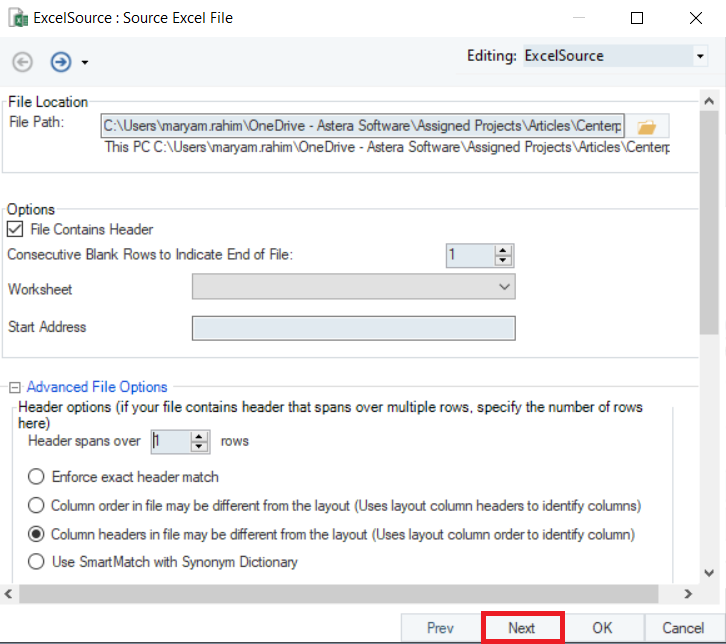
2. The first step is to provide the File Path for the excel source. By providing the file path you are building the connectivity to the source dataset.
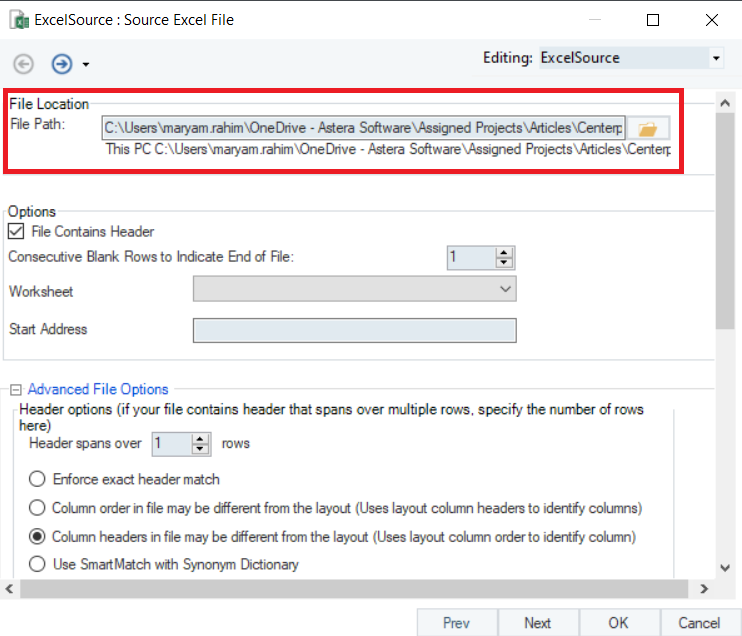
Note: In this case we are going to be using an excel file with sample Customers data.
3. The dialog box has some other configuration options:
Options
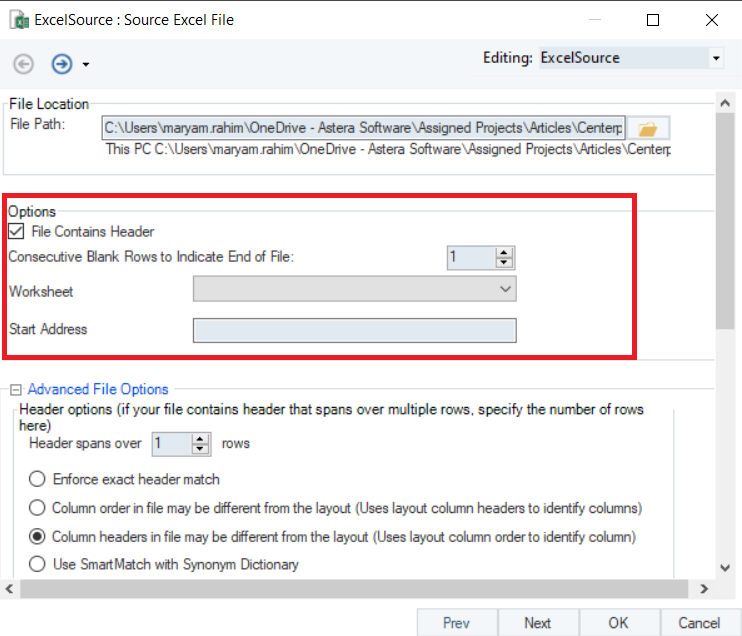
- If your source File Contains Header*,* and you want you Centerprise source layout to read headers from the source file, check the box.
- If you have blank rows in your file, you can indicate after how many blank rows you want to indicate the end of the file, using Consecutive Blank Rows to Indicate End of File option.
- Use the Worksheet option to specify if you want to read data from a specific worksheet in your excel file.
- In the Start Address option, you can indicate the cell value from where you want Centerprise to start reading the data from.
Advanced File Options
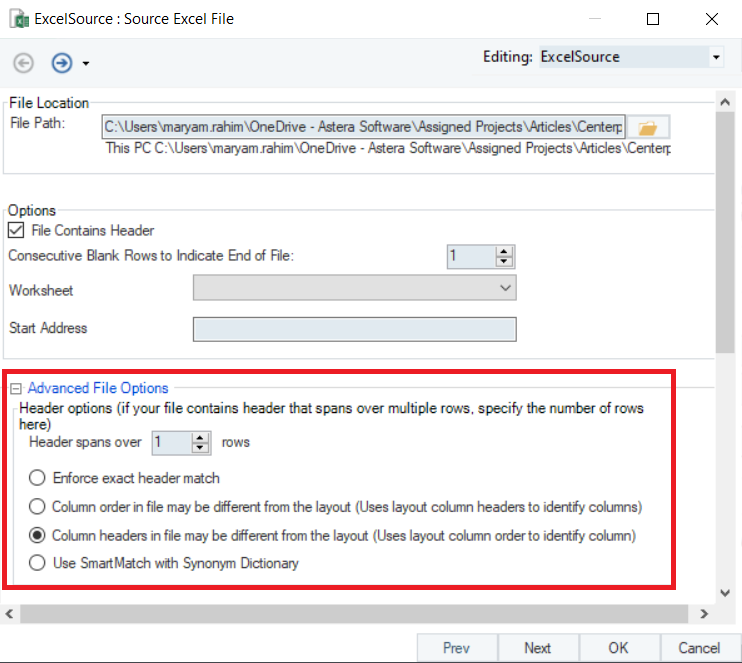
- In the Header spans over option, give the number of rows that your header takes. Refer to this option when your header spans over multiple rows.
- Check on Enforce exact header match if you want the header to be read as it is.
- Check on Column order in file may be different from the layout, if the field order in your source layout is different from the field order in Centerprise layout.
- Check on Column headers in file may be different from the layout if you want to use alternate header values for your fields. The Layout Builder lets you specify alternate header values for the fields in the layout.
- Check the Use SmartMatch with Synonym Dictionary option when the header values vary in the source layout and Centerprise layout. You can create a Synonym Dictionary file to store the values for alternate headers. You can also use Synonym Dictionary file to facilitate automapping between objects on the flow diagram that use alternate names in field layouts.
String Processing
String processing options come in use when you are reading data from a file system and writing it to a database destination.
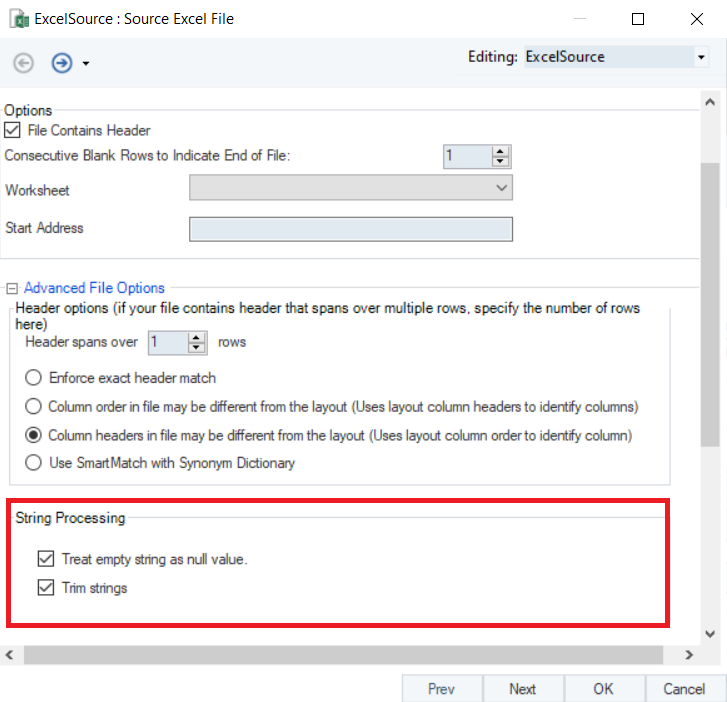
- Check on Treat empty string as null value when you have empty cells in the source file and want those to be treated as null objects in the database destination that you are writing to, otherwise Centerprise will omit those accordingly in the output.
- Check on Trim strings when you want to omit any extra spaces in the field value.
4. Once you’ve specified the data reading options on this screen, click Next.
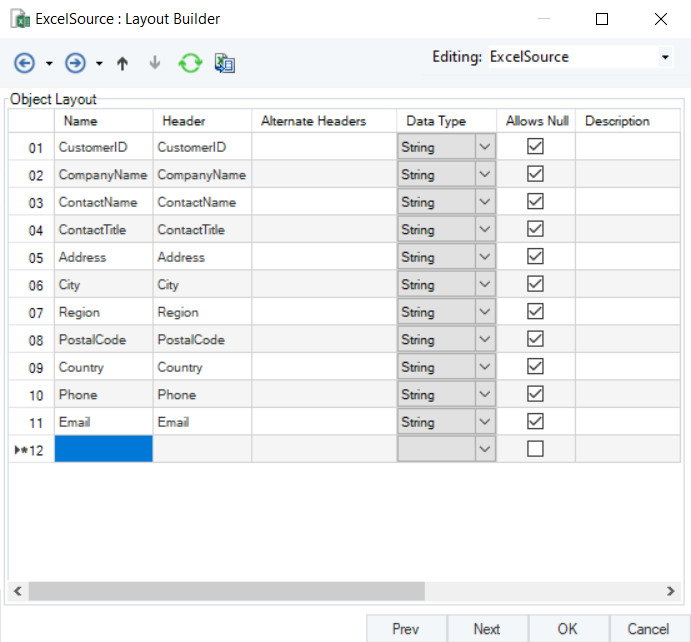
The next screen will show you a Layout Builder. On this screen, you can modify the layout of your excel source file.
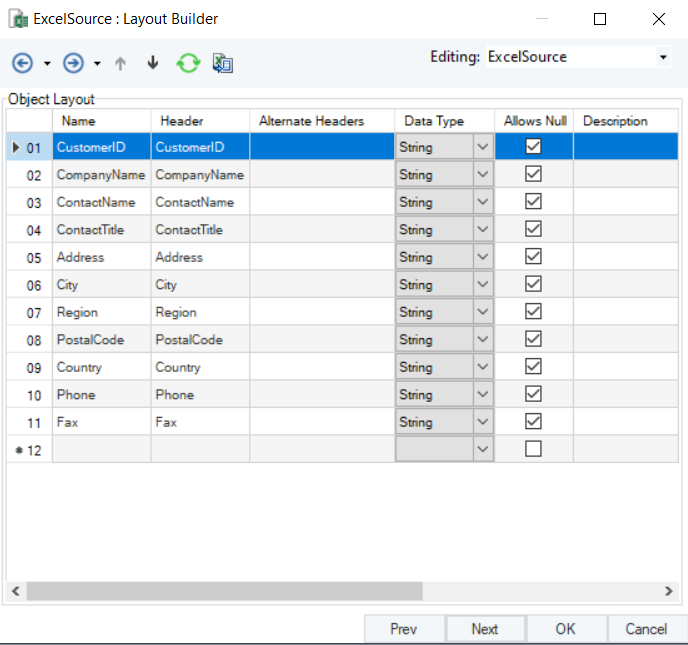
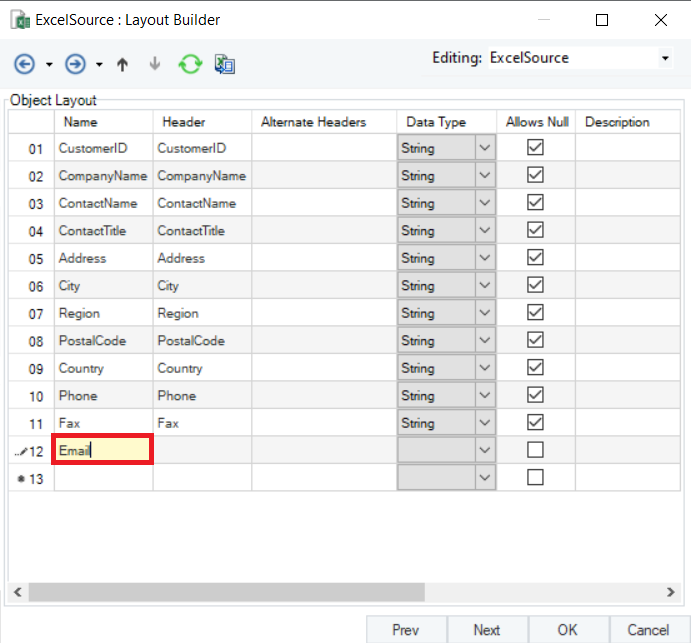
If you want to add a new field to your layout, go to the last row of your layout (Name column), which will be blank and double-click on it, and a blinking text cursor will appear. Type in the name of the field you want to add and select subsequent properties for it. A new field will be added to the source layout.
If you want to delete a field from your dataset, click on the serial column of the row that you want to delete. The selected row will be highlighted in blue.

Right-click on the highlighted line, you get a context menu in which you will have the option to Delete.
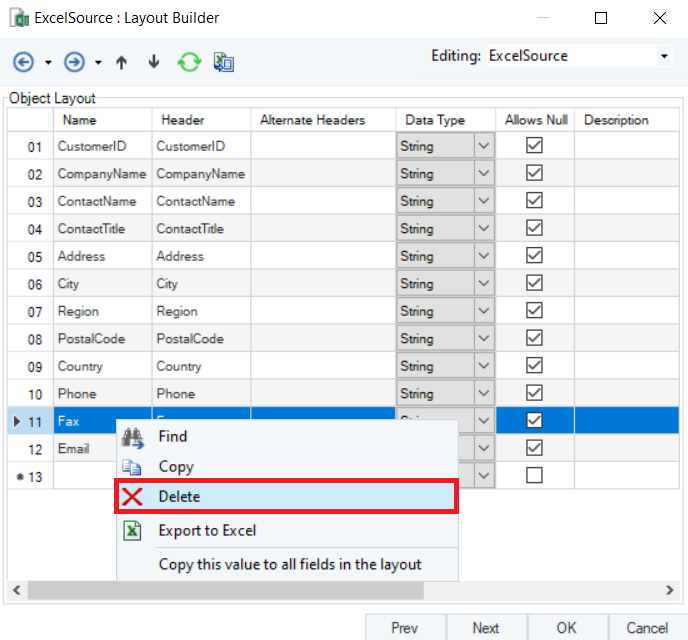
Selecting delete will delete the entire row.
The field is now deleted from the layout and won’t appear in the output.
Note: Modifying the layout (adding or deleting fields) from the layout builder screen in Centerprise will not make any changes to the actual source file. The layout is specific to Centerprise only.
If you want to change the position of any field and want to move it below or above another field in the layout, you can do that by selecting the row and using move up/move down keys.
Note: You will find the Move up/Move down icons, on the top left of the builder.
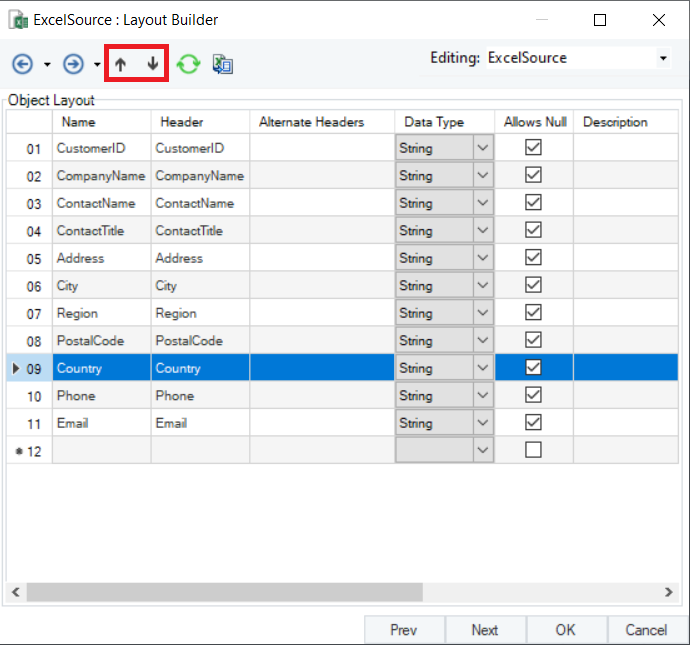
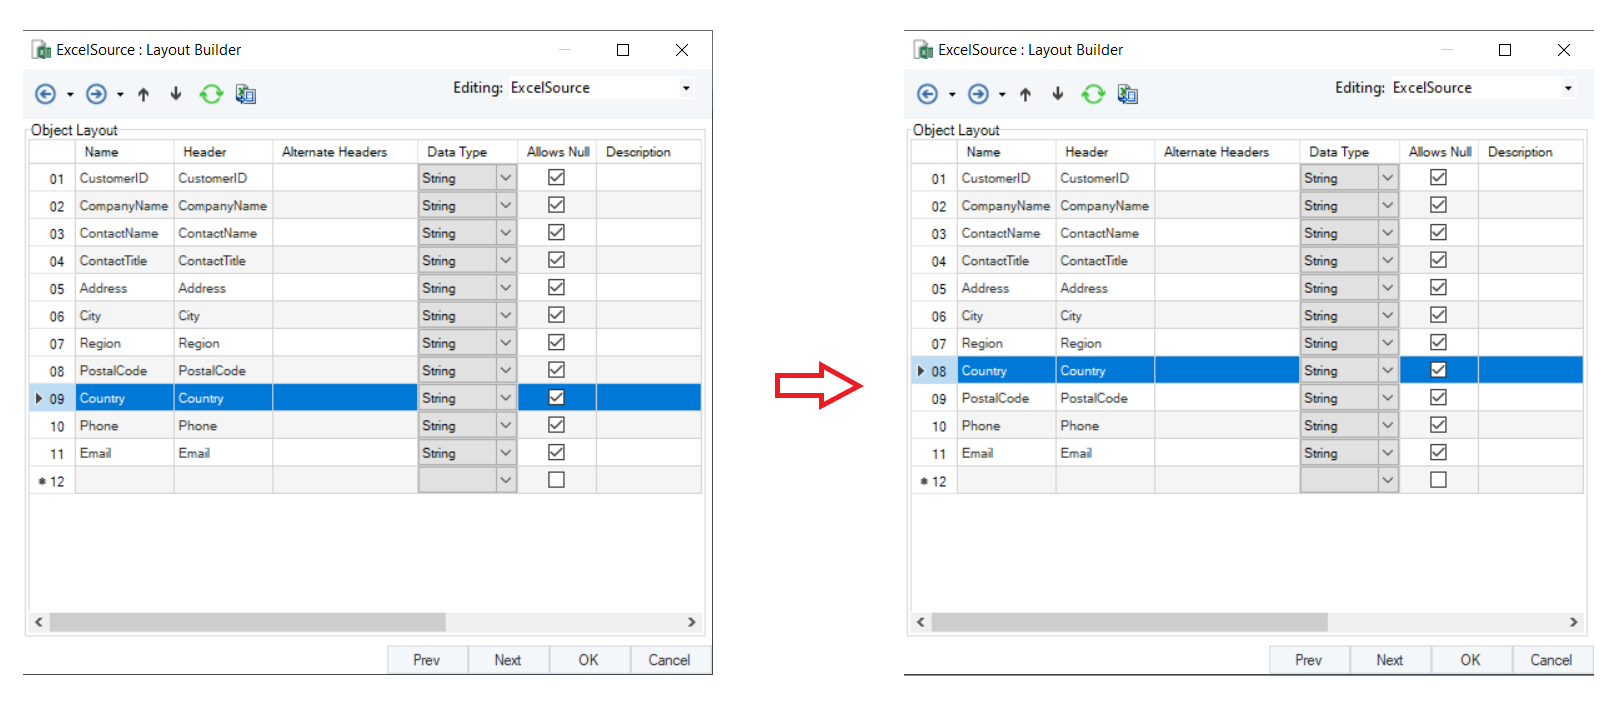
For example: To move the Country field right below the Region field. Therefore, we’ll select the row and use the Move up key to from the 9th row to the 8th.
Other options that the Layout Builder provides with:
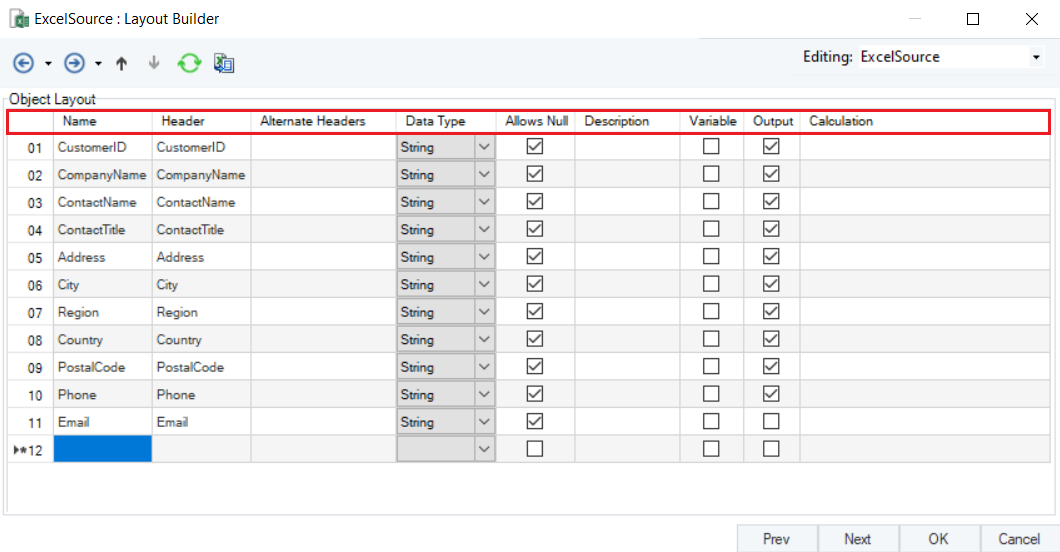
| Column Name | Description |
|---|---|
| Alternate Header | Assigns a header value to the field different than its name in the source file |
| Data Type | Specifies the data type of a field, such as Integer, Real, String, Date, or Boolean. |
| Allows Null | Controls whether the field allows blank or NULL values in it. |
| Output | The output checkbox allows you to choose whether or not you want to enable data from a particular field to flow through further in the dataflow pipeline. |
| Expressions | Defines functions through expressions for any field in your data. |
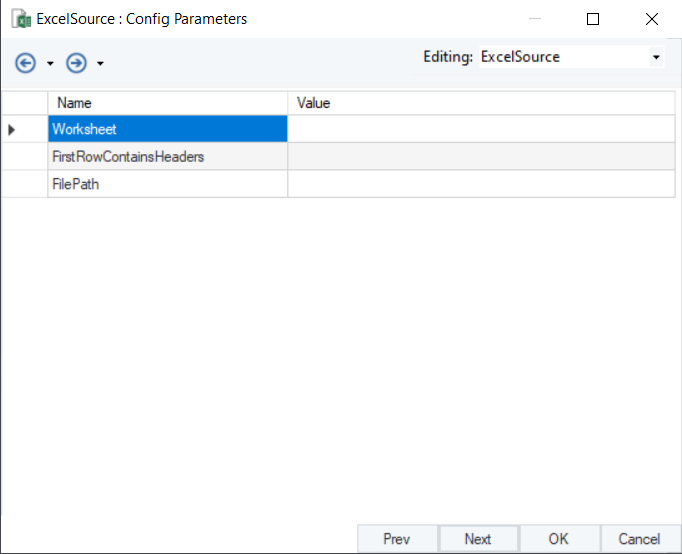
5. After you’re done customizing the Object Builder, click Next. You will be taken to a new screen - Config Parameters. Here, you can further configure and define parameters for the Excel Source.
Parameters can provide easier deployment of flows by eliminating hardcoded values and provide an easier way of changing multiple configurations with a simple value change.
Note: Parameters left blank will use their default values assigned on the properties page.
6. Once you’ve been through all the options to configure, click OK.
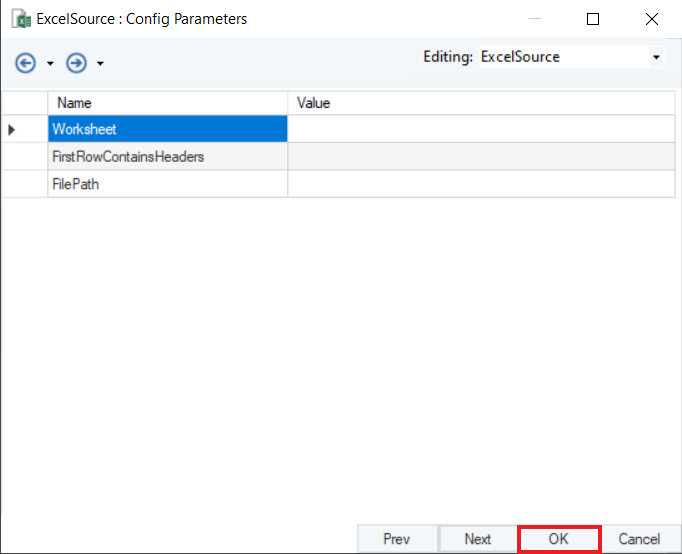
The ExcelSource object is now configured according to the changes made.
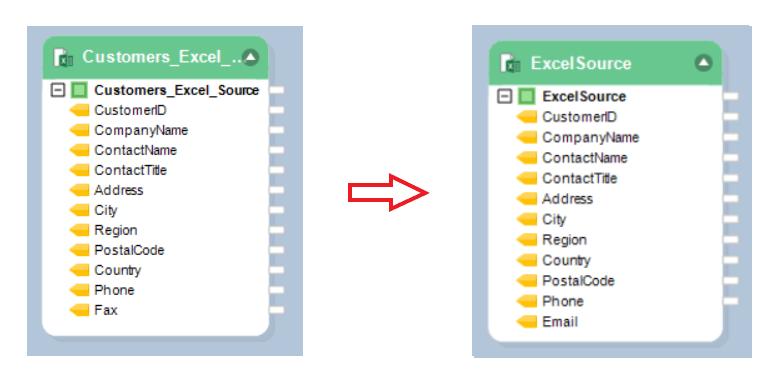
You have successfully configured your Excel File Source object. The fields from the source object can now be mapped to other objects in the dataflow.