Updating Your License in Astera Centerprise
The license key provided to you for Centerprise 8 contains information regarding the number of clients that can connect to a single server and the features available to the connected clients. In case you wish to change this information, or if your current license has expired, you can request Astera for an update. Once your license has been updated by Astera, you can update it on your Centerprise client.
In this article, we will be covering the steps to successfully update your Centerprise 8 license.
1. First, you will have to access the License Management window, which can be done in three ways:
- Go to Tools > Manage License.

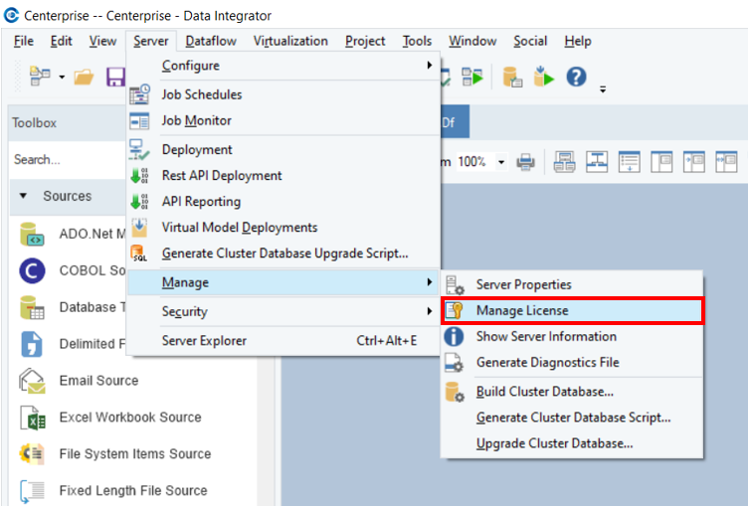
- Go to Server > Manage > Manage License.
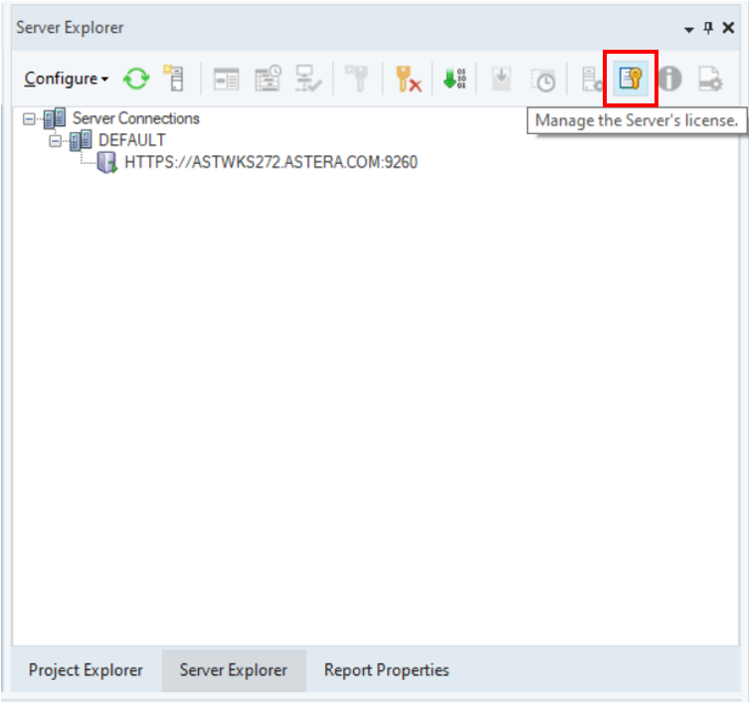
- Click the “Manage the Server’s license” icon in the Server Explorer.
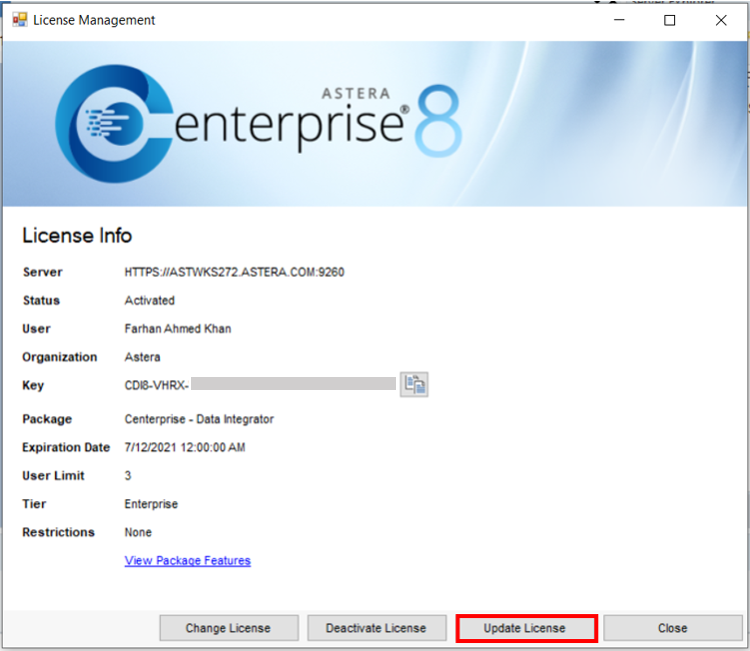
2. Once you’ve opened the License Management window, click Update License.
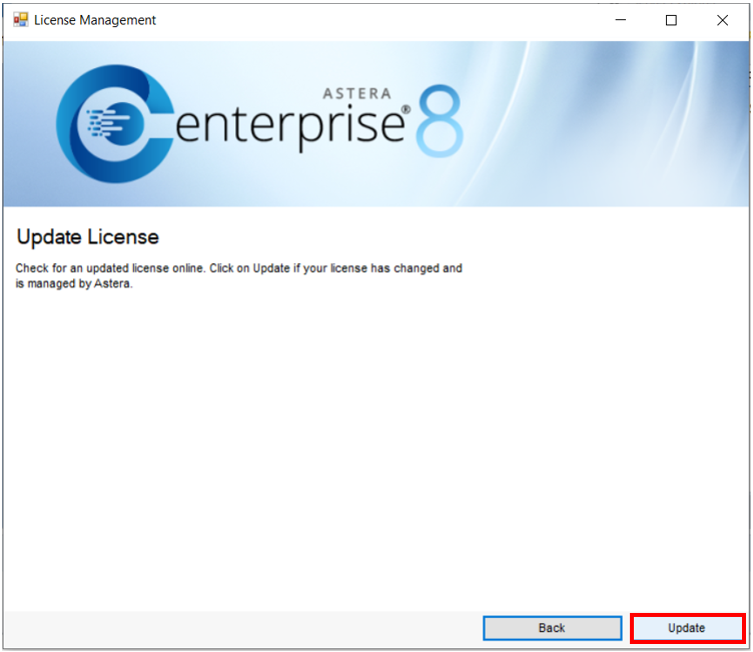
3. On the next screen, click Update.
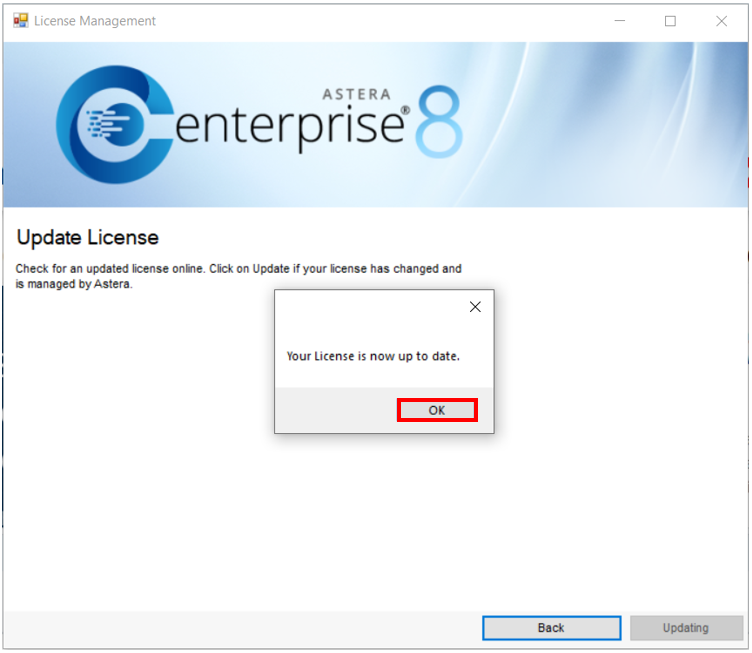
4. Centerprise will proceed to updating your license and notify you with a small popup window once it is up to date. Click OK.
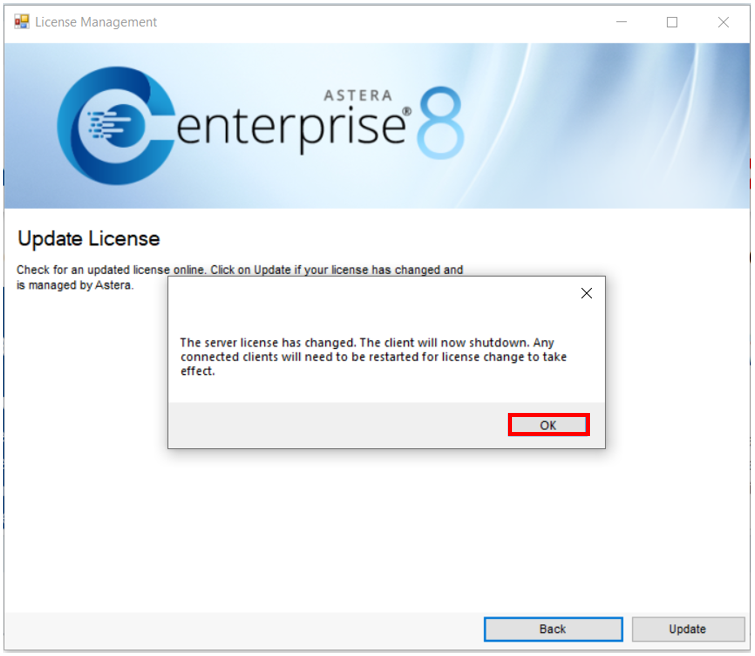
5. Another popup window will notify you that the server license has been changed and the client needs to shut down in order to implement the changes. Click OK.
The Centerprise client will now shut down. Once you start it again, the changes associated with the new license will have been put into effect.
This concludes updating your license in Astera Centerprise.