Expression Transformation
The Expression transformation in Astera Centerprise defines an expression or logic to process an incoming value (or values). As a result, it may return a new set of values which do not depend on any user-provided input data. Expressions can also be modified and used as variables for various other calculations.
Expression Transformation uses an expression as a logic to transform data. You can write an expression of your own or use different functions or operations from Centerprise’s extensive library of built-in functions, such as string manipulations, data conversion, date and time manipulation, etc. to manipulate the data. You can also perform various operations such as mathematical calculations, comparison, etc. using the Expression transformation.
Use case
In this example, we have some sample data of customers stored in an Excel file in which the address information is split into multiple fields such as address, region, country and postal code. We want to concatenate the information in these fields and return it as full address in a new data field. For this, we will use Expression transformation.
How to work with Expression transformation
1. Retrieve your data in the dataflow by using one of the source objects from the Sources section in the toolbox. In this example, we will work with an Excel Workbook Source.
2. Drag-and-drop the Expression transformation object from toolbox>transformations>expression onto the designer window.
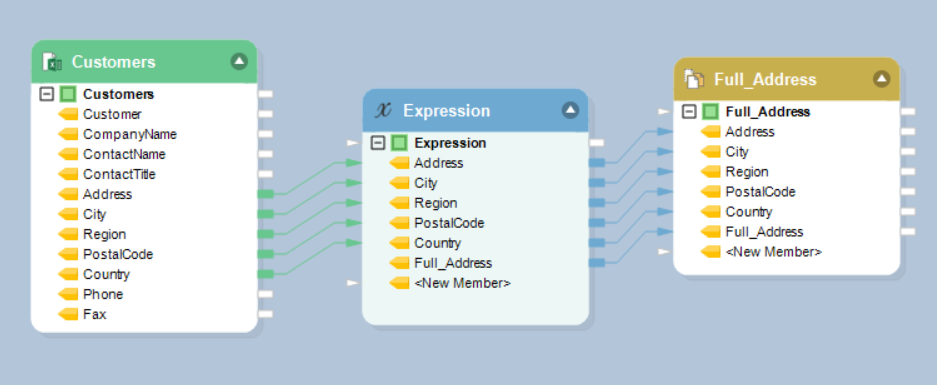
3. Map the fields on which you want to apply the expression, from source to the Expression transformation object. In this example, we have mapped Address, Region, City, Country and PostalCode fields.
4. Now right-click on the Expression transformation object and select Properties from the context menu.
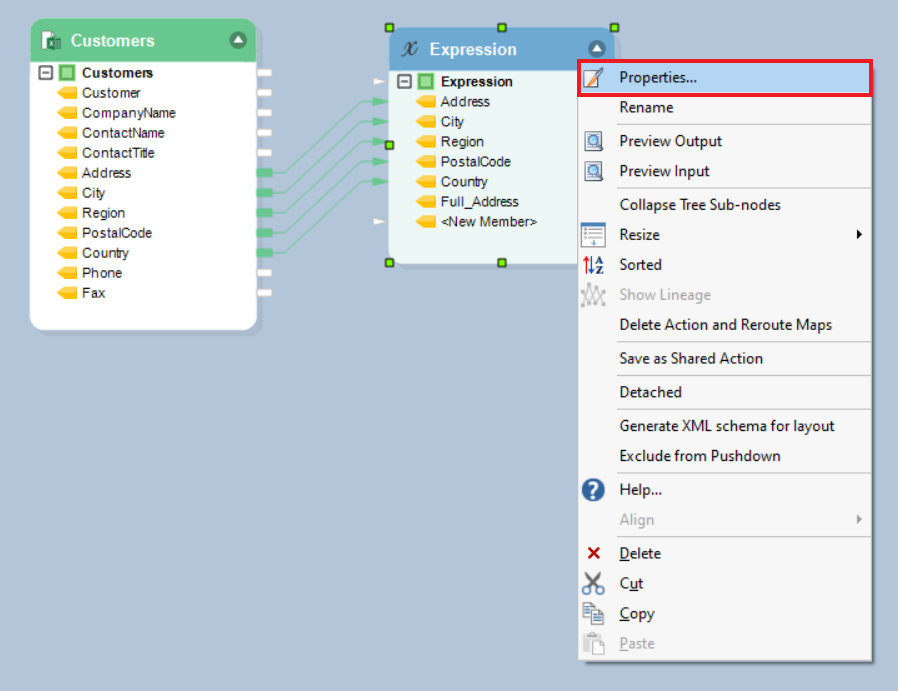
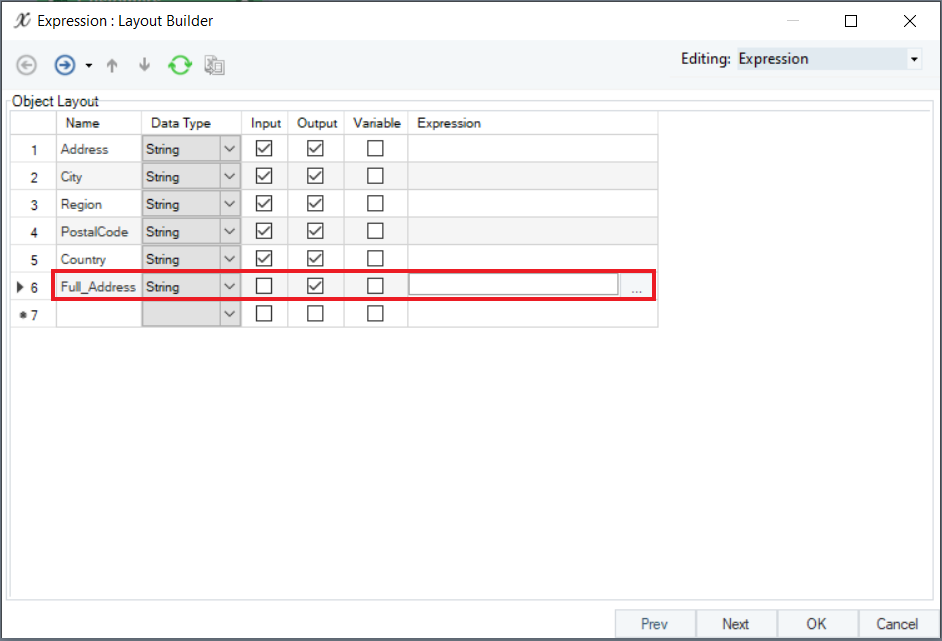
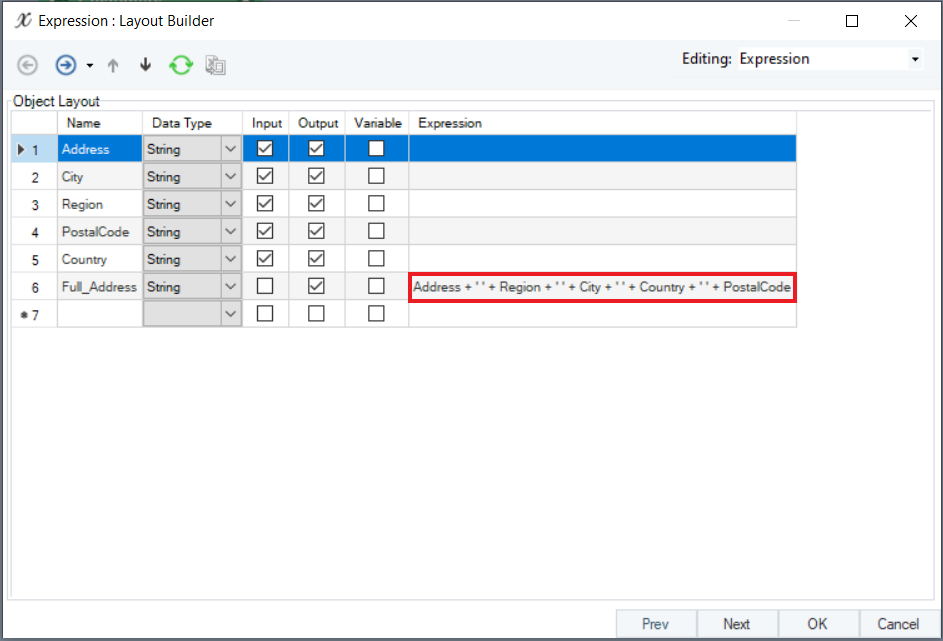
5. This will open the Layout Builder screen where you can add or remove fields and modify your layout.
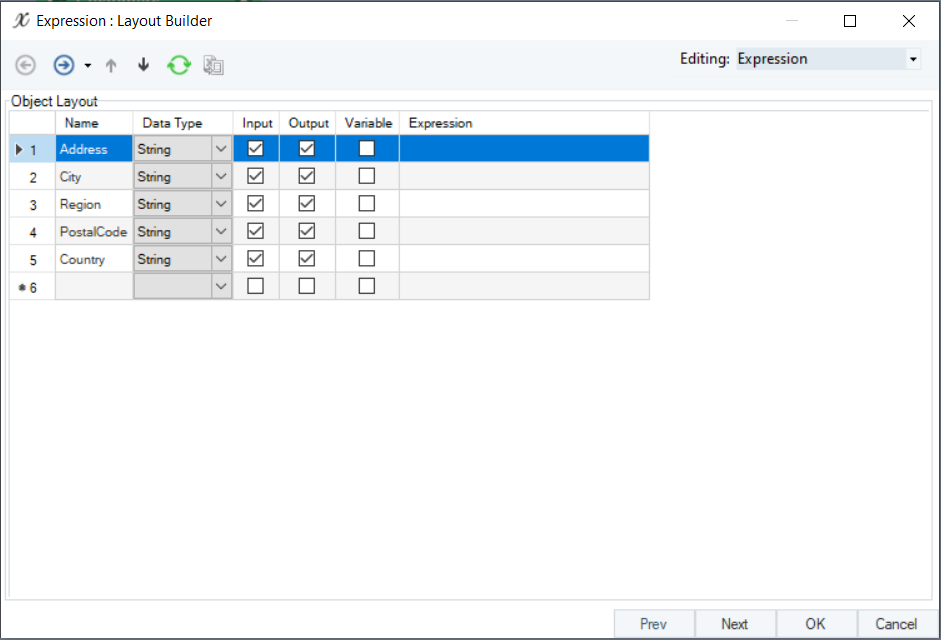
You can see the following options on the Layout Builder screen:
Name: Here, name of the field is specified. You can change the name of existing fields if required.
Data Type: It shows the data type of the mapped fields.
Input: The field can be mapped as an input, with an input mapping port, to take data input from a source.
Output: The field can be mapped as an output. If an expression is present, the expression will be applied to this output.
Variable: Turns the field into a variable which can then be applied on other fields. These expressions are calculated first and then assigned to other expressions using it. Once a field turns into a variable, it cannot be assigned for input or output mapping.
Expression: Here you specify the expression used for modifying the field or group of fields.
6. Since we want to write the address details from multiple fields into a single field, let’s create a new field named Full_Address, specify Data Type as String and check the Output option.
You can either write an expression directly in the Expression box on the Layout Builder screen, or you can build an expression in the Expression Builder. To access the expression builder, click on  option. An expression builder screen will open up.
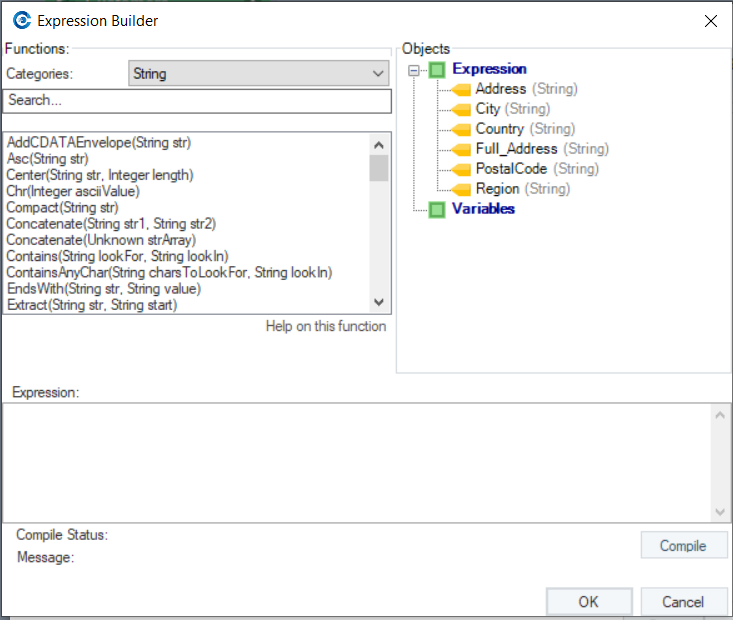
You will find the following options on the Expression Builder screen:
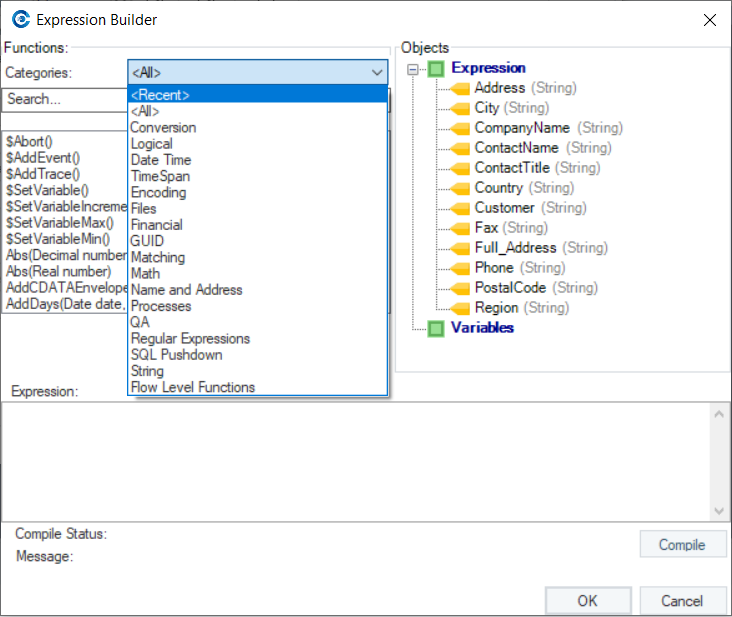
Functions: It is an extensive library of built-in functions from where you can select any function according to your requirement.
Expressions: Here, you can write an expression rule or choose one from the built-in functions in Centerprise.
Objects: In this panel, you can find all the fields in your layout listed under the Expression node. You can double click on any field name to map it to your expression.
7. In this example, we can either use a concatenate function from the built-in functions or write an expression of our own to return the complete address information in a single field.
Address + ‘ ‘ + Region + ‘ ‘ + City + ‘ ‘ + Country + ‘ ‘ + PostalCode
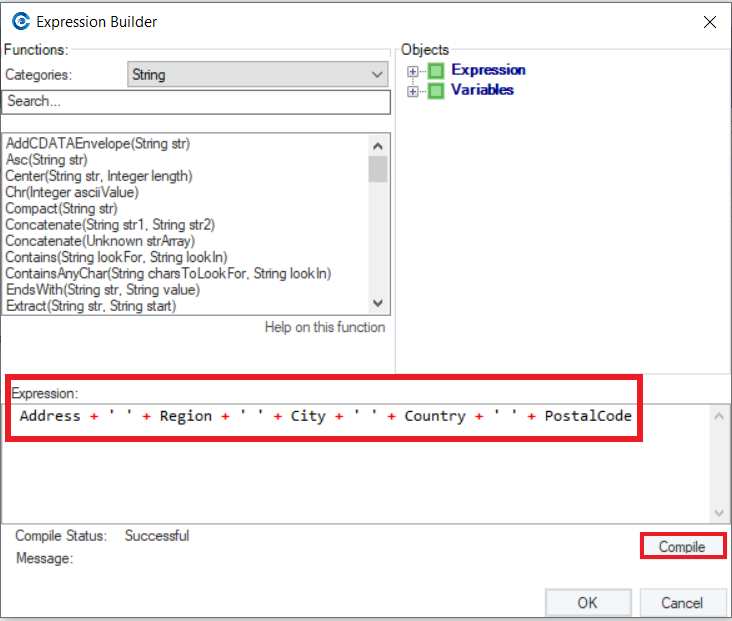
(Note: Once you’ve built the expression, click on the Compile button to check whether or not the expression was compiled successfully. If the Compile Status is Successful, then click OK.)
9. You can now see your expression appear in the Expression field. Click Next.
10. A General Options screen will open where you can add comments and specify other general options. Once you’re through with these general settings, click OK.
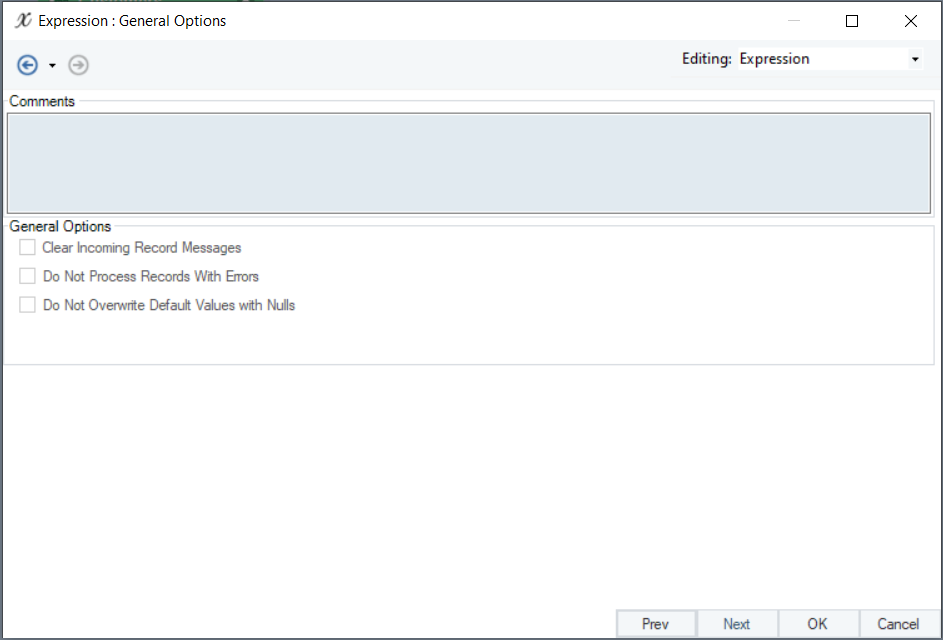
General Options screen:
This screen shares the options common to most objects in a dataflow.
Clear Incoming Record Messages
When this option is checked, any messages coming in from objects preceding the current object will be cleared. This is useful when you need to capture record messages in the log generated by the current object and filter out any record messages generated earlier in the dataflow.
Do Not Process Records with Errors
When this option is checked, records with errors will not be processed and won’t appear in the output. When this option is not checked, records with errors will be processed with an error message along the record. This record message can then feed into downstream objects on the dataflow, for example a destination file that will capture record messages, or a log that will capture the messages and as well as collect their statistics.
In the Comments input section, you can write comments related to the object.
11. To preview the output, right-click on the Expression transformation object and select Preview Output from the context menu.
Here’s a preview of the concatenated output:
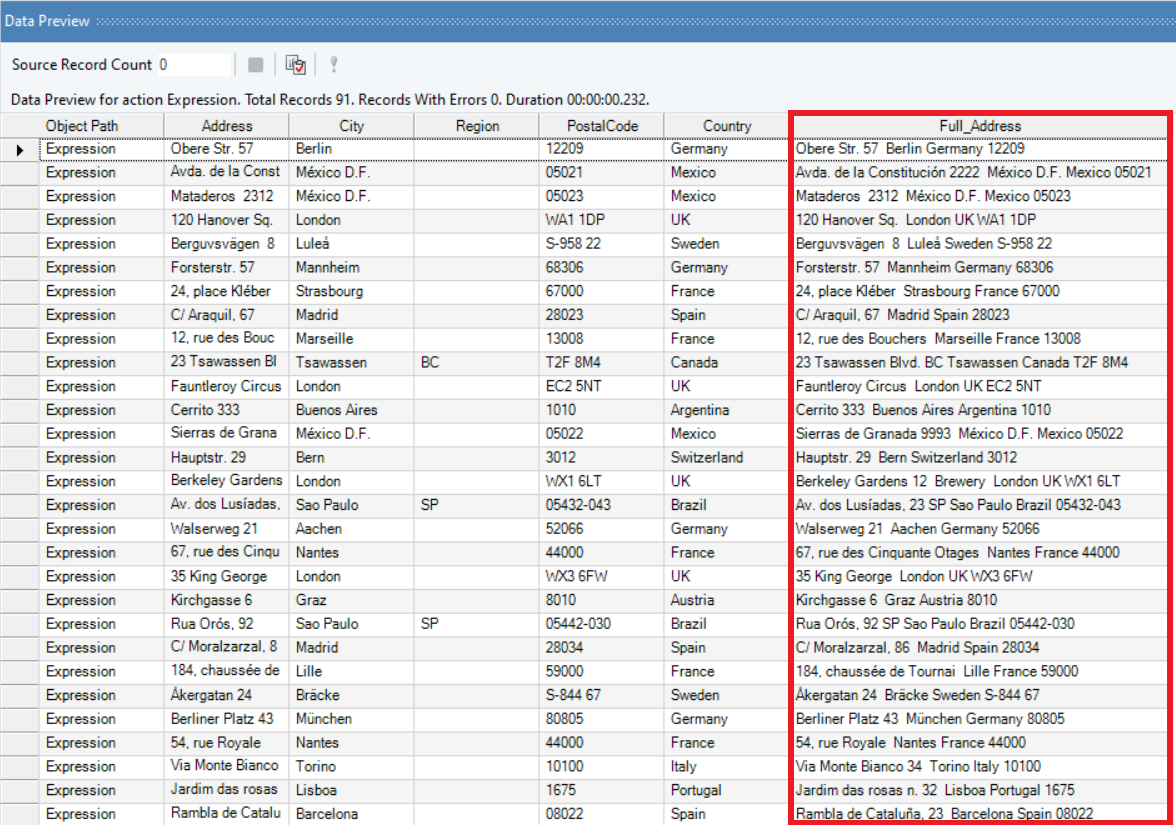
12. You can now map your output to a destination or some other transformation in the dataflow . In this example, we will be writing our output to a Delimited File destination.
You may rename your destination object from the context menu options for this object. Here, we will rename it as Full_Address.
This concludes using the Expression transformation in Astera Centerprise.