Fixed Length Serializer
Fixed Length Serializer is useful when source data is stored in multiple fields and is to be converted to text format (store entire data in a single field). This is helpful is scenarios where you have to:
- Store large datasets, so you compress the information in a single field
- Transport volumes of data over a network
In this document, we will learn how to use Fixed Length Serializer in Astera Centerprise.
Sample Use-Case
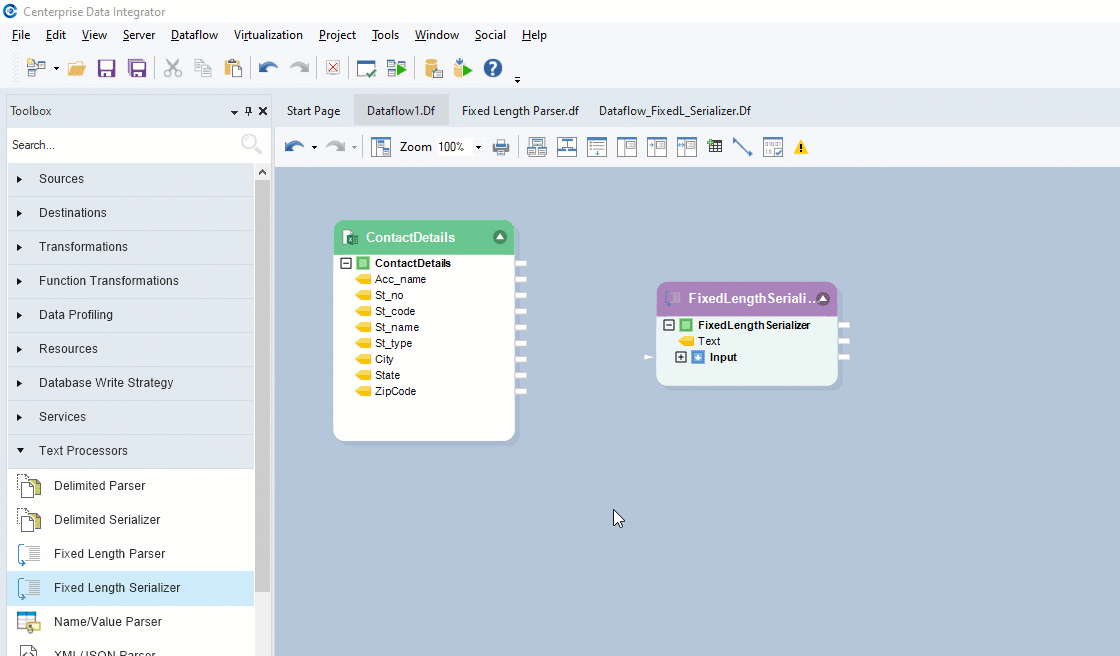
In this case, we are using an Excel Workbook Source.
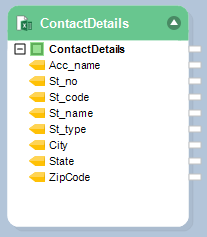
The source file contains customers’ contact details.
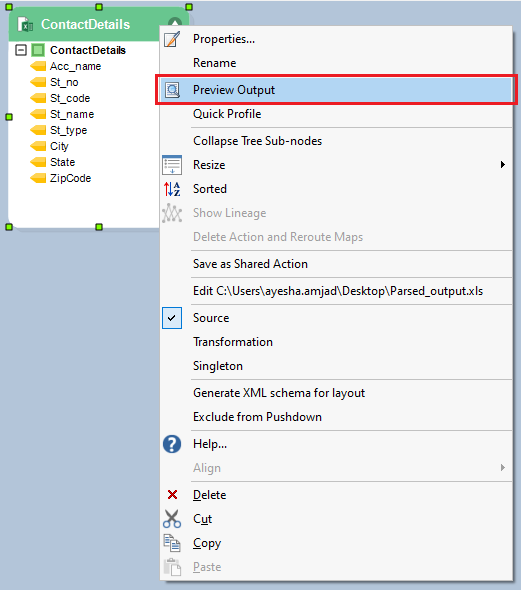
To preview data, right-click on the header of source object and select Preview Output from the context menu.
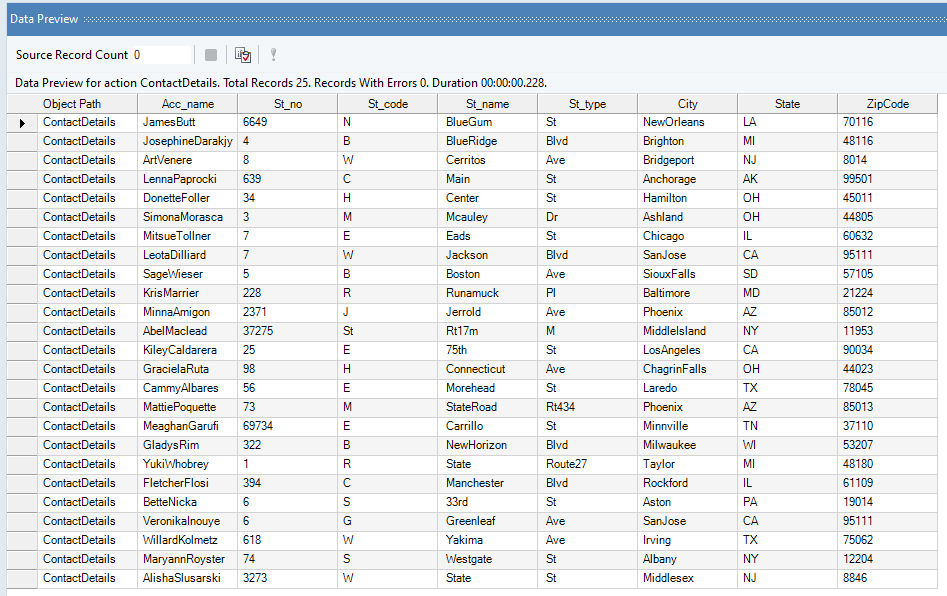
A Data Preview window will open, displaying the source data.
Now, we want to convert the information contained in multiple fields into a single field in text format.
To perform this task, we will use Fixed Length Serializer object in Astera Centerprise.
Using Fixed Length Serializer
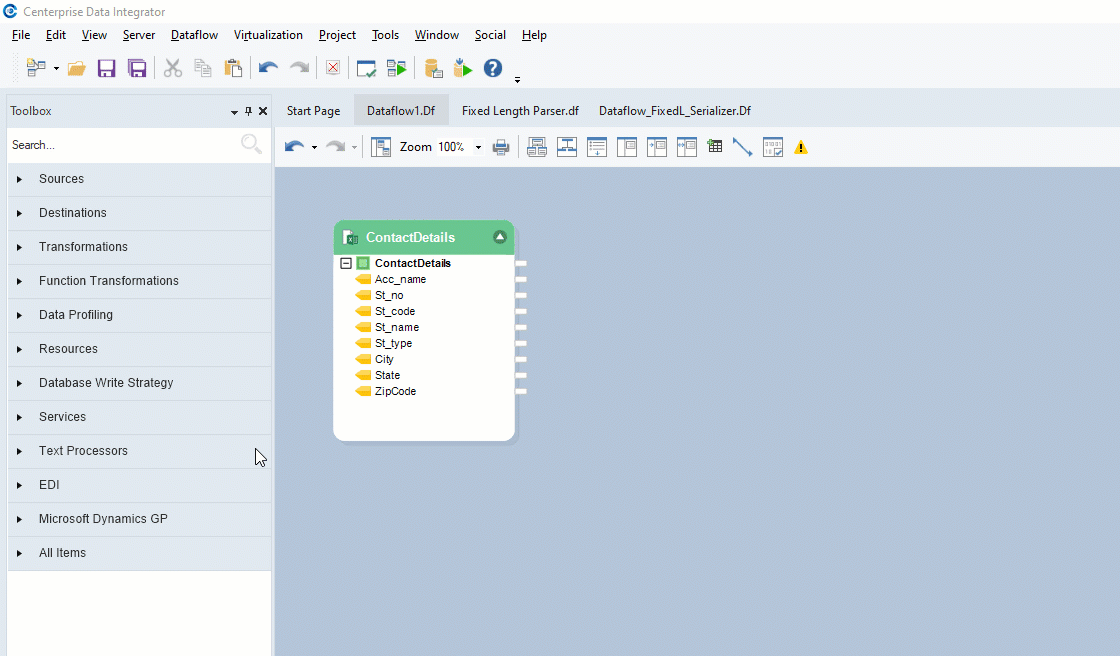
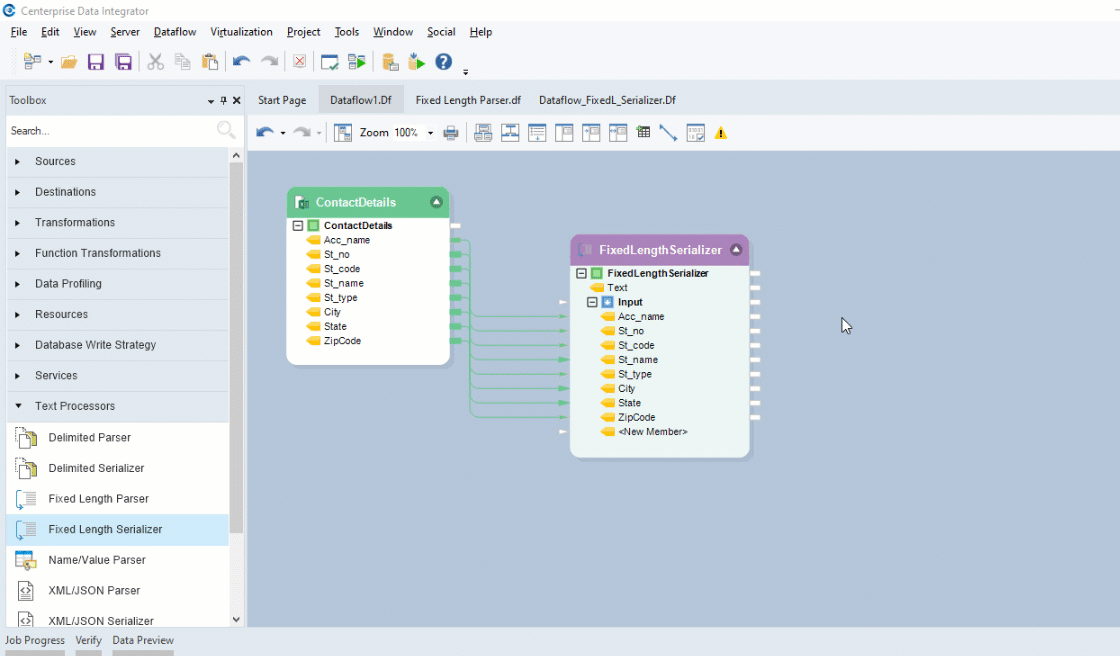
1. To get the Fixed Length Serializer object, go to Toolbox > Text Processors > Fixed Length Serializer and drag-and-drop the object onto the designer.
You can see that the dragged-object contains a Text field and an Input sub-node which is currently empty.
2. Auto-map source fields by dragging-and-dropping top node of the source object, ContactDetails onto the Input node of transformation object – Fixed Length Serializer.
3. Right-click on the object’s header and go to Properties.
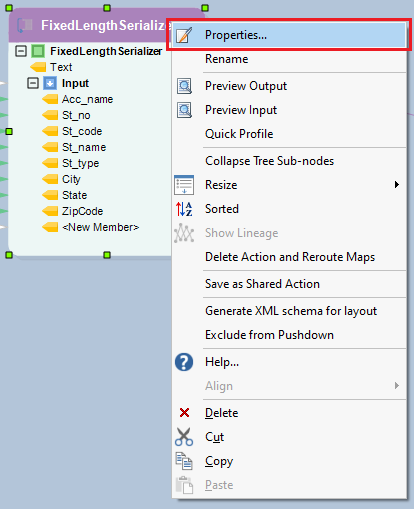
A configuration window will open as shown below.
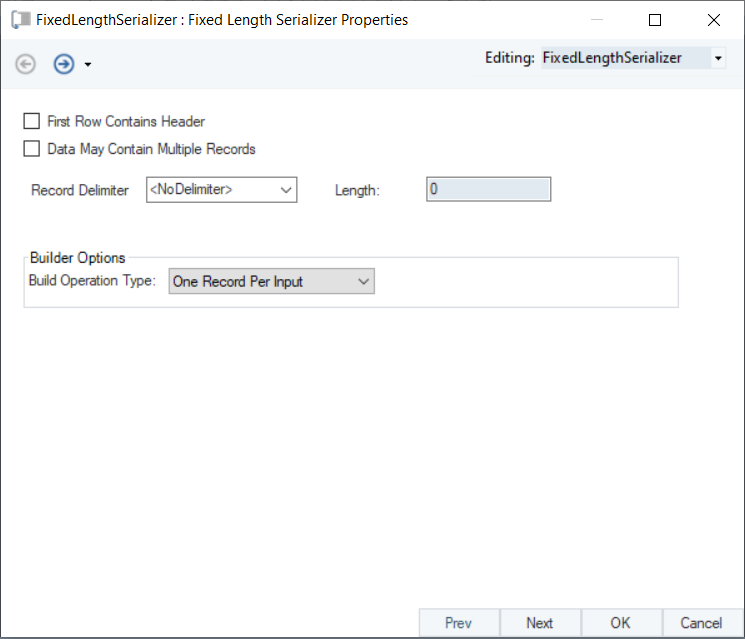
4. Check the options according to the contents and format of your source file.
In this example, both options have been checked as the first row in the source file contains header and the data also contains multiple records.
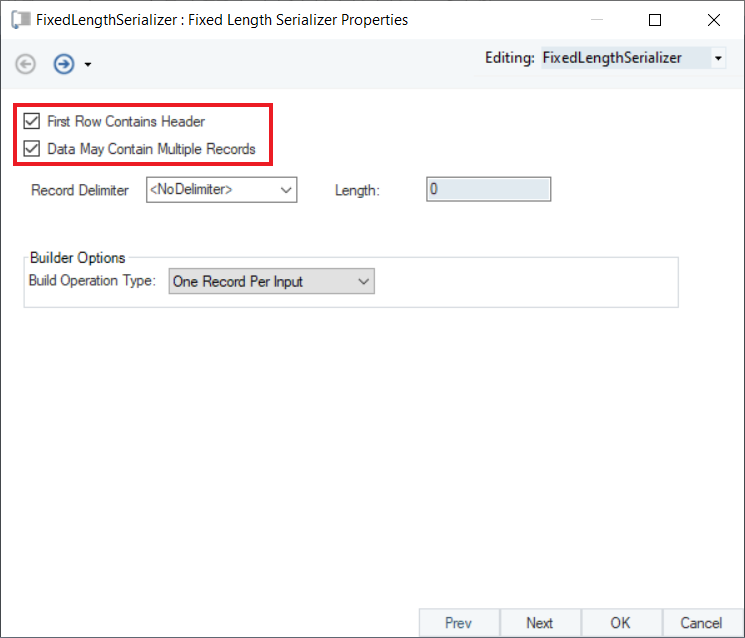
5. Specify the Record Delimiter of the source data. In this case, it is <CR><LF>.
You can specify any delimiter based on the format of your source file.
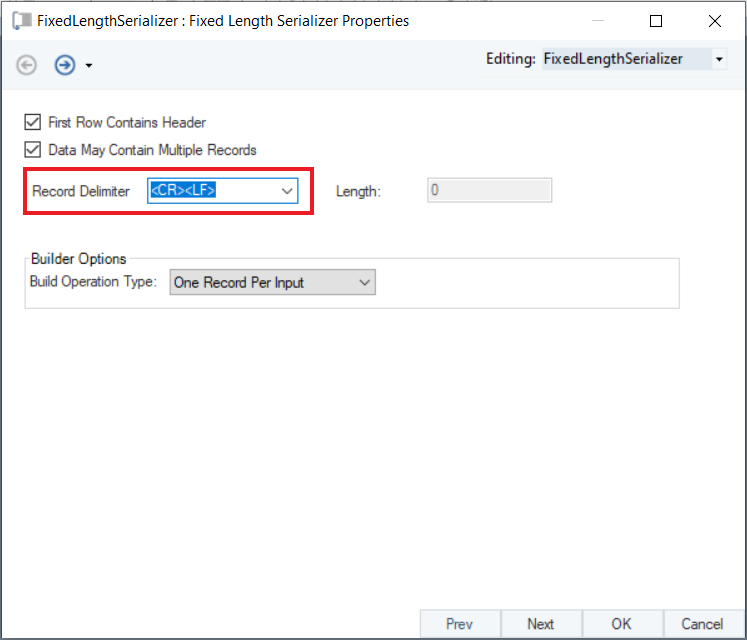
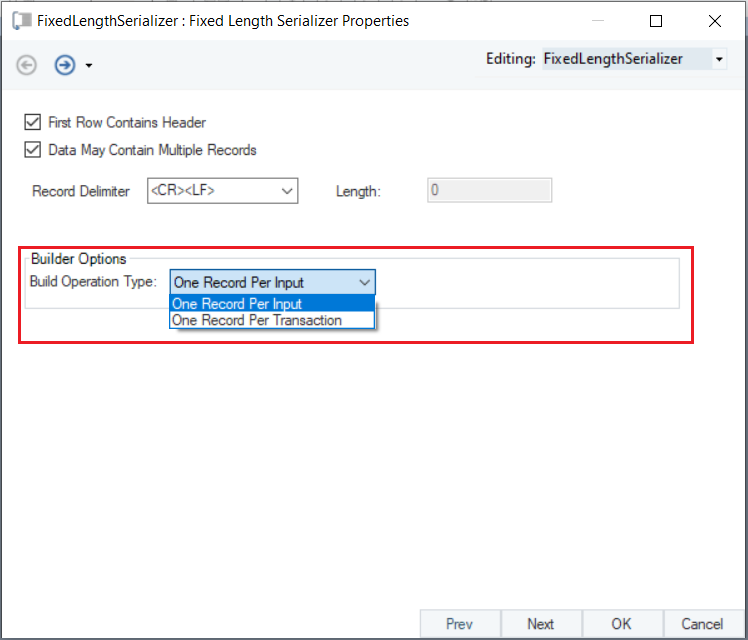
6. Under the Builder Options, select the relevant type from the drop-down list. For this dataset, we will use One Record Per Input.
7. Click Next. This will bring you to the Destination Fields screen where you can see all the incoming fields from the source object.
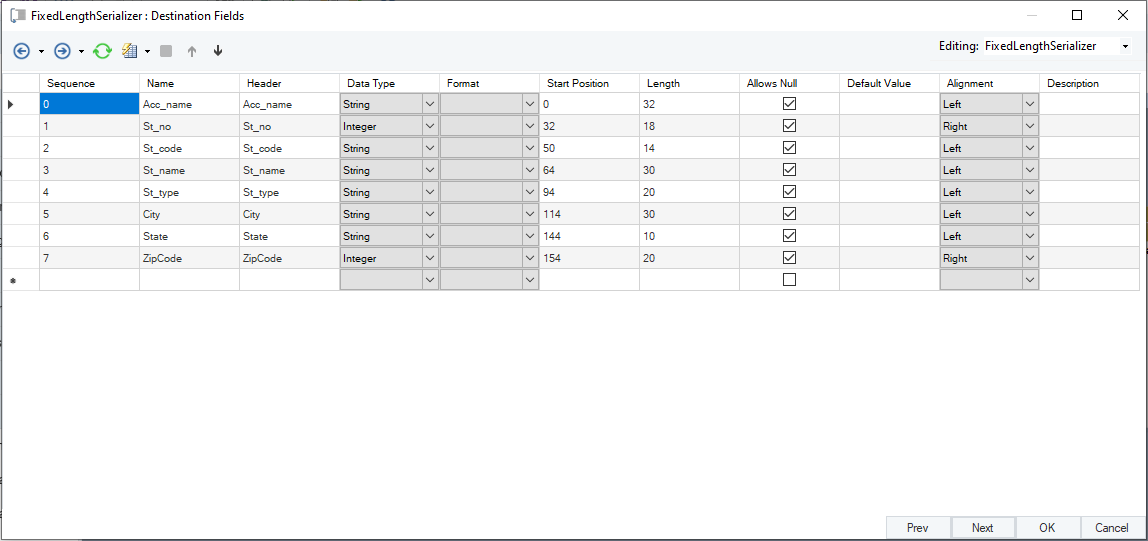
Here you can delete fields, change their Header or Data Type, modify Start Position of the string, define field Length and customize the fields according to your requirements.
Click OK.
8. Right-click on the Fixed Length Serializer object and select Preview Output.
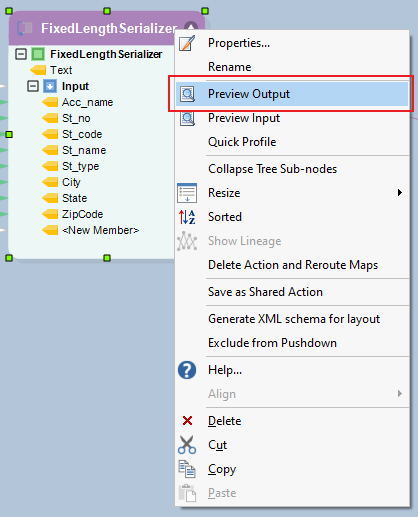
A Data Preview window will open, displaying the serialized data.
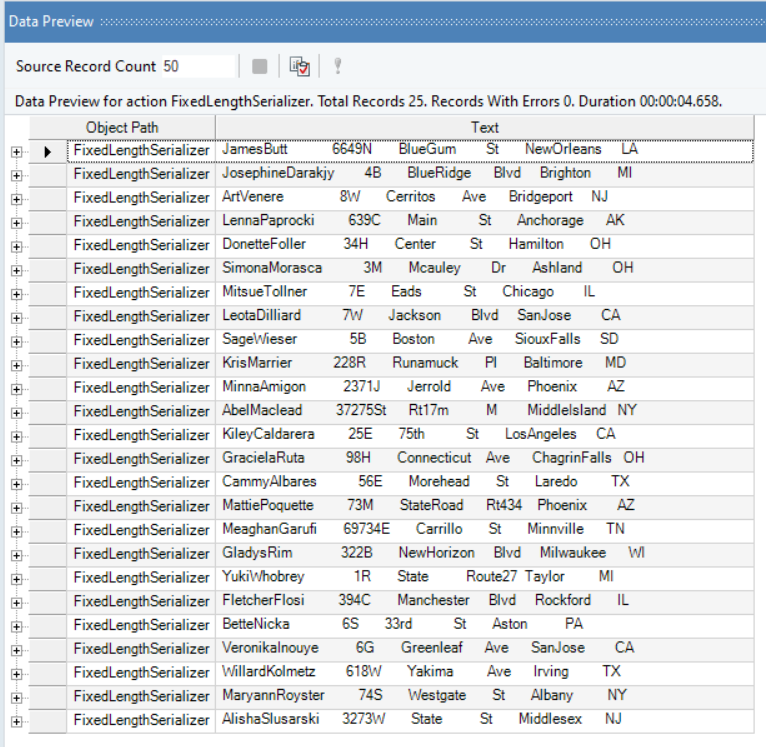
To store this serialized output, write it to a destination file.
9. Right-click on FixedLengthSerializer node, go to Write to > Fixed Length File Destination. A Fixed Length File Destination object is added to the dataflow designer with Text field auto-mapped to it.
10. Configure settings for Fixed Length File Destination object.
Learn to configure settings for Fixed Length File Destination from here.
11. Click on the Start Dataflow button placed in the toolbar at the top to create the destination file.
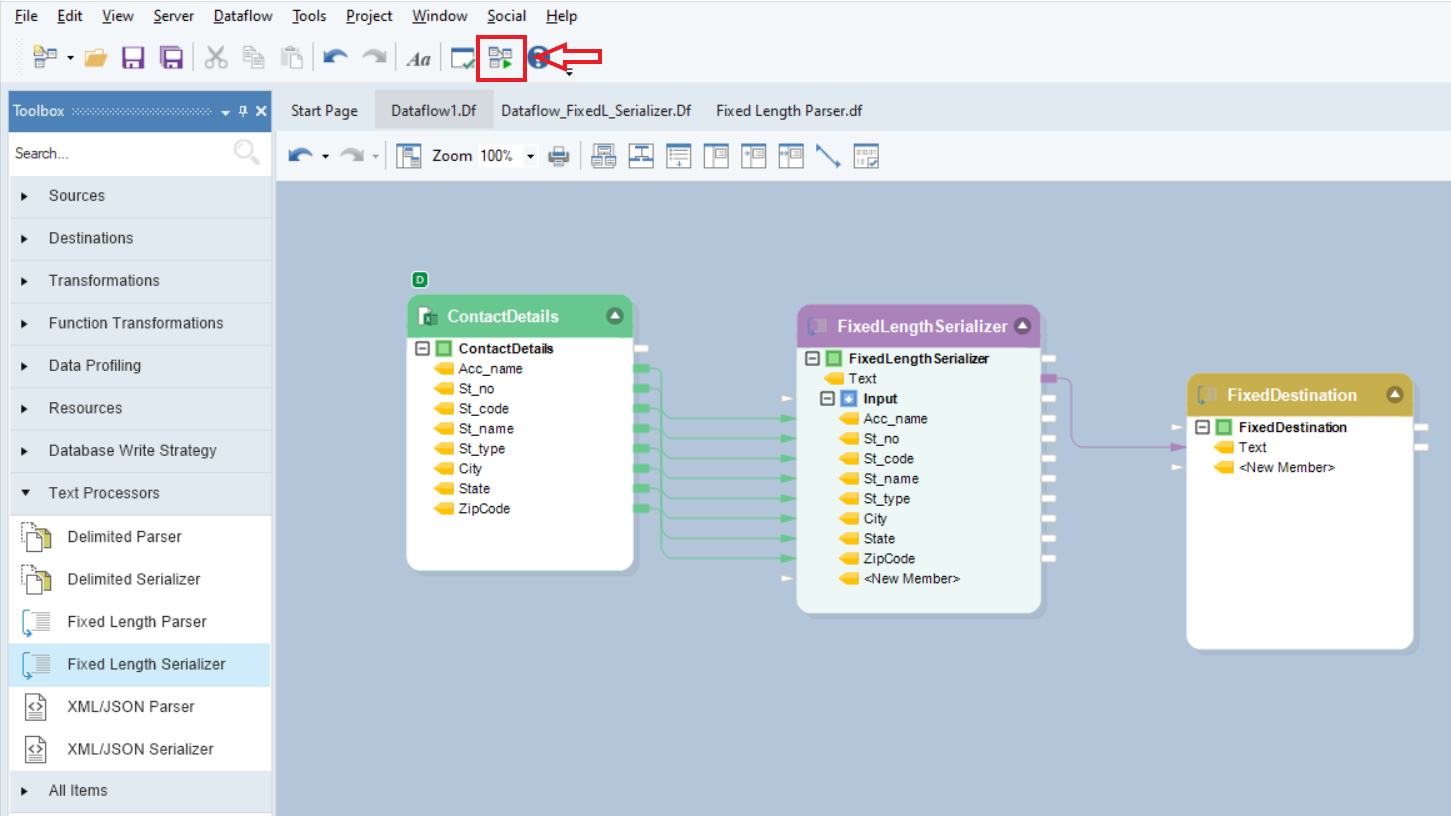
A fixed length file destination file will successfully be created. You can find its link in the Job progress window.