PDF Form Source
A PDF Form Source object provides us with the functionality of extracting data from a fillable PDF document . A fillable PDF document comprises of certain data points or digital fields which are editable by a user using any modern PDF viewers. They are often used instead of official documents on the web. The PDF Form Source object detects those points, extracts out the written data, and creates relative fields for them.
In this article, we will explore how to make use of the PDF Form Source object in Astera Centerprise to retrieve data.
Sample Use-Case
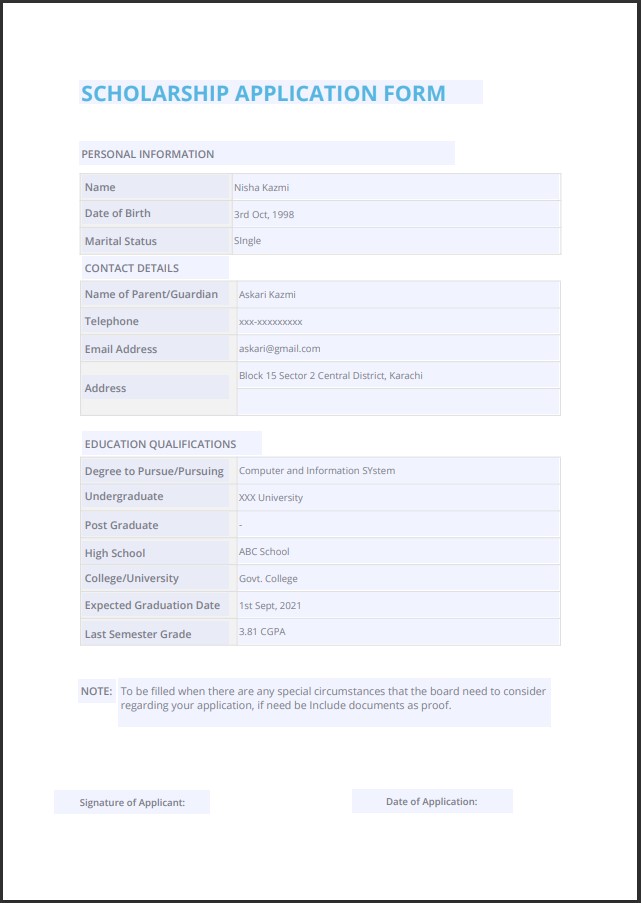
Note: This is a Scholarship Application Form with fillable data fields for Personal Information, Contact Details, and Education Qualifications.
Utilizing the PDF Form Source Object
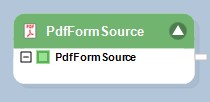
1. Select the PDF Form Source object from the toolbox window and drag-and-drop onto the dataflow designer.

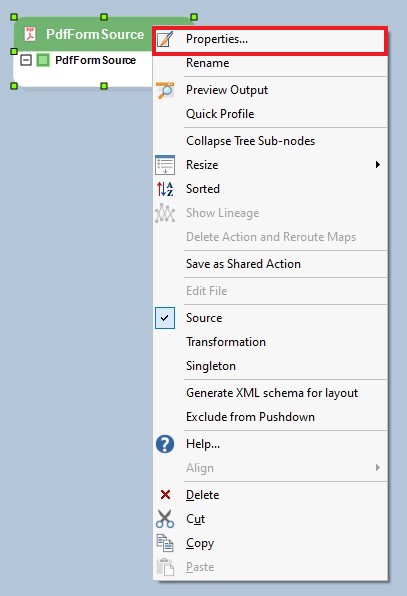
2. Right-click on the header of the PDF Form Source object and select the Properties option from the context menu.
A configuration window will open, as shown below.

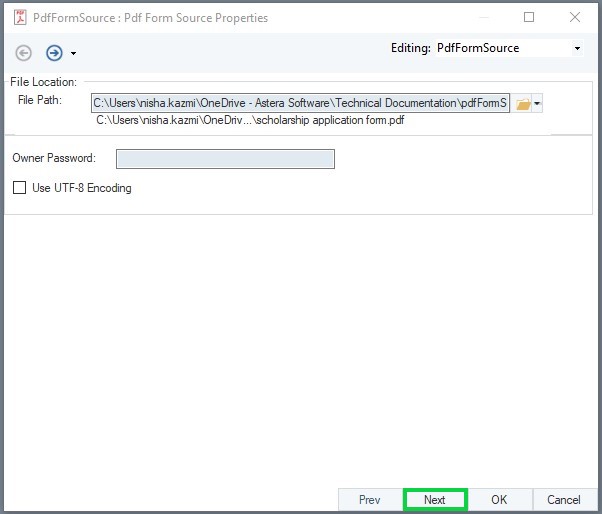
3. Provide the file path for the fillable PDF document.
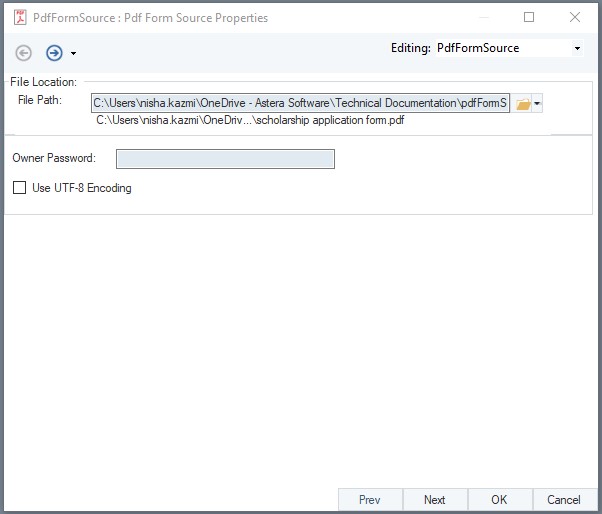
- Owner Password: If the file is protected, then enter the password that is configured by the owner of the fillable pdf document. If the file is not protected, this option can be left blank.
- Use UTF-8 Encoding: Check this option if the file is UTF-8 i.e., Unicode Transformation Format – 8-bit, encoded.
Click on Next.
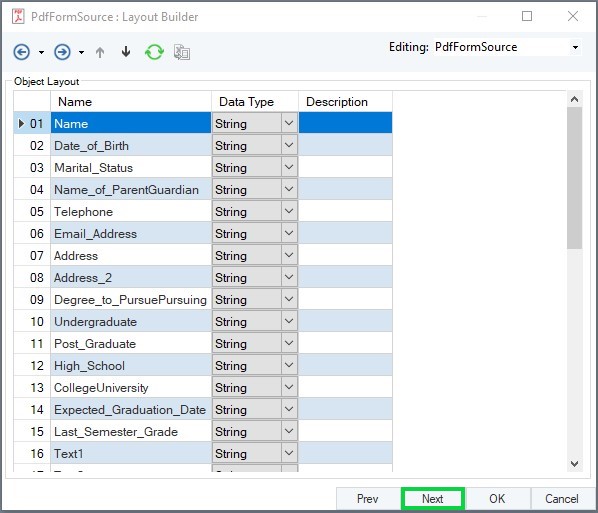
This is the Layout Builder window, where you can see the data fields extracted from the fillable PDF document. Click on Next.
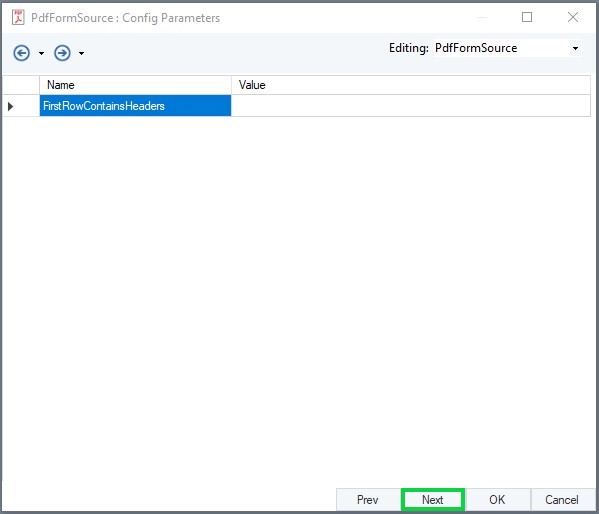
This is the Config Parameters window. Click on Next.
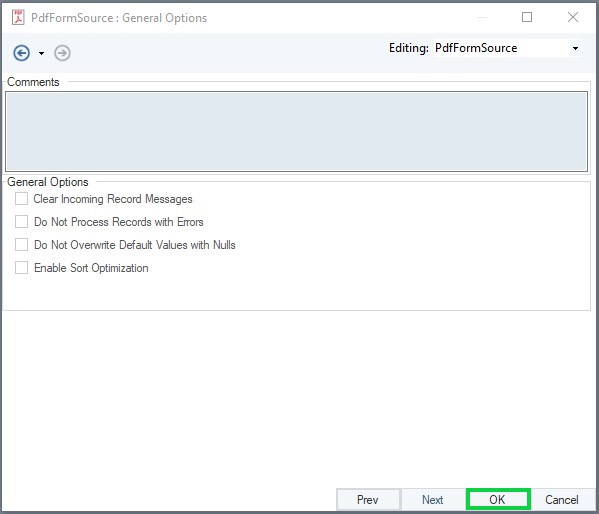
This is the General Setting window. Click on OK.
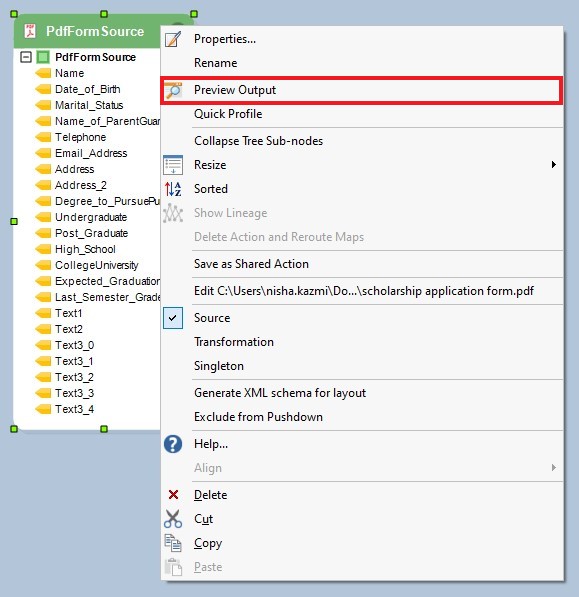
4. Right-click the PDF Form Source object’s header and select Preview Output from the context menu.
View the data through the Data Preview window.

The data is now available for mapping. For simplicity, we will delete the non-required data fields and store the output in a separate file. To store the data, we must write it to a destination file.
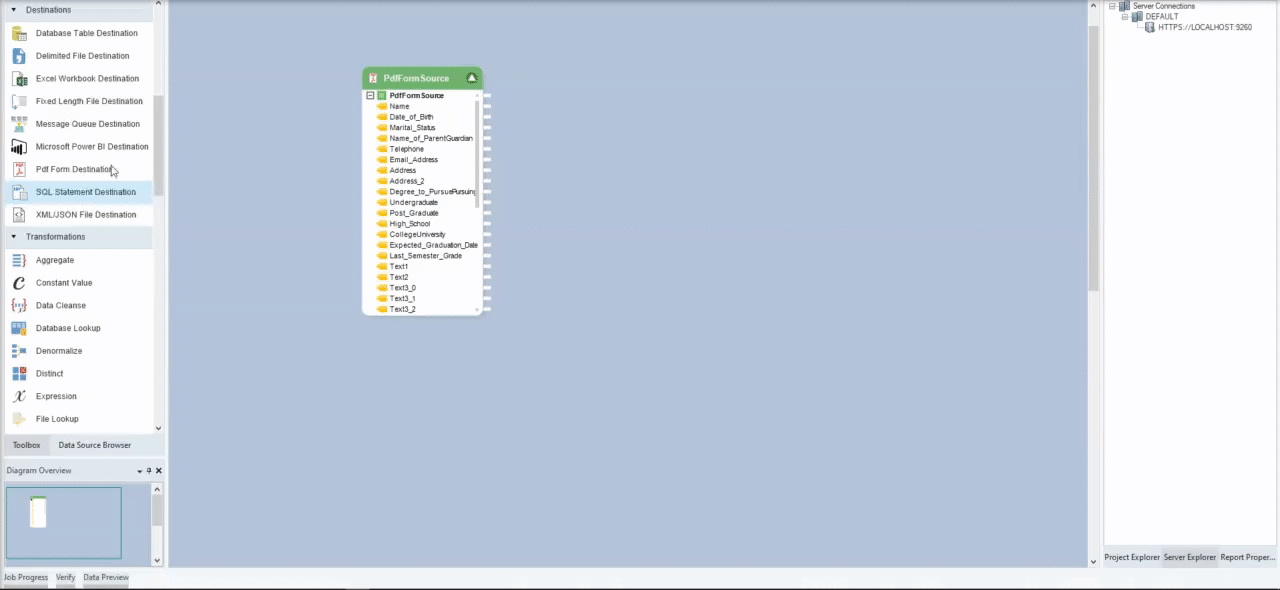
5. We are using a Delimited Destination object. Drag-and-drop the Delimited Destination object onto the dataflow designer and map the fields from PDF Form Source object to the destination object.
Right-click on the fields that you do not want to store and select the Remove Element option.
Note:
- Do not delete the data fields from the PDF Form Source object, as it will disturb the layout that has been generated for the detected data fields.
- You can also delete the data fields in the destination file by using the Layout Builder. Or map only the relevant fields onto the nodes of the destination object. You can refer to this article to learn more about Delimited Destination object.
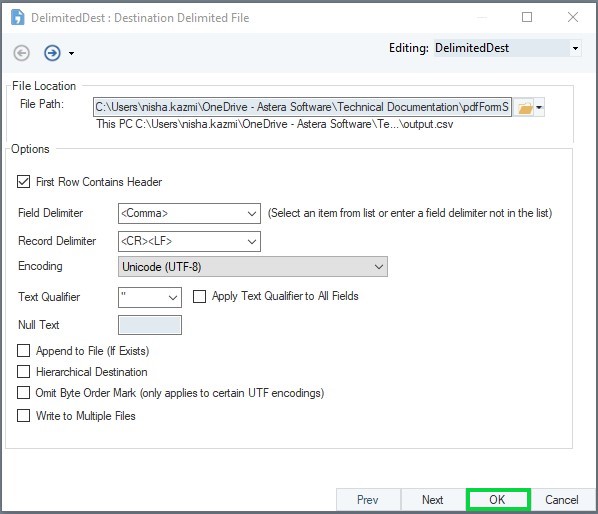
6. Simply double-click or right-click on the Delimited Destination object’s header and select the Properties option from the context menu. Select the file path where you want to store the file. Click on OK.
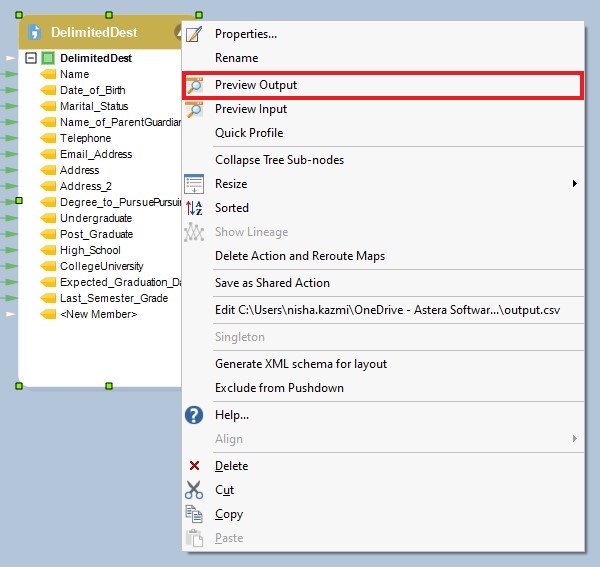
7. To preview the data, right-click on the destination object’s header and select Preview Output from the context menu.
Here, you can see the data of the selected fields.

This is how a PDF Form Source object is used in Astera Centerprise to mine out data point/digital fields from fillable PDF documents.