GPG-Integrated File Decryption in Astera Centerprise
Encrypted files can easily be decrypted manually using an OpenPGP tool such as GPG or PGP. However, if you receive decrypted files in bulk regularly, and want to automate the whole process of decrypting those files, you can do that by creating a workflow in Astera Centerprise.
GPG4Win Integration in Centerprise
GPG4Win is one of the many tools commonly used to decrypt encrypted files. Generally, it is run using Window’s Command Prompt. To integrate it with Centerprise, you can create a batch file and run it using the RunExe Task in a workflow. The batch file contains commands that are to be executed on GPG4Win to decrypt files.
Creating a Batch File
A batch file is a simple text file that contains commands that are to be executed on GPG4Win to decrypt files. A batch file can be created by opening a new file in Notepad and saving it with ‘.bat’ extension.
Variables Required for Decryption
- *PriKey* – Location where the Private Key resides
- *Passphrase* – Passphrase required to access the Private Key
- *Output* – Destination path of decrypted files (with new filename)
- *Input* – Location path to the encrypted files
Batch File Explanation
Here we have created a batch file in Notepad. It contains the following commands to be run in the GnuPG environment.
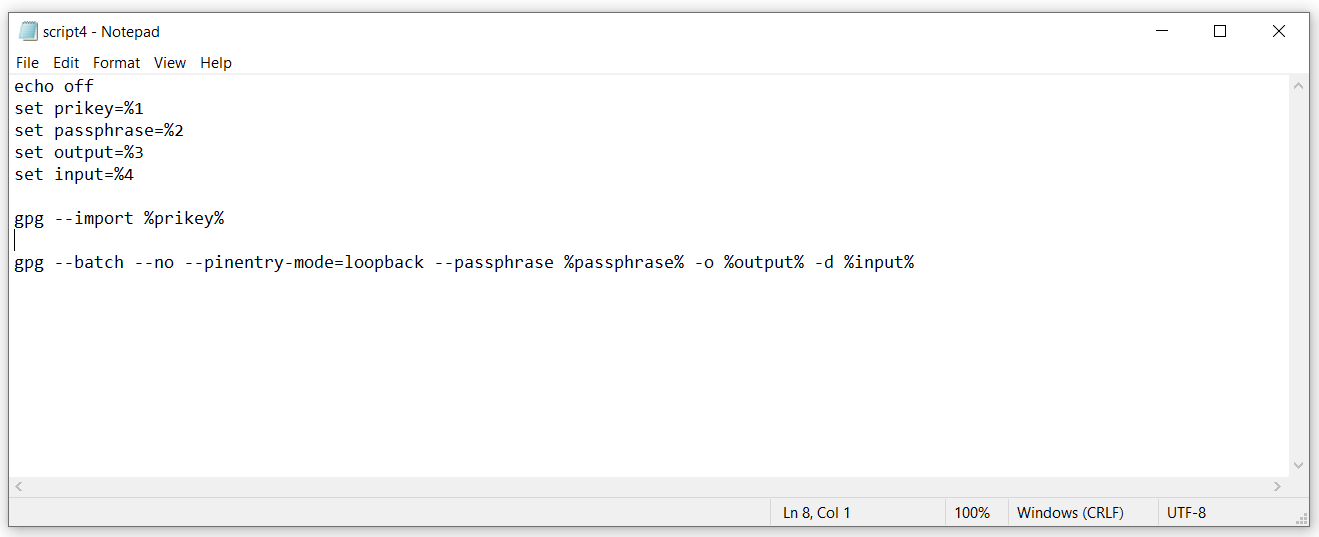
- echo off – echo prints the command being executed on the command prompt. Turning it off prevents it.
- gpg – GNU Privacy Guard; it indicates that the following command is for GNUPG.
- –import %prikey% - This imports the Private Key required for decryption. This is an essential step and the proper way to import the PriKey.
- –no/yes – Permission to overwrite if a file with the same name already exists. If set to no, and a file with the same name already exists, it will not perform any action, and the job will be counted as ‘unsuccessful.’ You can utilize the ‘Fail Action if Unsuccessful’ option (in the RunExe workflow task) to terminate the flow or ignore it as required.
- –pinentry-mode=loopback – GnuPG requires you to enter passphrase for which it gives a pop-up at runtime. Since this passphrase needs to be entered manually in the pop-up, it may hinder automated jobs. The ‘loopback’ pinentry-mode forces it to suppress the pop-up and utilize the passphrase in the batch file itself.
- –passphrase %passphrase% – Since the private key is stored somewhere on the computer, it should be secured to prevent unauthorized access. The passphrase is a secret phrase (just like a password) needed to utilize the private key, without which the key will not work.
- -o %output% – Destination of decrypted files (including new filename)
- -d %input% – Path to the files to be decrypted
Automating the Process in Astera Centerprise
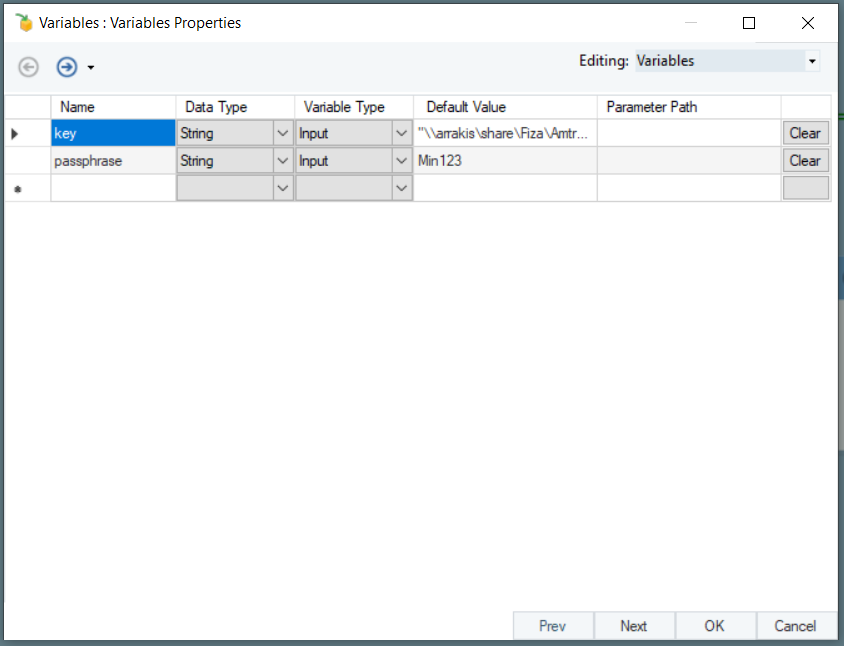
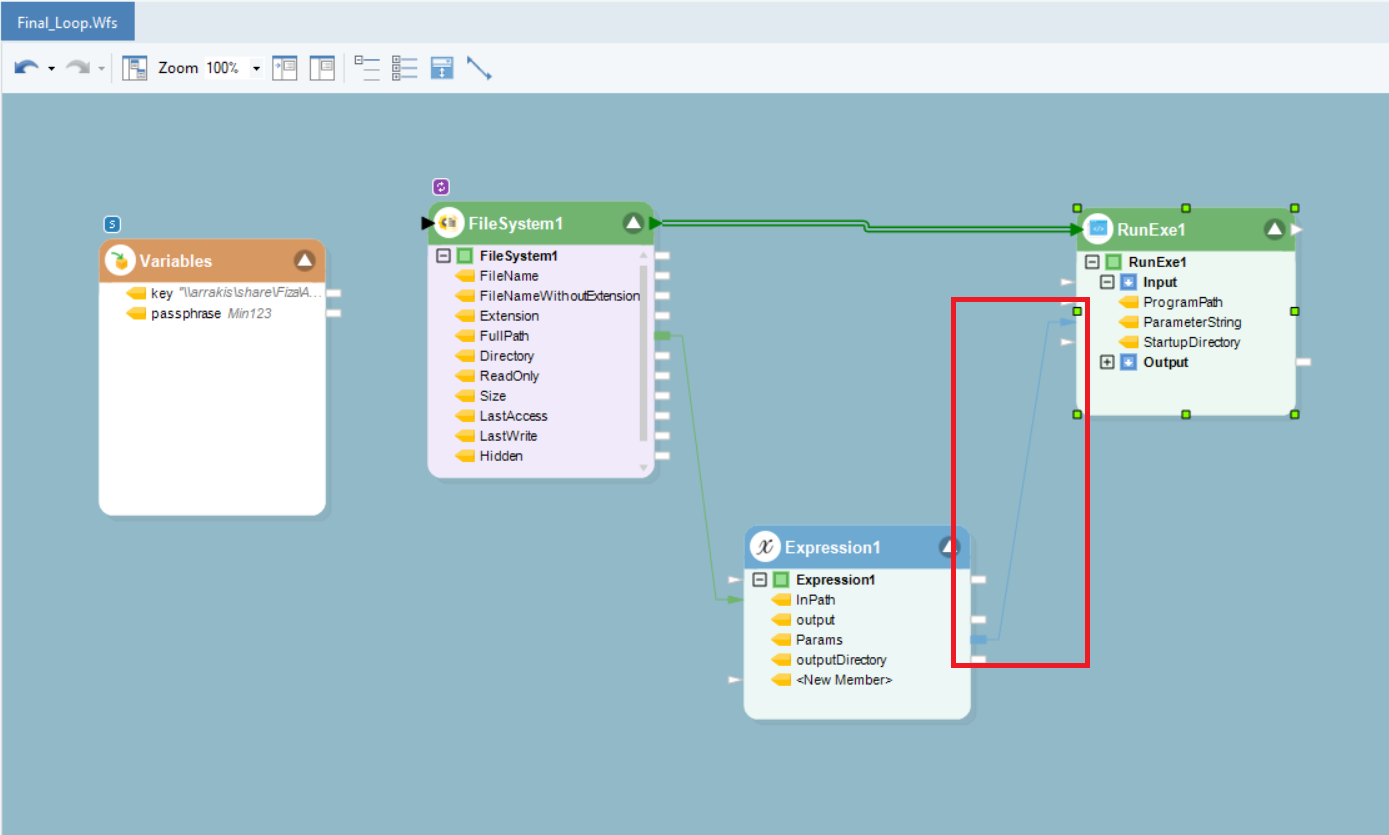
Here, we’ve already designed a workflow using a File System Items Source task, an Expression task, and a RunExe task. We’ve also used a Variable object to pass the PriKey location path and the Passphrase to access the PriKey.
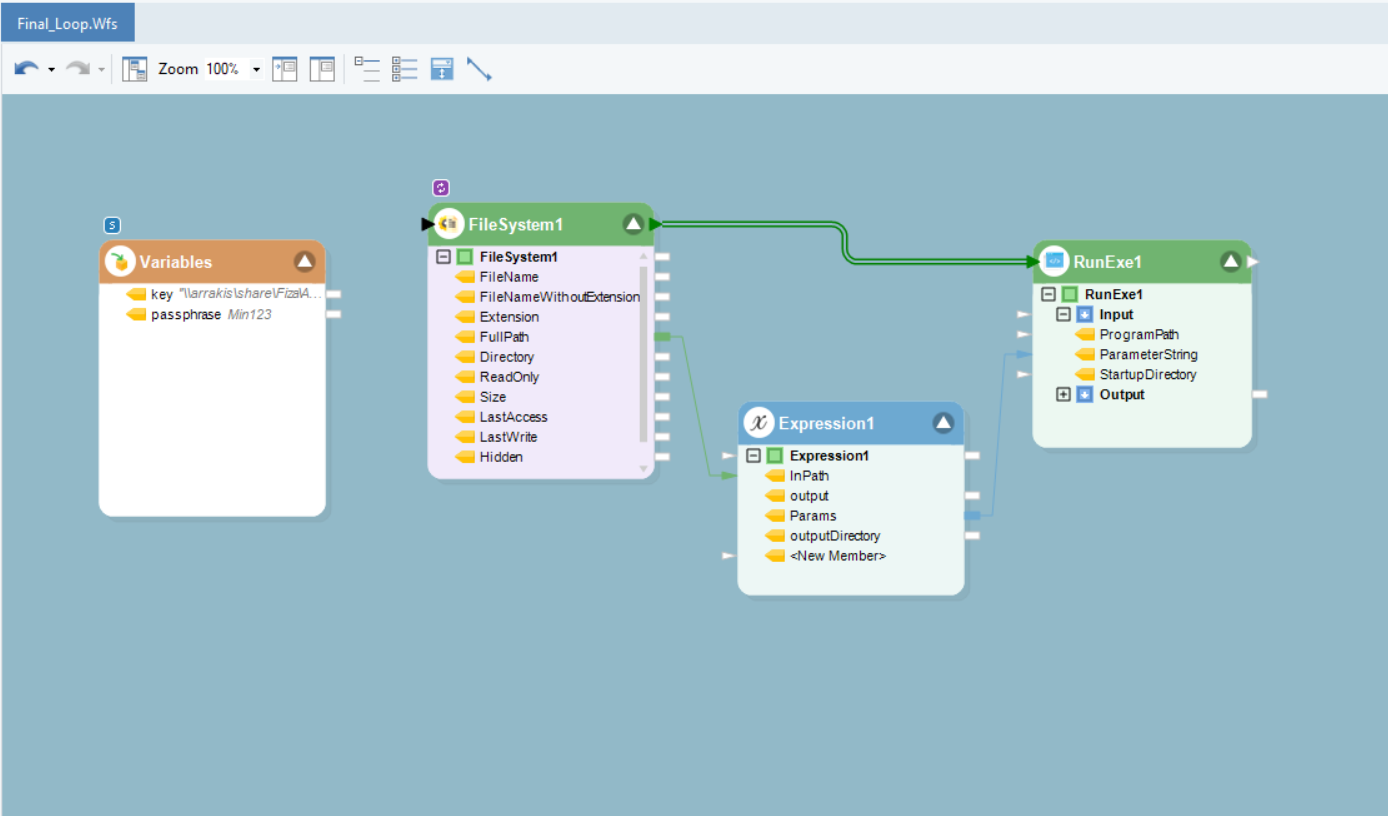
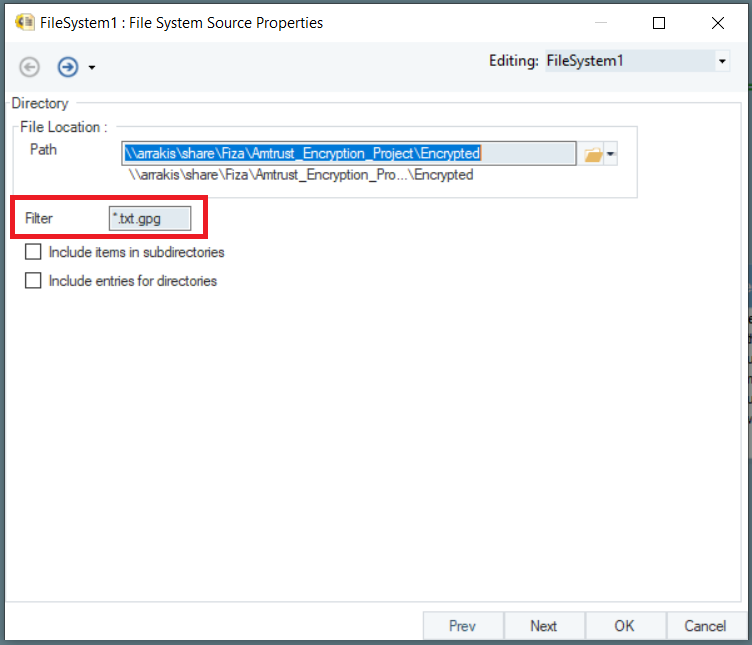
The FileSystemItemsSource utilizes ‘.gpg’ filter to filter out encrypted files and runs in a loop to execute the corresponding RunExe task for all of them one by one.
The Expression task uses the information from Variables and FileSystemItemsSource to generate a parameter string.
The parameter string contains all 4 parameters (variables required for decryption), separated by a single space and enclosed within quotes. As in, Variables.key + “ “” + Variables.passphrase + “” “” + output + “” “” + InPath +”””
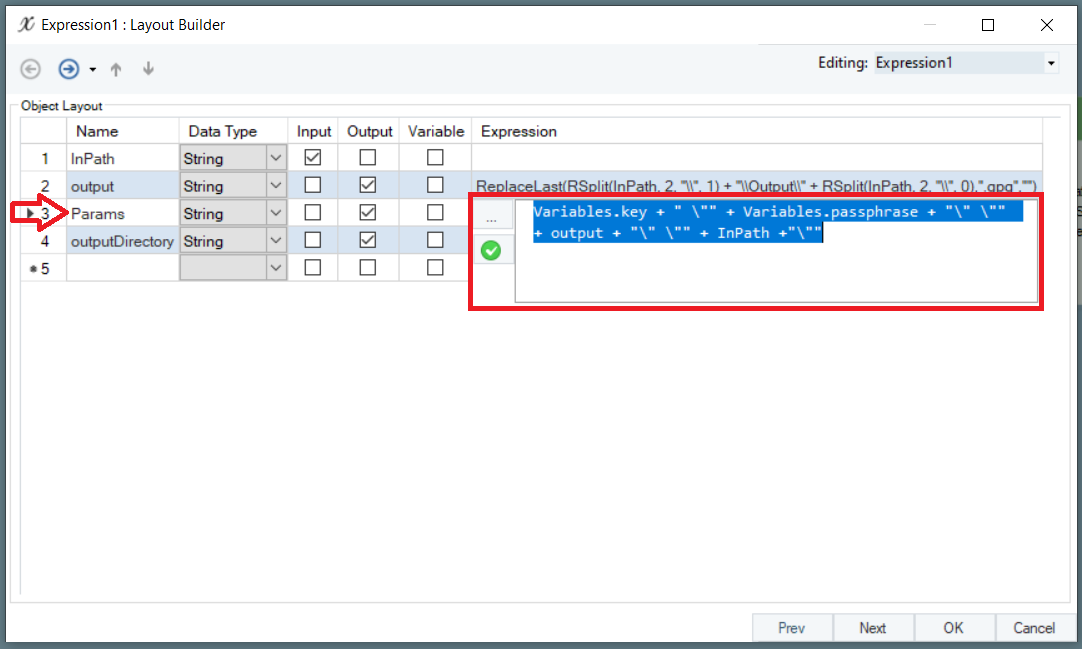
The Variable object feeds the path to the Private Key and Passphrase into the parameter string in the Expression task, during runtime.
Next, we have used a RunExe task to run the batch file in GnuPG environment. The Program Path is the path to the batch file, whereas the ‘Run in’ is the location of the GnuPG environment where the commands will be run.
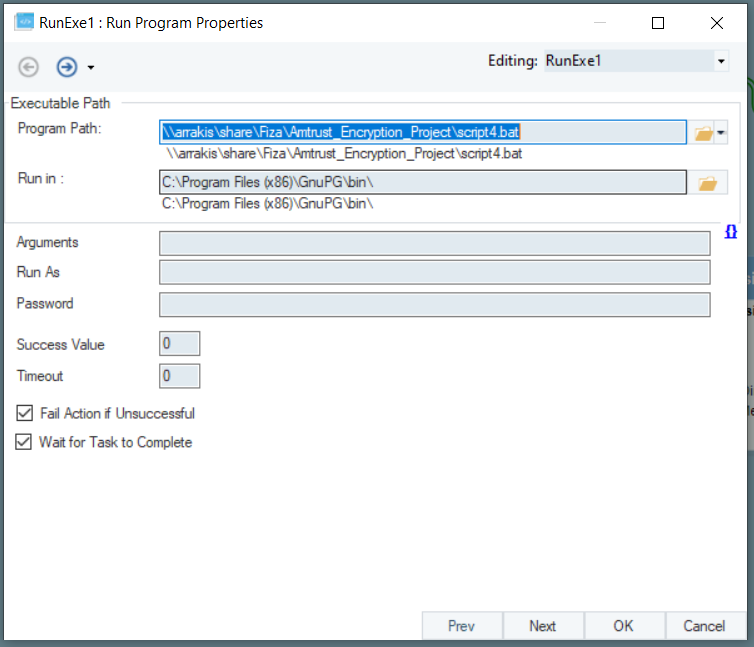
The batch file does not have the four parameters (arguments), and we have fed these parameters to it using the parameter string from the Expression object.
Our workflow is ready. You can now schedule it on Astera Integration Server to be executed automatically at your specified time and frequency.
Before you run the workflow, make sure you’re logged on to Astera Integration Server with an account that has access to the Private Key. To do that, go to Services > Astera Integration Server 8 > Properties > Log On.
Let’s run this workflow. You can observe the progress in the job trace.
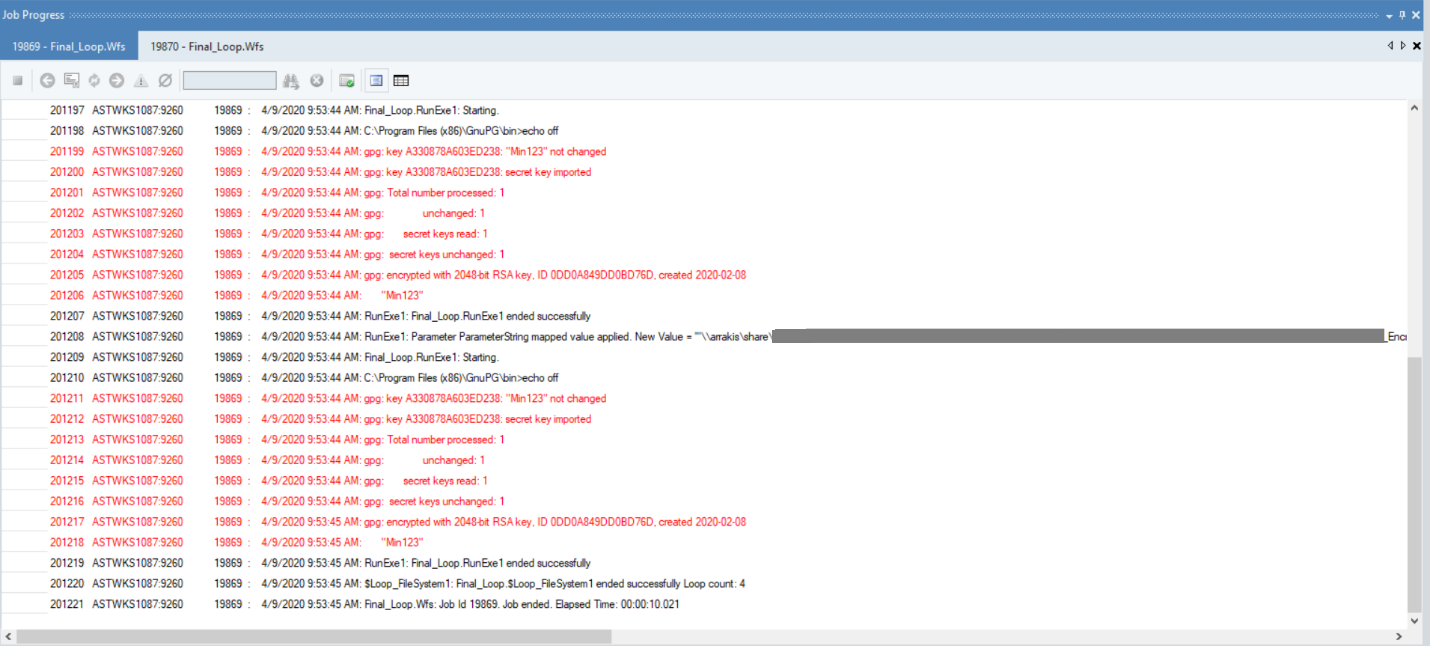
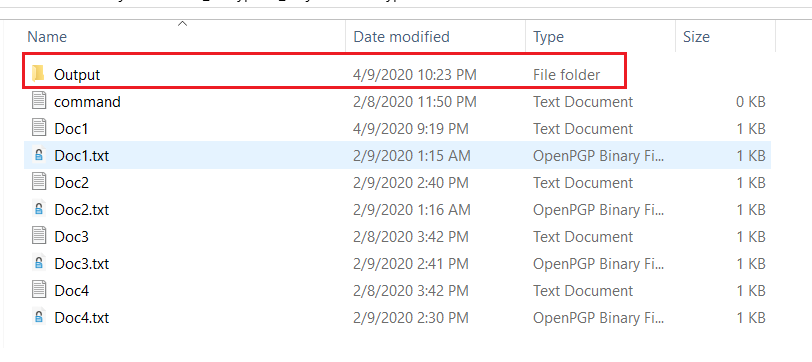
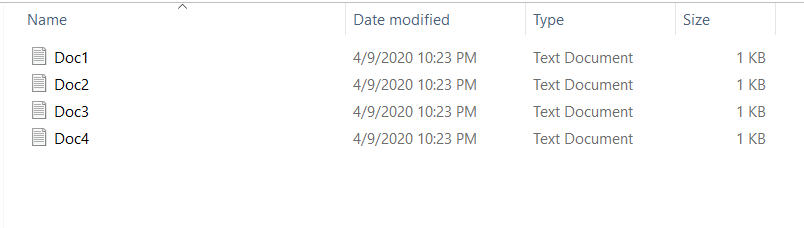
Now, if you look at the location we specified for the output, you can see that all source files have been successfully decrypted and stored in a new folder named ‘Output.’
This concludes integrating GPG commands and orchestrating the file decryption process in Astera Centerprise.