Switch Transformation
Switch transformation matches source data for the criteria specified by the user, and wherever the criteria is met, it replaces the information in the particular field with the desired output (also specified in the layout). This gives users more control over their data and helps them manage it in a better way.
There are two modes in Switch transformation:
- Basic Mode
- Enhanced Mode
The basic mode in Switch transformation matches for specific values in the source data and replace it with the desired output. Enhanced mode enables users to set lookup criteria by writing expressions and thus makes the feature more flexible.
How to work with Switch transformation (basic mode) in Centerprise
- Select your source by dragging the relevant object from the Sources section in the Toolbox on to the dataflow designer and configure the connection by putting in relevant details.
(Note: In this example, we are working with an Excel Workbook Source that contains employee information for a fictitious organization, but you can select the source type from a wide range of options provided in Centerprise).

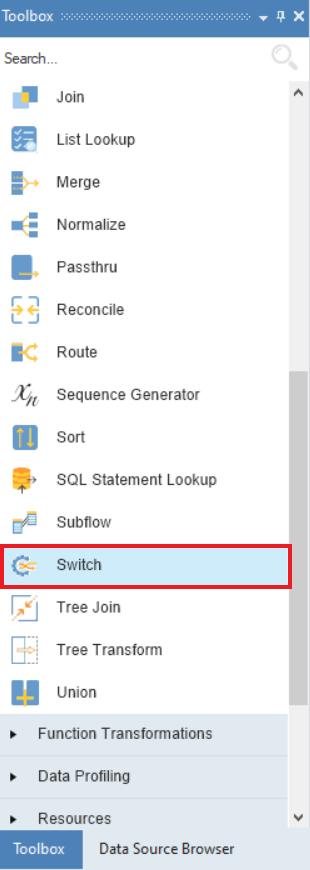
2. After setting up the connection and configuring the source file, drag the Switchtransformation object from the toolbox. If the toolbox is hidden, go to View > Toolbox > Transformation > Switch.
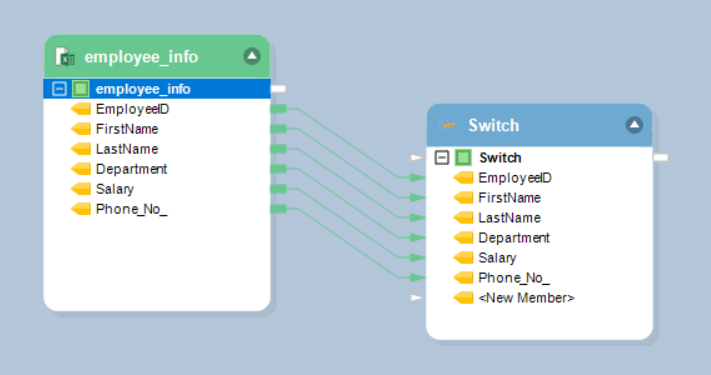
3. Map the required fields from the source to the Switch transformation object.
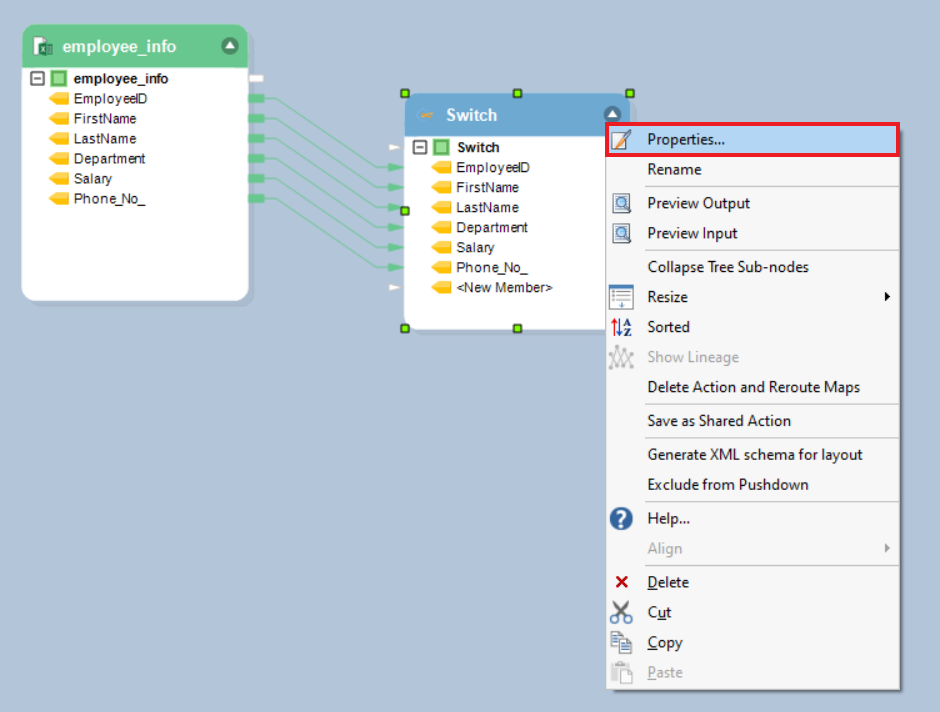
4. Either double-click on the Switch transformation object to open the Properties window or right-click on the object and go to Properties from the list.
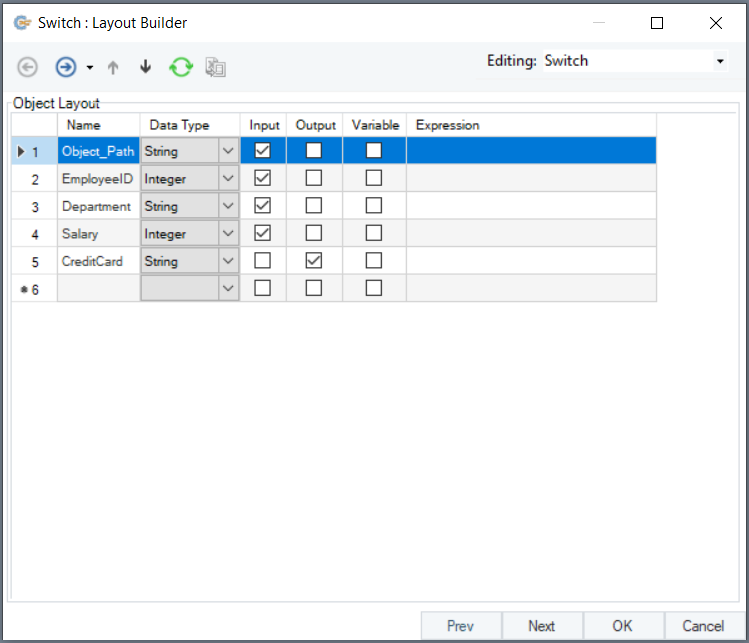
5. First screen on the properties window is a layout builder screen. Here you can manage the fields (add and/or remove the fields) to make your Switch field layout.

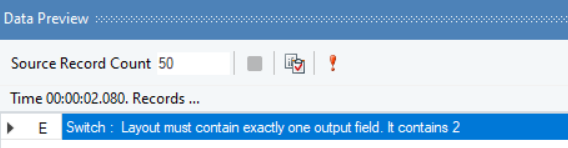
(Note: Switch transformation only allows one output field. If you check the output box next to multiple fields, Centerprise will show a verification error).
6. After specifying the layout and selecting the relevant output field, click Next. It will take you to the Switch Map Properties screen. At this stage, you can select the mode of the Switch transformation and assign the rules in the Case Value and Output Value sections.
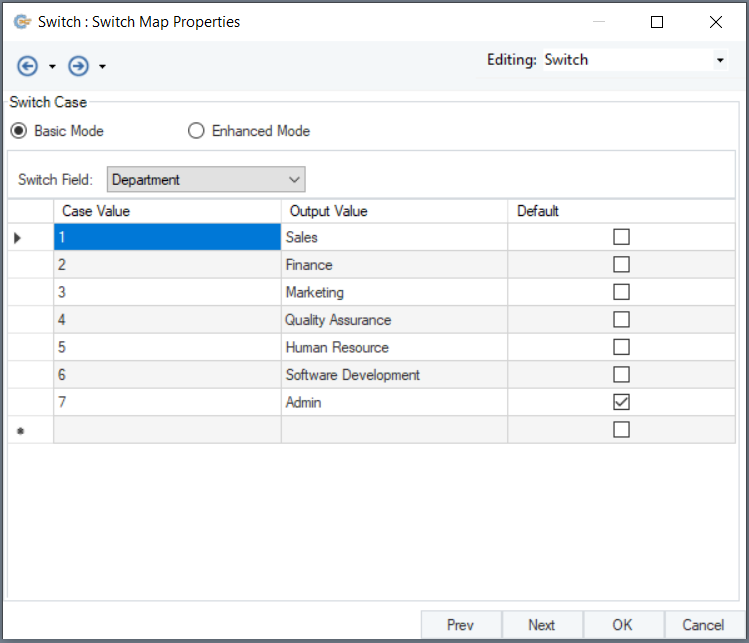
Centerprise will look for the values specified in the Case Value column in the source file and replace it with the corresponding values in the Output Value column.
(Note: Switch transformation only allows one default value and if you select multiple default values, Centerprise will give verification error).

Example
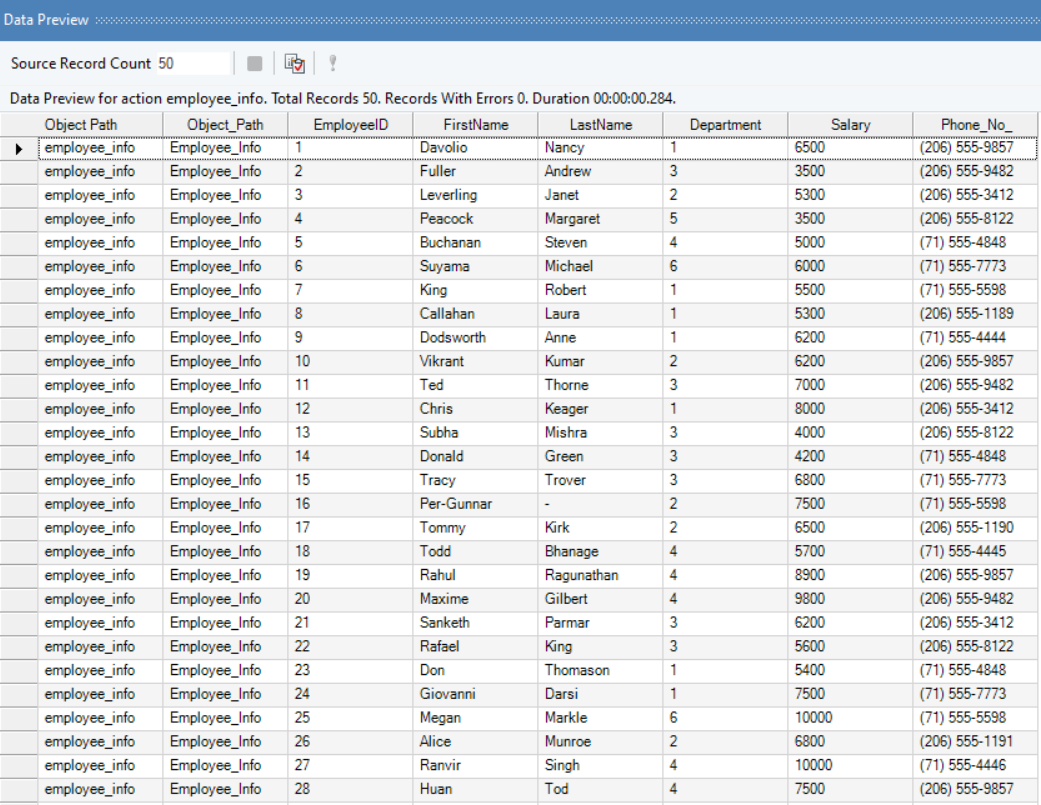
In this example, the source table contains information about the departments in numbers. We will use the Switch transformation in basic mode, to switch the stored numeric information with the descriptive information.
Data Preview (Before Switch)
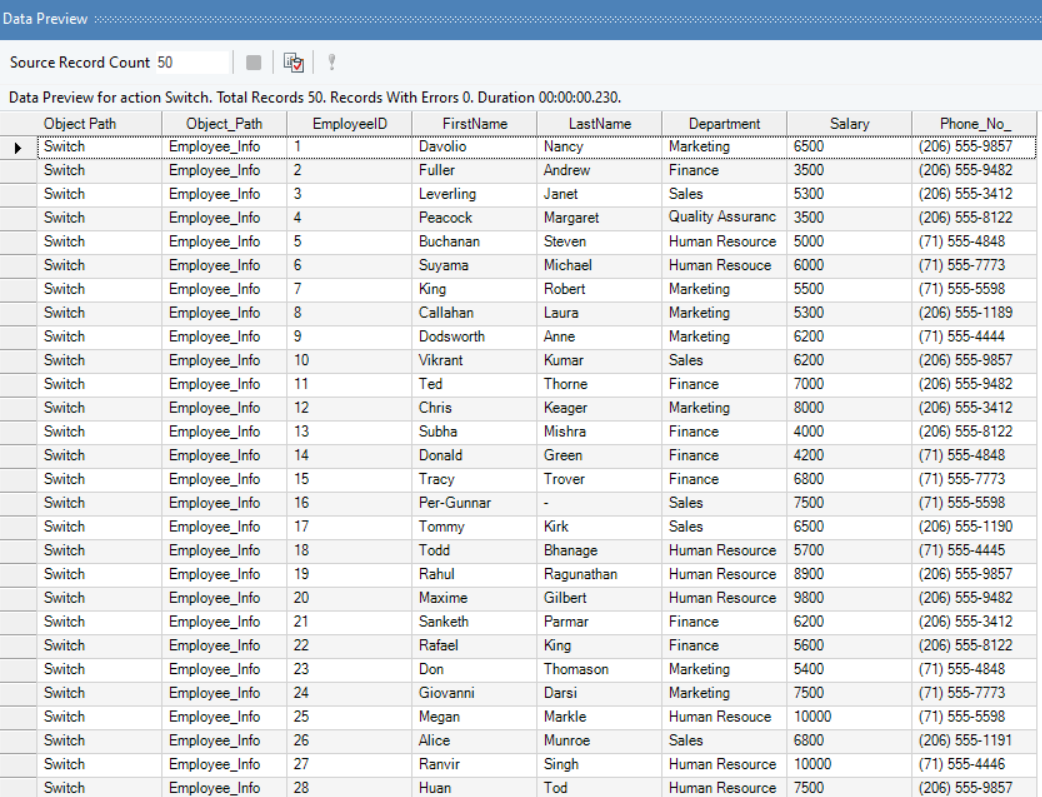
Data Preview (After Switch)
How to work with Switch transformation (enhanced mode) in Centerprise
Steps 1-5 are going to remain the same even when working with the Enhanced Mode in Centerprise.
- After you have created the layout in the Layout Builder screen in the properties window, click Next and go to the Switch Map Properties screen and select Enhanced Mode.

(Note: Switch transformation is not field specific in the enhanced mode therefore, the option for selecting the Switch Field is disabled).
Example:
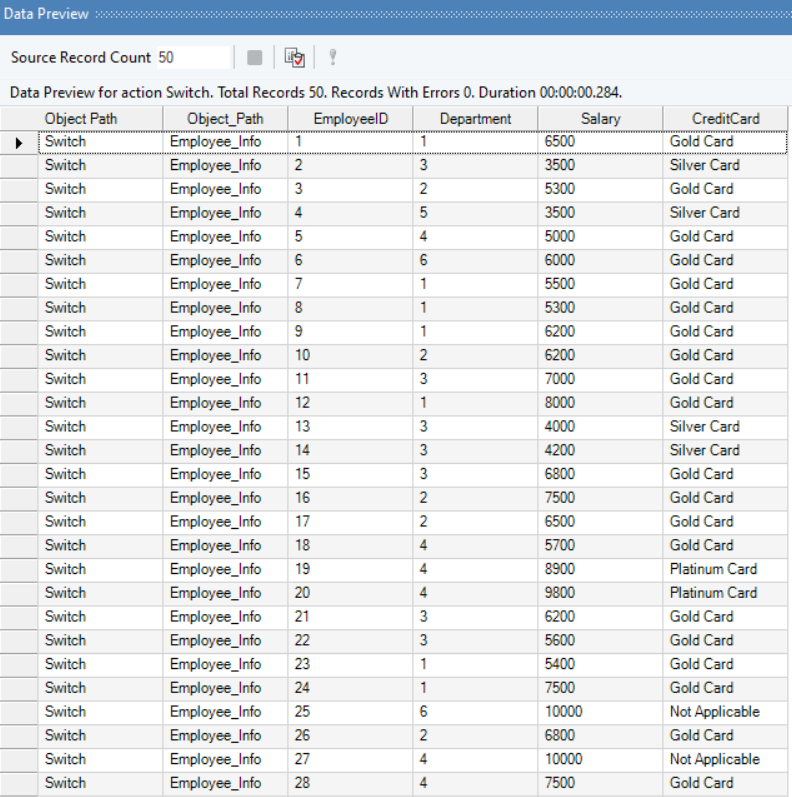
An organization stores information about employees’ salaries. They have set criteria about issuing credit cards, which is dependent on individual’s salary. In this scenario, to see which individual is available for which perk, define the salary range in the Case Expression section and specify the corresponding output in the Output Expression section. See the screenshot above. To store the information in a separate field, we created a new field (CreditCard) in the Layout Builder and selected it as the Output.
Data Preview (Before Switch)

Data Preview (After Switch)