Connecting to Oracle Database
Oracle database is the world’s leading converged, relational database management system produced and managed by Oracle Corporation. It enables customers to simplify relational database environments and run OLTP and data warehouse management workloads by allowing to safely store and retrieve data from it. You can connect to Oracle databases in Astera Centerprise at both source and destination points. The connectivity also extends to other objects such as Database Lookup, SQL Statement Lookup in transformations, SQL Script Task in a workflow, Database Diff Processor and Slowly Changing Dimensions in Database Write Strategies. To learn more about Oracle Databases, click here.
In this article, we will cover:
- A use case where Oracle Database is being used in Astera Centerprise
- Connecting to an Oracle database in Centerprise
- Different data loading and reading options for Oracle database objects in Centerprise
Use Case
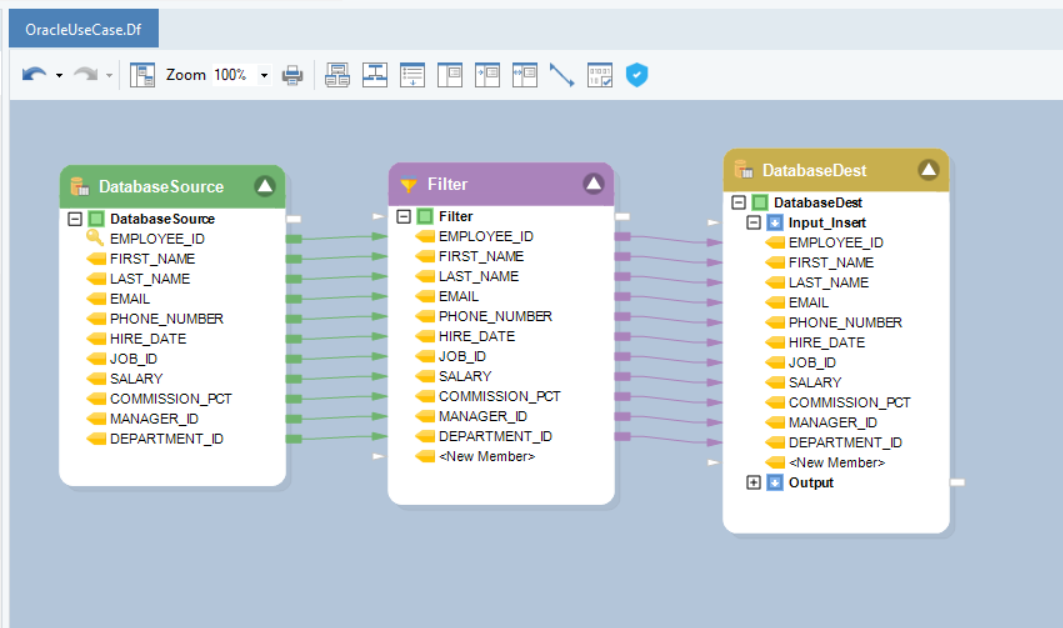
We have some sample employee data stored in an Oracle database. We want to filter out records of employees that fall under the higher income bracket and send those records to a separate table in the database.
We’ll be using the Database Table Source object to source data from the Oracle database.
1. To configure the Database Table Source object, right-click on its header and select Properties from the context menu.
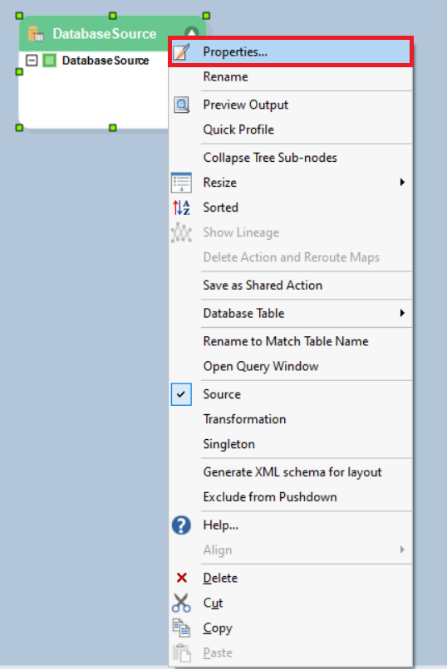
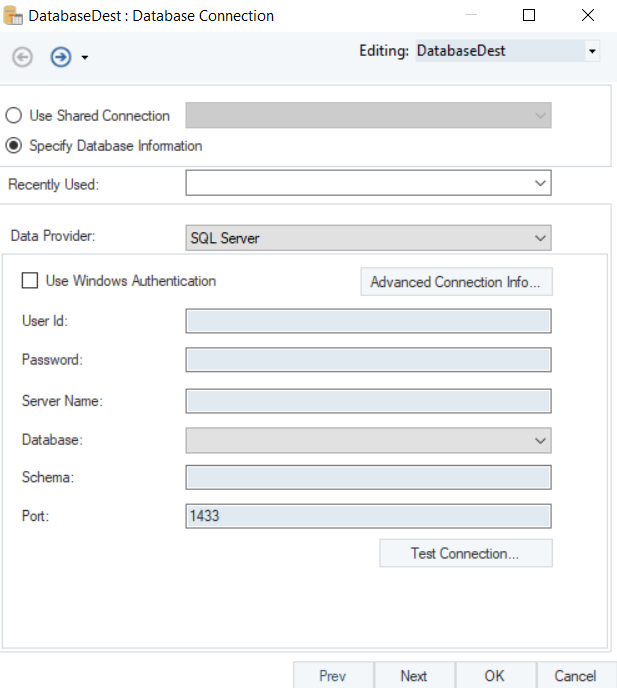
This will open a new window where you can configure connection with the Oracle database.

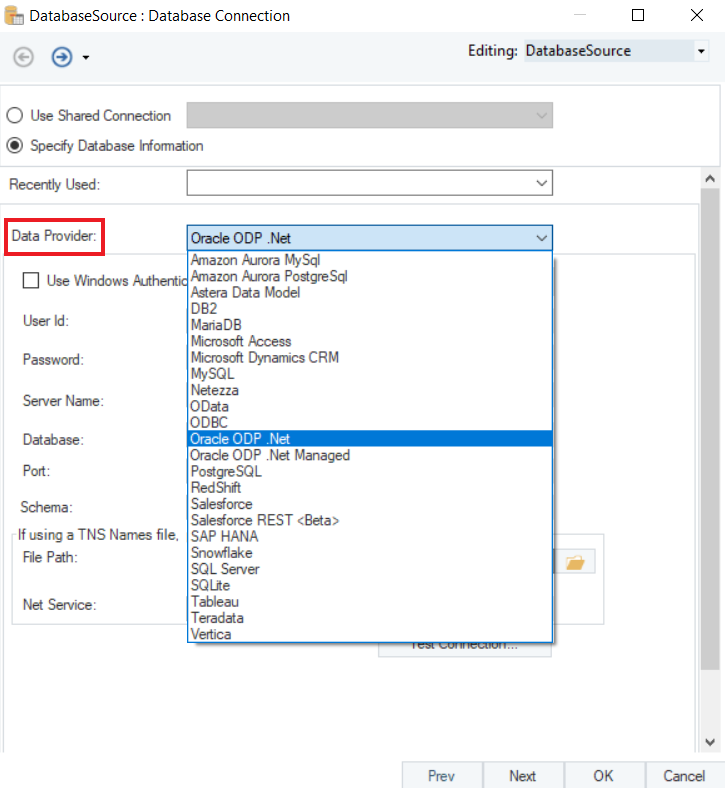
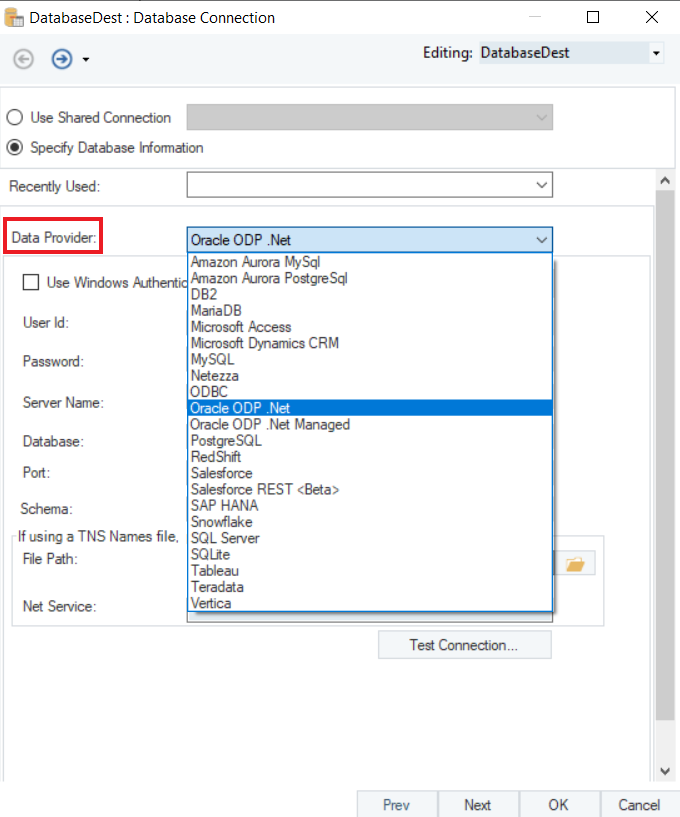
2. The first step is to select the Data Provider. Select Oracle ODP .Net as your data provider from the drop-down list.
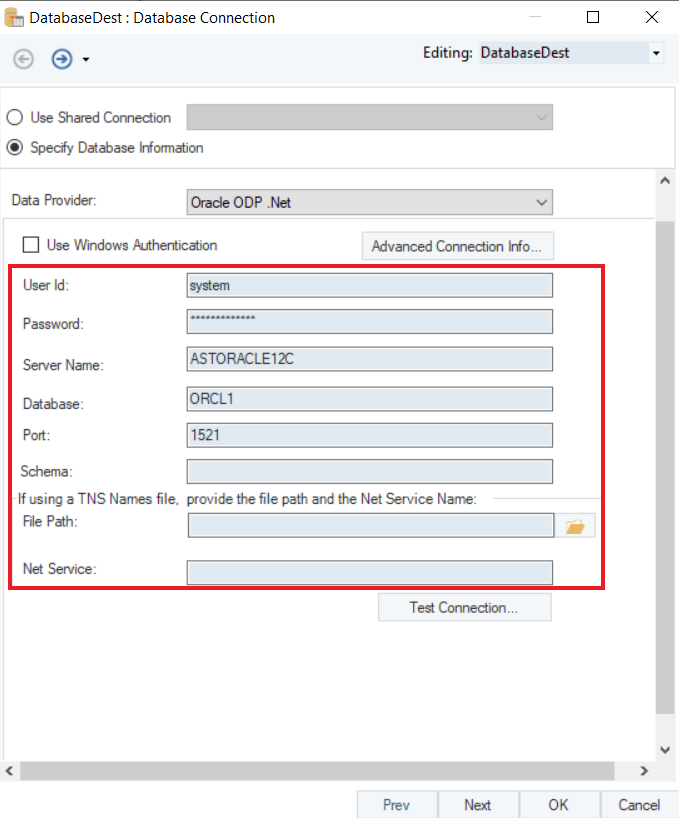
- Put in the required credentials for your Oracle account.
- User ID
- Password
- Server Name
- Database
- Port
- Schema
If you want to use a TNS Name file, there is an option to provide the file path and the Net Service Name for the file below the database credentials.
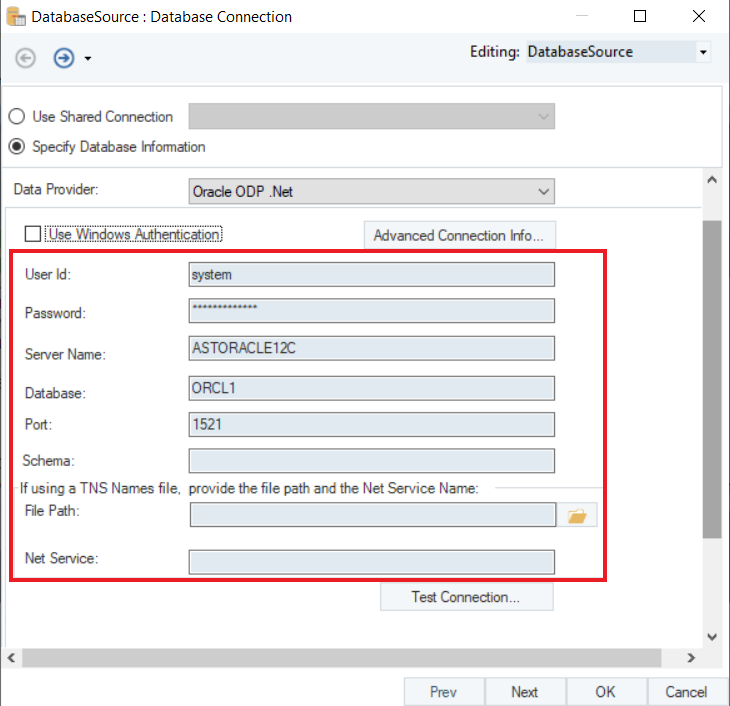
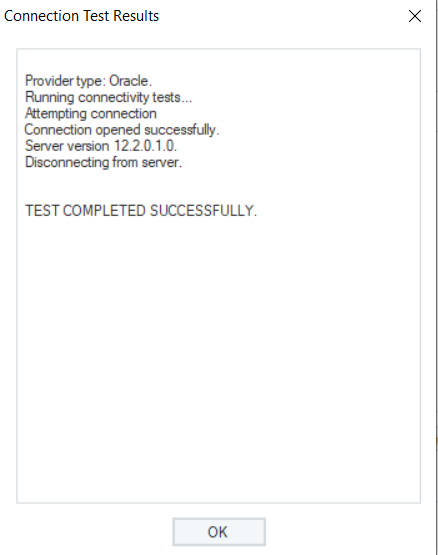
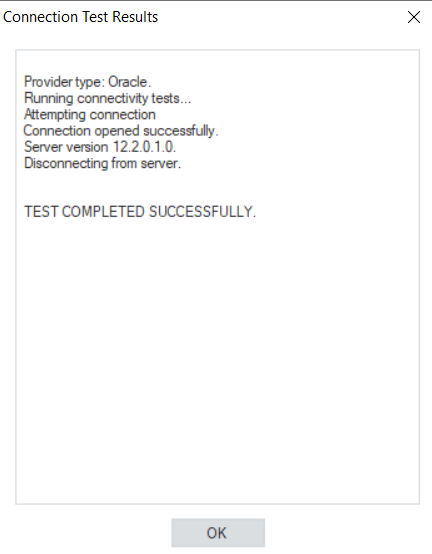
- Test Connection to make sure that your database connection is successful and click Next to proceed to the next screen.
3. Here, you can Pick Source Table and modify Reading Options for your Oracle database on the Properties screen.
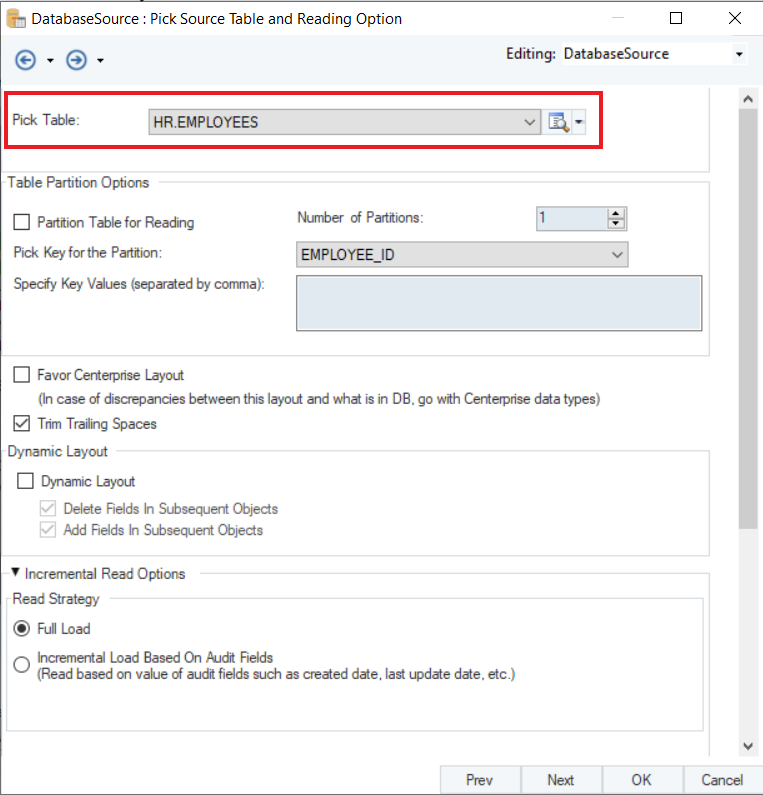
Note: In this case, we will select the HR Employees table.
To learn more about data reading options in a database table source, click here.
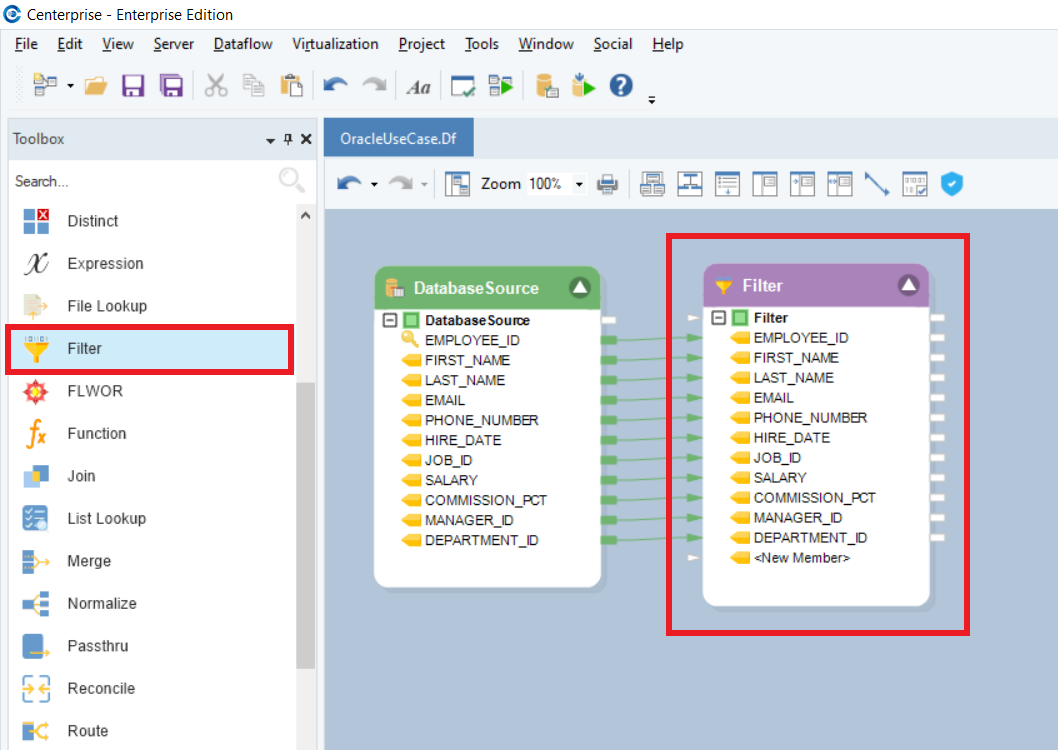
4. Now, we will use the Filter transformation and group the data for all the employee records with salary higher than $10,000.
To know more about how the Filter Transformation works in Astera Centerprise, click here.
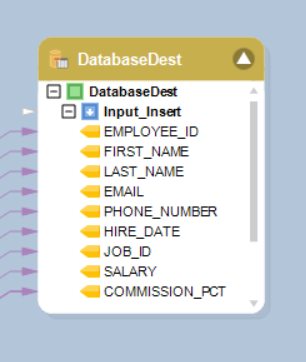
5. Next, we will create a new table in the Oracle database and write this data to it using the Database Table Destination in Astera Centerprise.
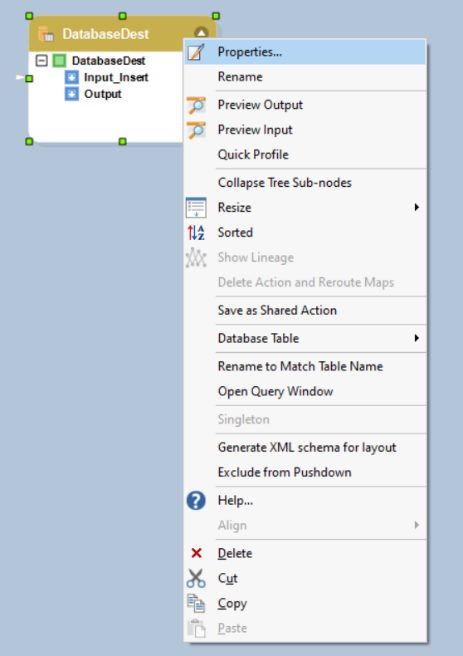
To configure the Database Table Destination object, right-click on its header and select Properties from the context menu.
This will open a new window on your screen.
Here you can configure the properties for the Database Table Destination object.
The first step is to specify the Database Connection for the destination object. Select Oracle ODP .Net as your data provider from the drop-down list.
- Put in the required credentials for your Oracle data provider account.
- User ID
- Password
- Server Name
- Database
- Port
- Schema
If you’re using a TNS file, you will get an option to provide the file path and the Net Service Name for that, once you’ve filled in the credentials.
Test Connection to make sure that your database connection is successful and click Next.
You can Pick Table or Create Table and modify Writing Options for Oracle Database on the Properties screen.
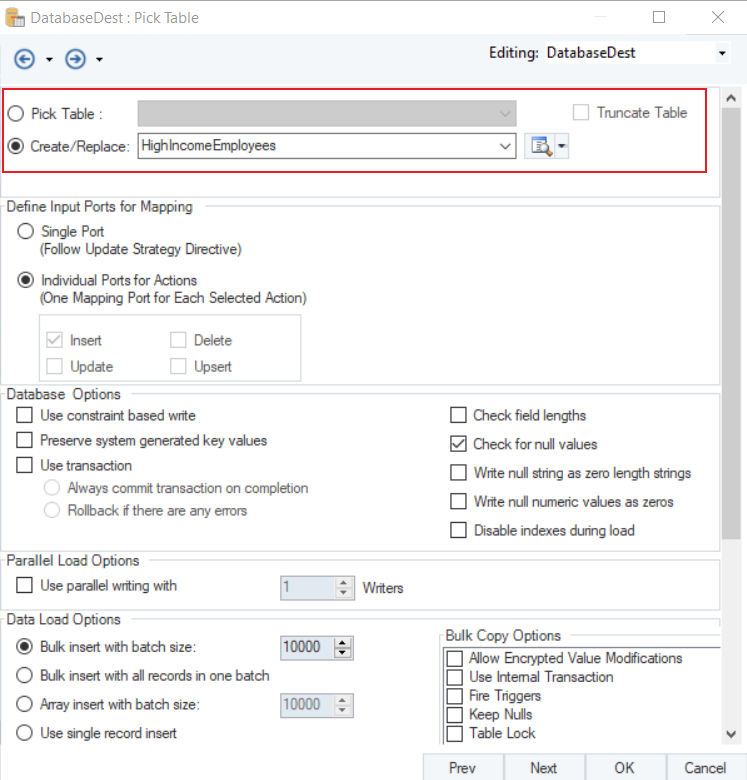
Note: In this case, we will create a new table and name it as HighIncomeEmployees.
To read more on the different data writing options available for a database table, click here.
In the Data Load Options for Oracle data provider, there is an option to load data using the Oracle SQL Loader with an adjustable Batch Size.

Once you’ve set the data reading options, click OK.
You have successfully configured Oracle as your database provider for the Database Table Destination object. The data will now be written to the Oracle Database once the dataflow is run.
If we preview the output for the destination object, we can see employee records with salaries higher than 10,000 that have been written into the destination table.
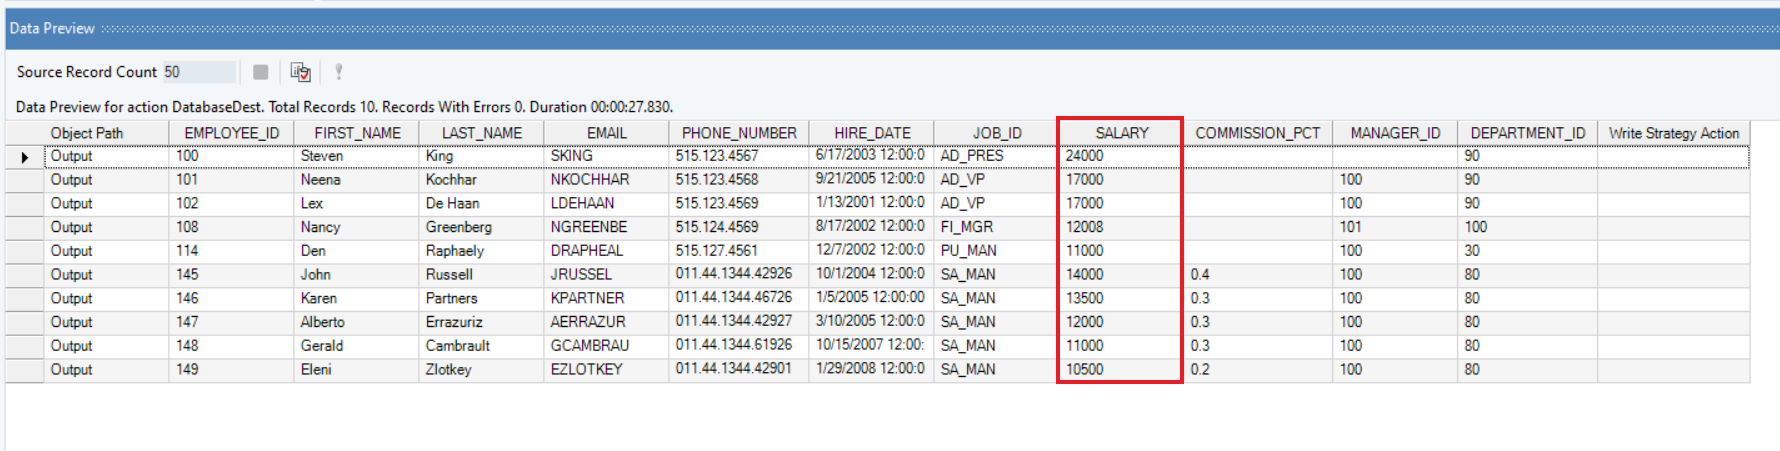
We have successfully connected to Oracle Database and completed our use case in Astera Centerprise.