Database Table Destination
The Databse Table Destination object in Astera Centerprise provides the functionality to write data to a database table. This destination option provides a great deal of control over how data is written to a database table with its extended data loading options.
Astera Centerprise supports a wide range of on-premise and cloud-based databases including SQL Server, Oracle, DB2, Sybase, MySQL, Salesforce, Microsoft Dynamics CRM, and more. Centerprise delivers highly-optimized implementations for these database connectors including high-performance bulk insert, set-based updates and transaction management. This, combined with Centerprise’s parallel-processing architecture, delivers industrial-strength performance and scalability.
Configuring the Database Table Destination Object
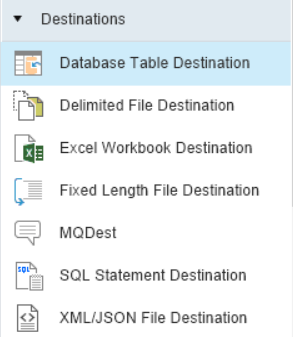
- To add a Database Table Destination object to your dataflow, go to Toolbox > Destinations > Database Table Destination. If you’re unable to see the toolbox, go to View > Toolbox or press Ctrl + Alt + X.
- Drag and drop the Database Table Destination object onto the designer.
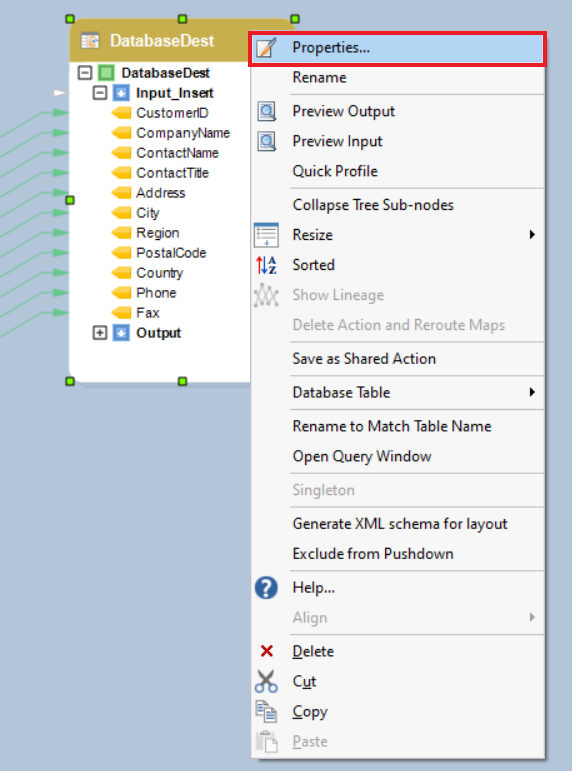
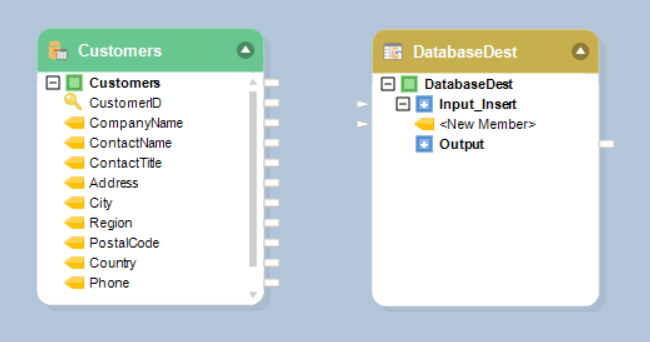
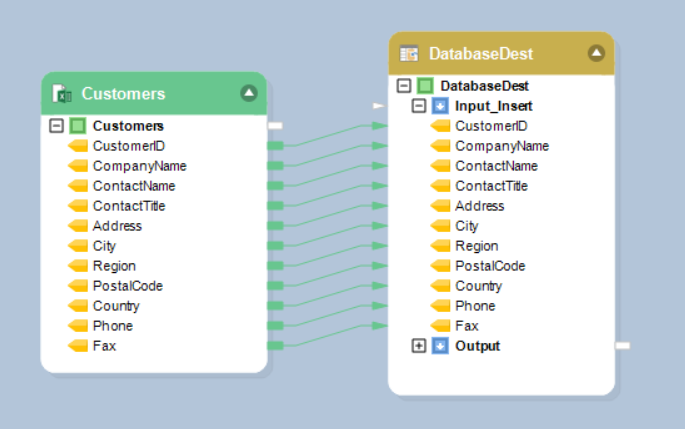
If you look at it, the database destination object is empty right now, as in, it does not have any fields or mappings. This is because the object has not been configured yet. There are two empty sub-nodes for Input and Output under the DatabaseDest root node.
Connecting to the Database
1. To configure the properties of the Database Table Destination object, right-click on the header and select Properties from the context menu.
This will open a new window in Centerprise. The first screen is the Database Connection screen.
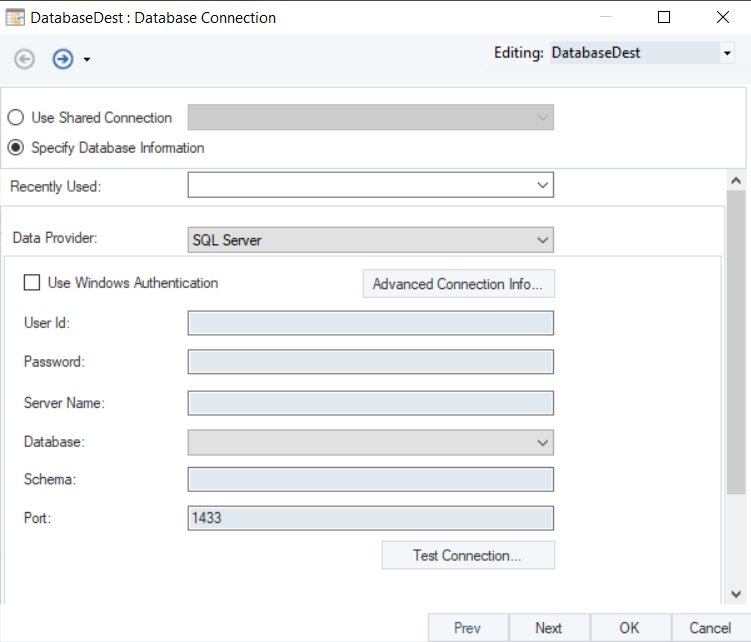
- First, you need to select the relevant data provider from the Data Provider drop-down list.
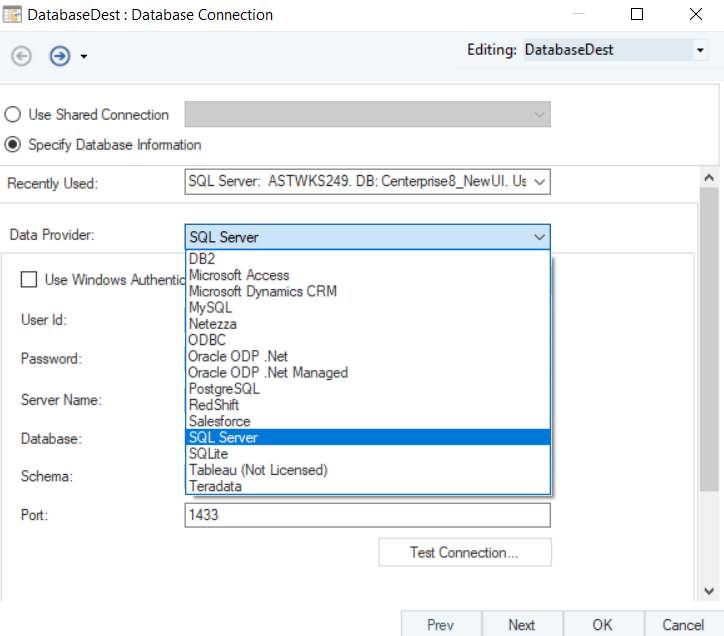
That is where you select the specific database provider you want to connect to. For instance, if you want to write you data to a SQL database, select SQL Server from the list. The connection details will vary according to the data provider selected.
- Test Connection to make sure that your database connection is successful and click Next.
2. Now, you need to provide details to configure connection with the destination database.
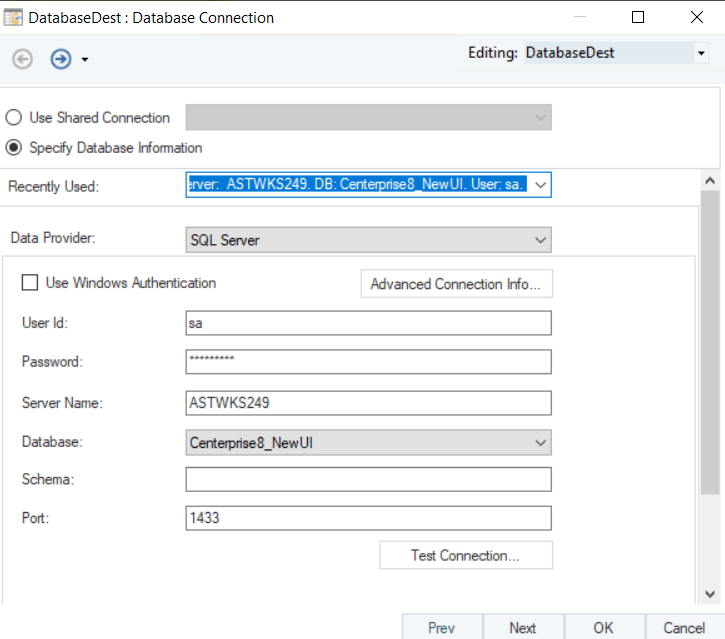
- Enter your user ID and password. You can also use the Recently Used drop-down list to connect to a recently-connected database.
Picking Table
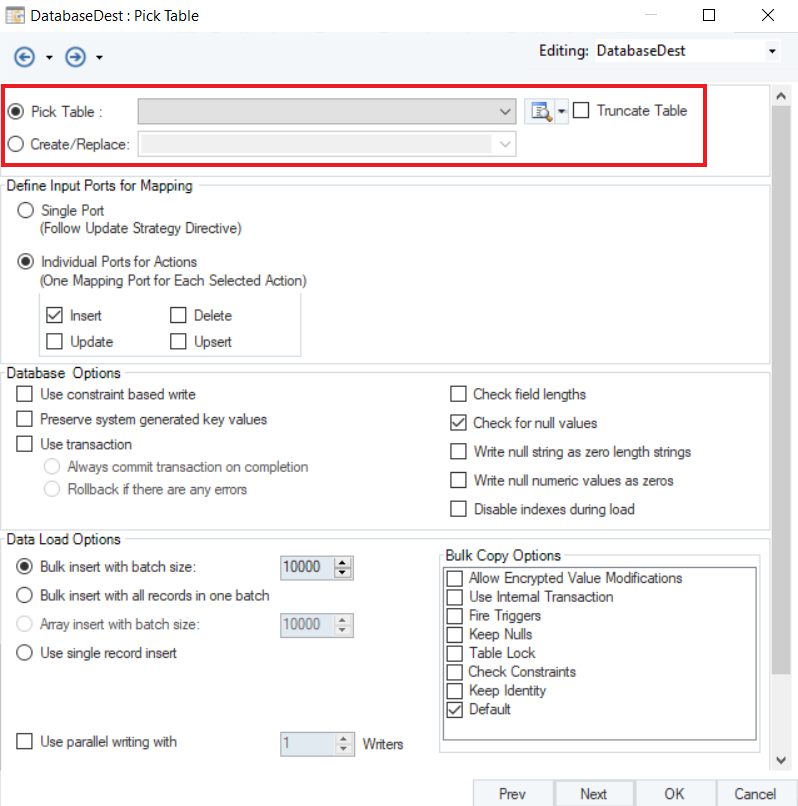
The next screen is the Pick Table screen. Here, you can choose from the following options:
- Pick Table: To append data into an existing table.
- Create/Replace: To write data to a new table or replace an existing table.
- Truncate Table: To overwrite data in an existing table.
Choose the option based on your requirement. In this case we will select the Create/Replace Table option and create a new table in the database.
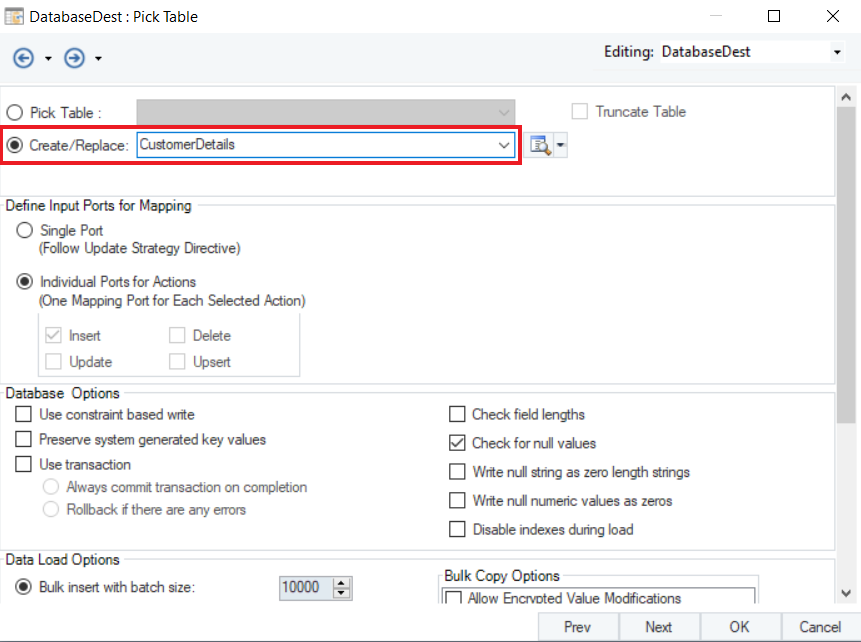
Note: We will be creating a new table CustomerDetails.
Mapping
For a database destination object to work, data fields should be mapped to the object so that the mapped data can be written to the destination.
- Configure the source object and place it onto the designer next to the Database Table Destination object.
Note: In this case a Customers sample data, coming in from an Excel Workbook Source, will be written to a Database Table Destination.
- Map the source object to the destination object. Data mapping from source to the destination can be done in the following ways:
i. By dragging and dropping the parent node from the source object onto the destination object.
ii. By mapping the output port of the source object onto the input port of the destination object.
iii. By right-clicking on the parent node inside the source object and selecting Write to > Database Table Destination from the context menu.
- The fields are now mapped.
Configuration
1. The Pick Table screen has some other configuration options.
- Define Input Ports for Mapping
- Single Port: Works only for the records that have been updated and won’t treat records individually.
- Individual Ports for Actions: Works for all the records individually as per the selected action. The actions that are provided are: Insert, Delete, Update and Upsert.
- Database Options
- Use constraint based write: When the layout has certain restrictions that you want to keep while writing.
- Preserve system generated key values: To generate unique values for the selected primary key in the dataset. This option is only available if you assign at least one field in your destination layout as the System Generated field.
- Use transaction
- Always commit transaction on completion: When you want the whole transaction to be processed regardless of errors.
- Rollback if there are any errors: When you don’t want the dataset to process in case of errors and roll back completely.
- Check field lengths for the incoming dataset with the lengths defined in the destination layout.
- Check for null values from the incoming dataset.
- Write null string as zero length strings where the string values are null, their length will be defined as zero.
- Write null numeric values as zeros for the numeric data types, the null values will be defined as zeros.
- Disable indexes during load for lengthy processing.
- Data Load Options
- Bulk insert with batch size when you want the whole dataset to be loaded in batches for the specified size. Typically, larger batch sizes result in better transfer speeds; however performance gains may be less with relatively large batch sizes.
- Bulk insert with all records in one batch when you want all the records to be loaded into a table in one batch. In this case, any database specific error in your transfer won’t show until the end of the transfer.
- Use single record insert when you want records to be loaded individually. Records are inserted into a destination table one-by-one. This loading option renders the slowest performance among the three insert types. However, any errors or warnings during the transfer are displayed immediately as the transfer progresses.
- Parallel Writing is used when you want to expedite the data loading process by increasing the number of writers for that dataset.
2. Once you have specified your options on this screen, click Next.

3. The next screen will show a Layout Builder. Here, the layout of the database destination file can be modified.

To add a new field to the layout, go to the last row of the layout (Name column), which will be blank and double-click on it, and a blinking text cursor will appear. Type in the name of the field to be added, and select the properties for it. A new field will be added to the destination table’s layout.
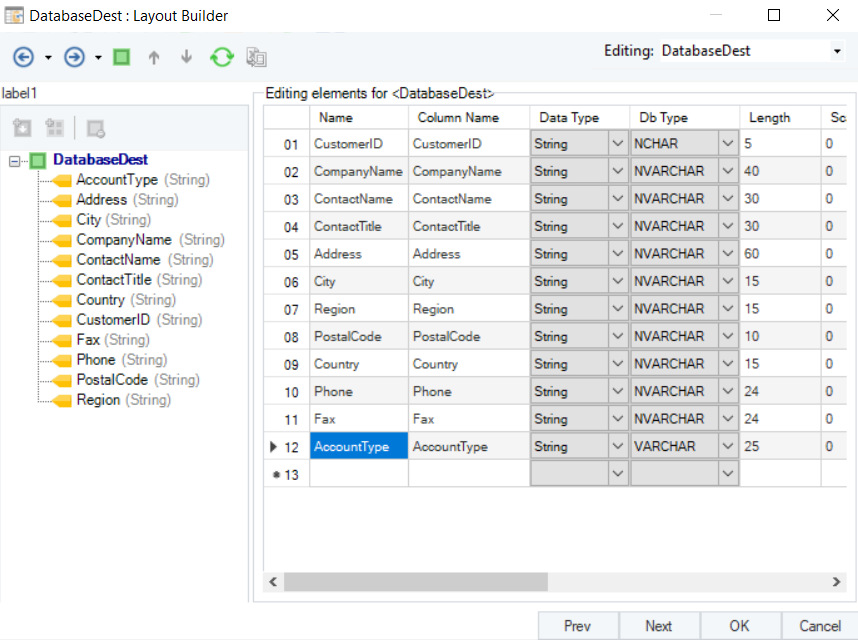
Note: In this example, we will add a new field AccountType to the layout.
To delete a field from the layout, click on the serial column of the row that is to be deleted. The selected row will be highlighted in blue.
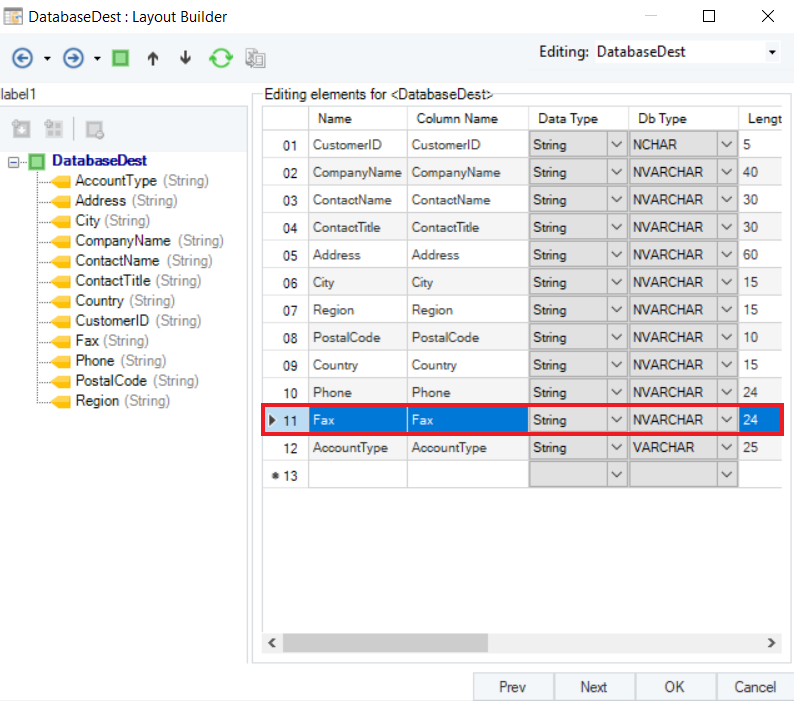
Note: Here, we are deleting the Fax field from the layout.
Right-click on the highlighted line, a context menu will appear which will have the option to Delete.
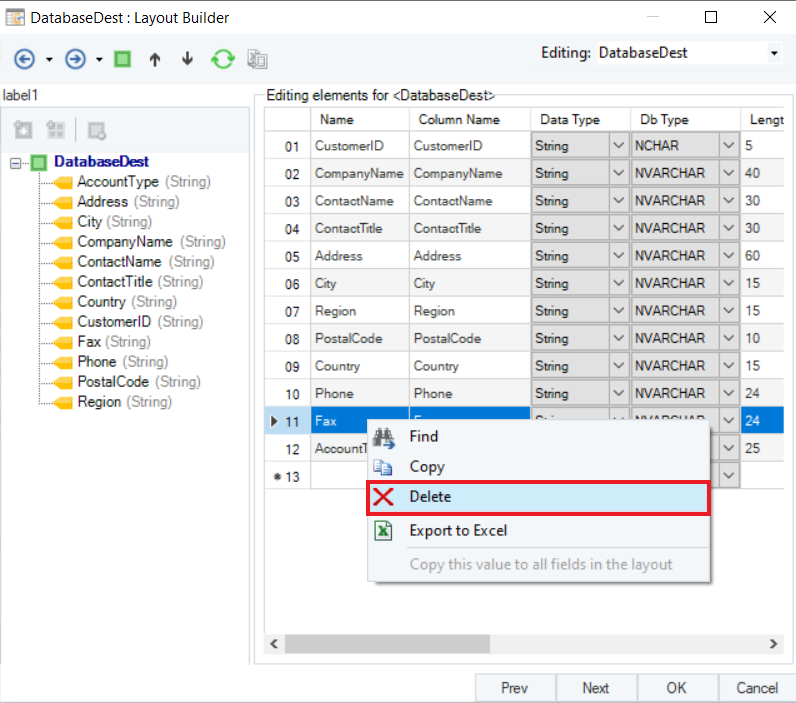
Selecting Delete will delete the entire row.

The field is now deleted from the layout and won’t appear in the output.
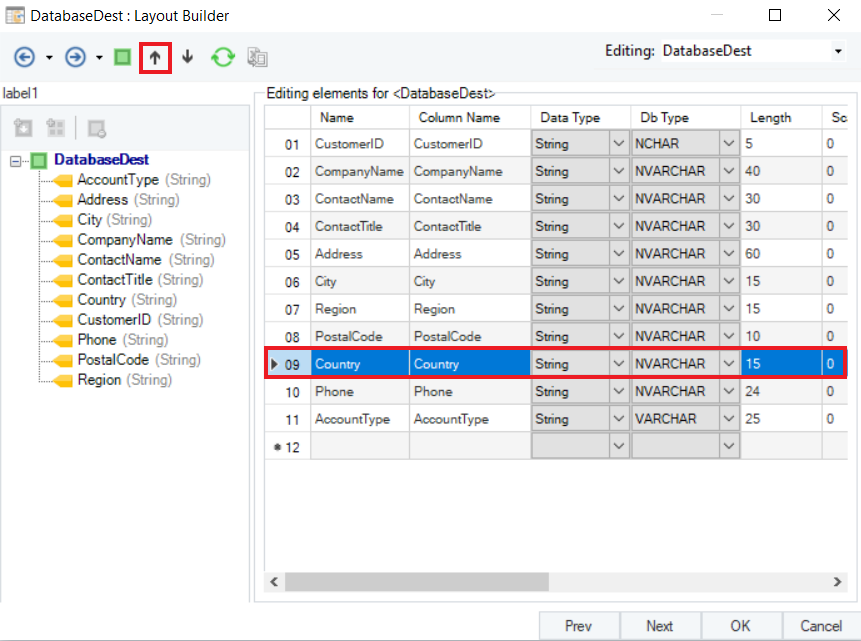
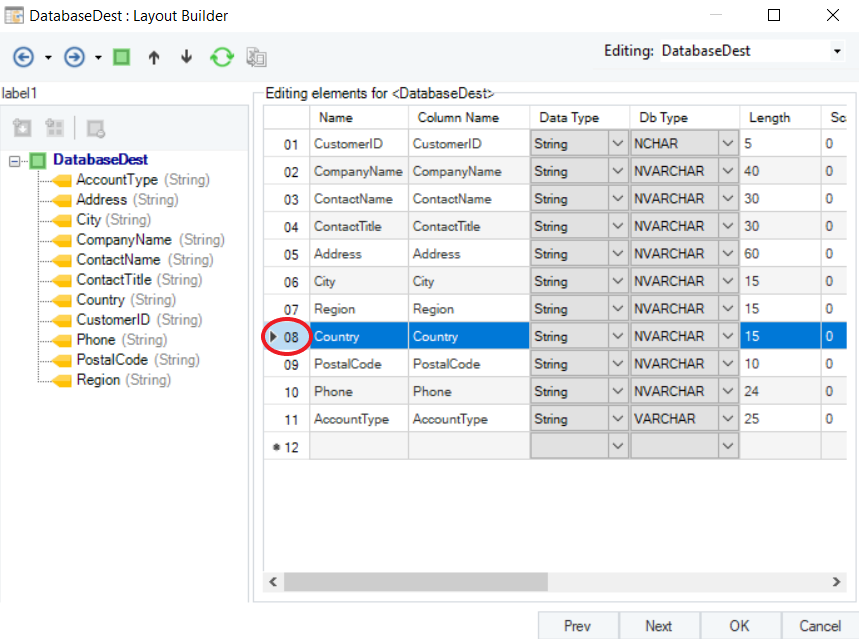
To change the position of any field and move it below or above another field in the layout, select the row and use Move up/Move down buttons.
Note: Find the Move up/Move down icons on the top left of the builder.
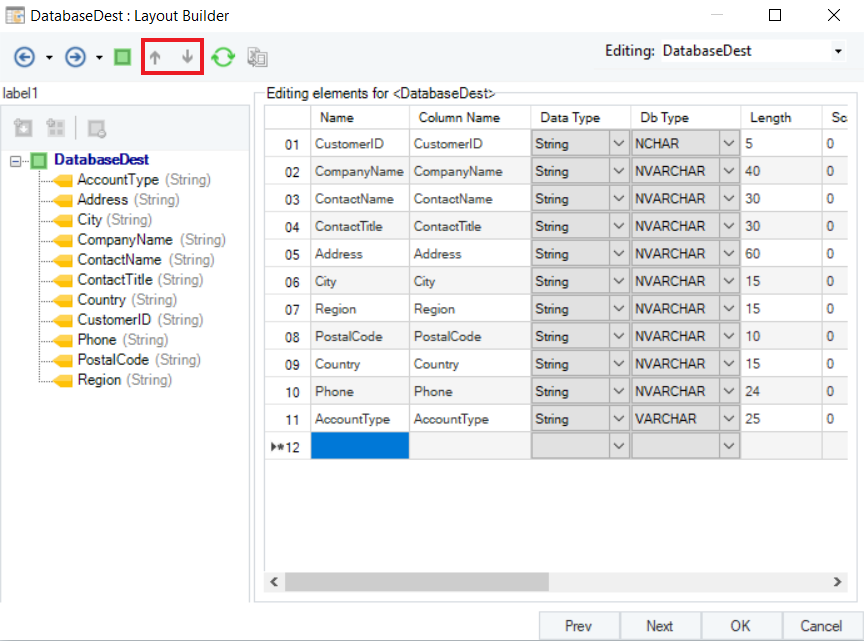
For example: To move the Country field right below the Region field, select the row and click the Move up button in the toolbar at the top, to move the field up from 9th to 8th position.
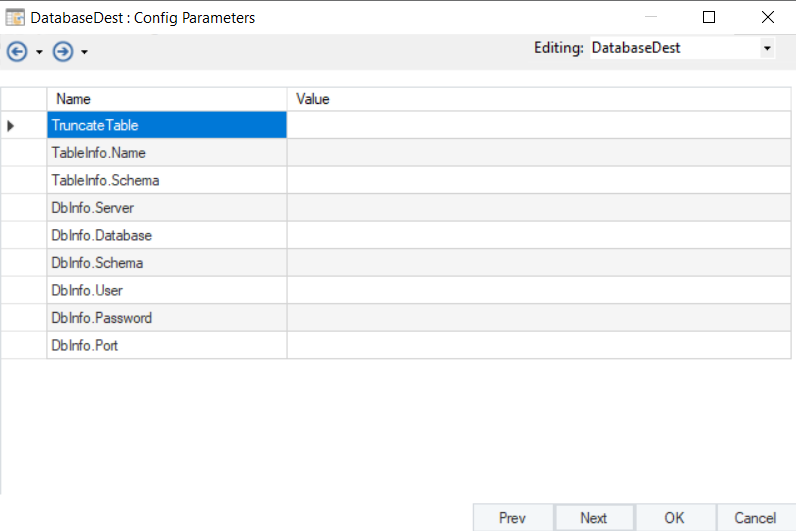
4. Once the object layout is configured, click Next. This will take you to the -Config Parameters screen where you can further configure and define parameters for the database destination file.
Parameters can provide easier deployment of flows by eliminating hardcoded values and provide an easier way of changing multiple configurations with a simple value change during the runtime.
Note: Parameters left blank will use their default values assigned on the properties page.
5. Click Next. A General Options screen will appear. Here you have the following options:
- Comments can be added.
- General Options are given, which relate to the processing of records in the destination file.
- Clear Incoming Record Messages for any messages coming in from objects preceding the current object to be cleared.
- Do Not Process Records With Errors will not let erroneous records to process further for the output.
- Do Not Overwrite Default Values with Nulls makes sure that values are not overwritten with null values in the output.
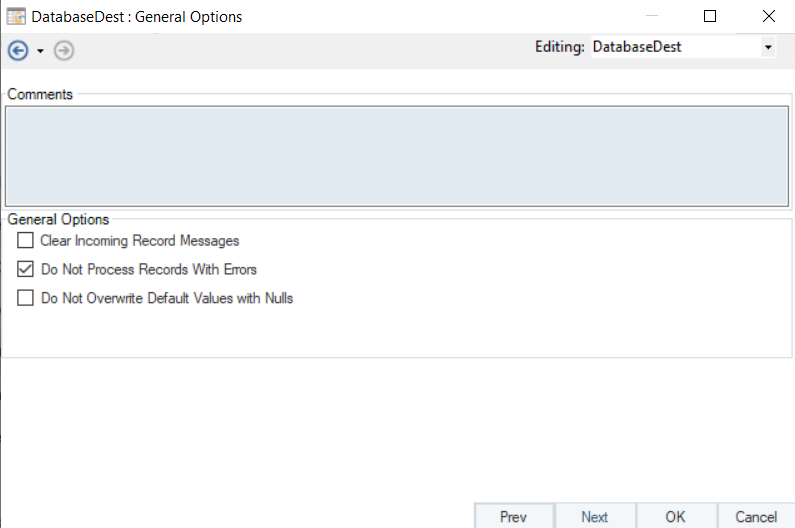
6. Click OK.

The DatabaseDest object is now configured according to the settings made in the properties window.
Note: The changes that were made in this case are:
- Added a new field AccountType in the layout and mapped it’s value from the ***Constant Value Transformation***.
- Moved the Country field below the field Region field.
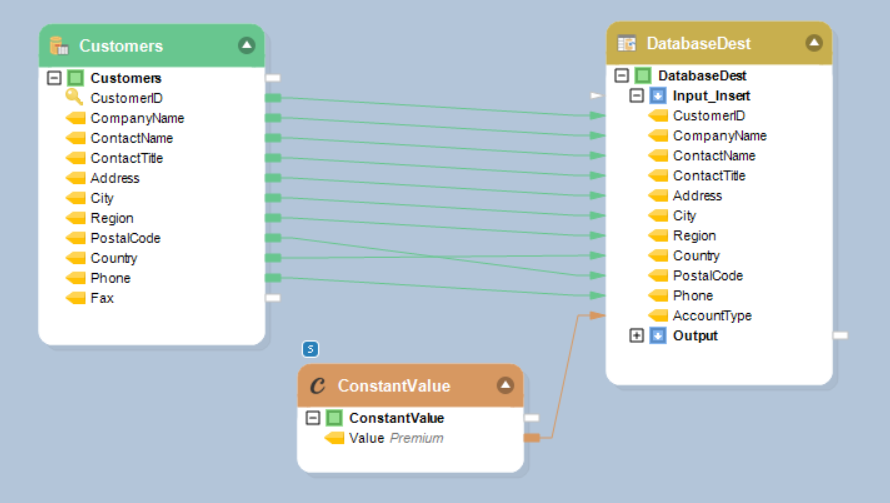
The Database Table Destination object is now successfully configured, and the destination file can now be created by running the dataflow.
The job can be traced through the Job Progress window once the job starts running.

This is how we use the Database Table Destination.