Connecting to Amazon Aurora Database
Amazon Aurora is a fully managed relational database engine that is compatible with MySQL and PostgreSQL. It is a part of Amazon’s Relational Database Service (Amazon RDS) - a managed database web service that makes it easier to set up, operate, and scale a relational database on the cloud.
To learn more about Amazon Aurora, click here.
In Astera Centerprise, users can connect with Aurora MySQL and Aurora PostgreSQL as a database source or destination, with DB lookup, SQL Statement Lookup, and Database Write Strategies and also with Run SQL Script task in a workflow.
In this article, we will cover:
1. A use case where Amazon Aurora PostgreSQL is being used as a database in Astera Centerprise
2. Connecting to Amazon Aurora PostgreSQL databases in Centerprise
3. Different data loading and reading options for Amazon Aurora databases in Centerprise
Note: You can connect to both Amazon Aurora PostgreSQL and Amazon Aurora MySQL by following the same steps as discussed in the use case below.
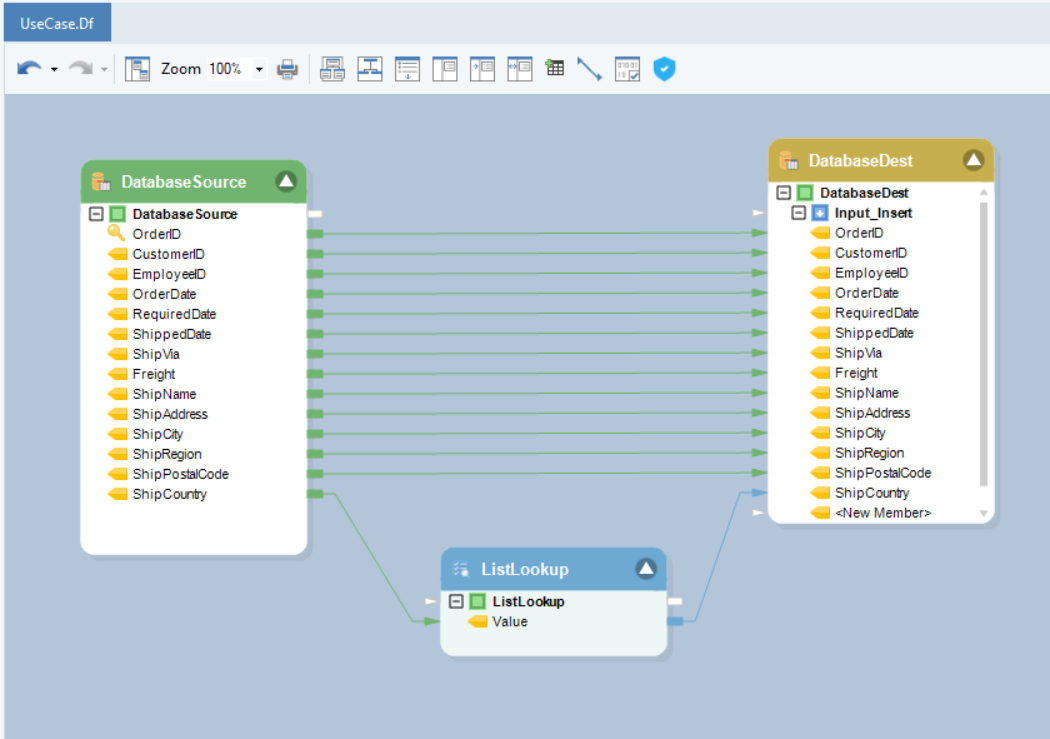
Use Case
We have some sample Orders data stored in an Amazon Aurora database. The data contains multiple fields containing information related to orders placed by customers. To make the shipment process more relevant, it is required to use specific codes for the Country field. We will use a List Lookup transformation and create a new table in the database.
We’ll be using the Database Table Source object to source data from the Amazon Aurora database.
1. To configure the Database Table Source object, right-click on its header and select Properties from the context menu.
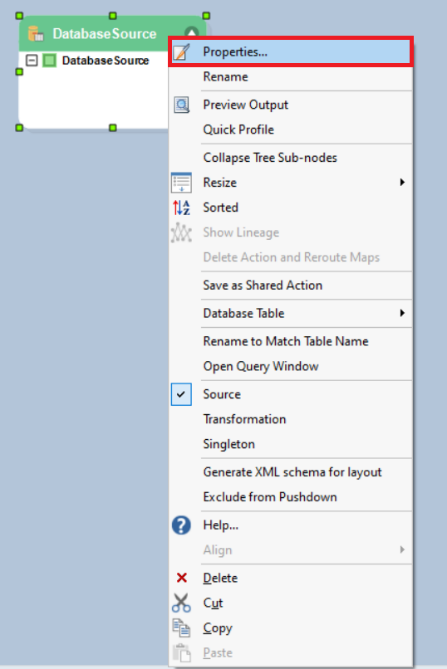
This will open a new window where you can configure connection with the Amazon Aurora database.
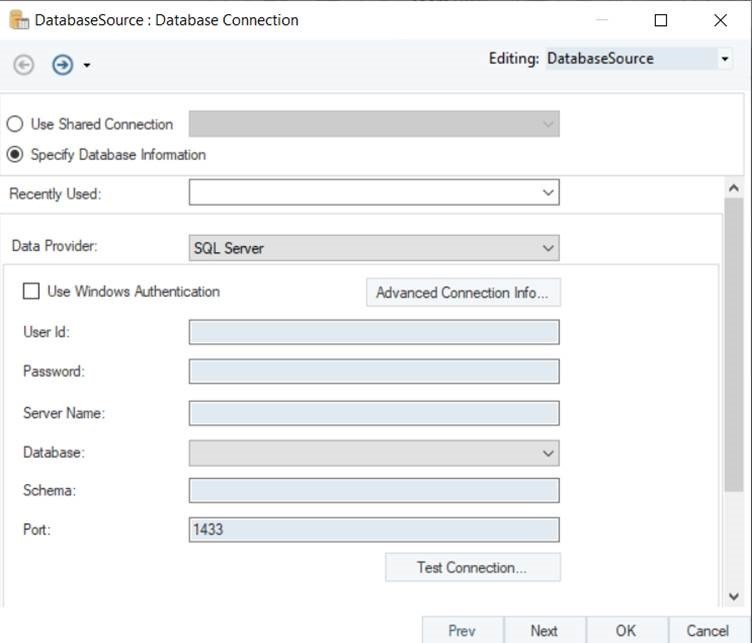
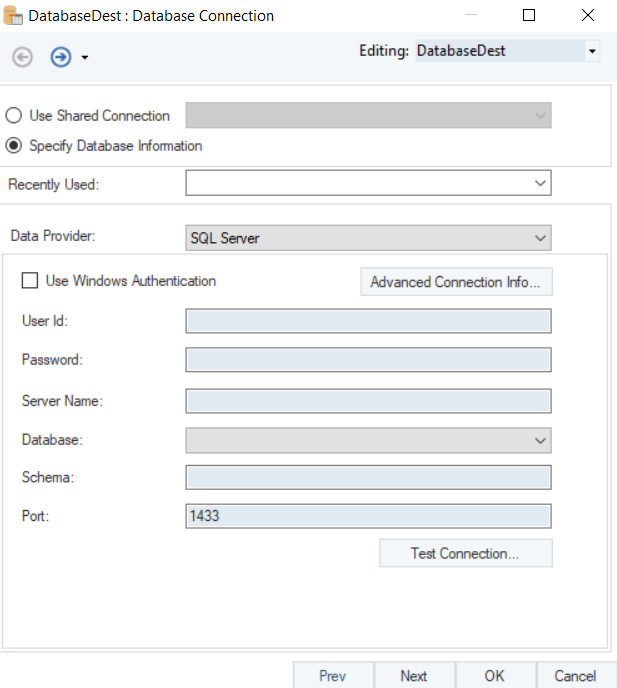
2. The first step is to select the Data Provider. Select Amazon Aurora PostgreSQL as your data provider from the drop-down list.

Put in the required credentials for your Amazon Aurora PostgreSQL account.
1. User ID
2. Password
3. Server Name
4. Database
5. Schema
6. Port
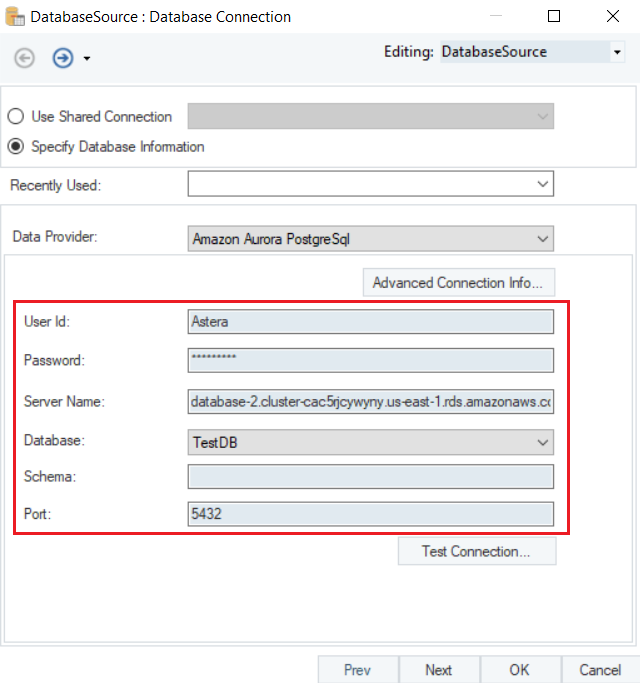
- Test Connection to make sure that your database connection has been established. Once it’s successful, click Ok and then Next to proceed to the next screen.

3. Here, you can Pick Source Table and specify different Reading Options for your Amazon Aurora database.
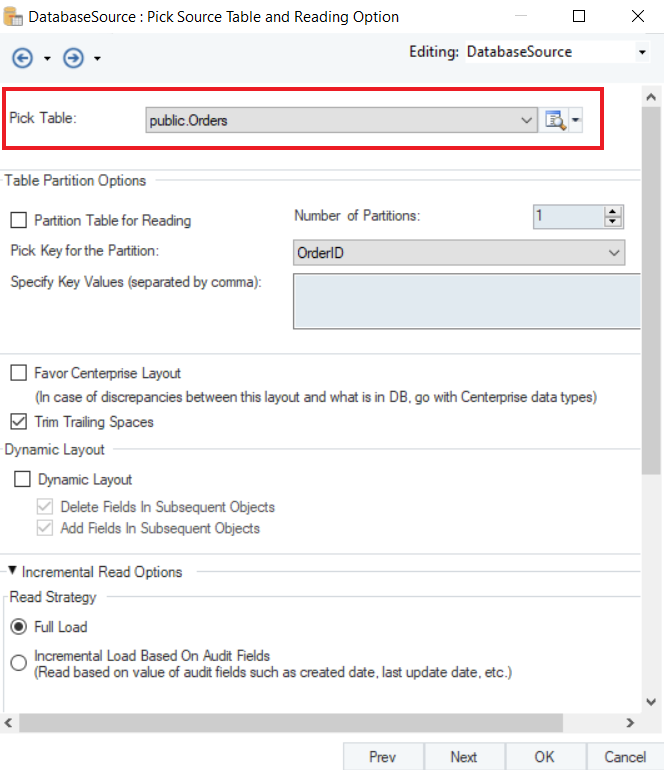
Note: In this case, we will select the Orders table.
To learn more about data reading options in a database table source, click here.
4. Now, we will use the List Lookup and provide the country codes for the fields.
To know more about how the List Lookup Transformation works in Astera Centerprise, click here.
![]()
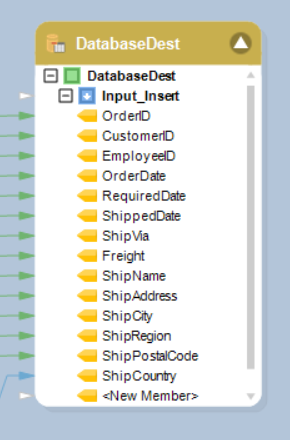
5. Next, we will write this data to our Amazon Aurora database using the Database Table Destination in Astera Centerprise.
To configure the Database Table Destination object, right-click on its header and select Properties from the context menu.
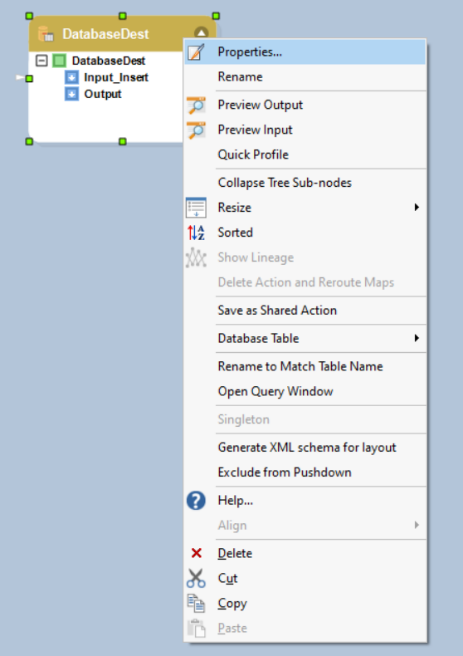
This will open a new window on your screen.
Here you can configure the properties for the Database Table Destination object.
Since we have previously used Amazon Aurora database to extract our source data, we can use the Recently Used credentials to connect to it again.
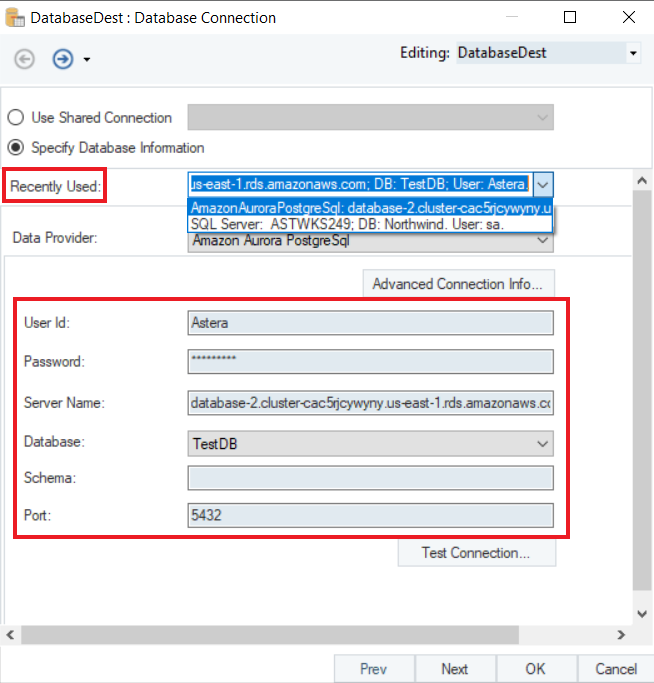
All the credentials have been filled in automatically.
- Test Connection to make sure that your database connection has been established.

Next, you can Pick Table or Create Table and specify different Writing Options for Amazon Aurora Database on the Properties screen.
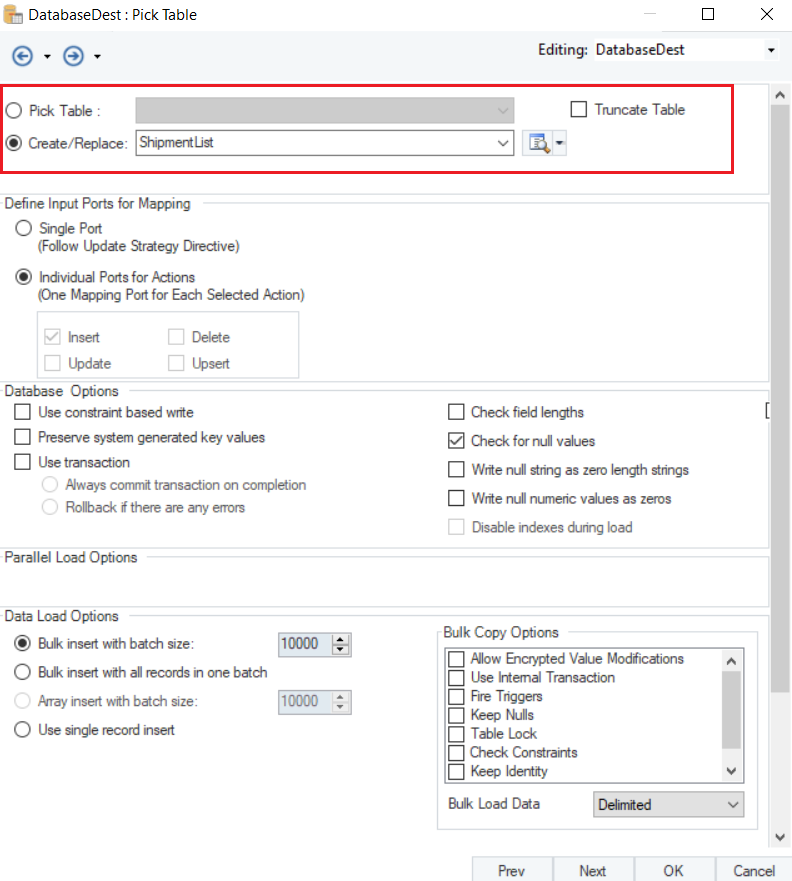
Note: In this case, we will create a new table and name it as ShipmentList.
To read more on the different data writing options available for a database table, click here.
Once you have set the data reading options, click OK.
We have successfully configured Amazon Aurora as our database provider for the Database Table Destination object. The data will now be written to the Amazon Aurora database once the dataflow is run.
If we now preview the data in the database table, we can see that the Country names have been replaced by their specific codes and written into the destination table.
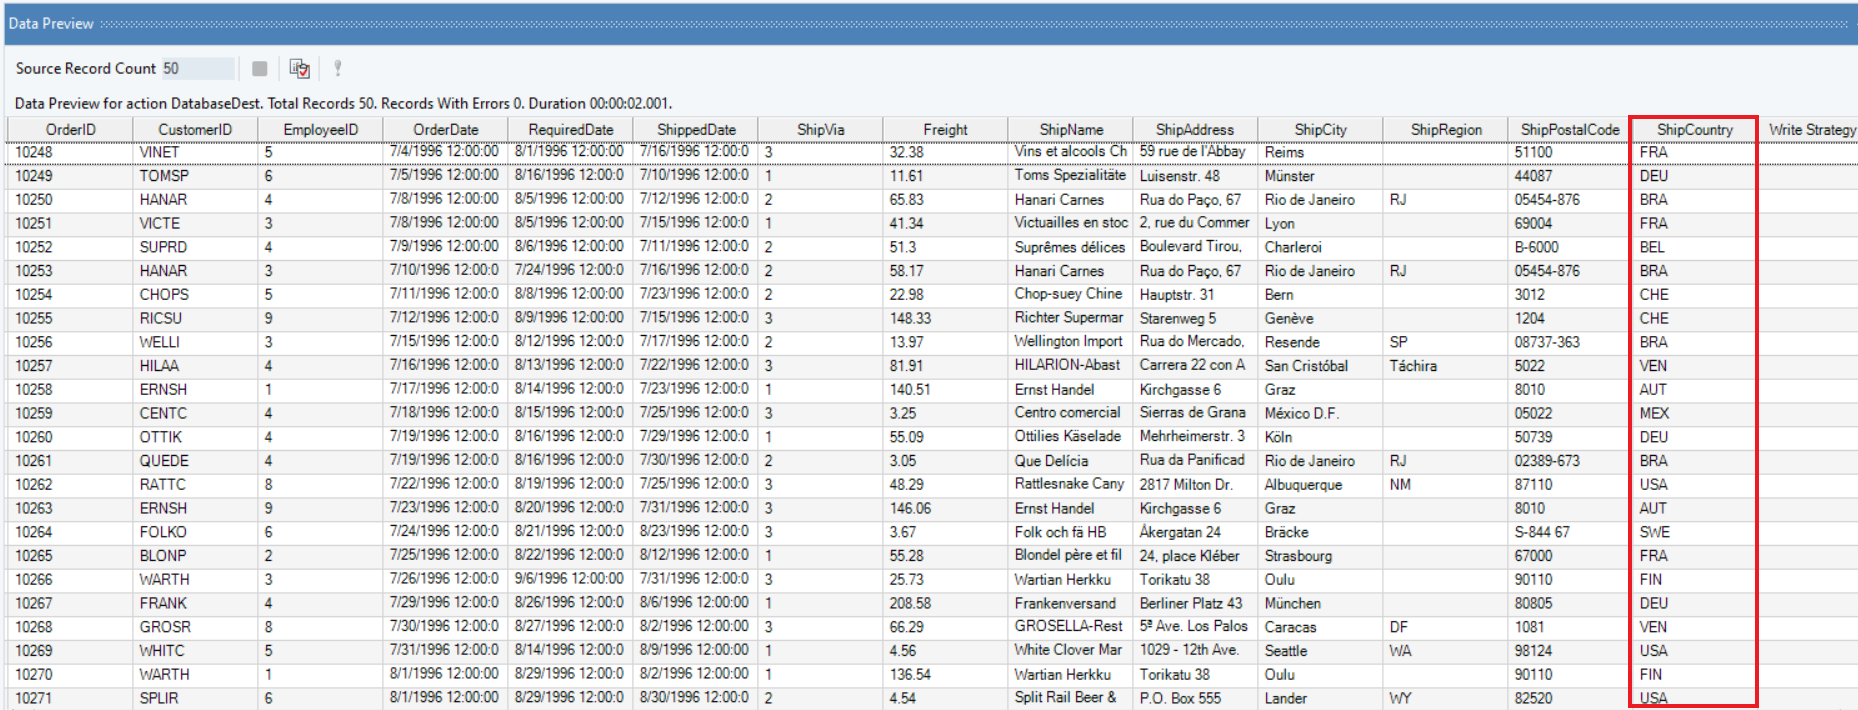
We have successfully connected to Amazon Aurora Database and completed our use case in Astera Centerprise.