Migrating from Centerprise 7.x to Centerprise 8
Astera Centerprise 8 is a major release and not a direct upgrade of Centerprise 7.6. This means that migrating from Centerprise 7.x to Centerprise 8 won’t require you to uninstall Centerprise 7 since Centerprise 8 can be installed side by side with Centerprise 7 on a system. Centerprise 8 is backward compatible, and therefore, most of the flows created on Centerprise 7 can run on Centerprise 8 without modifications. However, as with most major release of any complex software, we recommend that you upgrade your lower level environment first, so you have an opportunity to test and verify any existing flows. This will make it possible to identify any migration issues you may encounter early on in the upgrade cycle. In this document, we will cover how you can migrate from Centerprise 7.x to the all-new Centerprise 8.
Installing
The installation package for Centerprise 8 (64-bit) contains two setup (.exe) files:
- CenterpriseDataIntegrator.exe – for Centerprise client, and
- IntegrationServer.exe – for Astera Integration Server
The setup files for Centerprise 8 can be downloaded from the following location:
https://discover.astera.com/test-drive-the-new-centerprise-8-0/
Click here to learn how to install Centerprise 8 client and server.
Licensing
Unlike the previous releases of Astera Centerprise, Centerprise 8 comes with a single licensing key (for server) rather than two separate keys for Centerprise server and client. The licensing key for Centerprise 8 has changed which means you cannot use your Centerprise 7 key to register Centerprise 8. The single licensing key for Centerprise 8 is used to register Centerprise server and it controls how many clients can connect to the server as well as the functionality available to the connected clients.
If you’re planning to migrate to Centerprise 8, please contact sales@astera.com to get your new your Centerprise 8 license key. The server threshold to accept licenses will depend on the number of licenses you purchase. So, for instance, if you have purchased 50 licenses, the server will accept up to 50 licenses at most.
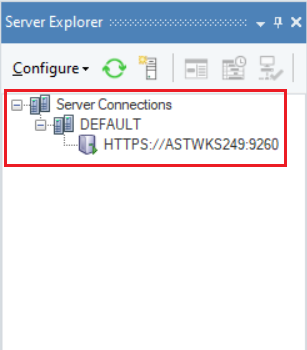
Cluster and Server Management in Server Explorer
Centerprise 8 client can be configured with multiple different servers, however, it can only connect with one server at a time. The jobs scheduled, queued or running on the other registered server will continue to run without interruption even if the client is not currently connected to the server.
All servers pointing to a single repository database will form a cluster of servers sharing the common workload of queued jobs. A cluster of v8 servers you configure will be up and running and processing jobs in a similar way to 7.6, despite the fact that the v8 client can only connect to and manage one v8 server at a time. You can see which server in the cluster has actually processed a job by right-clicking the Cluster and opening Server Jobs window.
Repository
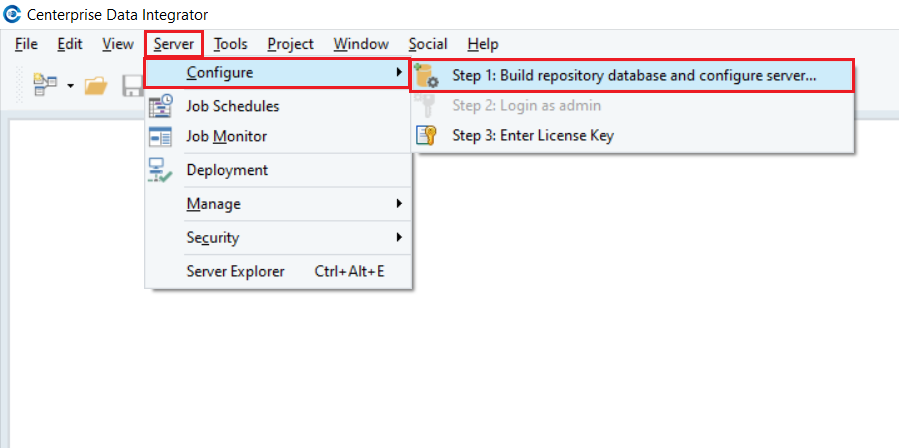
You need to set up a new repository to communicate with Centerprise 8 server. While upgrading the previous releases of Centerprise 7, you would simply go to Server > Upgrade Cluster Database. However, while migrating to Centerprise 8, you need to set up a repository in a new database from the scratch to communicate with the server(s) and store the record of server activity. To set up a repository in Centerprise 8, go to Server menu > Configure > Build Repository Database and Configure Server.
Follow through the steps explained in this article to build a cluster database and set up a repository in Centerprise 8.
Manually Migrating Existing Jobs from Centerprise 7 to Centerprise 8
Once you have built a cluster repository in Centerprise 8, the next step is to migrate the scheduled jobs you created in Centerprise 7.
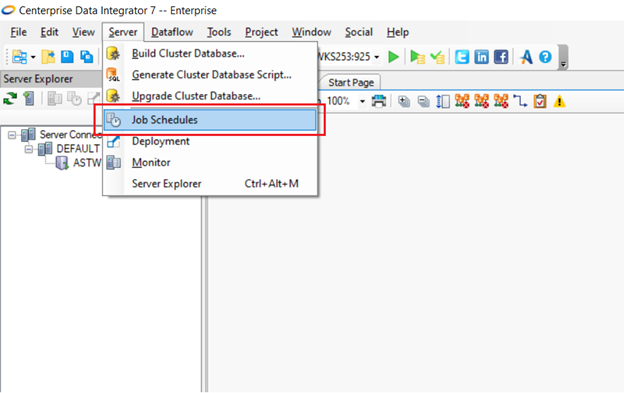
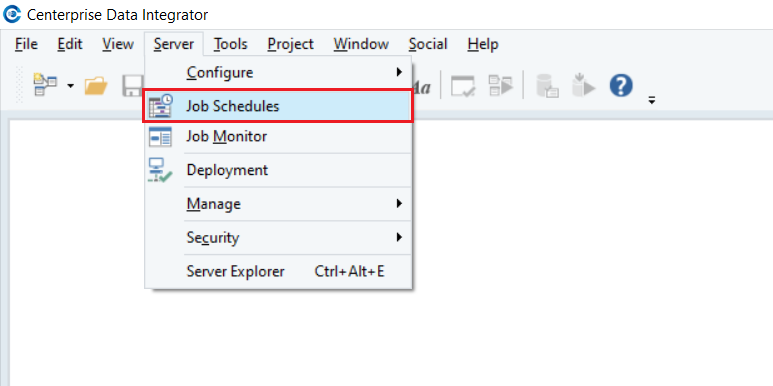
1. For this, open Scheduler in Centerprise 7 from Server > Job Schedules.
2. You will see all the scheduled jobs listed in the Scheduler. Select the jobs you want to migrate.
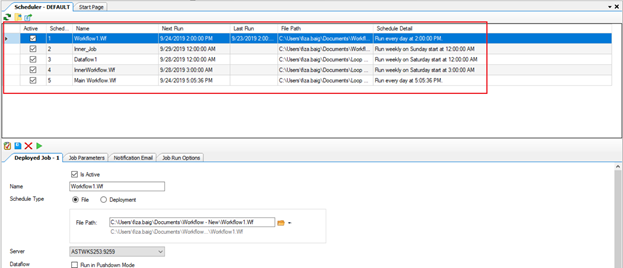
3. Click ‘Export Schedule’ button in the Scheduler toolbar.

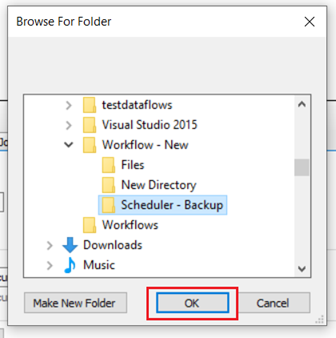
4. Point to the directory and folder where you want to save the scheduled jobs and click OK.
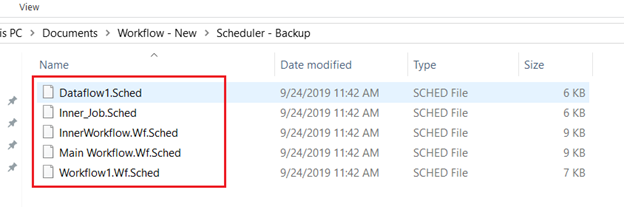
Now Centerprise will create a separate XML file with ‘.Sched’ extension for each scheduled job and save it in the designated folder.
5. A message window will pop up to notify that your scheduled jobs have been successfully. Click OK.
6. Now you have to import the job files in Centerprise 8 to complete the migration process. For this, open Centerprise 8 client and go to Server > Job Schedules.
7. This will open the Scheduler tab in Centerprise client. To import the existing jobs, click the ‘Import Schedule’ button in the Scheduler toolbar.

8. Point the path to the directory where you have saved the schedule files. Select all the scheduled jobs you want to import and click ‘Open.’
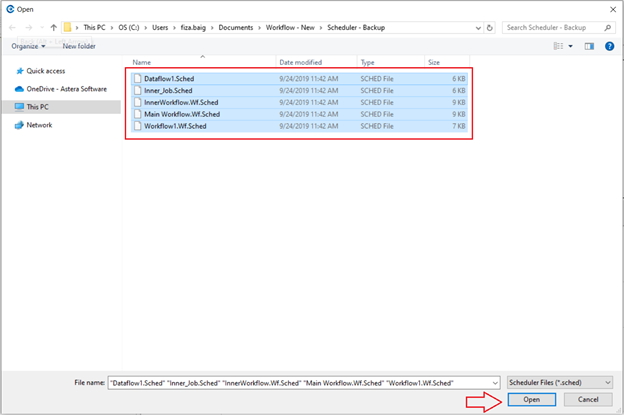
9. You can see that the existing jobs scheduled in Centerprise 7 have been successfully migrated to Centerprise 8 and a new Job ID has been assigned to each job.
.png)
Migrating Existing Jobs from Centerprise 7 to Centerprise 8 Using Pre-Designed Flows
Prior to any upgrade, we strongly recommend that you take a full backup of your repository database. Also, upgrading a lower level environment first (such as QA, UAT, etc.) is recommended prior to upgrading the Production environment. This will make it possible to sort out/resolve any issues before upgrading Production.
Steps to Upgrade:
Using Centerprise 7 client, run the following dataflow to export existing schedules into a comma delimited file.
Note: Prior to running the dataflow, you will need to update the Database Source Object to point to the database where Centerprise repository resides.
Download attached dataflow: Dataflow_ScheduleExport7.df
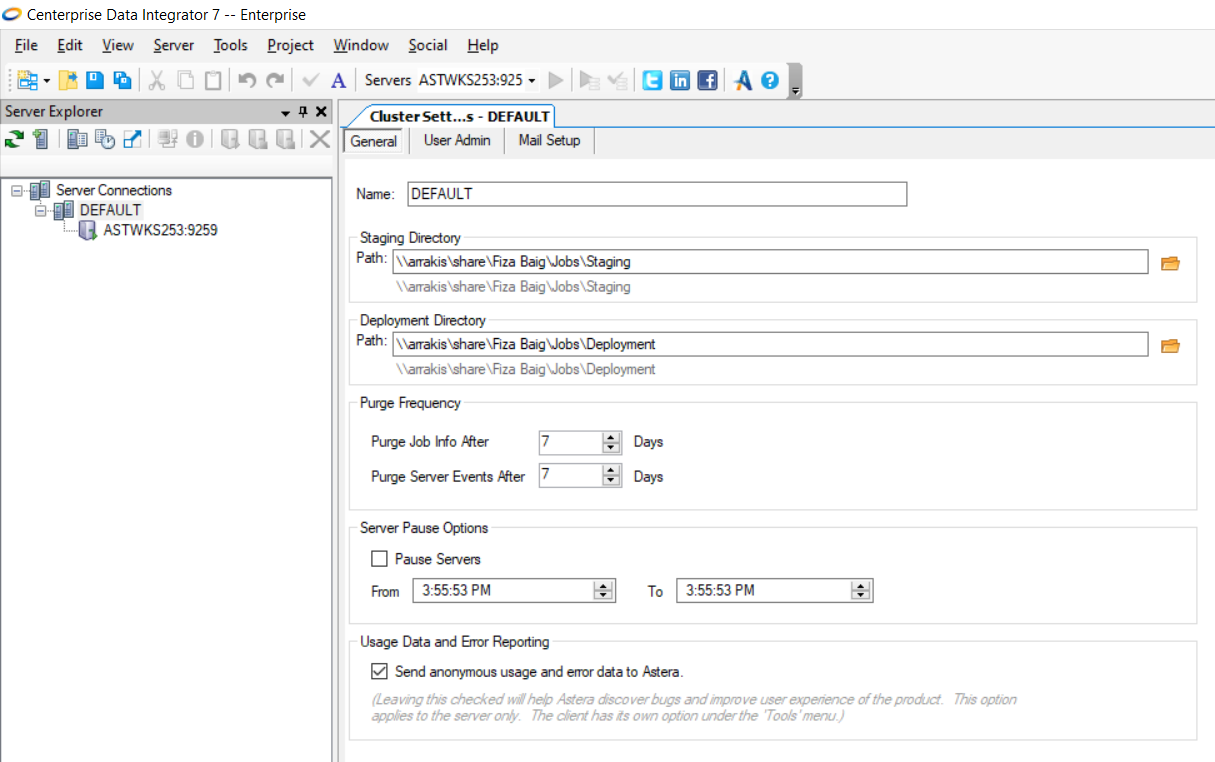
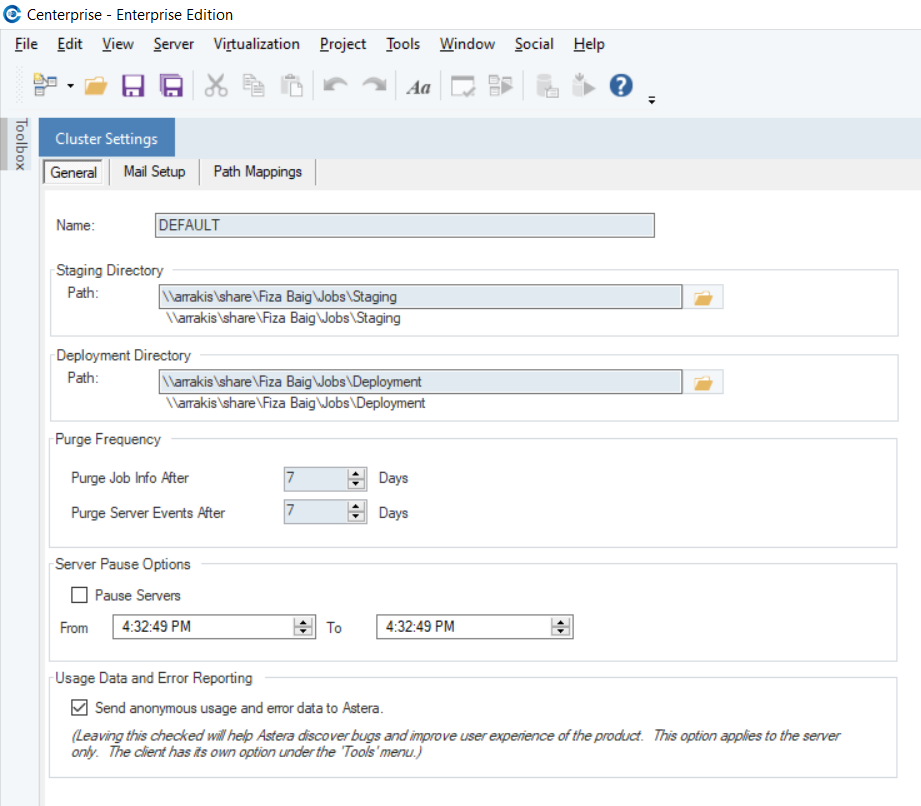
Take note of any existing Cluster Settings. You can check it by right-clicking the cluster in Server Explorer and selecting ‘Cluster Settings’ in the context menu. These settings will need to be re-configured manually after the upgrade.
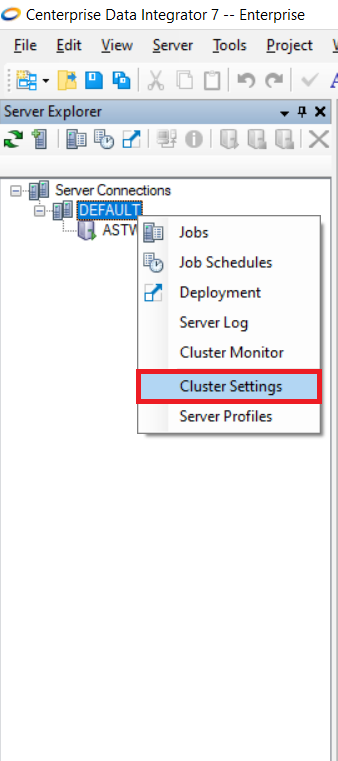
It may be helpful to take screenshots of those settings for later reference. The settings include: Staging Directory, Purge Job Frequency Options, Email Notification Setup, and optionally, Server Profiles if a non-default profile was used prior to the upgrade.
Install Centerprise 8 client and server on your machine. You can read more on installing Centerprise 7 client and server in this document.
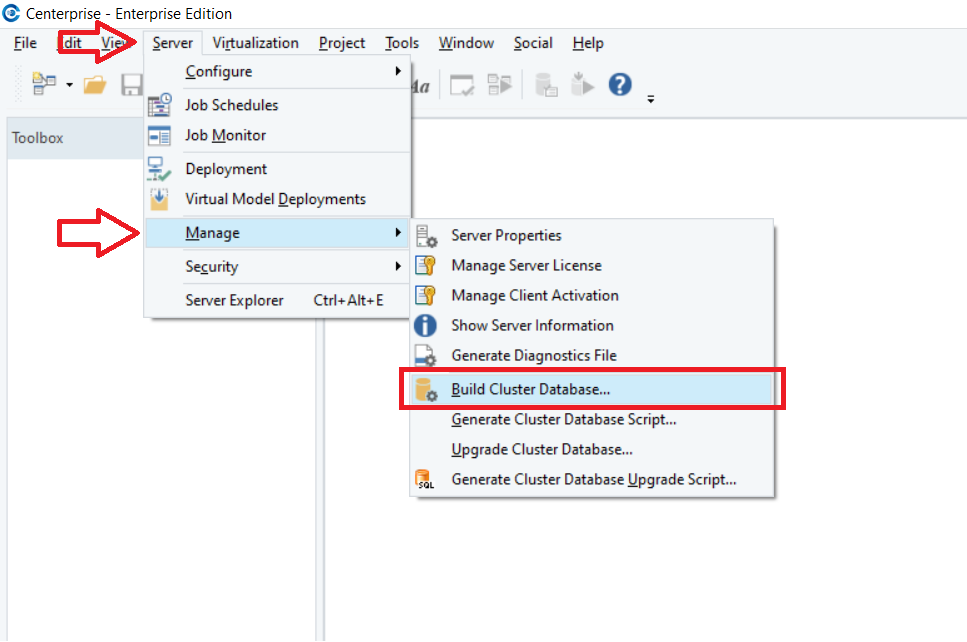
Open Centerprise 8 client. Go to Server menu > Manage > Build Cluster Database. Point it to the database hosting Centerprise repository.
Important Note: This will reset the repository.
Use the dataflow below to import the schedules you have exported in Step 1.
Note: Prior to running the dataflow, you will need to change the Database Table Destination object to point to the database where Centerprise 8 repository resides.
Download attached example dataflow: Dataflow_ScheduleImport8.df
Open Server Explorer, right-click your cluster and select ‘Cluster Settings’. Manually re-configure the relevant settings from Step 2. Optionally, you can manually reconfigure the Server Profiles setting if a non-default profile was used prior to the upgrade.
Restart Centerprise server.
This completes the upgrade.
You can download the flows by clicking on the link below:
- Dataflow_ScheduleExport7.df (70 KB)
- Dataflow_ScheduleImport8.df (60 KB)
Migration Best Practices:
- When you are starting the migration process, it is recommended to keep Centerprise 7 and Centerprise 8 servers running in parallel. This is to avoid any interruption in jobs that are currently running.
- We also recommend you initiate the migration process with a lower-level, testing environment and then promote your deployment to a higher-level environment as needed. This will help ensure smooth migration process with any flow compatibility issues spotted early in the transition cycle.