Connecting to Salesforce Database
Salesforce is one of the most commonly used Customer Relationship Management (CRM) solutions. It allows businesses to use cloud technology to better connect with partners and potential customers. Astera Centerprise offers Salesforce database connectivity at both source and destination points. The connectivity also extends to other objects such as Database Lookup, SQL Statement Lookup in Transformations and SQL Script Task in a workflow.
To learn more about Salesforce and its products, click here.
In this article, we will cover:
1. Connecting to Salesforce in Astera Centerprise
2. Data reading options for Salesforce databases
3. A use case to see how Salesforce can be configured for use in Astera Centerprise
Use Case
To connect to a Salesforce database, we’ll be using the Database Table Source object.
1. To configure the Database Table Source object, right-click on its header and select Properties from the context menu.

As soon as you’ve selected the Properties option from the context menu, a new window will open.
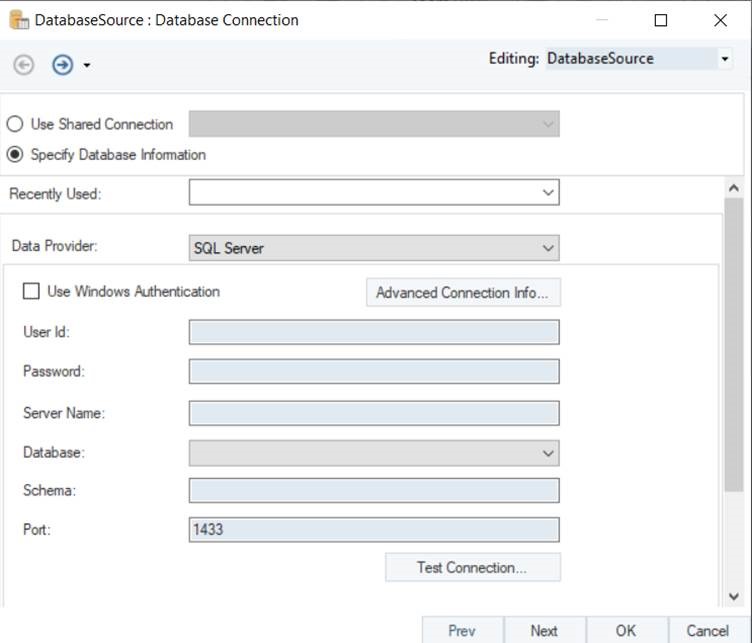
This is where you can configure connection with the Salesforce database.
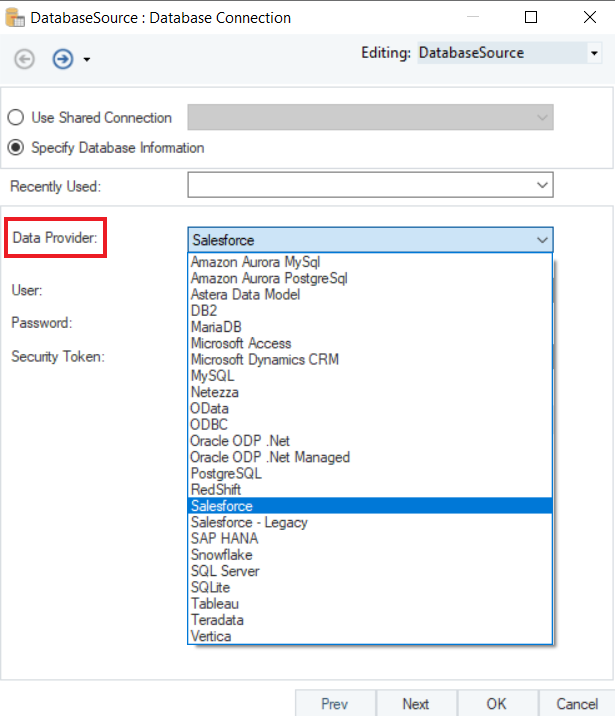
2. The first step is to select the Data Provider. Select Salesforce as your data provider from the drop-down list.
- Put in the required credentials for your Salesforce account.
- User
- Password
- Security Token
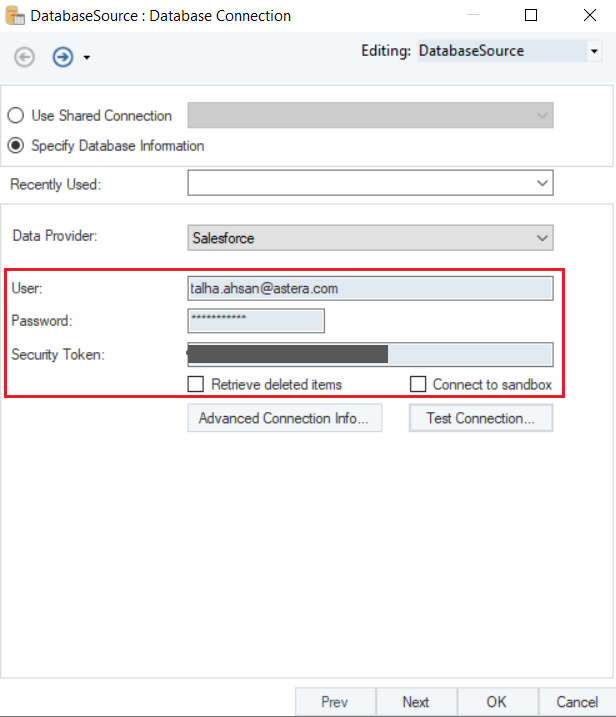
The following options are available:
o Retrieve deleted items - to include items that were previously deleted.
o Connect to sandbox - to create a new connection to Sandbox completely isolated from your actual Salesforce account.
- Test Connection to make sure that your database connection is successful and click Next.
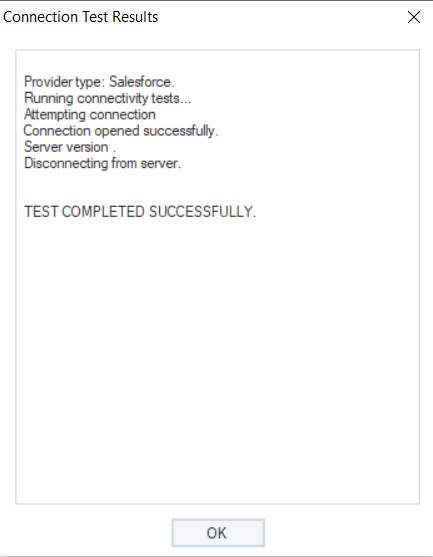
Once the connection is established, you can Pick Source Table and modify Reading Options for your Salesforce database on the Properties screen.
To read more on different data reading options in a Database Table Source, click here.
You have successfully configured Salesforce as your database provider for your Database Table Source object. The fields from the source object can now be mapped to other objects in a dataflow.
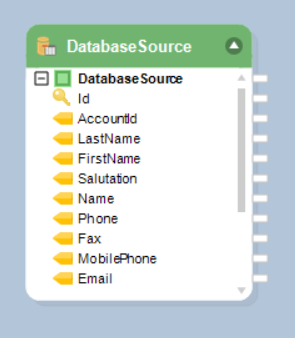
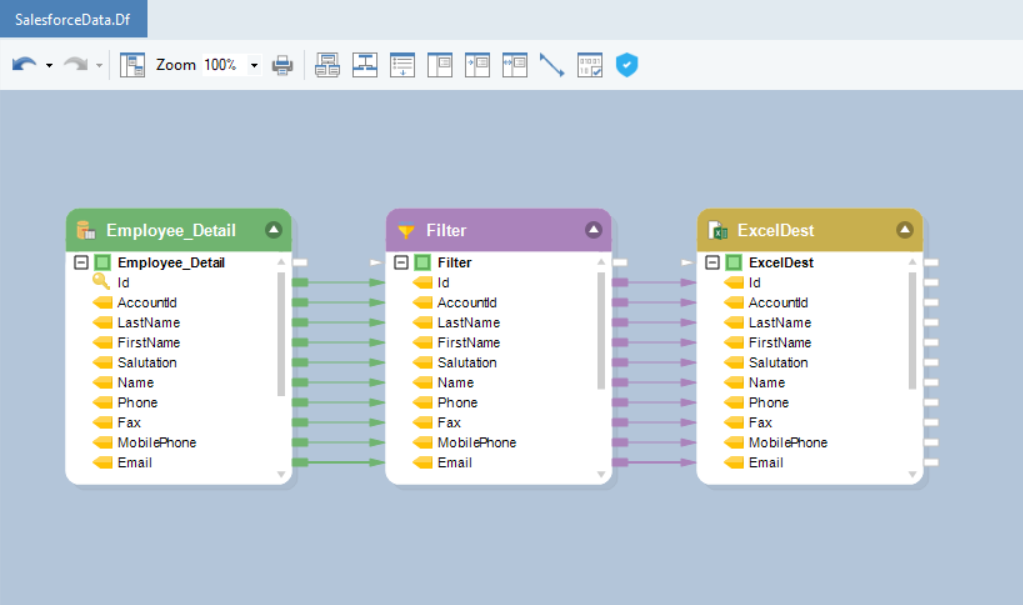
Let’s use the data from the configured Salesforce table in a dataflow.
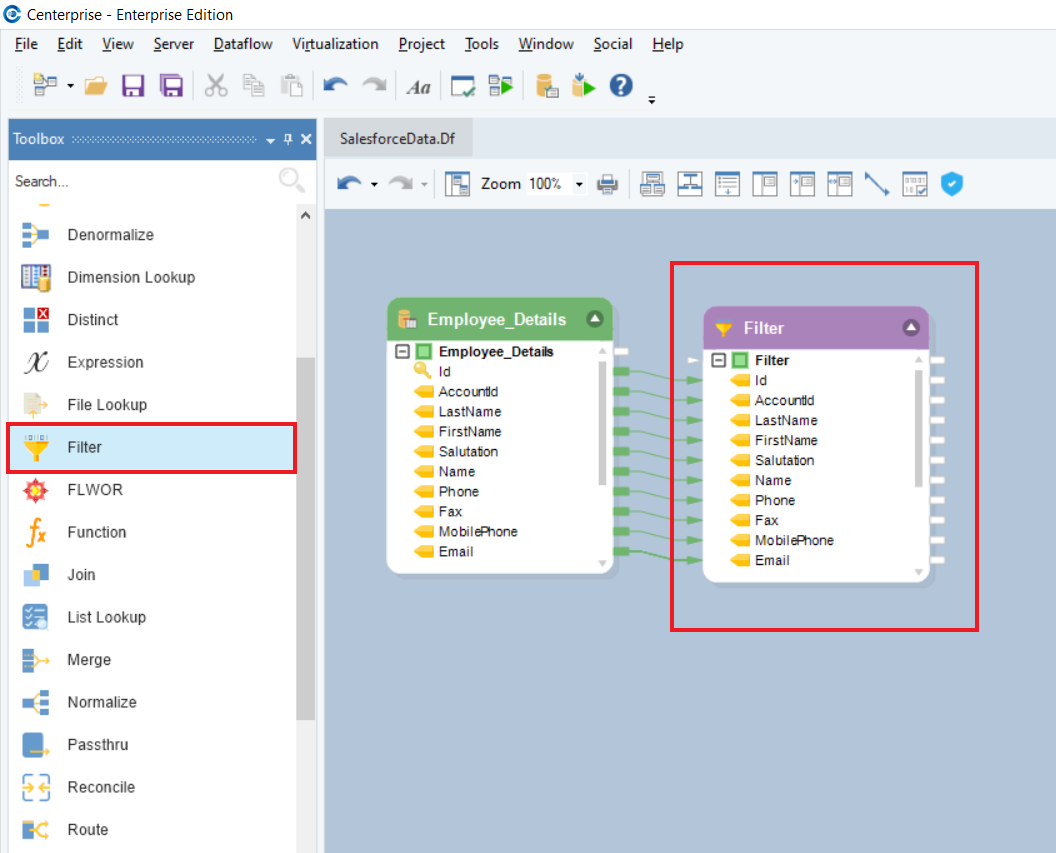
We have Employee Contact Details data in the table. We need a list of all employees in the Finance department so that they can be listed for an audit.
We will use the Filter transformation to filter out records of Finance Employees.
To know more about how a Filter Transformation works in Astera Centerprise, click here.
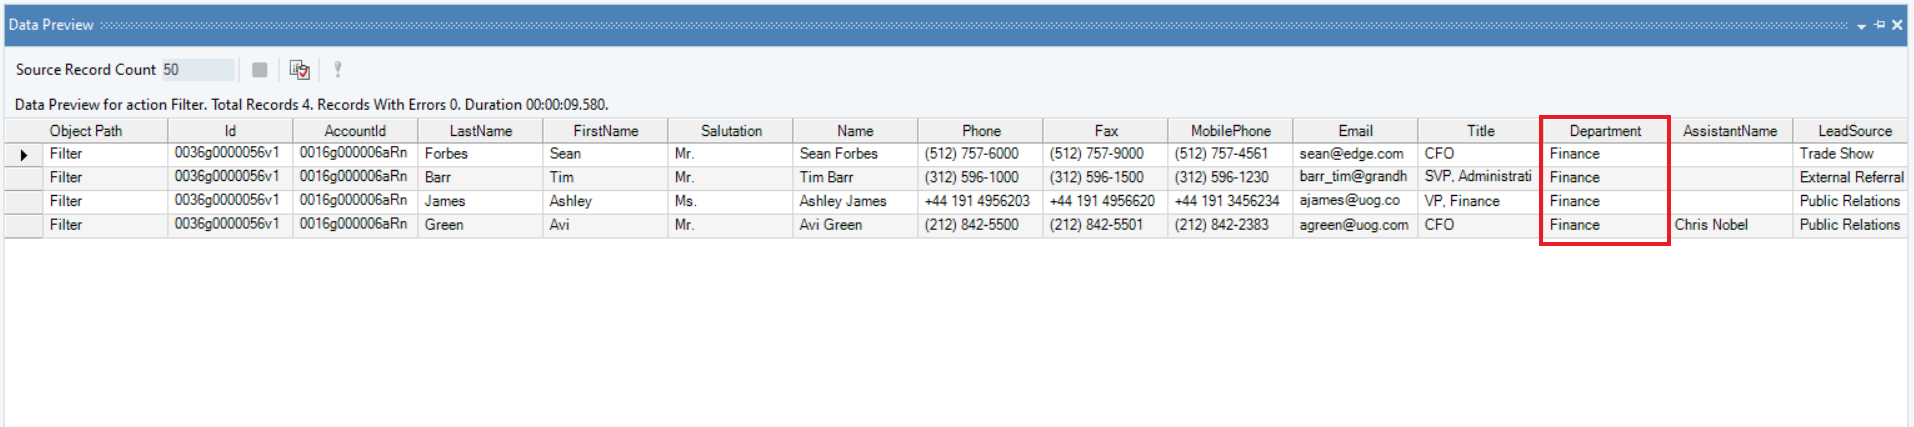
If we preview the output, we can see records of all the Employees working in the Finance Department.
Now, we can write this data to a desired destination in Astera Centerprise.
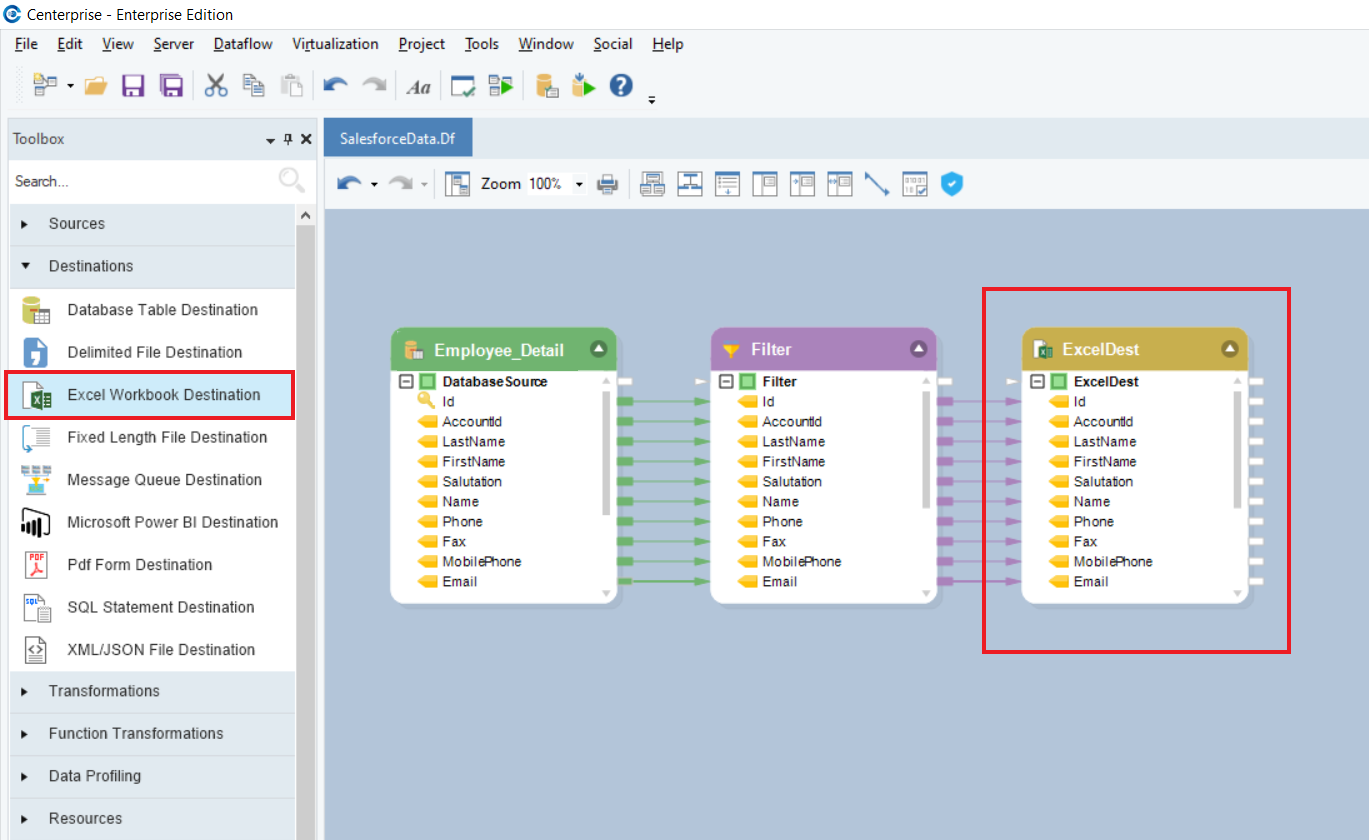
In this case, we’ve written this data to an Excel Workbook Destination.
We have successfully connected to Salesforce Database table and completed our use case in Astera Centerprise.