Tree Join Transformation
The Tree Join Transformation in Astera Centerprise enables users to create complex, hierarchical data structures such as EDI or XML documents with ease. Unlike the standard relational join which combines left and right elements to create a new record, the Tree Join transformation allows users to create collection and member nodes. It also enables users to join datasets in parent-child hierarchies using a key field. It is a set level transformation that operates on a group of records.
In this document, we will learn to use the Tree Join Transformation in Astera Centerprise.
Use Case
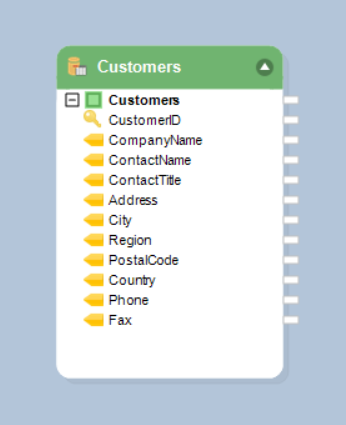
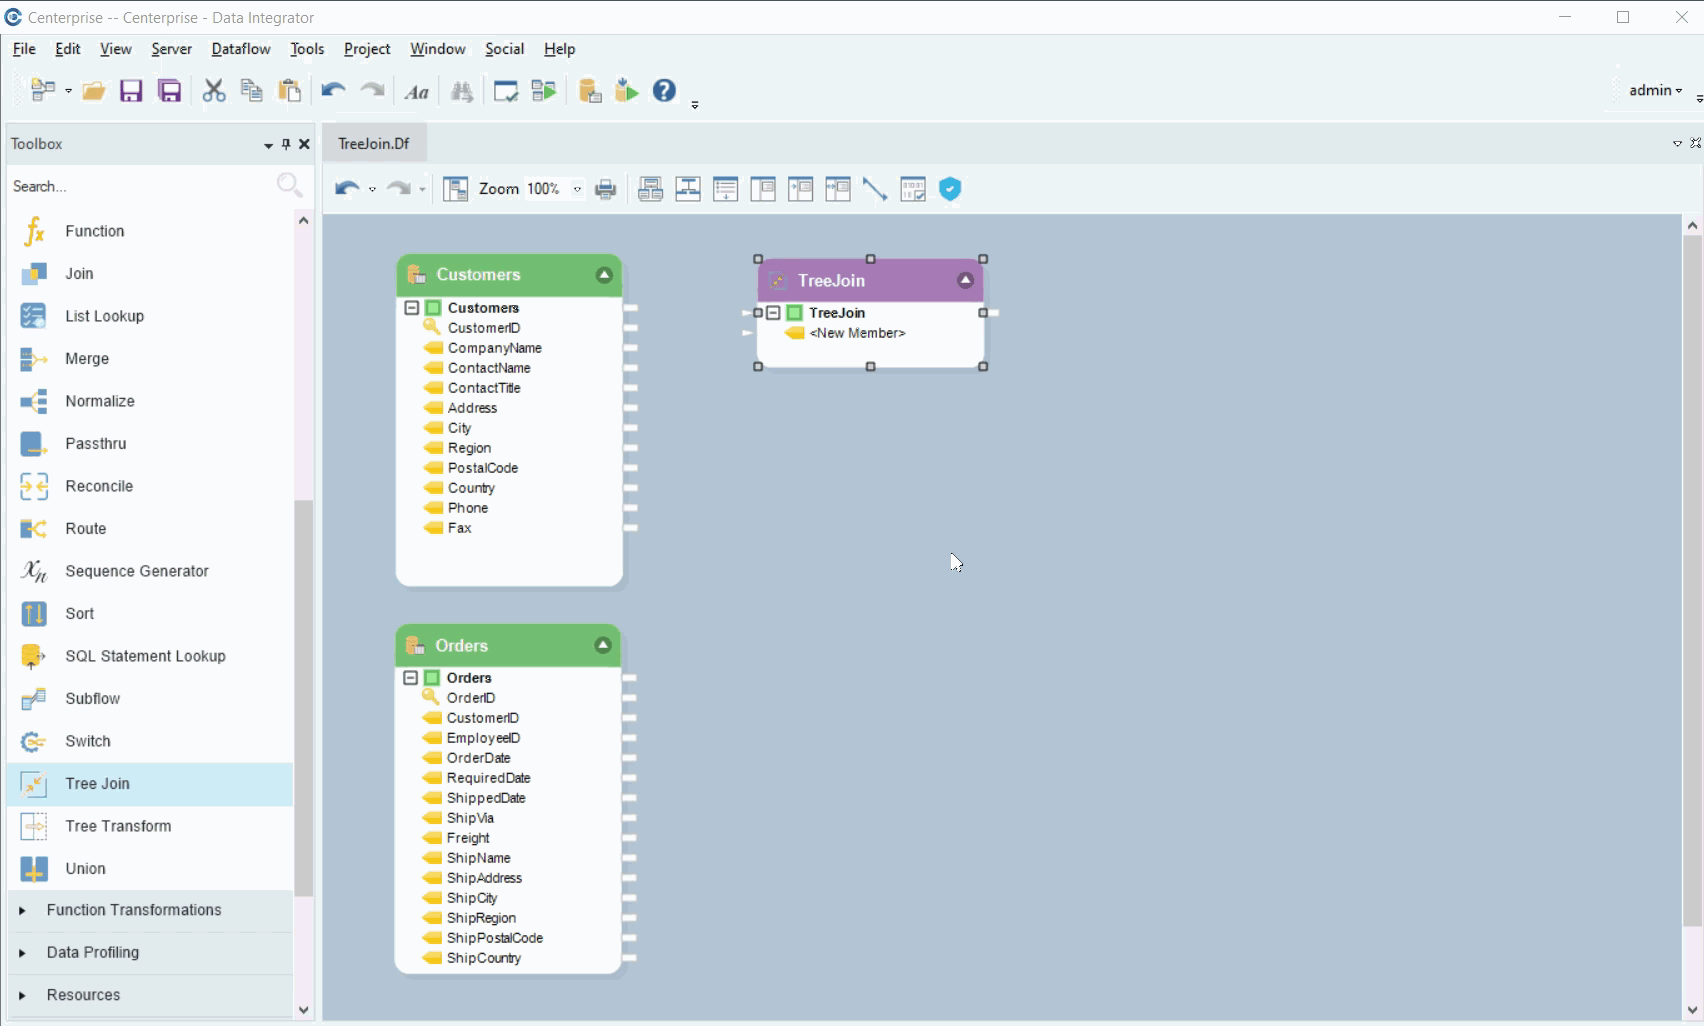
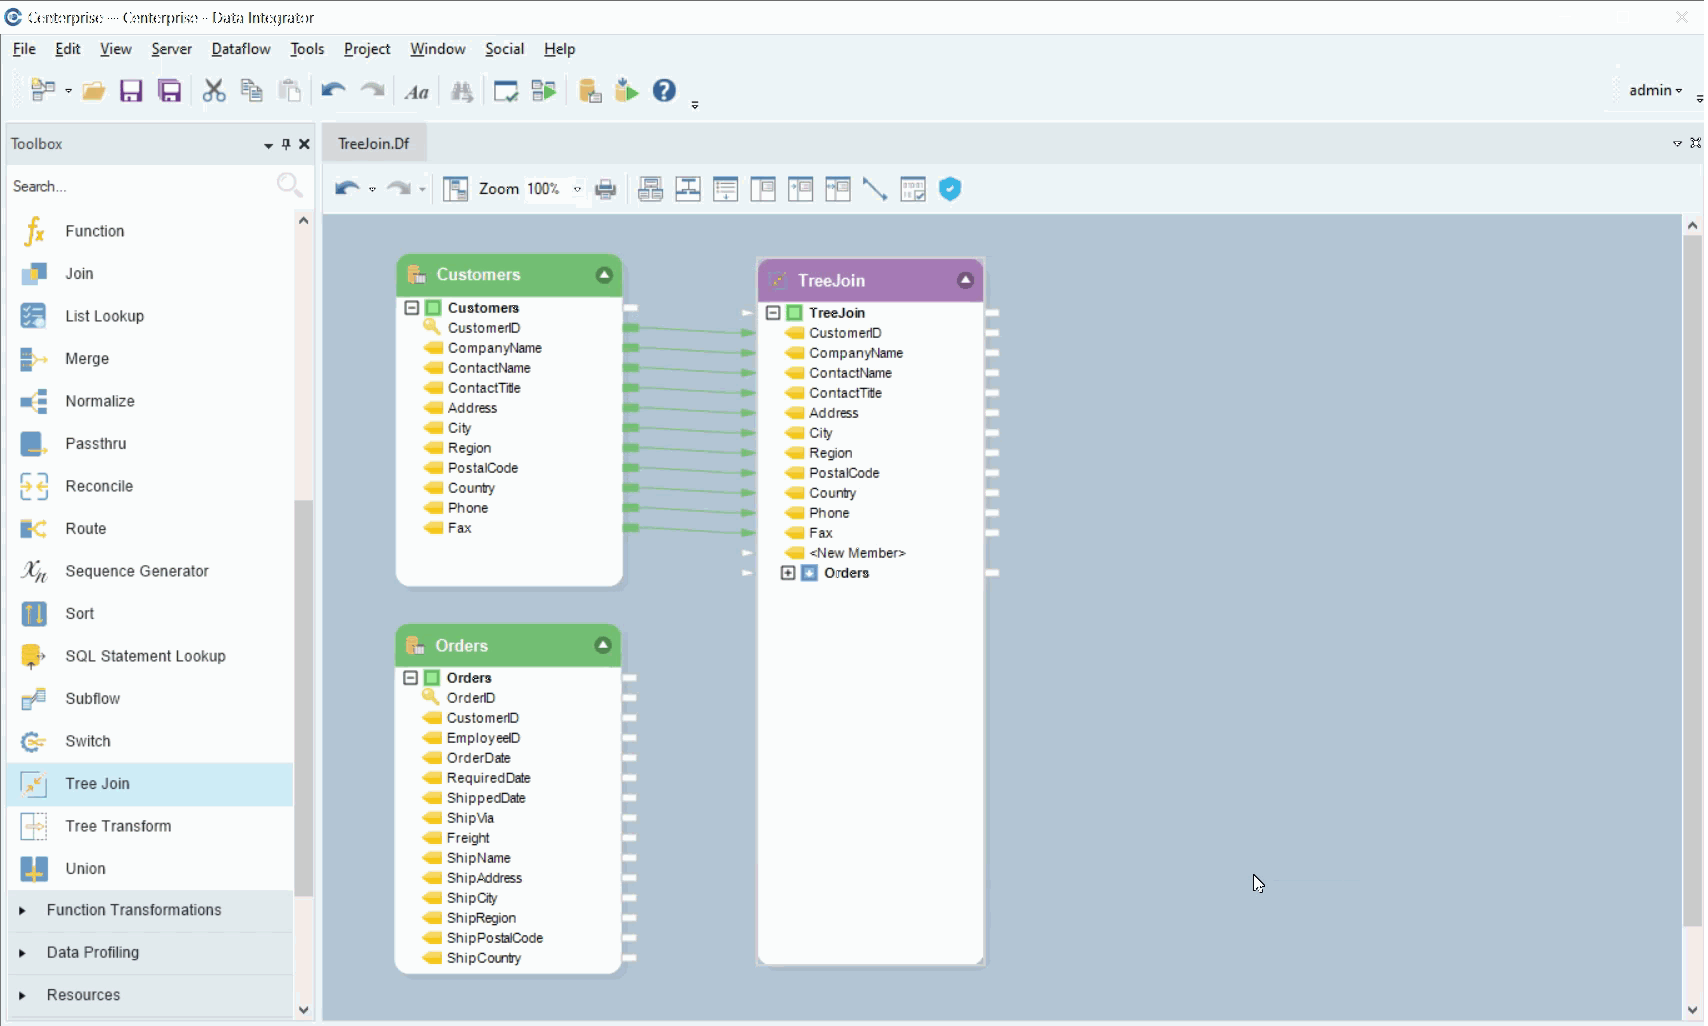
In this use case we have two different source datasets. The first data contains information about Customers and has fields such as CustomerName, CustomerID, Address, etc.
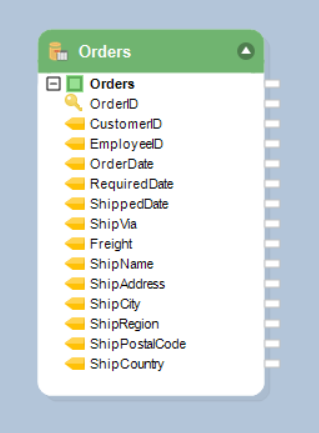
The second dataset contains details of Orders placed by customers. It includes fields such as OrderID, CustomerID, and order details such as RequiredDate, ShippedDate and other shipping details.
We’ll join these two datasets using the Treejoin Transformation and create a hierarchical dataset in which all orders placed by a customer along with the order details are represented in a parent-child hierarchy.
Contrary to the regular Join that joins two datasets in a flat layout, the Tree Join Transformation joins data from two different datasets into a hierarchical data structure.
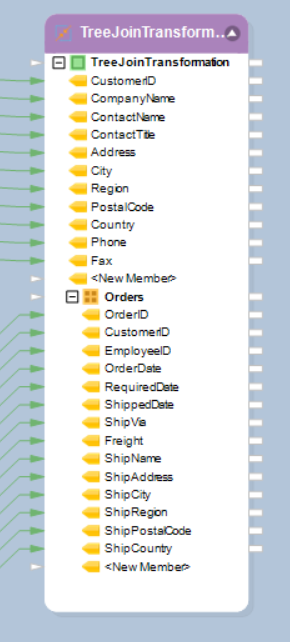
In this use case, each record from the first dataset that contains Customer details will be a parent node, and under the parent node, the details of Orders placed by that customer will be returned in a child node.
Using the Tree Join Transformation
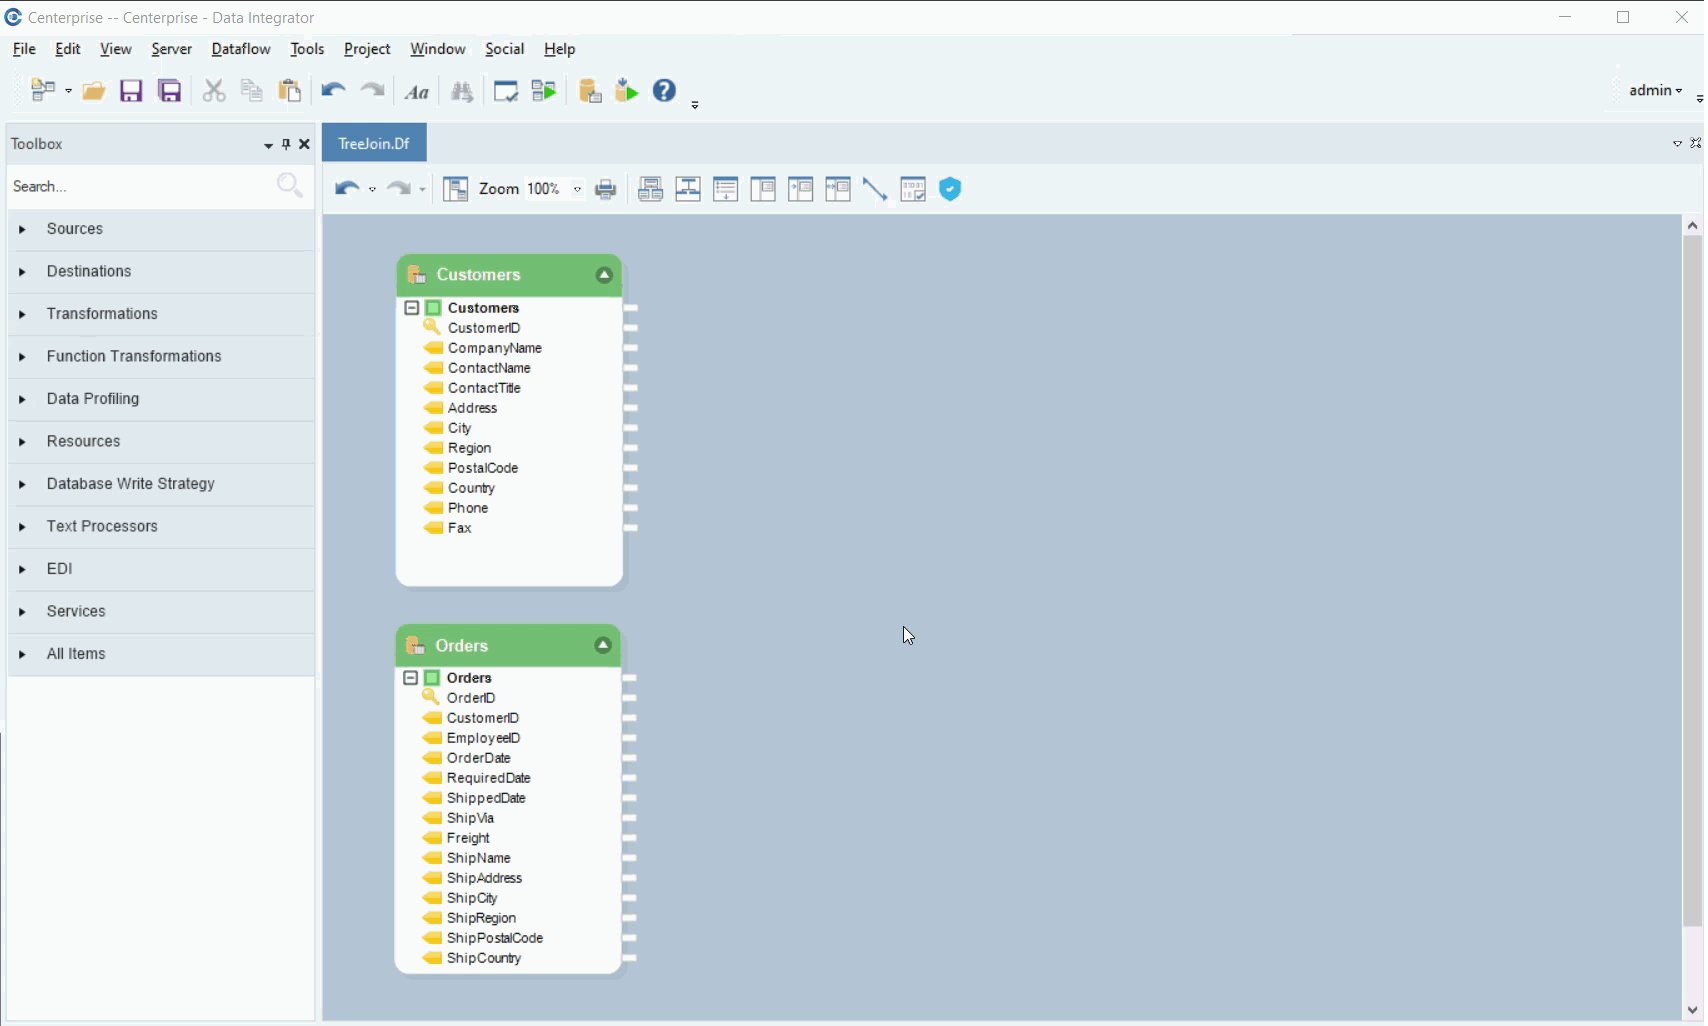
1. To get the Tree Join Transformation from the Toolbox, go to Toolbox > Transformations > Tree Join and drag and drop the Tree Join Transformation object onto the designer.
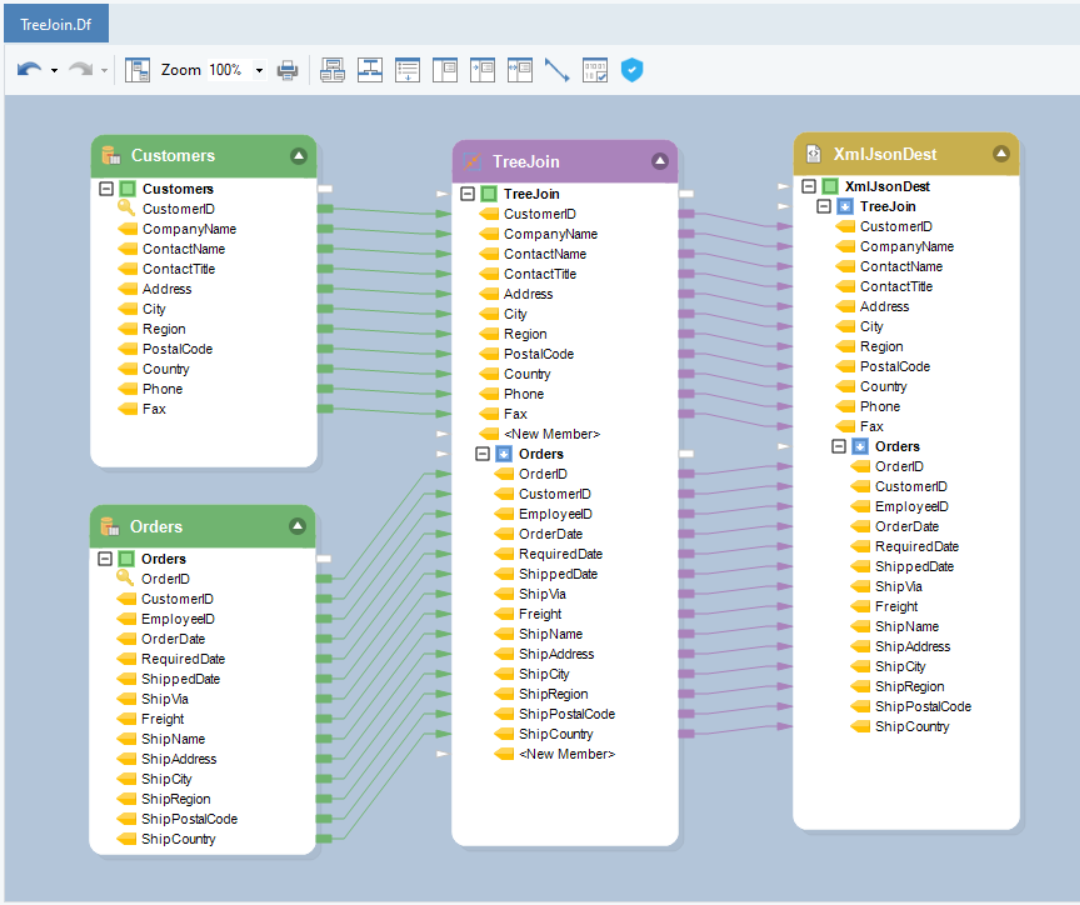
2. Now map fields from the Customer source dataset to the TreeJoin object.
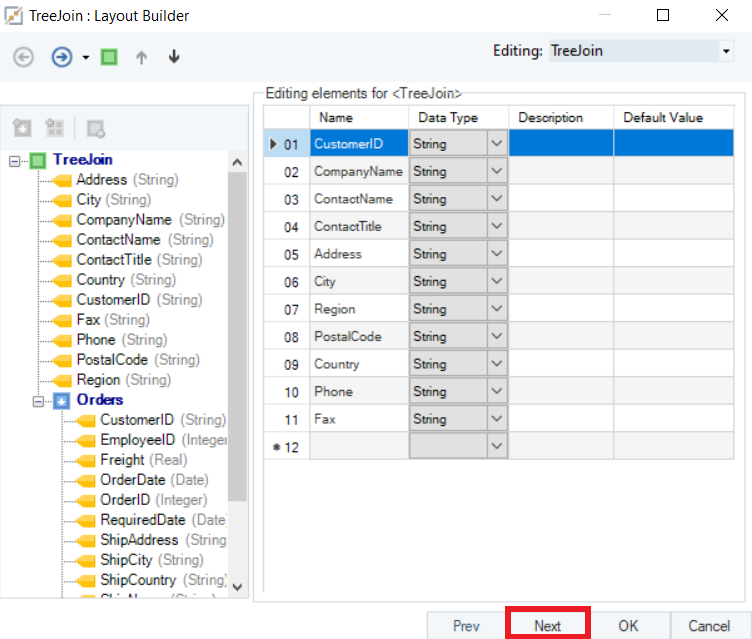
3. Right-click on the Tree Join header and go to Properties from the context menu. On the Tree Join Layout Builder screen, you can see the fields from the Customer dataset listed under the root node.
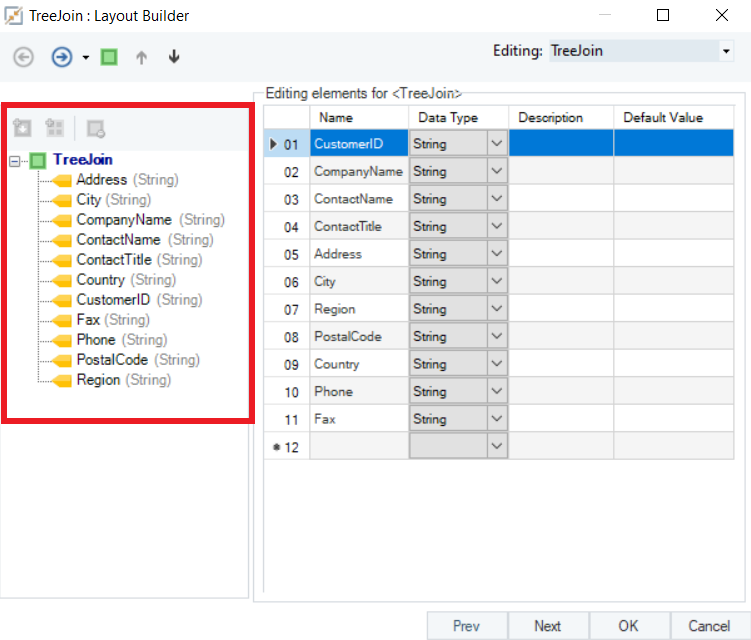
4. Next, click on the TreeJoin node, you will see that the small icons or buttons at the top of the screen will become active. If you click on the icon, you’ll get two options:

Add Member Object – to add a new member node to your layout
Add a Collection Object – to add a new collection node under the parent node. It will return all corresponding records as a collection under the parent node.
In this case we will Add a Member Object to create a separate record for each order placed by a customer, under a separate customer record node.
5. Add a Member Object to this root node. A dialogue box will open to name your member object.
In this case, let’s name it as ‘Orders’ and click OK. A member object has been added to our parent node.
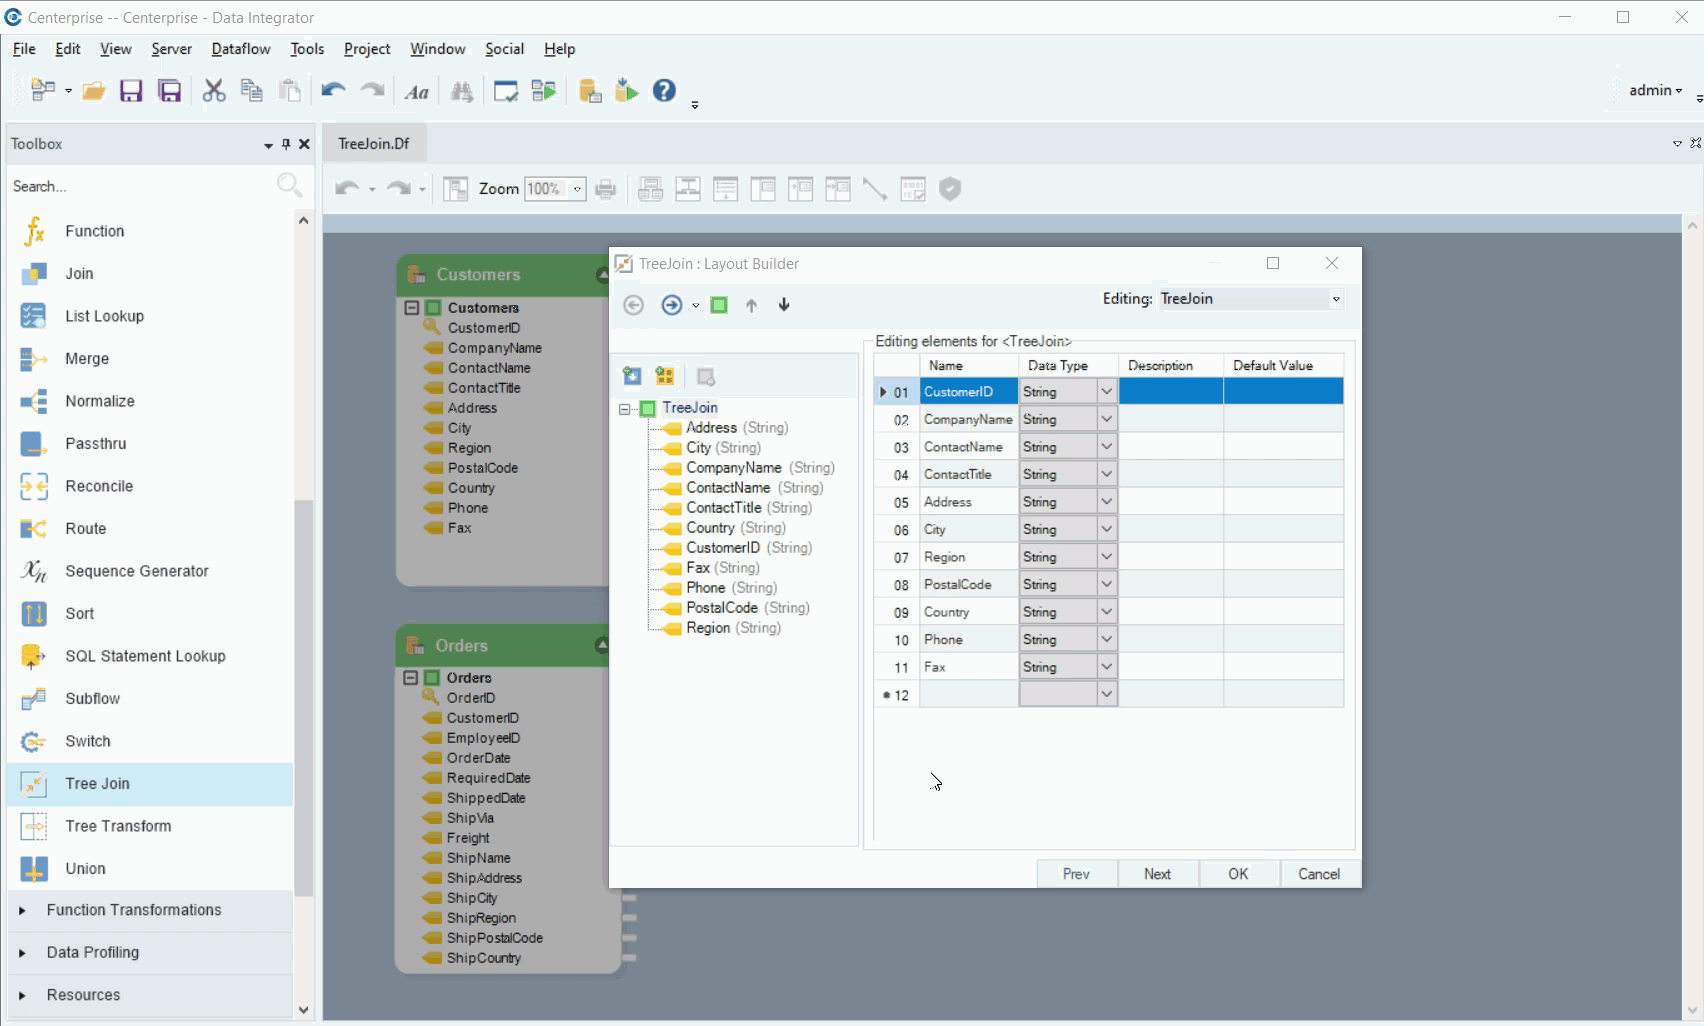
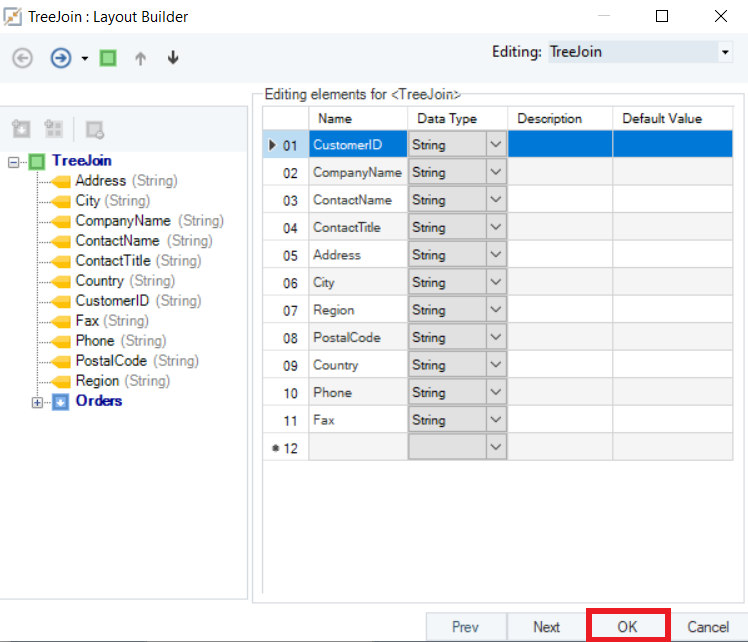
6. Click OK, to close the properties window. Now map the ‘Orders’ dataset to the member node that we created in the previous step to complete the layout.
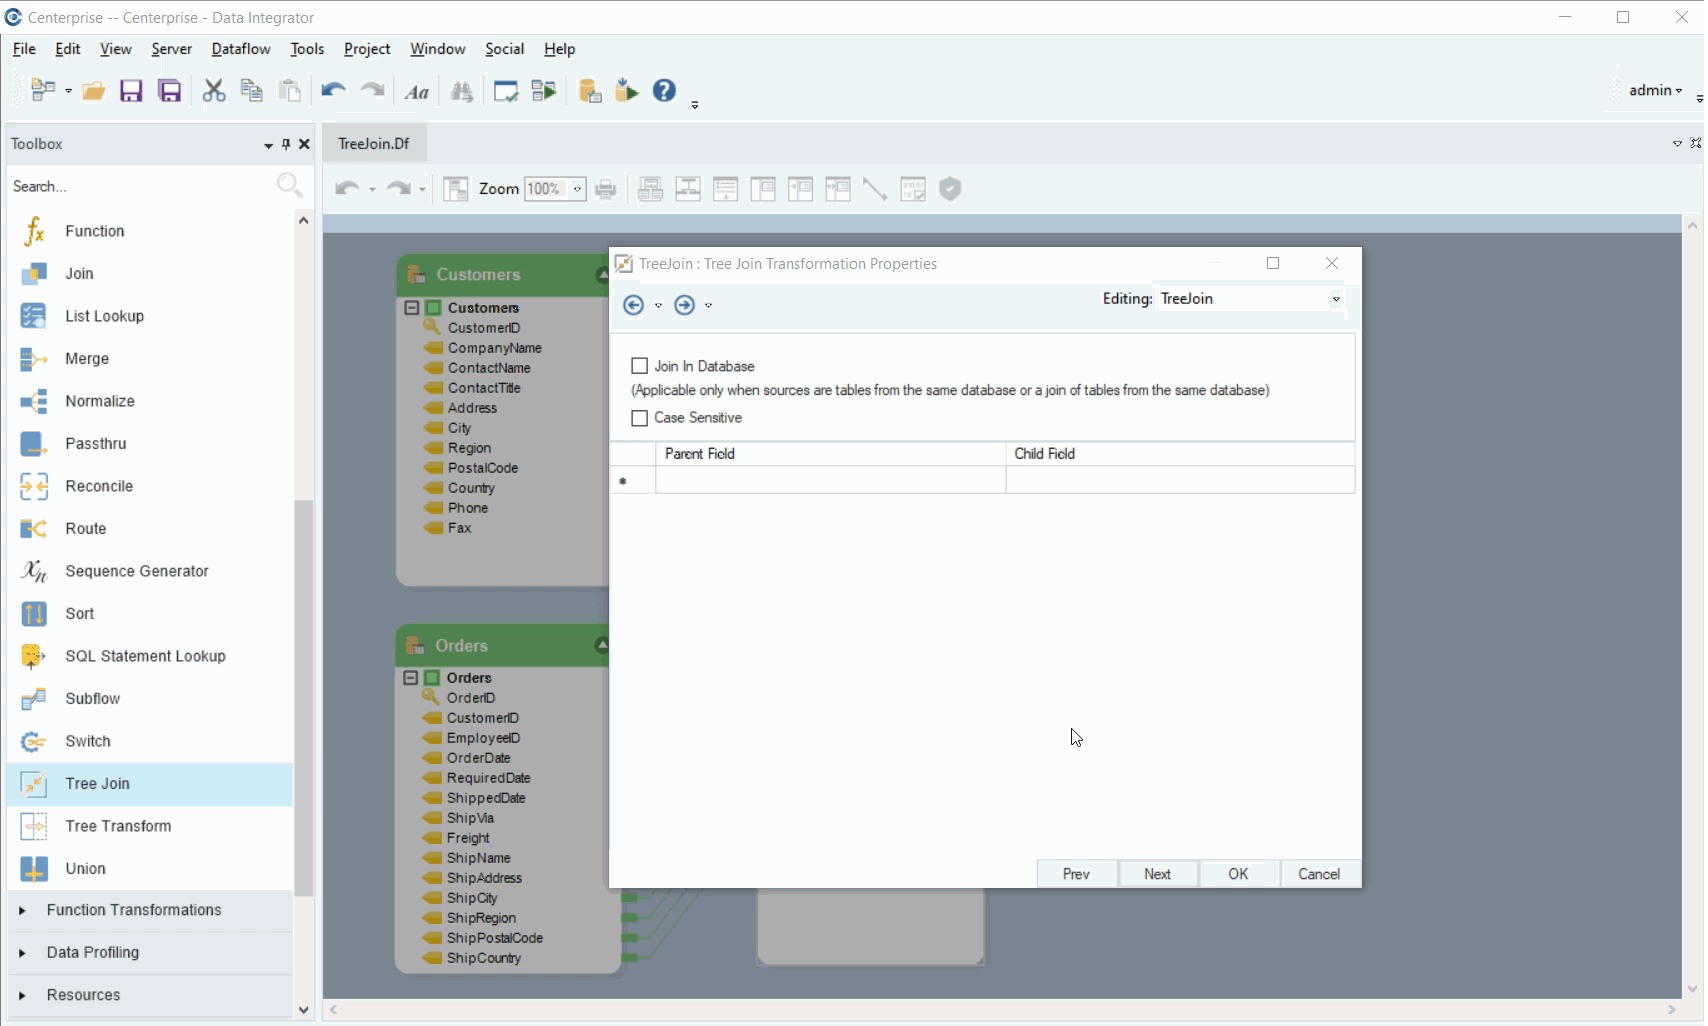
7. Go to the properties of the TreeJoin object again. We’ve already created the layout, so we’ll proceed to the next screen.
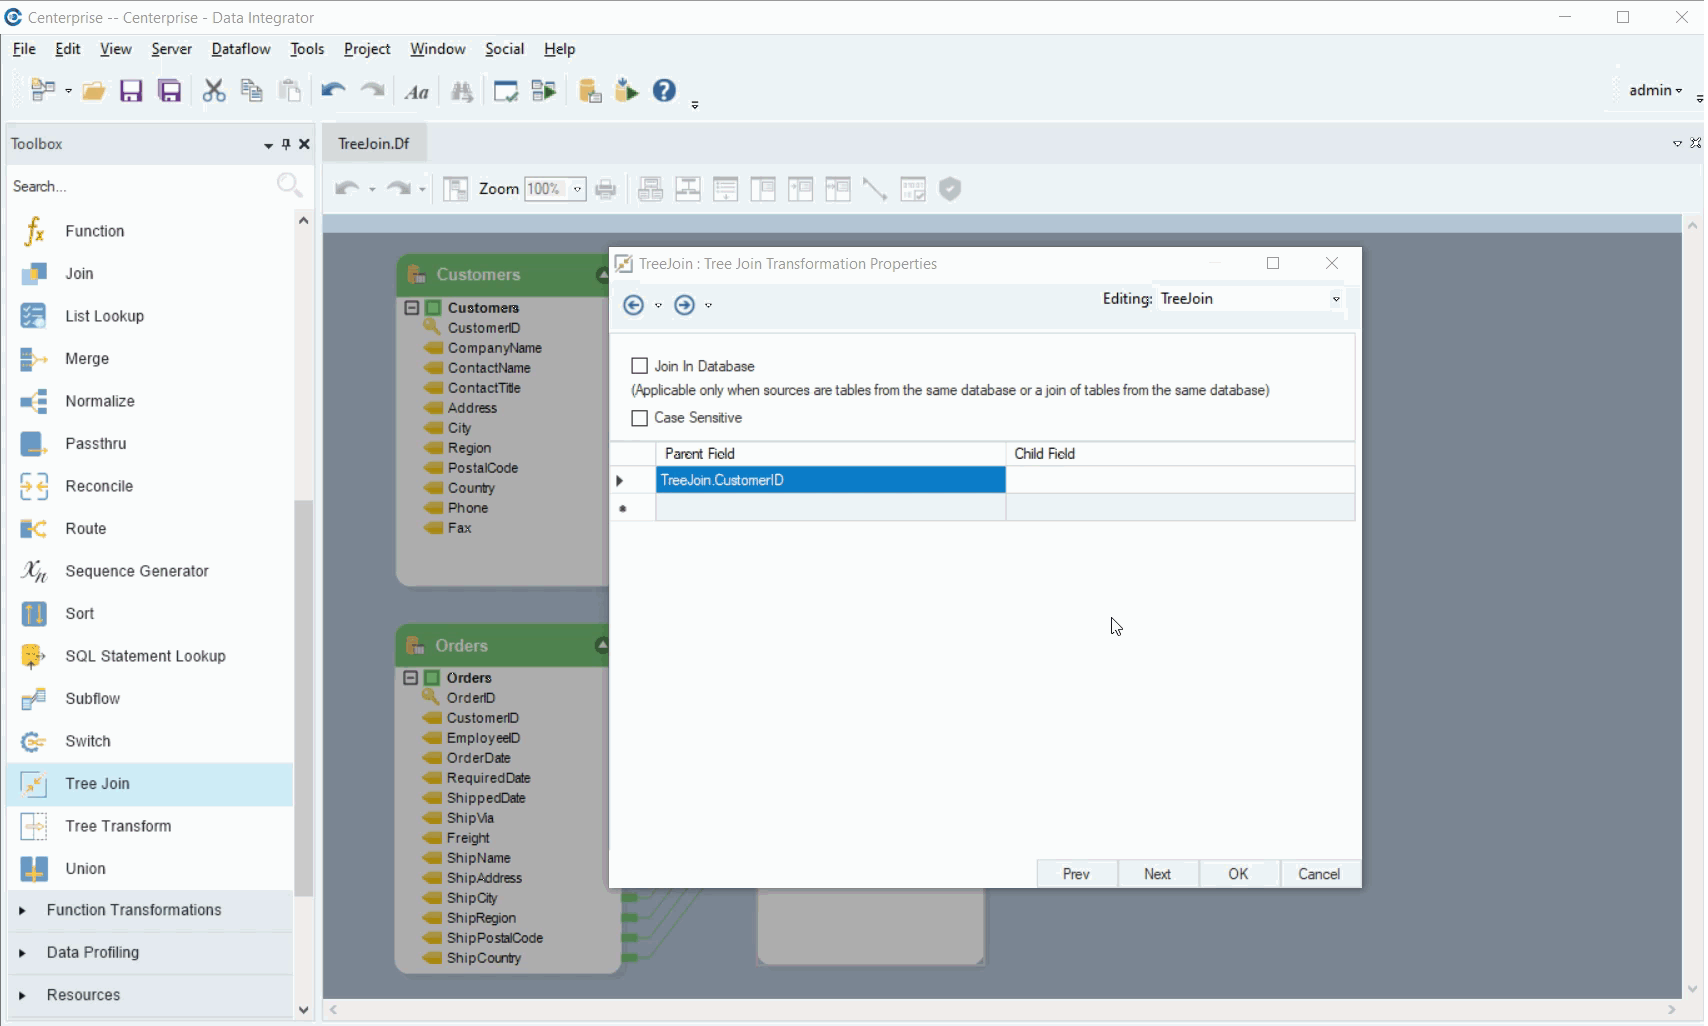
8. On the TreeJoin Properties screen, we must specify the Join Key.
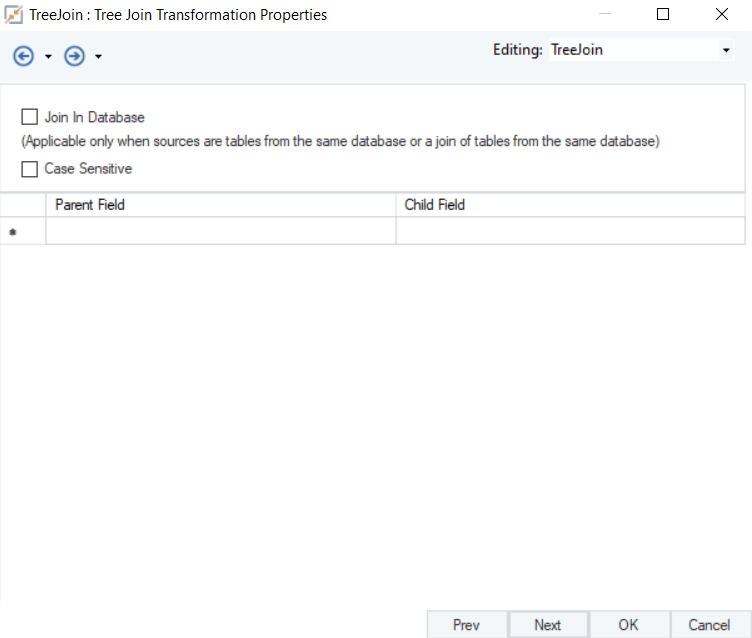
Join key is a common field or a common identifier in both the datasets which will identify and join records in a tree-like structure. The parent and child fields are the same fields which are common in both the source datasets and serves as a key identifier to join records.
- Parent Field – Join field from the first dataset
- Child Field – same field as the parent field, selected from the second dataset.
In this case, the CustomerID field is common in both the datasets, so we’ll use it as the Join Key.
9. Click on the Parent field dropdown button. Expand the TreeJoin node and select the CustomerID field.
10. Click on the Child field column and expand the TreeJoin root node. Scroll down to your member node, expand this node and select the CustomerID field from the second dataset.
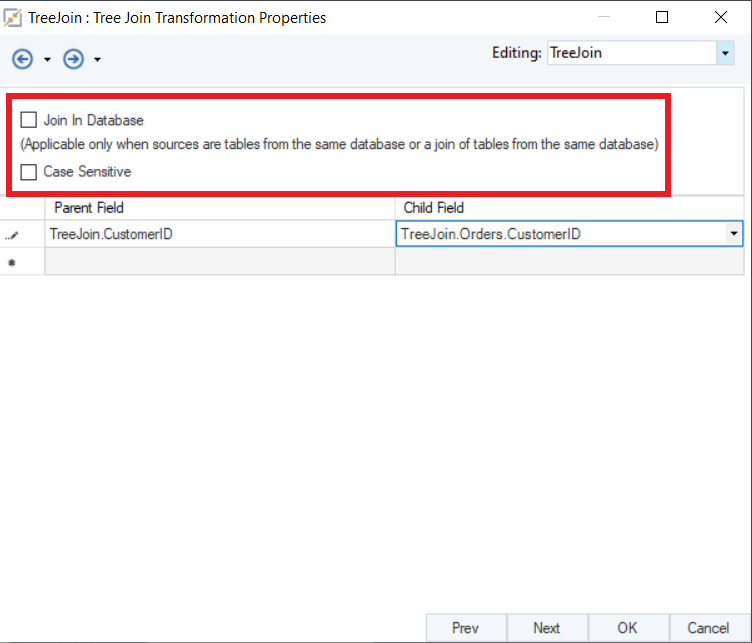
Let’s discuss the other options on the properties window:
Join In Database – lets you join the tables in the database itself rather than in-memory. However, it applies only when both the tables are sourced from the same database.
Case Sensitive – to process and join records on a case sensitive basis.
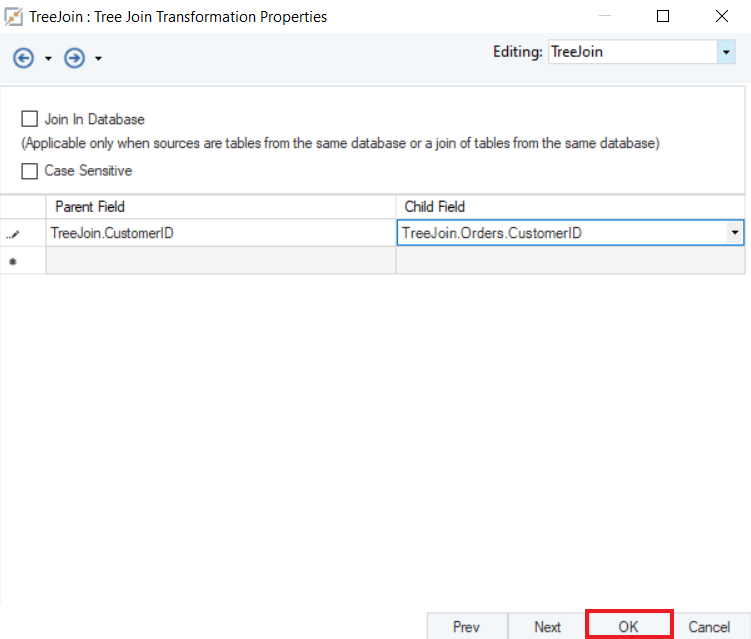
11. We have our layout and the TreeJoin properties ready, click OK.
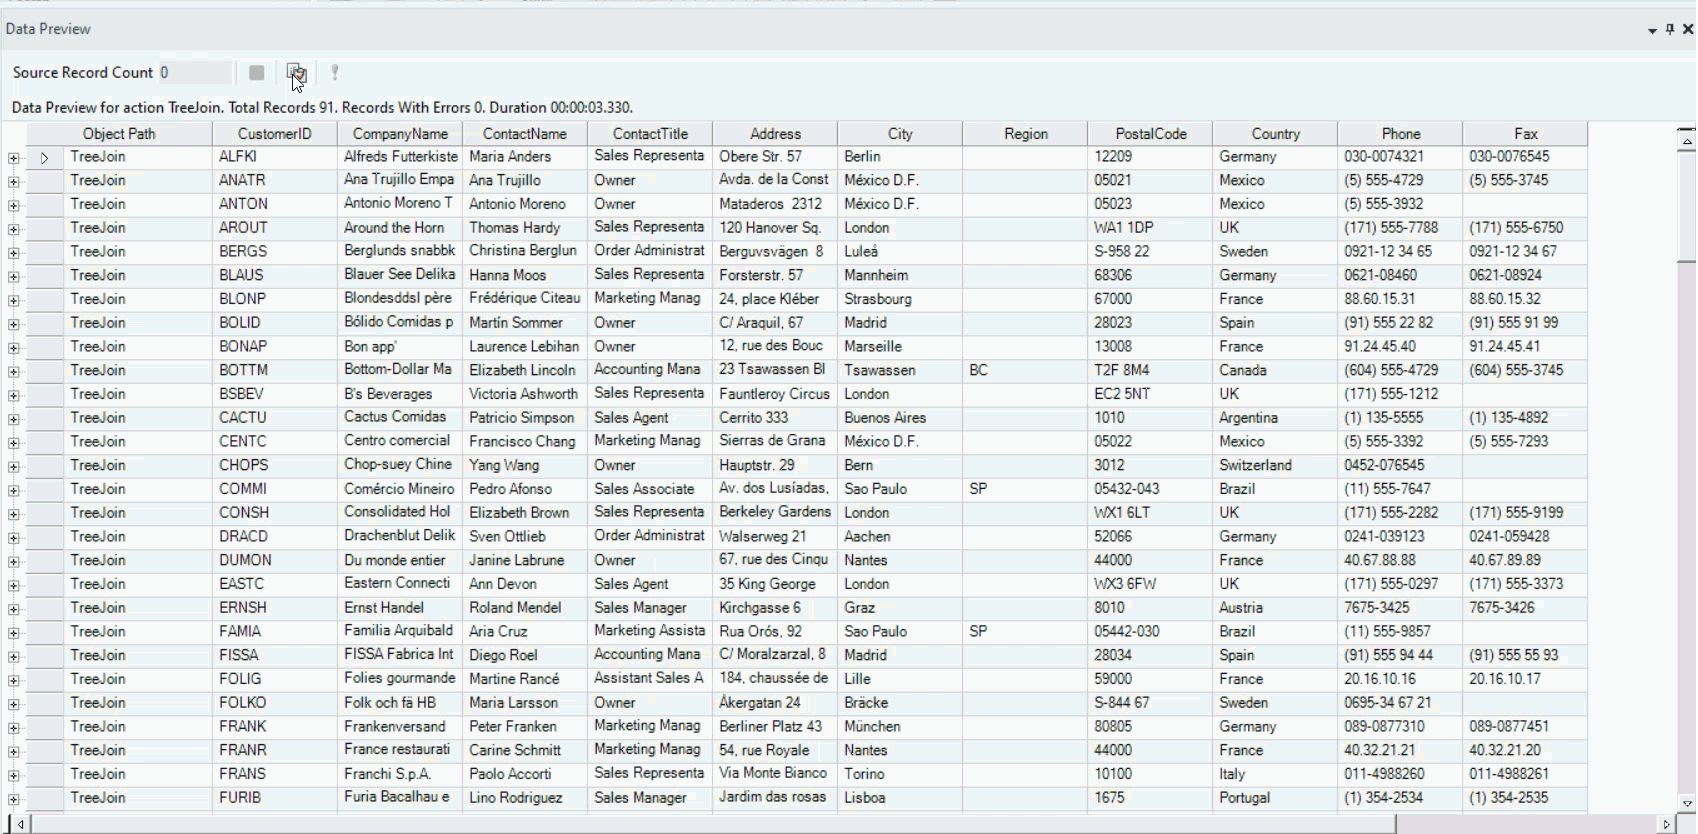
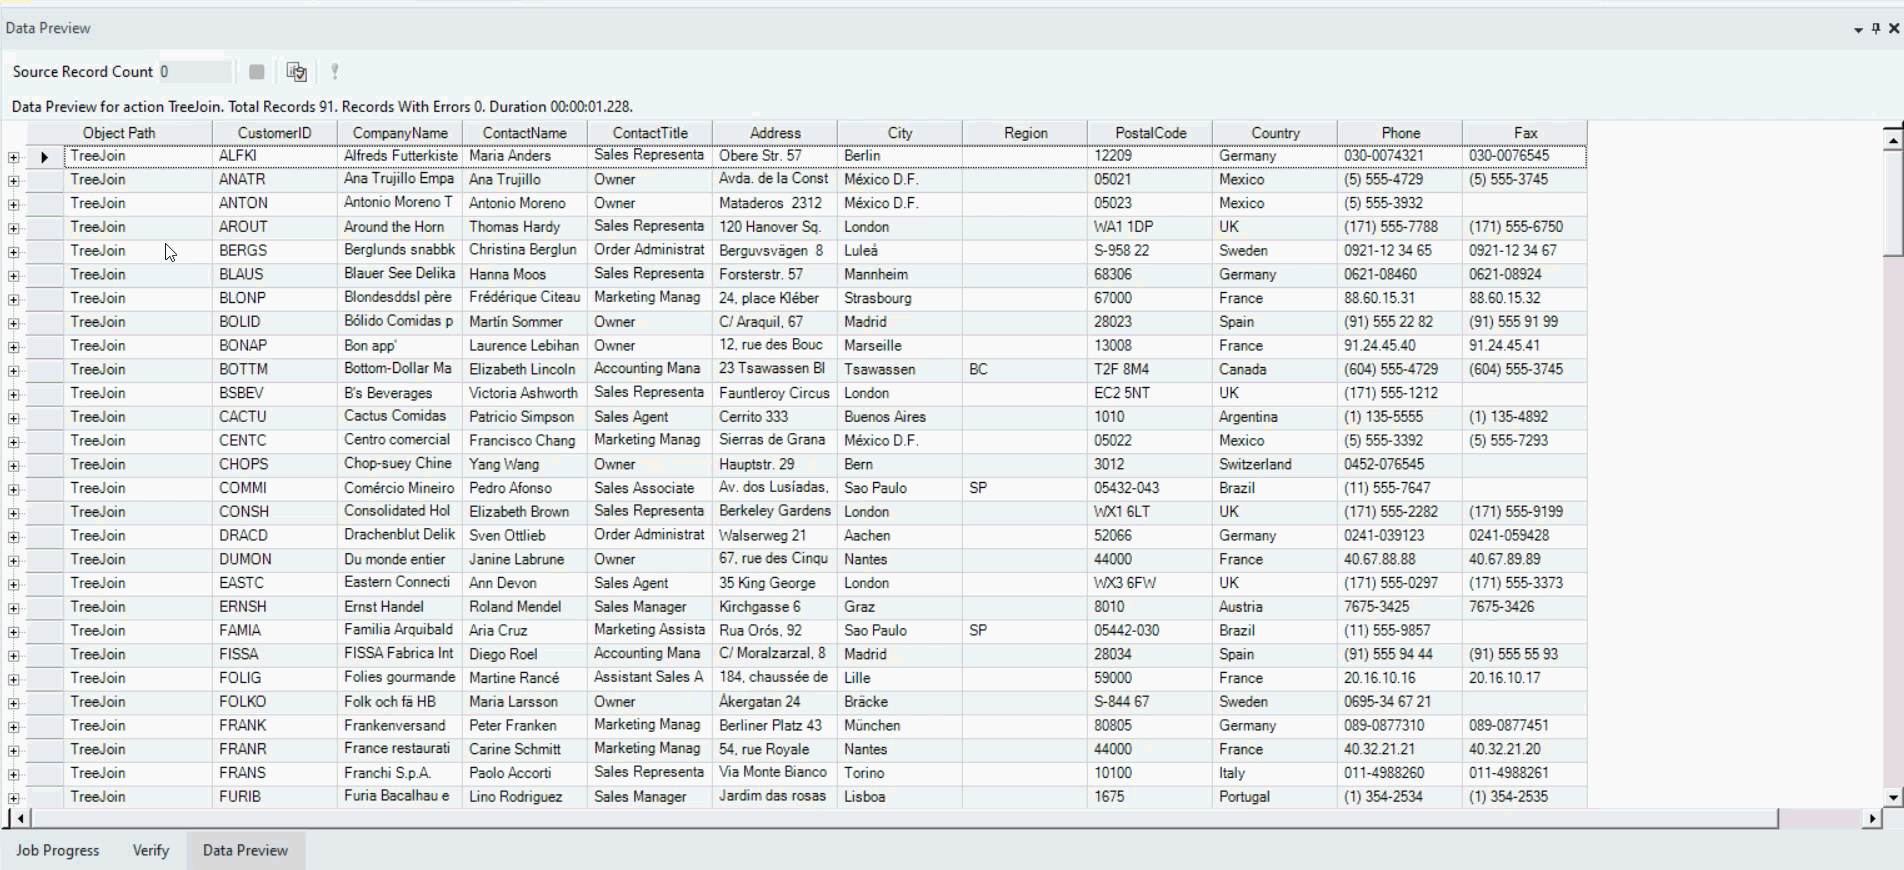
12. Right-click on the TreeJoin object and select ‘Preview Output’.
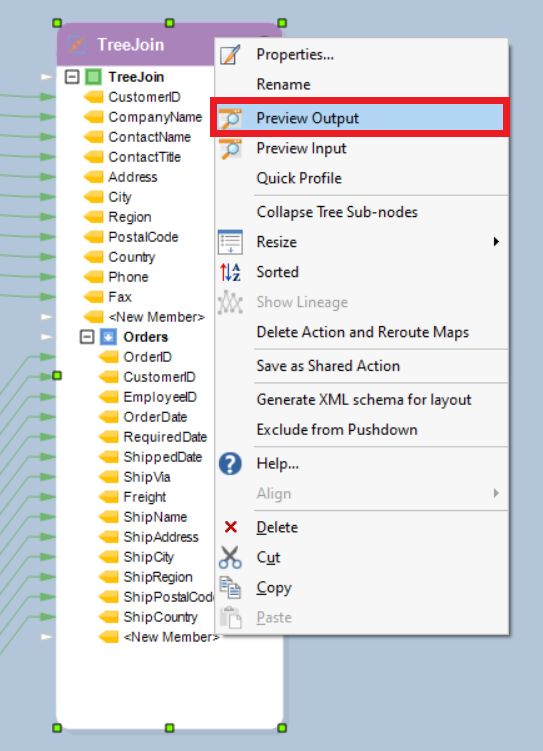
The TreeJoin has returned the customer records in parent nodes. Upon expanding the node, you can see the order placed by the customer listed as its member unit under the parent node.
If we choose to Add a Collection Object in the Layout Builder, all the records for orders placed by a customer will be returned in a collection under a single parent node for each customer.
13. The joined dataset can now be written to a desired destination. In this case we will write it to an XML File Destination object.
To know more about writing to an XML File Destination object, click here.
This concludes using the Tree Join Transformation in Astera Centerprise.
Download datasets used in the use case from here.