Normalize Transformation
The Normalize transformation object in Astera Centerprise is used to create one-to-many mappings. It allows users to create multiple records from a single record by transposing the columns in a dataset into rows. In other words, you can take a dataset that has many columns and turn it into one that has many rows.
Use Case
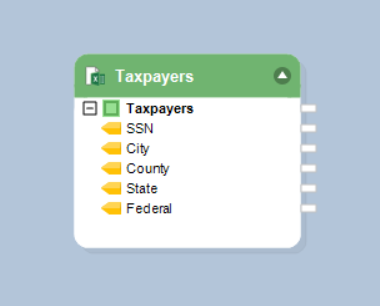
In this use case, we have a sample Excel dataset that contains information on the types and amounts of taxes paid by taxpayers. This includes taxpayers’ Social Security Number (SSN) and the different types of taxes that they have paid. These types are divided into different fields, such as City, County, State, and Federal, with each column containing the amount paid by each customer for a particular tax type. Our goal is to reduce the number of fields and increase the number of records by specifying the tax type in one consolidated field. To do that, we will use the Normalize object in Astera Centerprise.
How to Work with the Normalize Transformation in Centerprise
1. Drag the relevant source object from the toolbox and drop it onto the designer. In this case, we will select the Excel Workbook Source object from Toolbox > Sources > Excel Workbook Source and configure it so that it reads data from the taxpayers’ dataset.
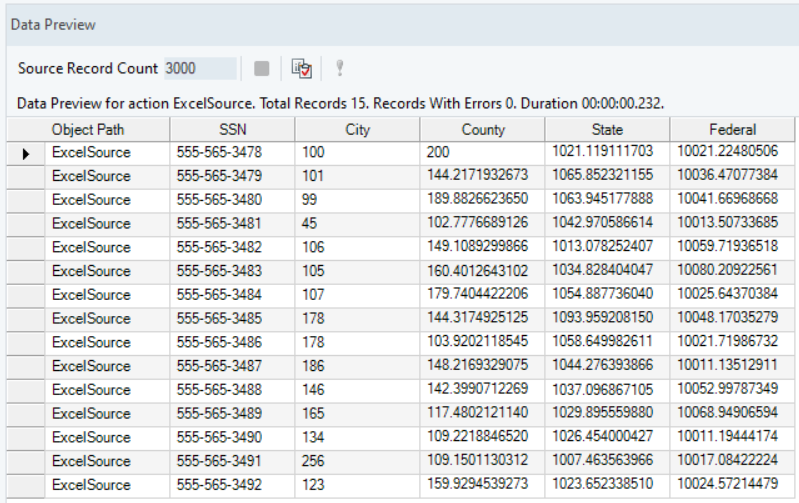
To preview the data, right-click on the object header and select Preview Output from the context menu. Here is a look at the dataset:
To learn how you can configure an Excel Workbook Source object, click here.
2. Drag the Normalize object from Toolbox > Transformations > Normalize and drop it onto the designer.
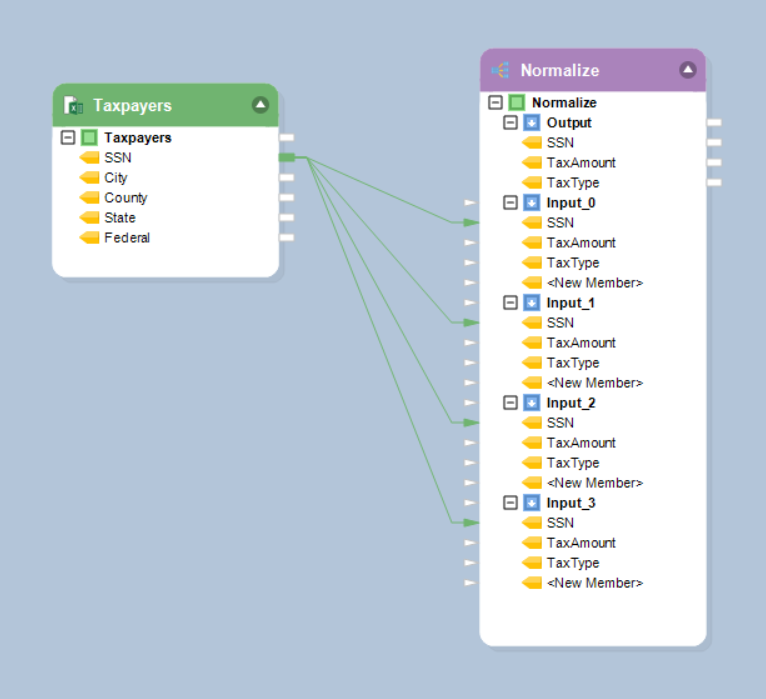
You’ll notice that the object header contains one output node and two input nodes by default.
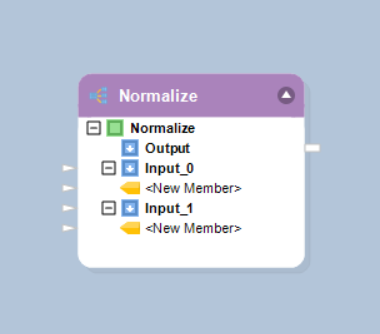
Any field mapped as a new member to one input node will appear in all of the input nodes as well as the output node. In this case, we’ll map the SSN field from the source object to an input node.
3. Right-click on the header of the Normalize object and select Properties from the context menu.
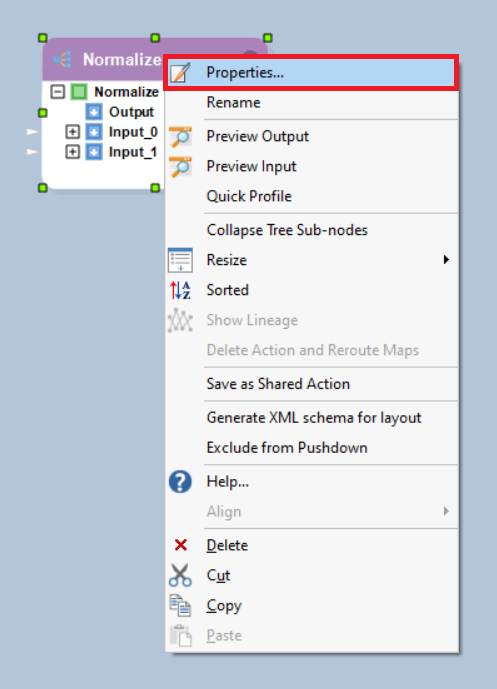
A dialogue box will appear.
This dialogue box is used to configure the Normalize object.
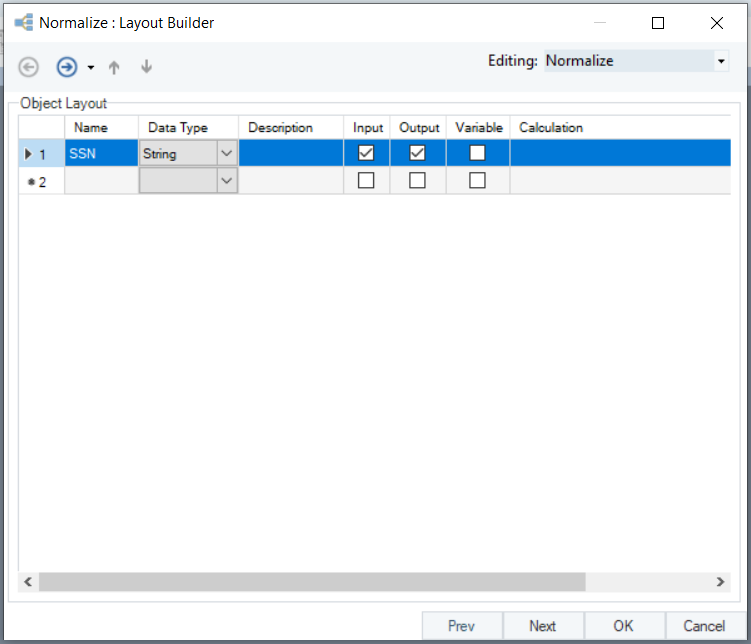
4. On the Layout Builder screen, create the layout of your normalized dataset by providing field names. In this case, we’ve already mapped SSN from the source and will create two new fields, one for the tax amount and the other for the tax type.
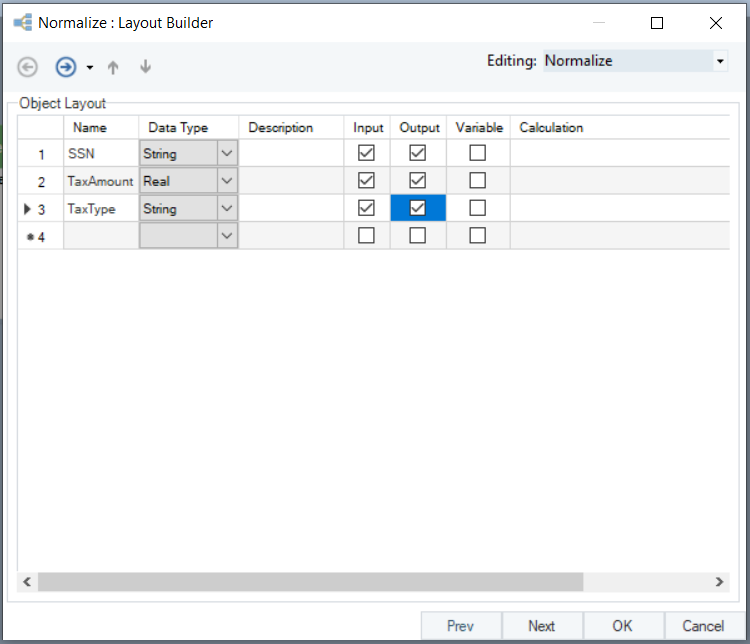
Once you’ve created the layout, click Next.
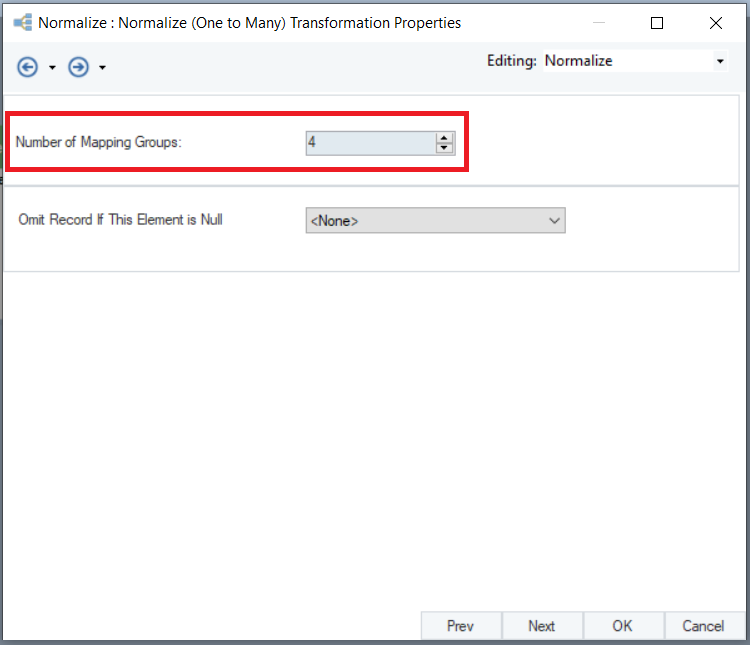
5. On the Normalize (One to Many) Transformation Properties screen, make appropriate selections for the following options:
- Number of Mapping Groups: Here, you can specify the number of mapping groups that are required. Increasing this number from 2 will also increase the number of input nodes in the object. In this case, there are four tax types. Hence, we will increase the number to 4.
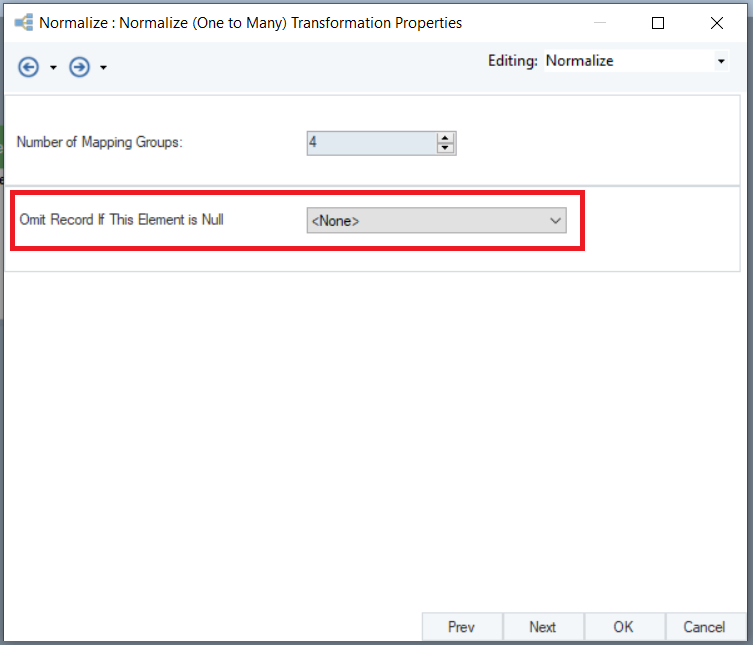
- Omit Record If this Element is Null: From this drop-down menu, you can select a field from your layout. If an element in this field is null, the entire record containing that null element will be omitted from the dataset. In this case, we will select
, the default option, which denotes that this option will not apply to any field.
Once you’ve made the required selections, click Next.
6. On the last screen, which is the General Options screen, you will be provided with an empty text box for comments. Moreover, you can also select a few options that are common to most objects in Centerprise.
- Clear Incoming Record Messages: When this option is checked, any messages coming in from the preceding object will be cleared.
- Do Not Overwrite Default Values with Nulls: When this option is checked, it makes sure that actual values are not overwritten with null values in the output.
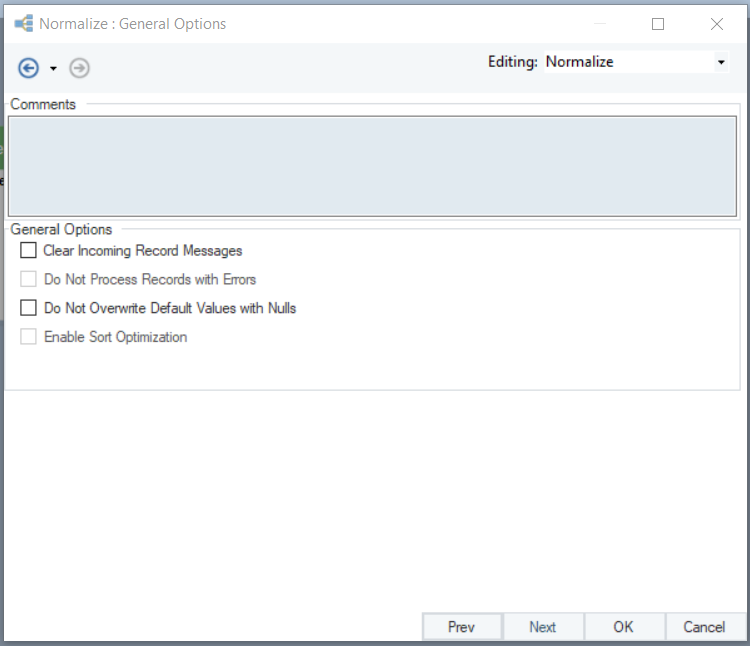
In this case, we will leave the options unchecked. Once you’re done, click OK.
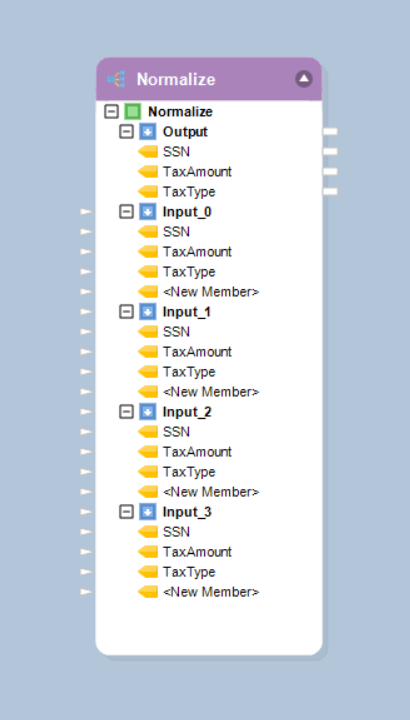
Now that you’ve configured the Normalize object, you’ll notice that some new input nodes have been added to the object based on our selection for the Number of Mapping Groups option. Each node contains the layout we specified on the Layout Builder screen.
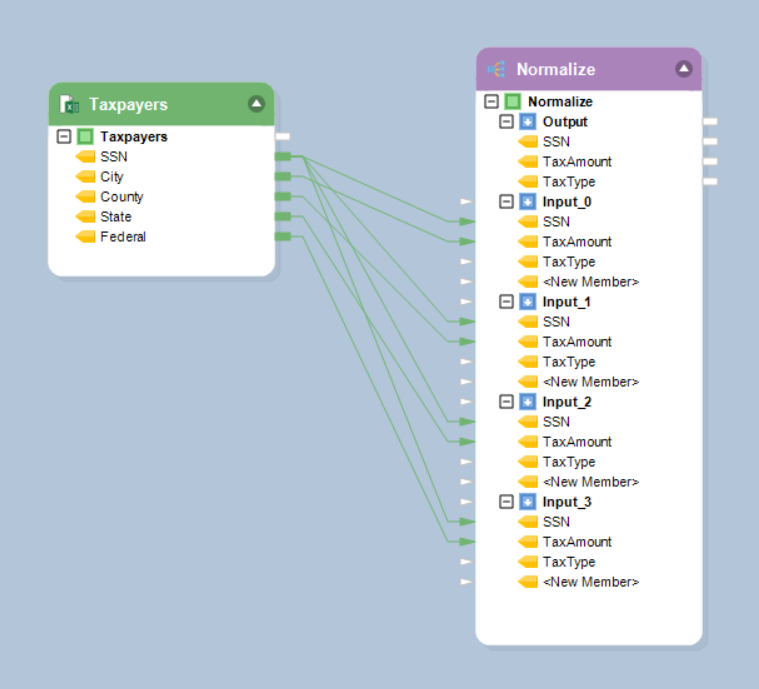
7. The next step is to make the required mappings from the source object to the Normalize object. These are the mappings needed for this particular use case:
- Map SSN from the Excel Workbook Source object to SSN in all four input nodes of the Normalize object.
- Map City to TaxAmount in the first input node, County to TaxAmount in the second input node, State to TaxAmount in the third input node, and Federal to TaxAmount in the fourth input node.
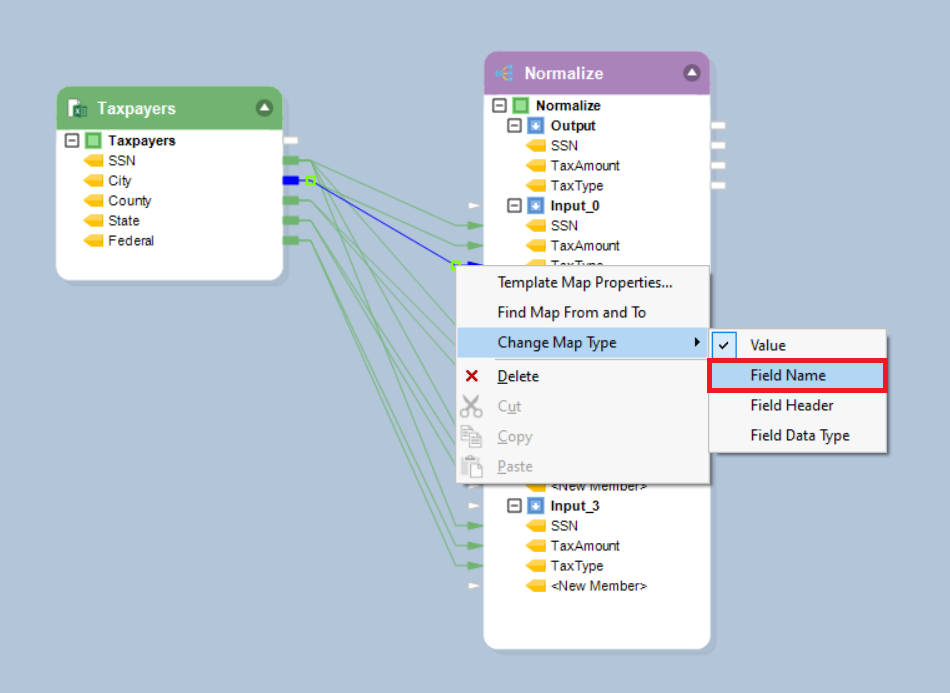
- Map the City field name to TaxType in the first input node, the County field name to TaxType in the second input node, the State field name to TaxType in the third input node, and the Federal field name to TaxType in the fourth input node. To map field names, right-click on the mapping link, hover over Change Map Type, and select Field Name.
Here is what the final dataflow should look like:

8. Preview the output to have a look at the normalized dataset.
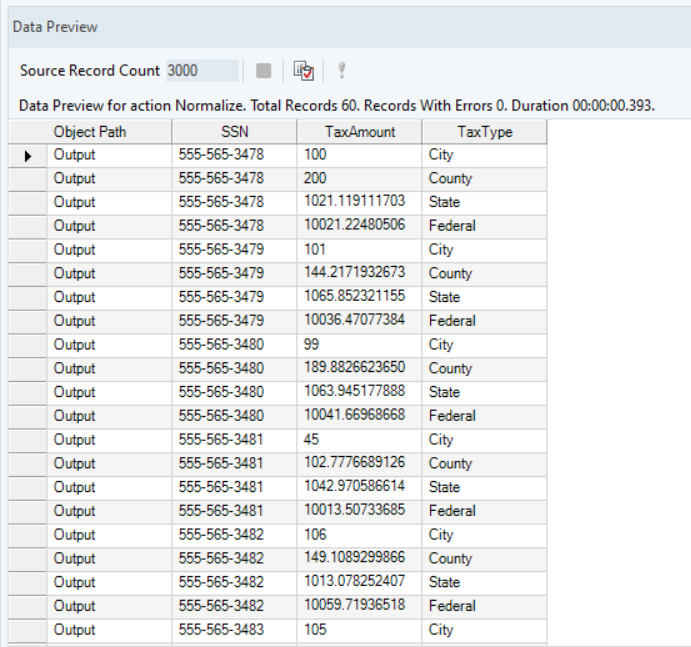
You can map these fields further to other objects in the dataflow using the output node of the Normalize object.
This concludes using the Normalize object in Astera Centerprise.