SQL Statement Destination
The SQL Statement Destination in Astera Centerprise offers extra flexibility over other destination objects by providing the option to apply a custom INSERT, UPDATE, or DELETE SQL statements to control what will be written to the destination table. The object can also be used to call stored procedures. Moreover, you can parameterize your SQL statement using the Parameterize Replacement functionality.
In this article, we’ll be looking at how you can configure and use the SQL Statement Destination object in Astera Centerprise.
Configuring the SQL Statement Destination
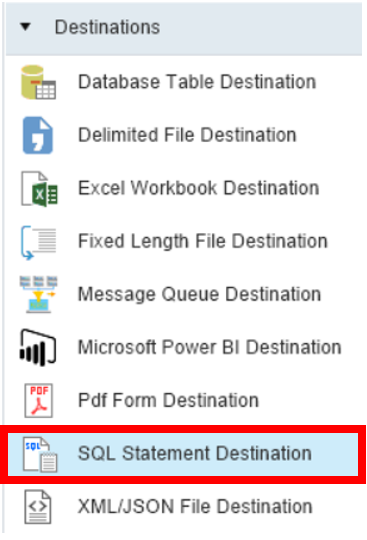
1. Before moving on to the actual configuration, we’ll have to get an SQL Statement Destination object from the Toolbox. To do so, go to Toolbox > Sources > SQL Statement Destination. In case you’re unable to view the toolbox, go to View > Toolbox or press Ctrl + Alt + X.
2. Drag and drop the SQL Statement Destination object onto the designer.
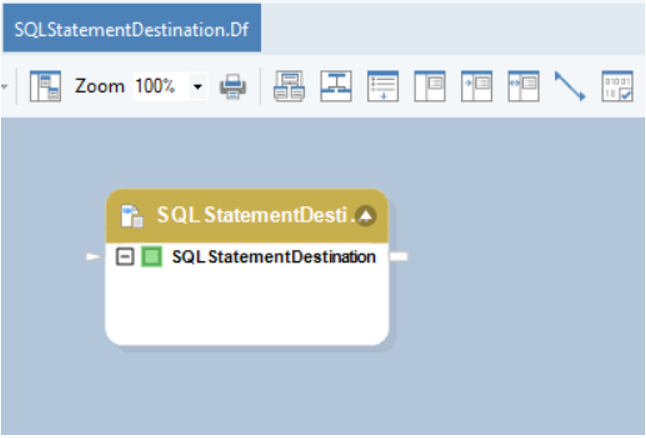
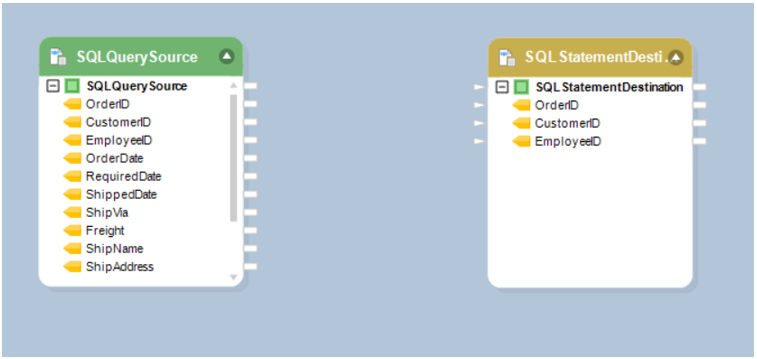
The destination object is currently empty because we are yet to map any data fields to it.
3. To configure the SQL Statement Destination object, right-click on its header and select Properties from the context menu. Alternatively, you can double-click header of the destination object to go to its Properties.
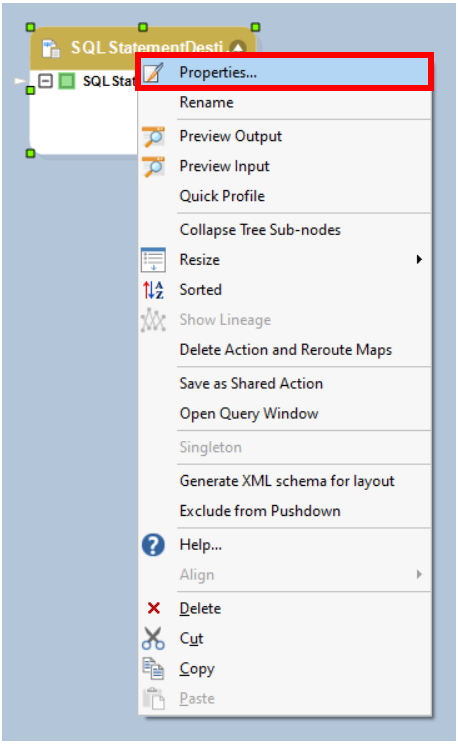
A new window will open when you click on Properties from the context menu.

Here, you need to configure the properties for the SQL Statement Destination object.
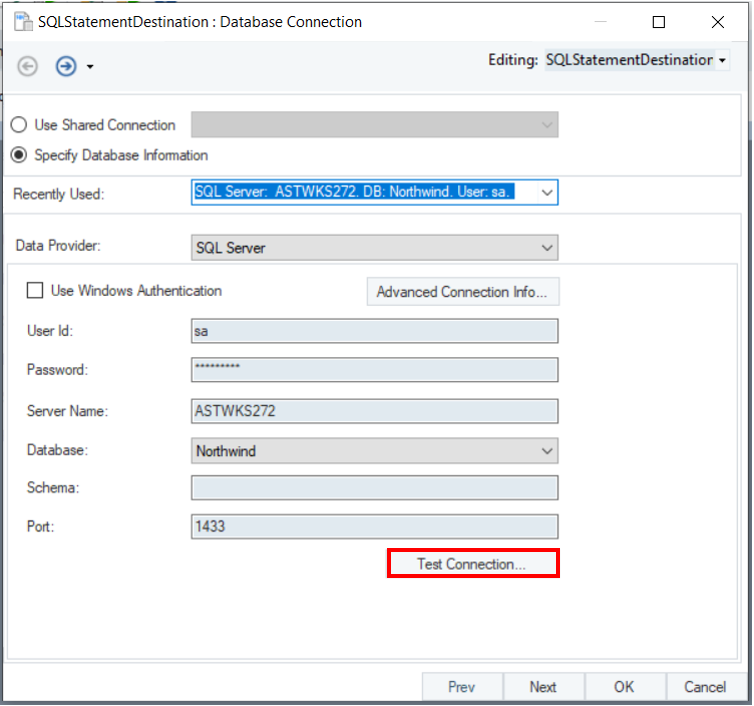
4. On the Database Connection screen, enter the details for the database you wish to connect to.
- Use the Data Provider drop-down list to specify which database provider you wish to connect to. The required credentials will vary according to your chosen provider.
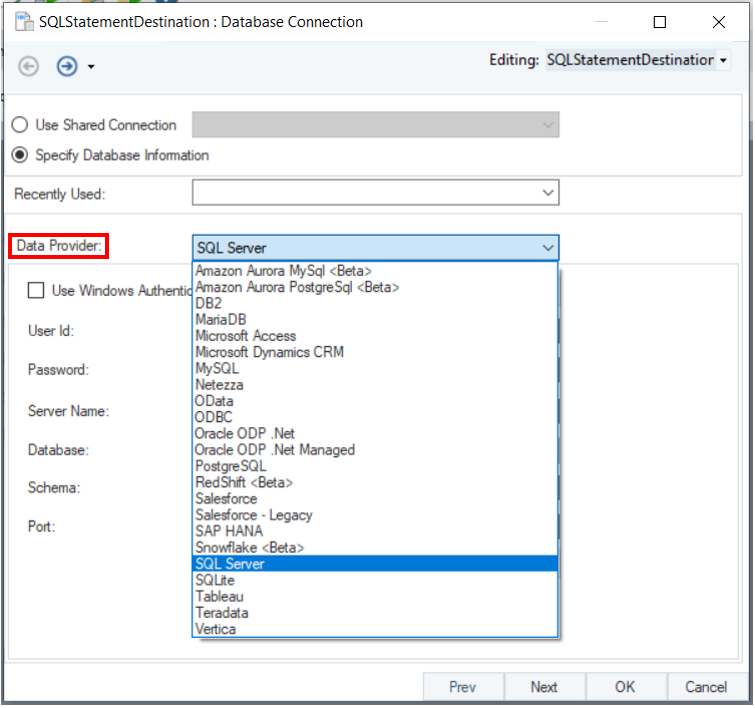
- Provide the required credentials. Alternatively, use the Recently Used drop-down list to connect to a recently connected database.
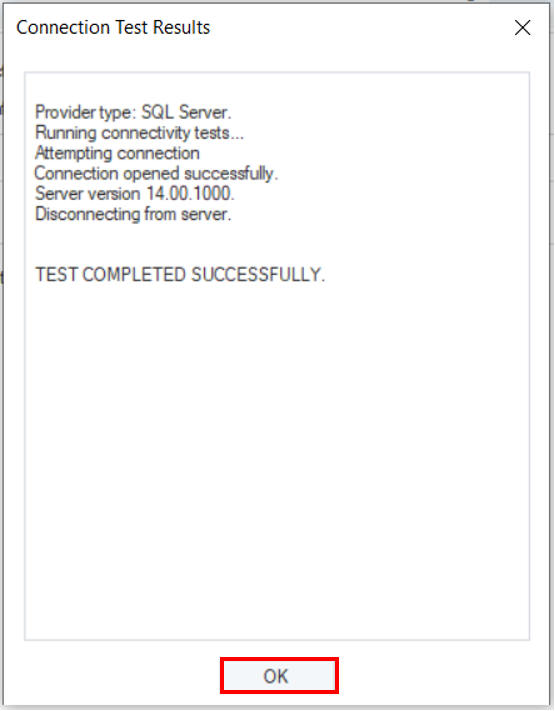
- Test Connection to ensure that you have successfully connected to the database. A separate window will appear, showing whether your test is successful. Close it by clicking OK, and then click Next.
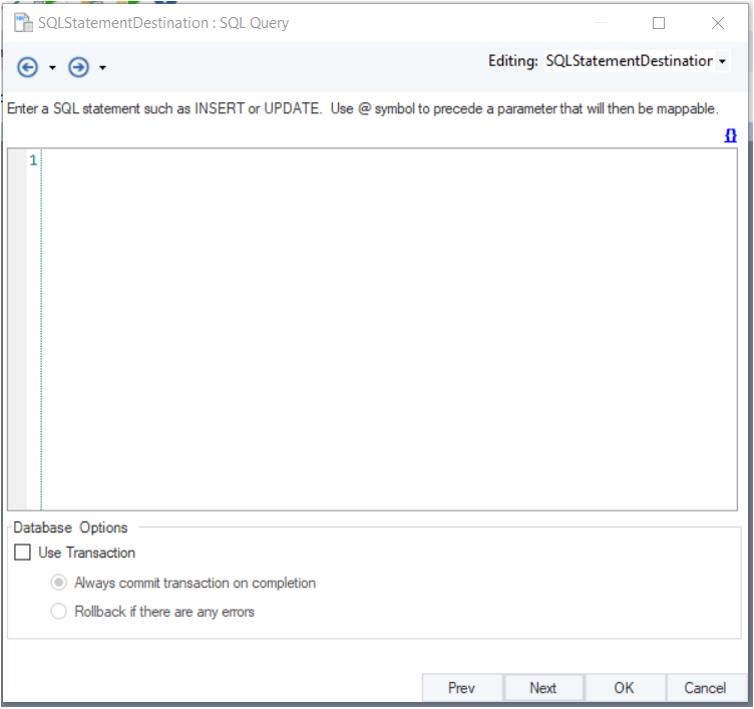
5. The next screen will present a blank page for you to enter an appropriate SQL statement for the required outcome. This can consist of an INSERT, UPDATE, or DELETE statement that manipulates the data being written to the database.
The curly brackets on the right side of the screen indicate that the use of parameters is supported, which implies that you can replace a regular value with a parameterized value that can be changed during runtime.
In this use-case, we will be inserting new records into an existing table, named TESTTABLE, that has three columns: OrderID, CustomerID, and EmployeeID.
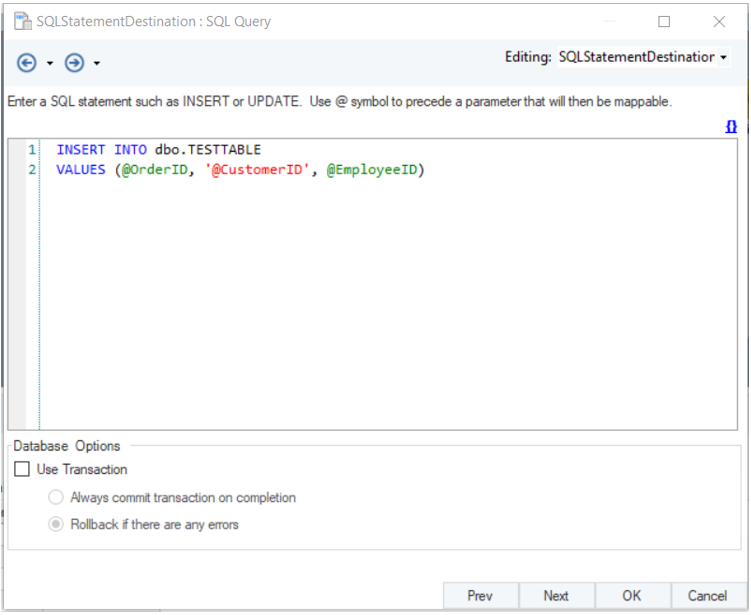
Notice the @ symbol in front of a field name. This makes the field appear in the field list inside the object box so that the field can be mapped. The fields that do not have a @ symbol in front of them will not show in the list of fields, but they can still receive values according to the logic of the SQL statement itself. String fields need to be surrounded by single quotes, whereas Integer fields do not. In this case, CustomerID is a String field, while OrderID and EmployeeID are Integer fields.
The Database Options given at the bottom of the screen provide support for transaction management. Checking the Use Transaction option will enable two other sub-options:
- Always commit transaction on completion: Ensures that the job is completed regardless of any erroneous records.
- Rollback if there are any errors: Aborts the job in case of one or more erroneous records.
Once you’ve entered an SQL statement and chosen your desired option, click Next.
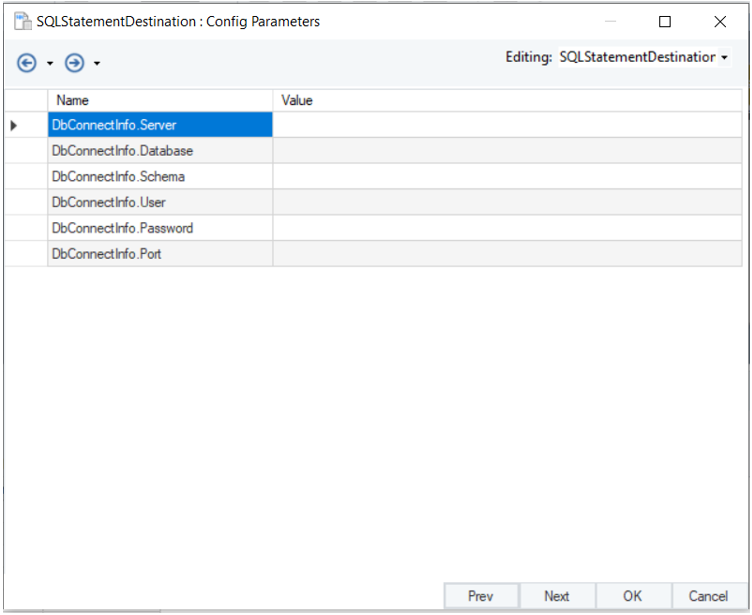
6. On the new Config Parameters screen, you can define certain parameters for the SQL Statement Destination object.
These parameters facilitate an easier deployment of flows by excluding hardcoded values and providing a more convenient method of configuration. If left blank, they will assume the default values that were initially assigned to them.
7. At the end, a General Options screen will appear. Here, you are provided with:
- A text box to add Comments.
- A set of general options related to the processing of records.
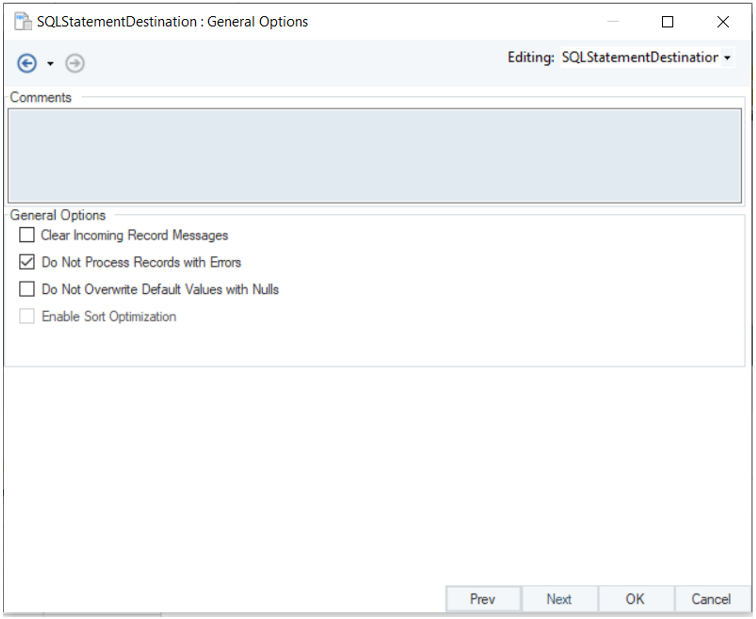
To conclude the configuration, click OK.
For a destination object to work, data fields must be mapped to it from a source. In this case, we will be using an SQL Query Source object to get data from the Orders table in the Northwind database.
8. Configure the source object and place it next to the SQL Statement Destination object.
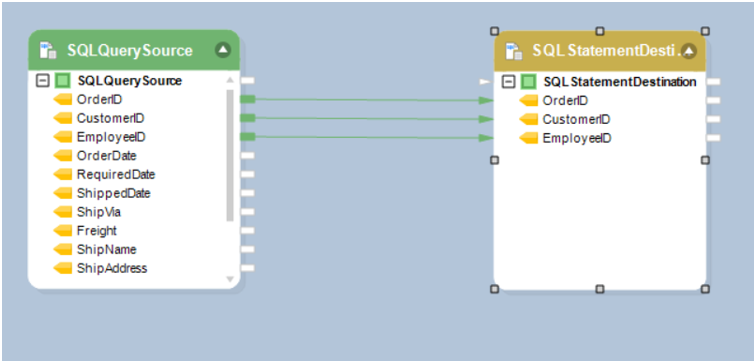
9. Map the required data fields from the source object to the destination object. This can be done in the following ways:
- By dragging and dropping the parent node of the source object onto that of the destination object.
- By individually dragging and dropping the required fields from the source object onto their respective nodes in the destination object.
10. To preview the output, right-click on the destination object’s header and select Preview Output from the context menu. In this case, you will see the following result:
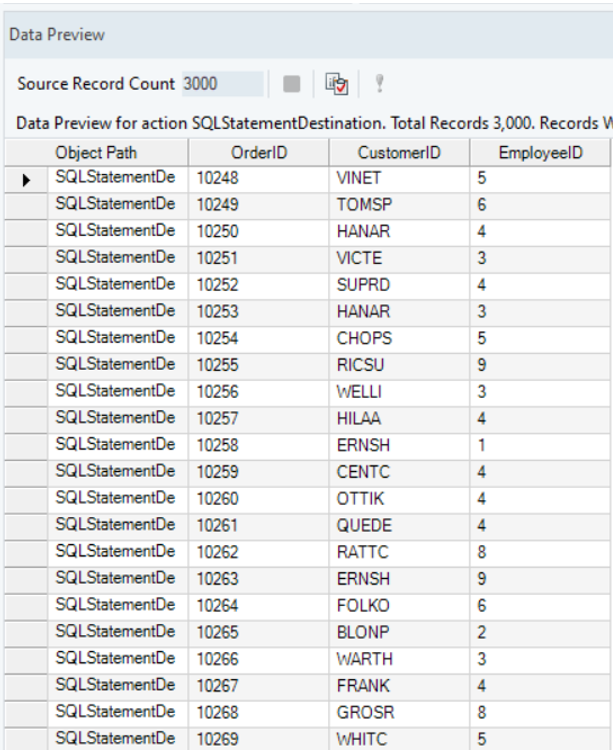
You can now write data to the destination table by running the dataflow.
This is how we use the SQL Statement Destination object in Astera Centerprise.