File Lookup Transformation
The File Lookup transformation in Astera Centerprise is used to look up values coming from a source. It uses an excel or delimited file which contains the lookup values as well as the output values to perform the lookup. File lookup can be performed based on a single lookup field as well as a combination of fields. Similarly, a file lookup transformation can return a single output field from a lookup table or a combination of fields. In either case, the output field or fields are returned from the records in which the lookup values match the incoming values.
Use Case
In this scenario, we have a customers data from a fictitious organization stored in a database source. It contains information of customers from different countries. We want to replace the country names by country codes in our database, by switching them with the lookup values (country codes) stored in an excel file. To achieve that, we will use the File Lookup transformation.
How to Work with the File Lookup transformation
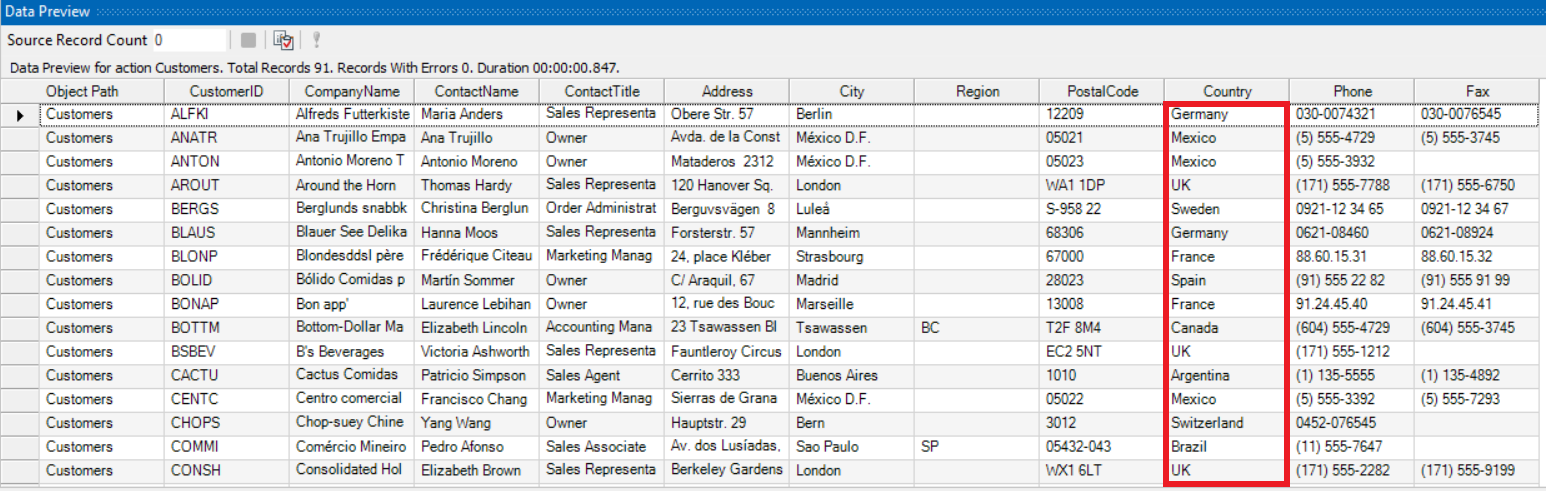
1. Select the relevant source object from the Sources section in the toolbox. In this example, we will use Customers data stored in a database table.
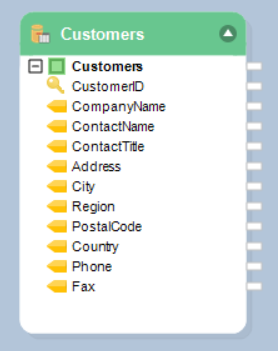
Right-click on the source object’s header and select Preview Output. You can see the country names in the Country field which we want to convert into country codes.
2. Drag-and-drop the File Lookup transformation object from Tooblbox>Transformations>FileLookup onto the designer window.
Now, let’s configure the transformation object.
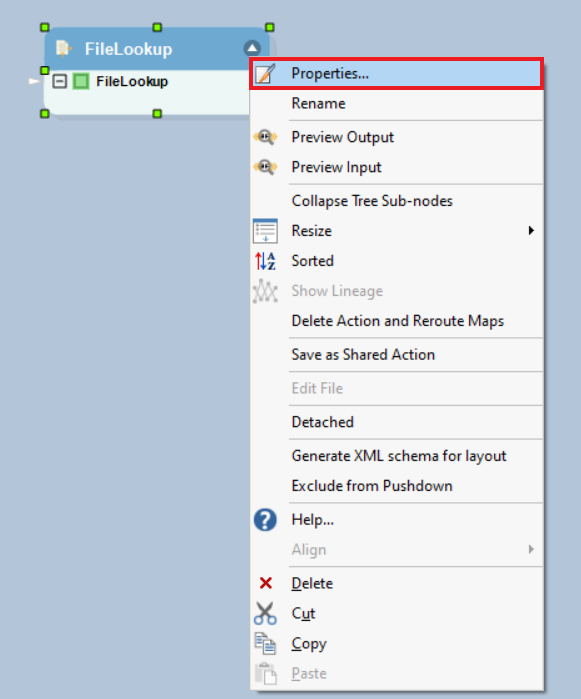
3. Right-click on the header of File Lookup transformation object and select Properties.
4. A File Lookup Map Properties screen will open where you can see an option for Source File Type.
Source File Type: Here, you need to specify the type of your lookup file.
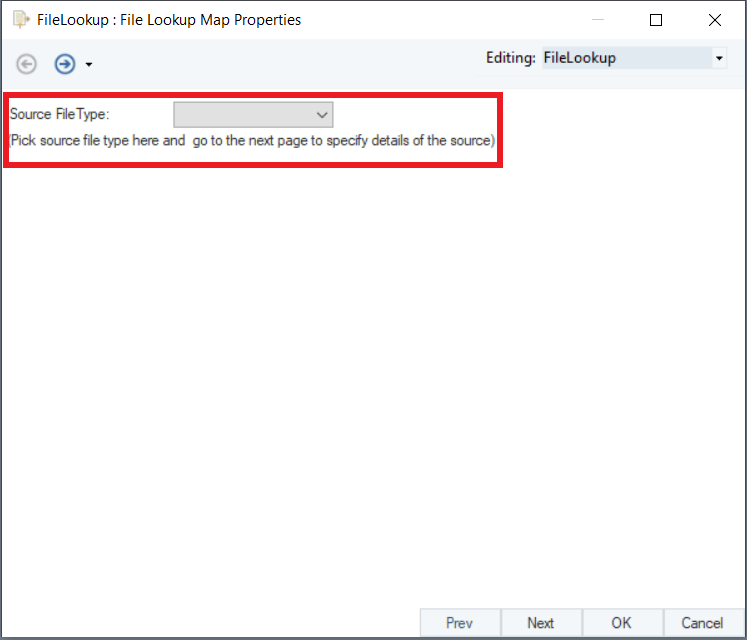
You can perform it using an Excel or delimited lookup file.
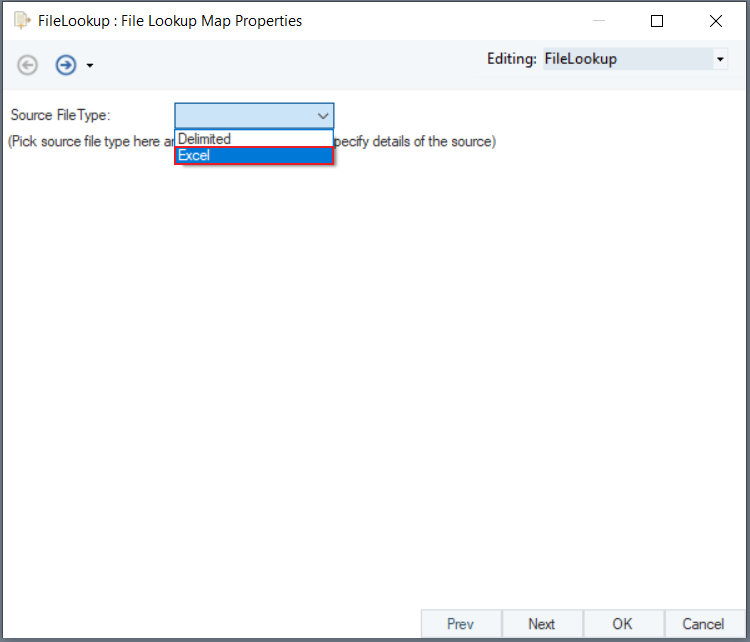
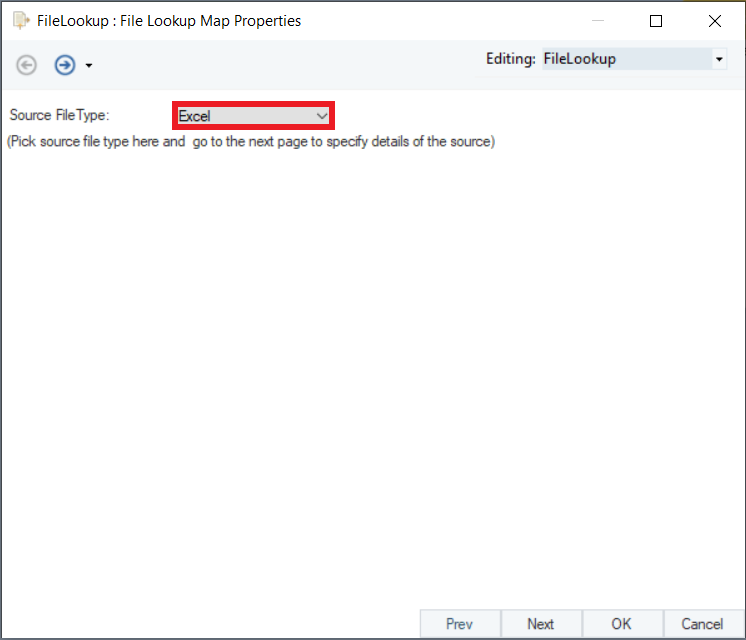
5. Select the source file type from the dropdown menu. In this example, our country codes are stored in an Excel file so we will specify the source file type as ‘Excel’.
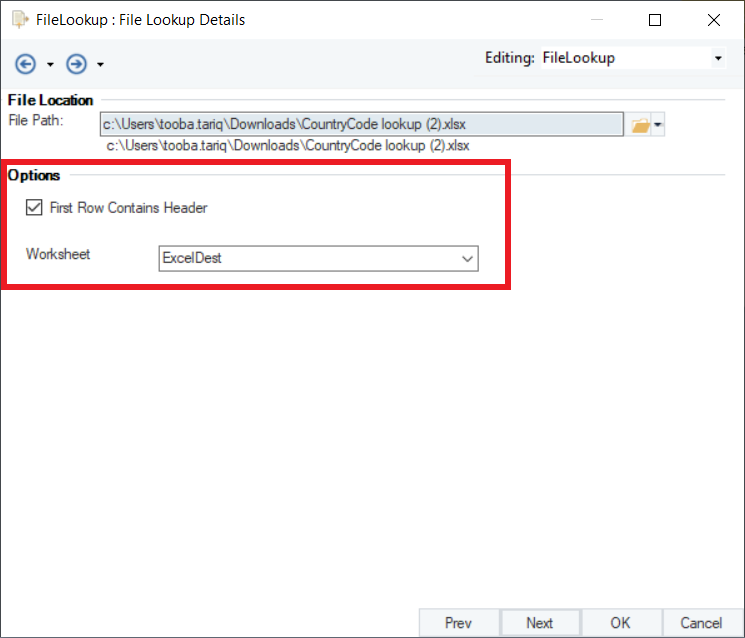
6. Click Next to proceed to the File Lookup Details screen. You will see two options:
File Location: Here, you need to specify the path to the lookup source file.
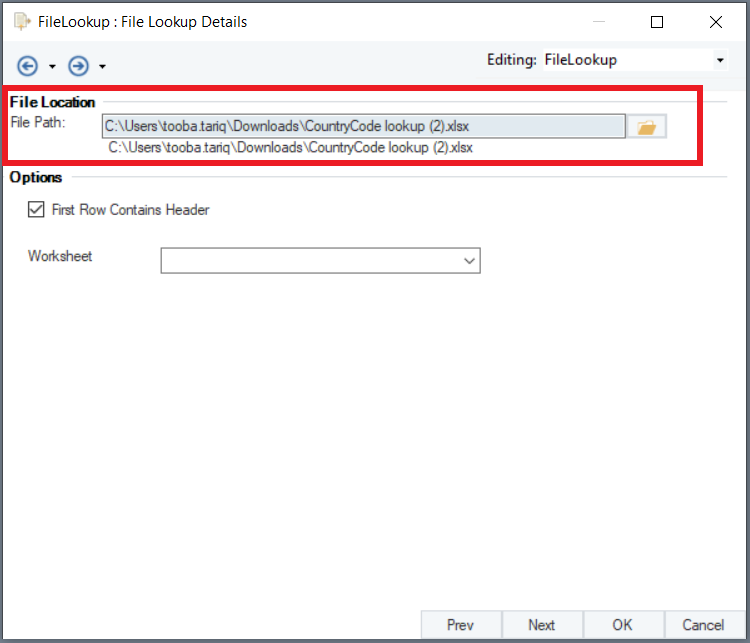
Options:
First Row Contains Header: You can check this option if your lookup file contains header in the first row. Else, you can leave it unchecked.
Worksheet: If your lookup file contains multiple worksheets, you can select the worksheet you want to use to perform the lookup.
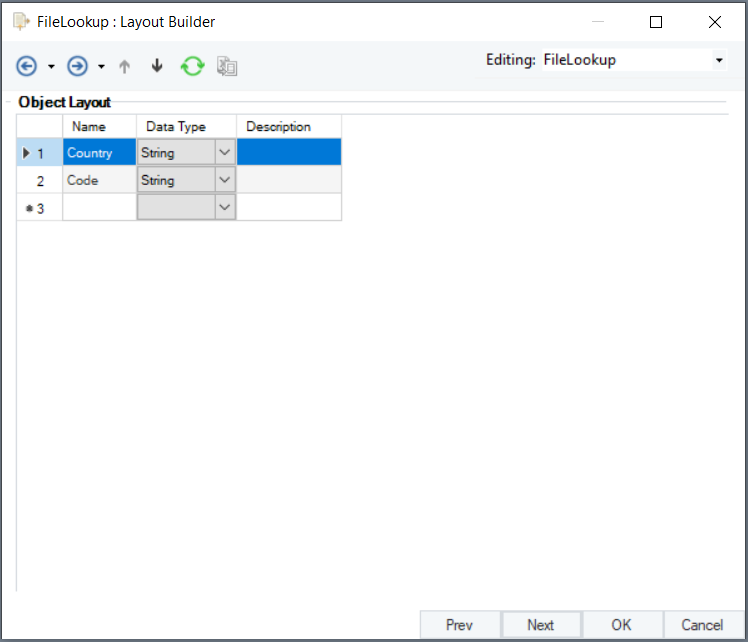
7. Click Next to proceed to the Layout Builder. Here, you can make changes to the object’s layout by modifying the existing fields or creating new fields.
Once you’re done, click Next.
8. On the next screen, you will see various Lookup Options.

If Multiple Values Are Found
Multiple Matches Found Option: This option provides the flexibility to choose the output value, if more than one matches are found for a single value in your lookup file. The option expands into a drop-down list where you can select one from the following three options:
- Return First: It will return the first matched value found.
- Return Last: It will return the last value among all the matched values.
- Return All: It will return all the values in the lookup file that match a source value.
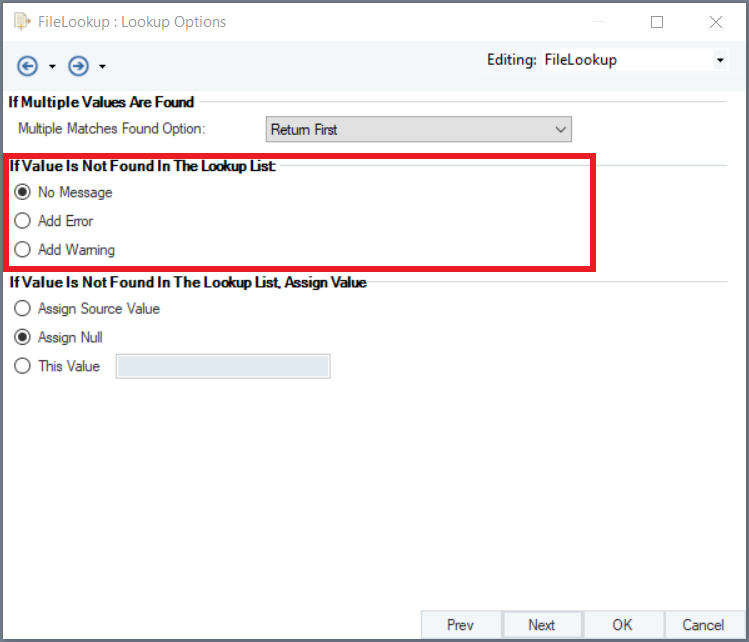
If Value Is Not Found In The Lookup List:
In case no lookup value is found against a source value, you can choose one of the following three options to be appended with your output.
No Message: There will be no message and the output will be the same as the input value.
Add Error: An error message will appear with the output.
Add Warning: A warning will appear with the output.
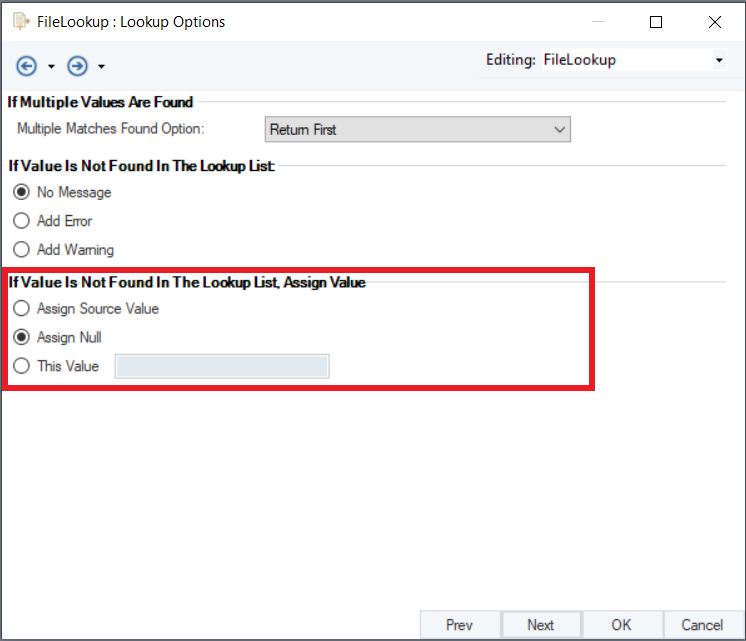
If Value Is Not Found In The Lookup List, Assign Value:
If no lookup value is found against a source value, you can assign an output value of your choice.
Assign Source Value: It will return the source value in the output.
Assign Null: It will assign null to your output value.
This Value: You can select this option and assign any value of your choice.
9. Click Next. This will take you to the Config Parameters screen where you can further configure and define parameters for File Lookup transformation.
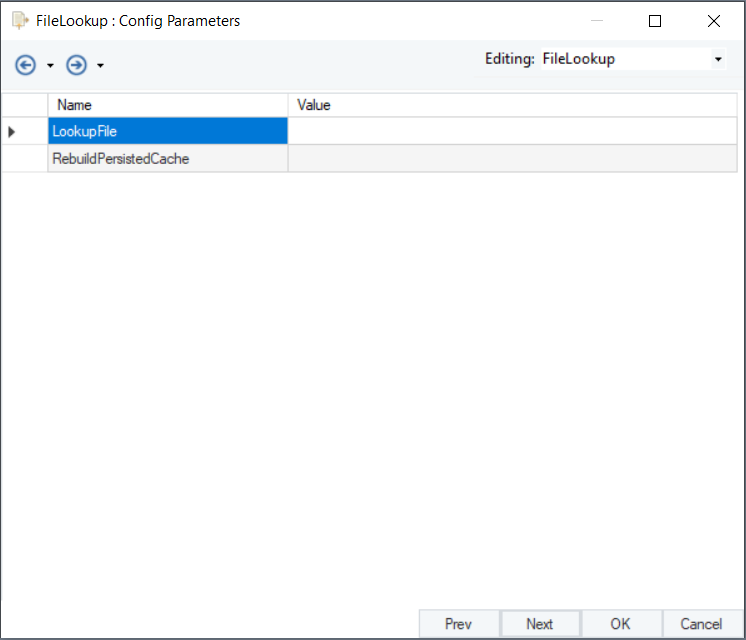
Once you have configured the File Lookup transformation object, click OK.
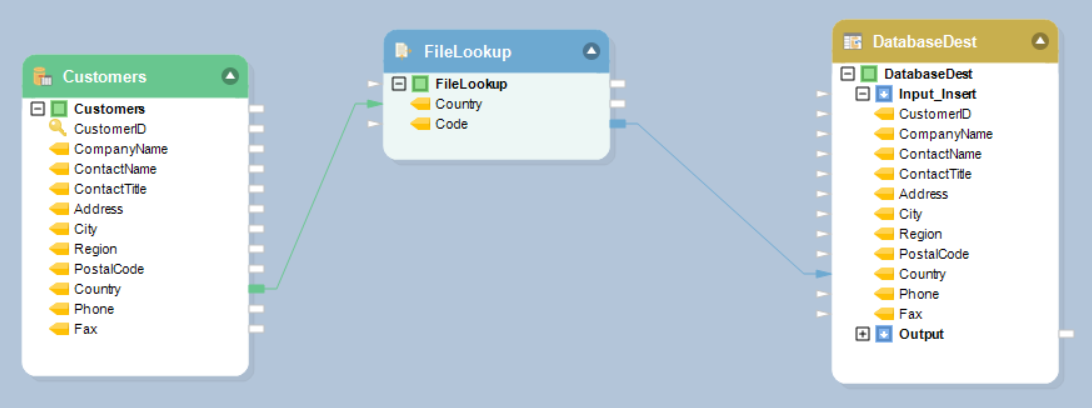
10. Map the Country field from source object to the Country field in the File Lookup transformation object. Now map the Code field from transformation object to the Country field in the database destination object.
This is how your dataflow will look like:
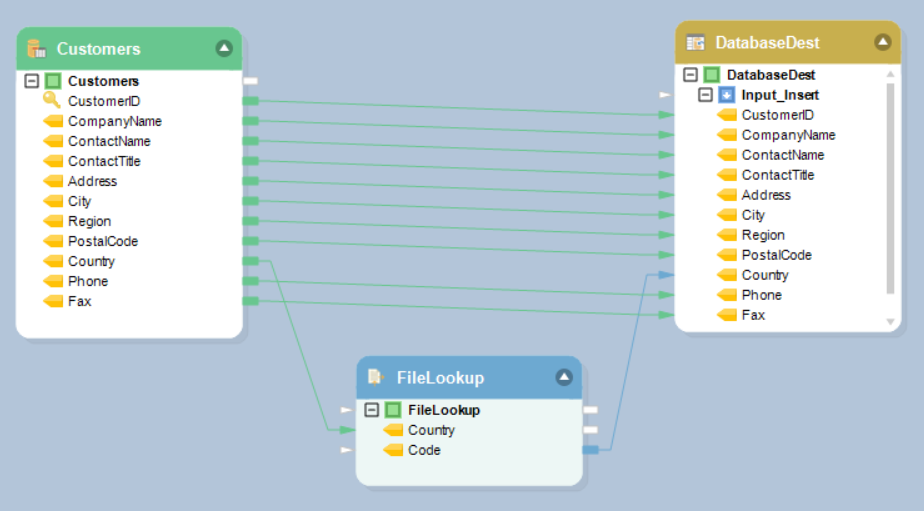
11. Map the remaining fields from the source object to the destination object.
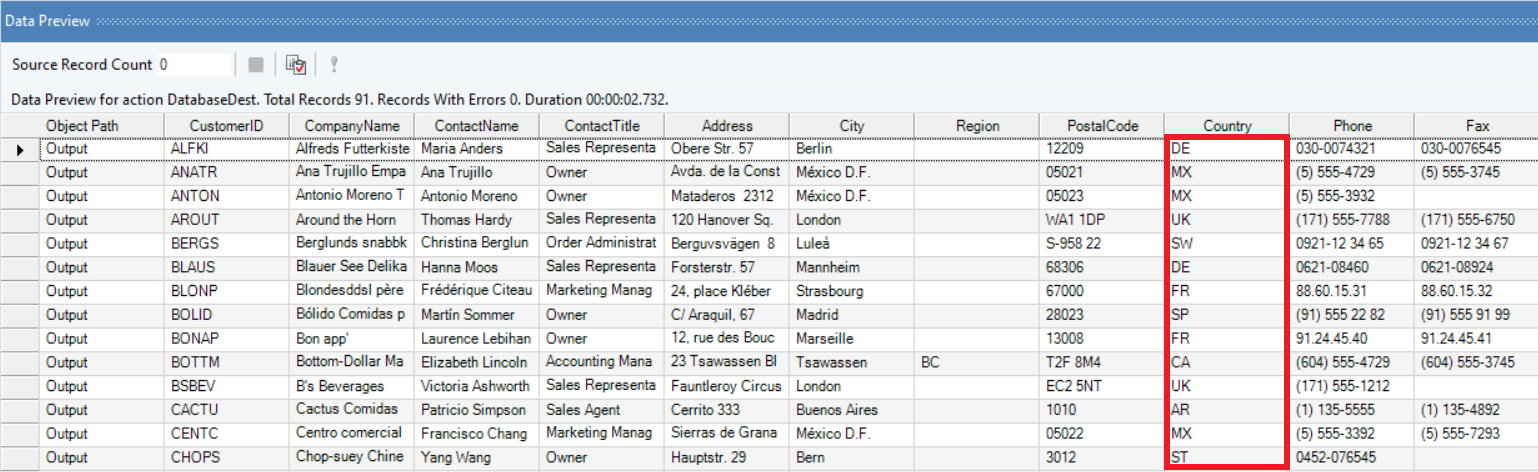
12. Right-click on the destination object’s header and select Preview Output.
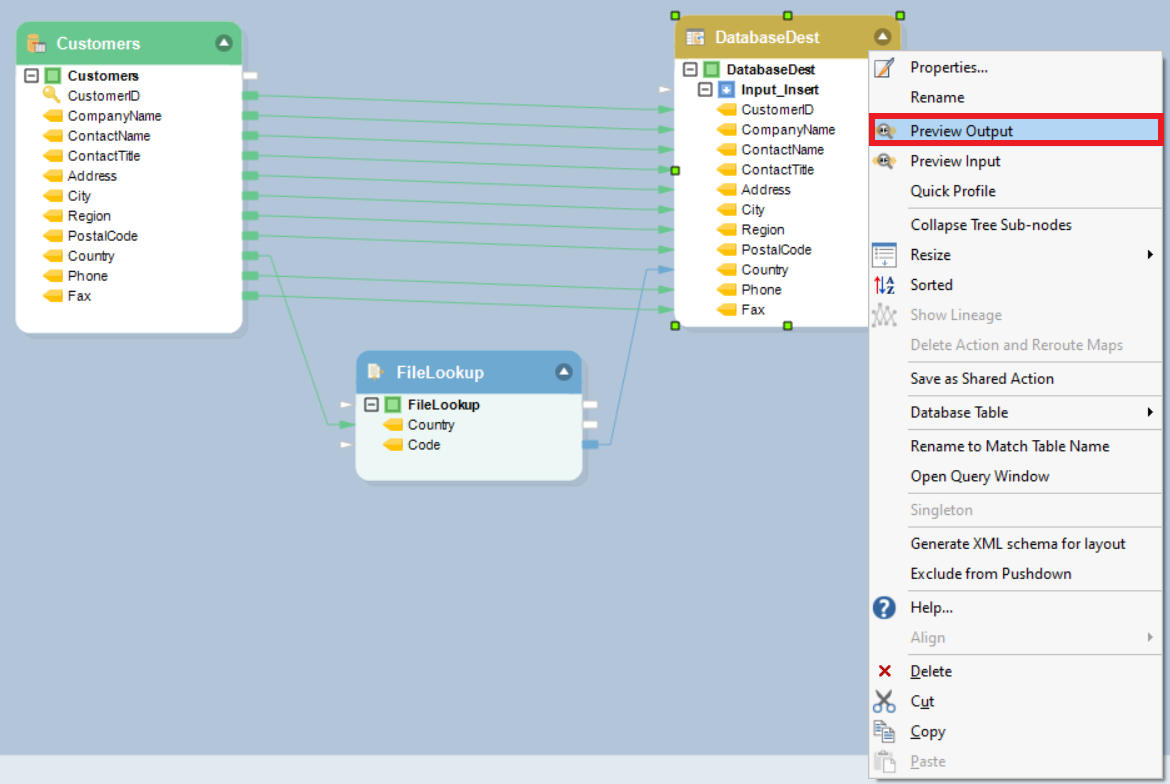
13. You can see that the country names in the database table have been successfully converted into country codes.
This concludes using the File Lookup transformation in Astera Centerprise.