REST API Browser
What is an API?
API (Application Programming Interface) is defined as an interface or medium through which one software communicates with another. In other words, it is a set of contracts that allows different software systems to share information with each other. The greatest advantage of an API is that different programs and devices can communicate with each other in a secure manner without knowing or interfering with the insides of the other.
APIs are messengers that conform with the technical contract between two parties. They are language and platform independent which means C# can talk to Java and Unix can communicate with Mac without any difficulty. An API is not same as a remote server. In fact, it is a part of a remote server that receives requests and sends responses. More precisely, an API is a structured request and response.
REST API Browser in Astera Centerprise
The REST API Browser in Astera Centerprise has narrowed down the steps to make HTTP calls to just one step authentication. Once you have imported an API in Centerprise, all the call methods in that particular API are populated at once. API definition describes what requests are available and what the responses will look like. So, once you load an API definition all the supported methods are populated in the REST API Browser. Unlike Legacy where all the supported methods have to be configured separately in each object.
There are two methods for configuring APIs in Astera Centerprise. For open APIs, you only need to provide the API Import Source and File path or Base URL to configure the connection with a specific API. Once all of this standardized information is provided, any API that you have imported will populate in Centerprise’s REST API Browser along with their methods, for example, GET, PUT, POST, PATCH and DELETE and they will remain accessible until their authentication period expires. From the REST API Browser in Astera Centerprise, you can simply drag and drop those operations and use them in your dataflow or workflow.
It is important to note that a REST Client Project must be created before importing APIs to work with the REST API Browser in Astera Centerprise. However, you can access the API without a project too. For that you would need a REST Connection object in your dataflow or workflow.
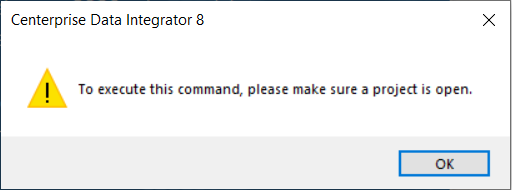
The REST API Browser in Astera Centerprise, along with all of its features and functionalities, works only within the scope of an integration project. Else it will give you the following error:
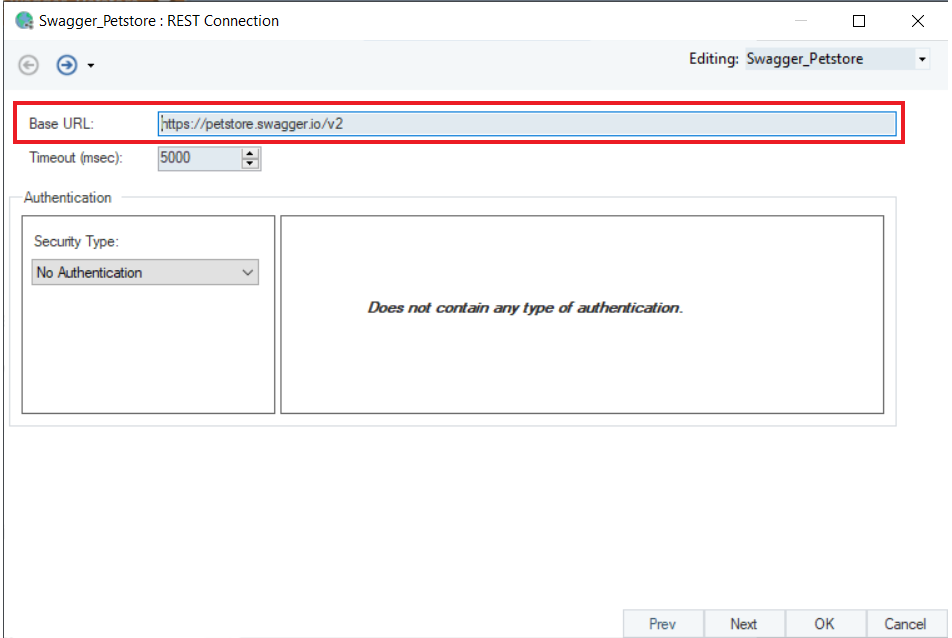
When a user imports an API, a shared connection file is created within the project automatically. The shared action file contains the Base URL of the imported API.
HTTP Request Methods
Astera Centerprise supports the following HTTP request methods:
- PUT: To send data or parameters to a specified resource to be processed on an API.
- GET: To retrieve data from a specified resource on an API.
- POST: To create or update an existing record on an API.
- DELETE: To delete a specified resource on an API.
- PATCH: To apply partial modifications to an existing resource.
Creating a REST Client Project for REST API Browser
To work with REST API Browser in Astera Centerprise, you must first create a REST Client Project.
Follow the steps below to create a REST Client Project in Astera Centerprise:
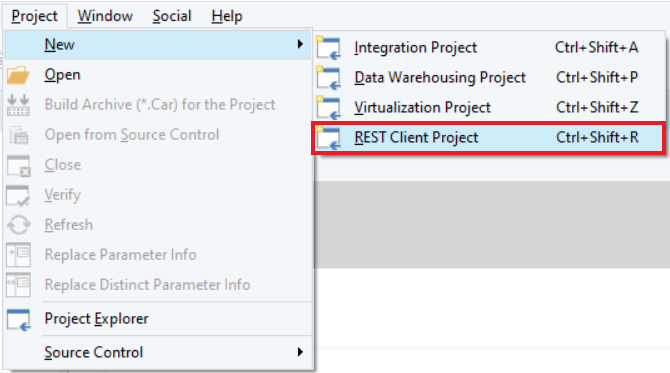
1. Go to Menu Bar > Project > New > REST Client Project.
Provide a name to the REST Client Project and point the path to the location and directory where you want to save it.
Best Practice: Always create a new project in a new folder to avoid any errors.
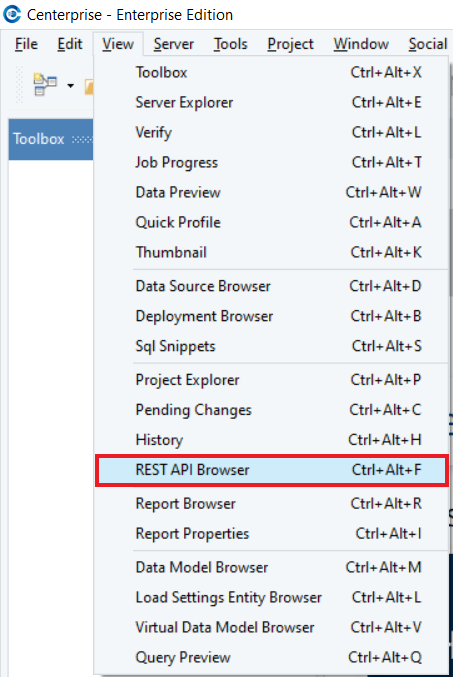
2. Now open the REST API Browser panel on your Centerprise client from Menu Bar > View > REST API Browser.
3. As you click on it, a REST API Browser panel will open on the left side of your Centerprise client window.
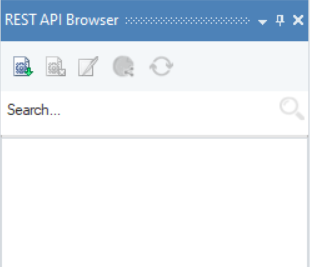
Here, you can see three icons in the toolbar of REST API Browser:
- Import API – by clicking this option, you can import different APIs
- Remove API from Browser – this option removes the selected API from REST API Browser
- Edit Properties - this option allows you to change the name of the REST API Browser panel that appears on the top and bottom of the panel
- Open REST API Connection - this option allows you to directly open .sact file for the API you have in the REST API Browser panel at that time
- Refresh API Tree - this option allows you to redraw the browser tree after you have deleted some operations or you have expanded the tree and now you want to collapse it
How to Import APIs in Centerprise
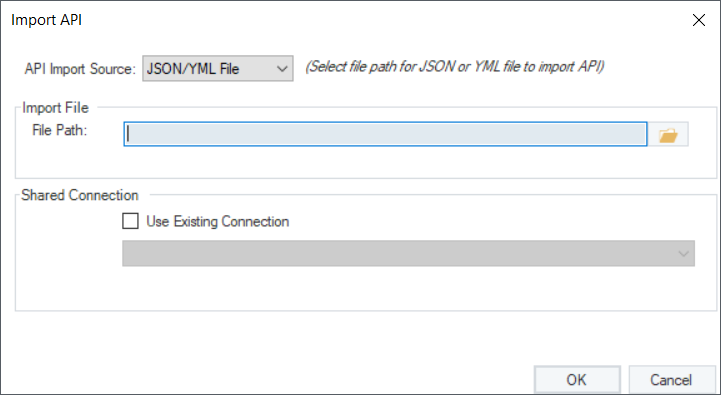
To import an API in Astera Centerprise, click on the Import API icon. An Import API screen will open.
Here, first you need to select the API Import Source type from the drop-down menu. Astera Centerprise offers three ways to import APIs.
Type 1 – JSON/YML File
1. JSON/YML File – for this type of API source you only need to provide the Open API Specification file path in JSON or YML file formats.
2. Specify the file path and click OK.
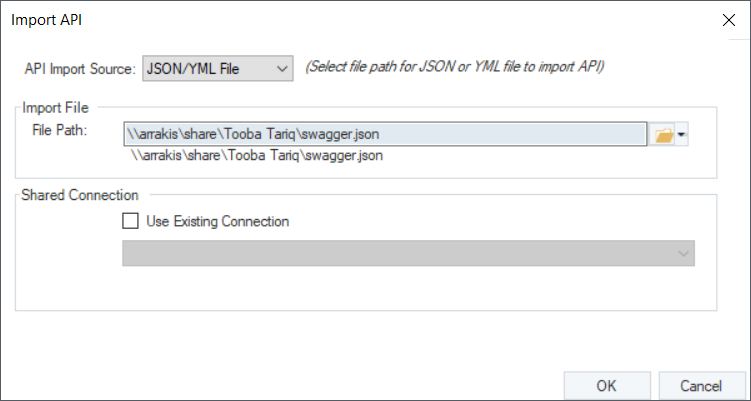
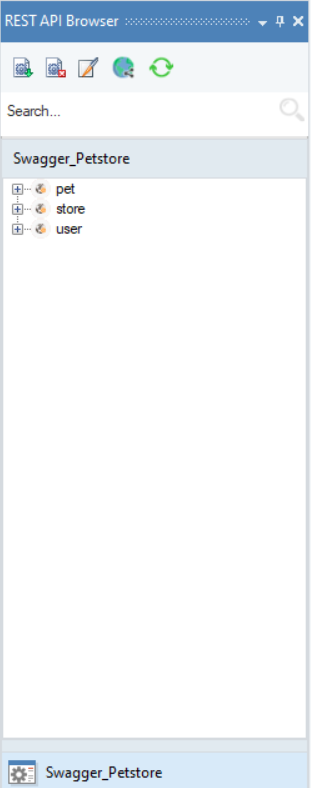
This API will be populated in the REST API Browser panel from where you can simply expand the nodes and drag and drop the methods on to your designer window.
Type 2 – JSON/YML URL
1. JSON/YML URL – for this type of API source, you need to provide the URL in JSON or YML format
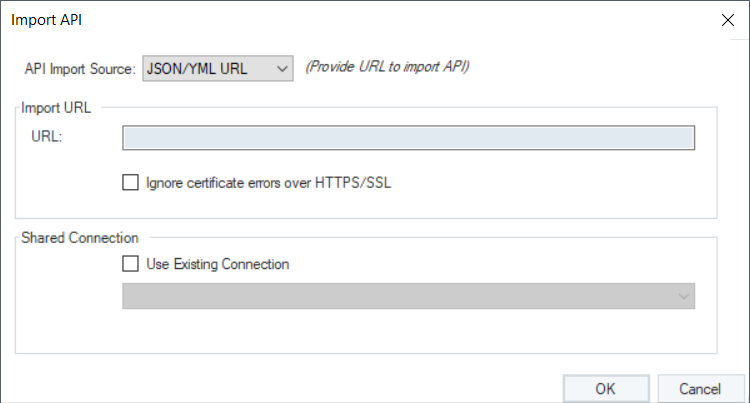
2. Specify the URL and click on OK.
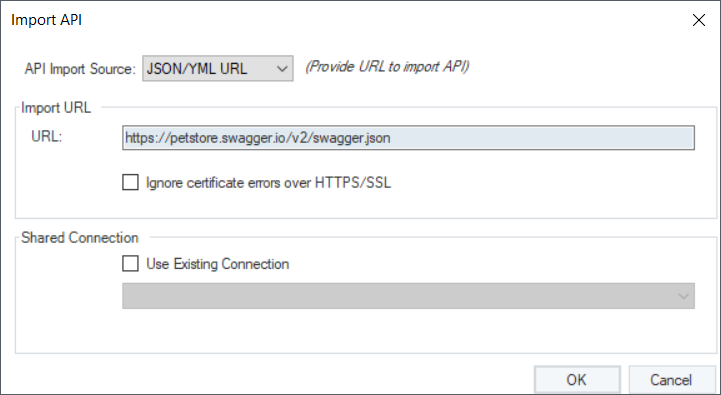
This API will be populated in the REST API Browser panel.
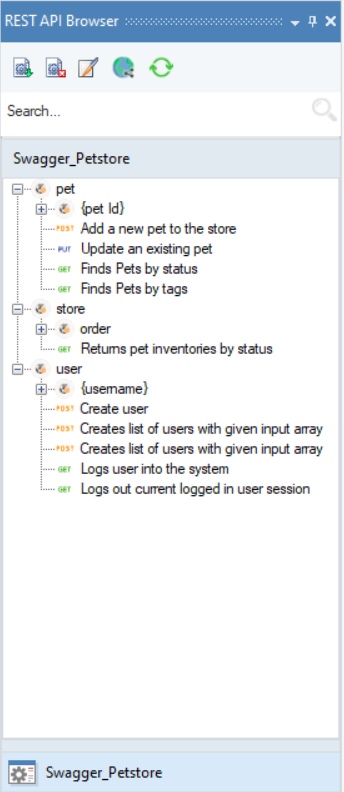
This concludes the basic concepts of working with the REST API Browser in Astera Centerprise. To learn more on how to make HTTP requests through REST API Browser, click here.