Pre-Analytics Testing
The Pre-Analytics Testing object wraps several statistical tests that a user can perform to determine which statistical model will accurately fit the source data. For example, statistical models such as Linear Regression are built upon Ordinary Least Square method that works on certain assumptions to compute unbiased estimates of explanatory variables. Hence, the Pre-Analytics Testing object presents users with established parametric and non-parametric tests to evaluate data on these assumptions.
The Pre-Analytics-Testing object tests four general assumptions:
1. Response and explanatory variables follow a normal distribution: This is tested by computing Skewness and Kurtosis of each data field.
2. Homoscedastic (constant variance) errors: This is tested by performing Breusch Pagan Test of Heteroscedasticity.
3. No multicollinearity: This is tested by calculating Variance Inflation Factor on independent data fields.
4. No influential outliers: This is tested by using an Outlier Detection method.
In this document, we will learn to perform Pre-Analytics Testing on a numeric dataset in Astera Centerprise.
Sample Use-Case
In this case, we are using a Delimited File Source object to extract the source data. You can download the sample data file from here.

The source data contains a brand’s expenditure amount on advertisement through three mediums, television, newspaper and radio, and the resultant sales of that brand.
We want to fit a linear regression model to this data with sales as the response variable, to assess which form of advertisement has the most significant impact on the sales. Now, before fitting a model, we need to check whether this data satisfies the assumptions set by Ordinary Least Square method. For this purpose, we will use the Pre-Analytics Testing object in Astera Centerprise.
Using Pre-Analytics Testing
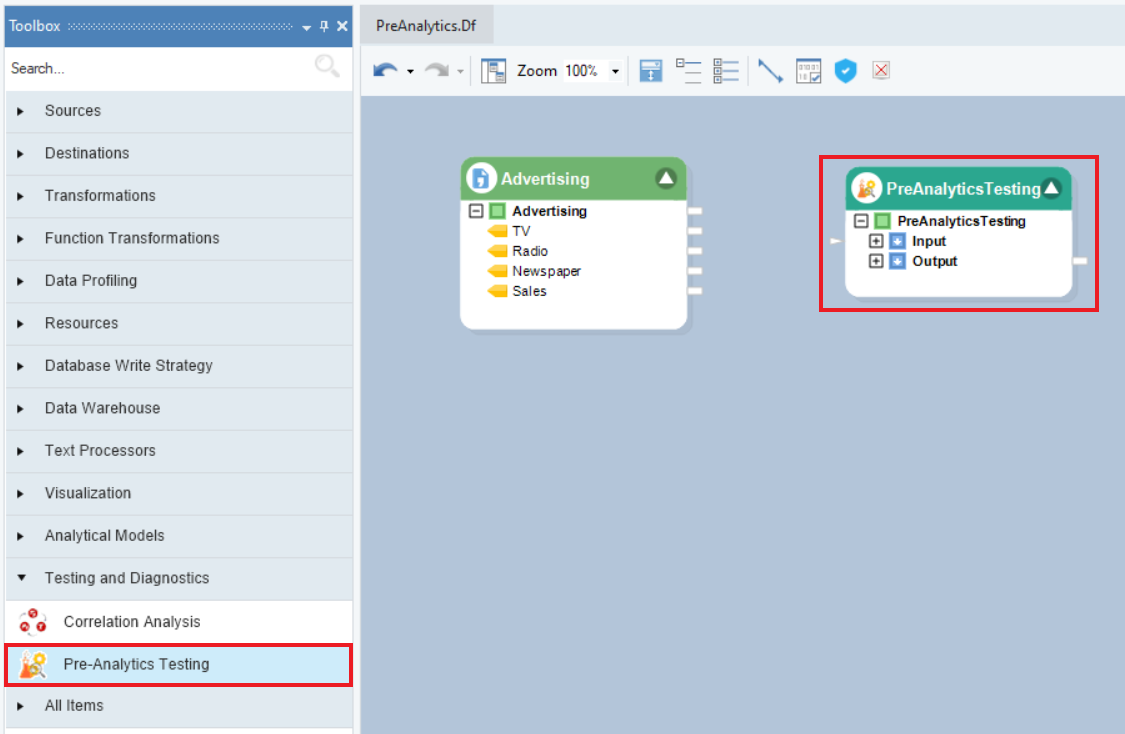
1. To get the Pre-Analytics Testing object from the Toolbox, go to Toolbox > Testing and Diagnostics > Pre-Analytics Testing and drag-and-drop the object onto the dataflow designer.
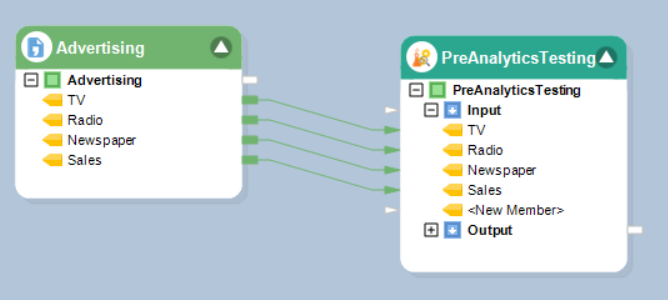
2. The testing object contains two sub-nodes, Input and Output. Auto-map the fields by dragging-and-dropping the root node of the source object onto the Input node of the Pre-Analytics Testing object.
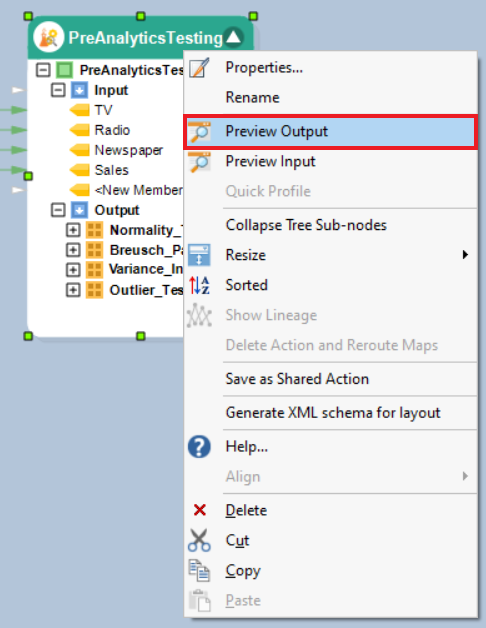
3. To preview testing results, right-click on the Pre-Analytics Testing object’s header, and select Preview Output from the context menu.
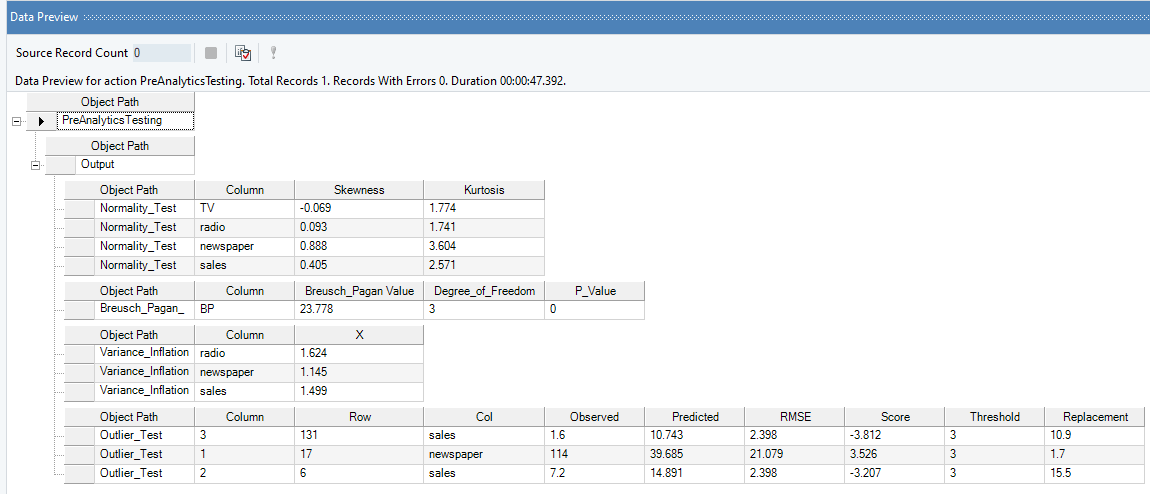
4. A Data Preview window will open. Upon expanding the output node, users will be able to view results of four statistical tests performed on the dataset.
This concludes our discussion on using Pre-Analytics Testing object in Astera Centerprise - Data Analytics Edition.