Deploying Astera Centerprise on Oracle Cloud
Users can deploy Astera Centerprise on Oracle Cloud through two methods.
Deploying Astera Centerprise using Oracle Cloud Marketplace
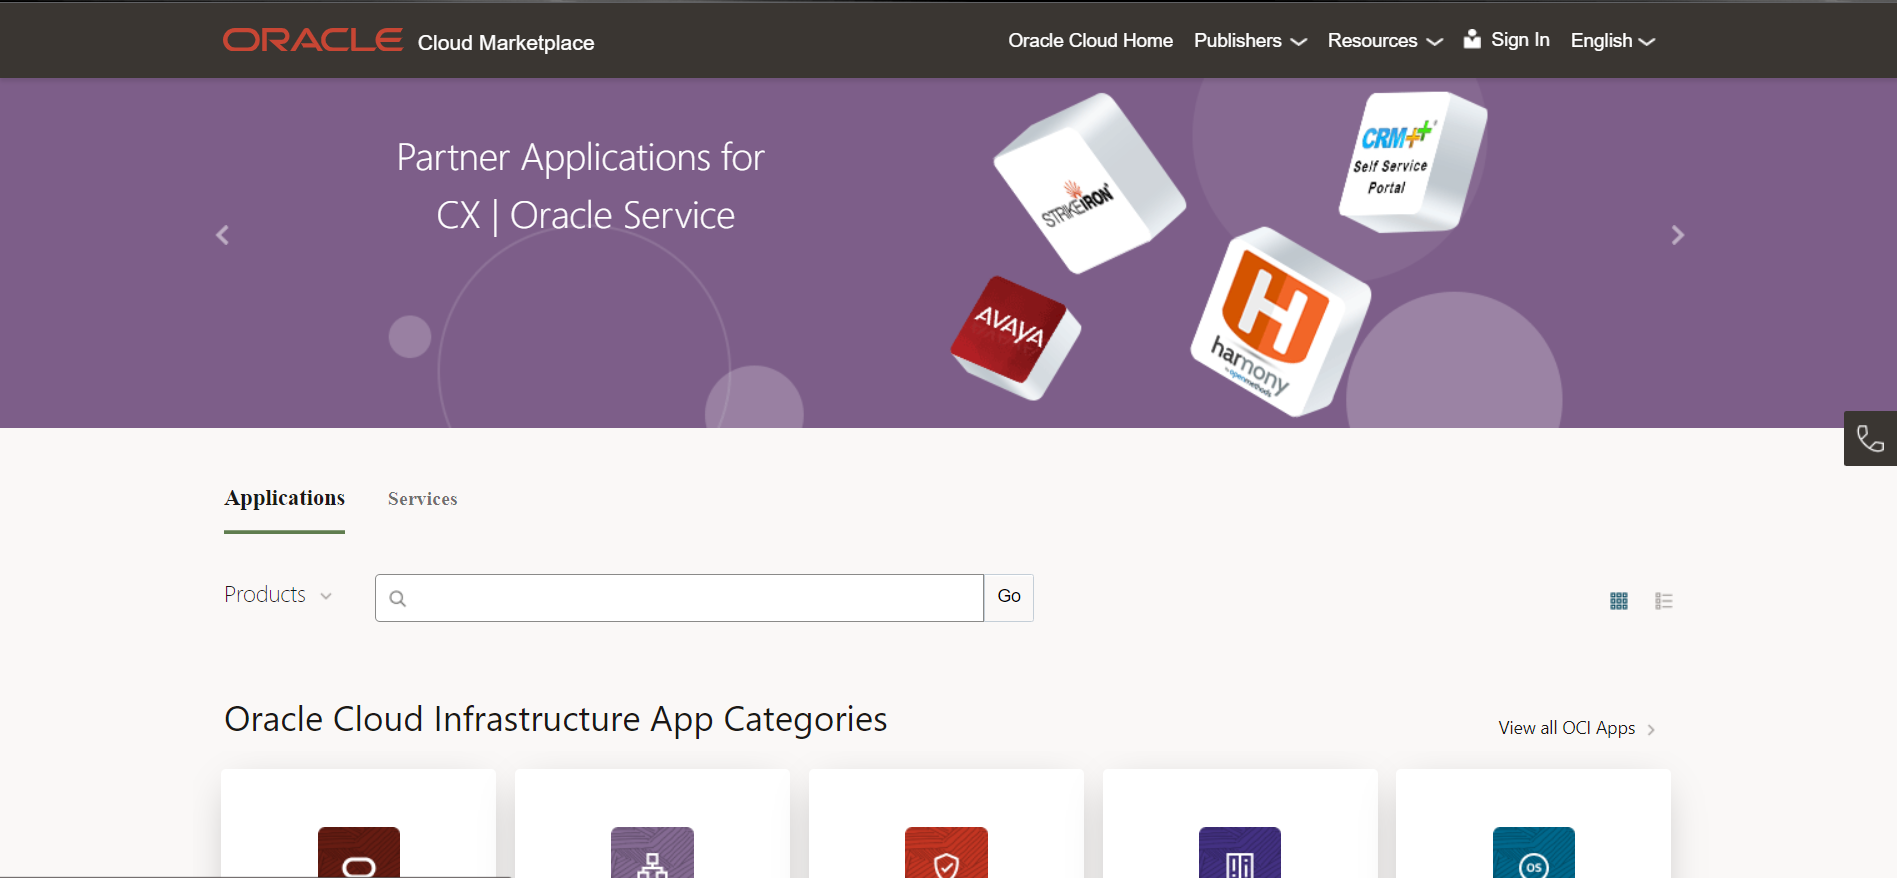
1. First, open the site which houses the Oracle Cloud Marketplace. Simply click here to be redirected to the website.
It will look like this,
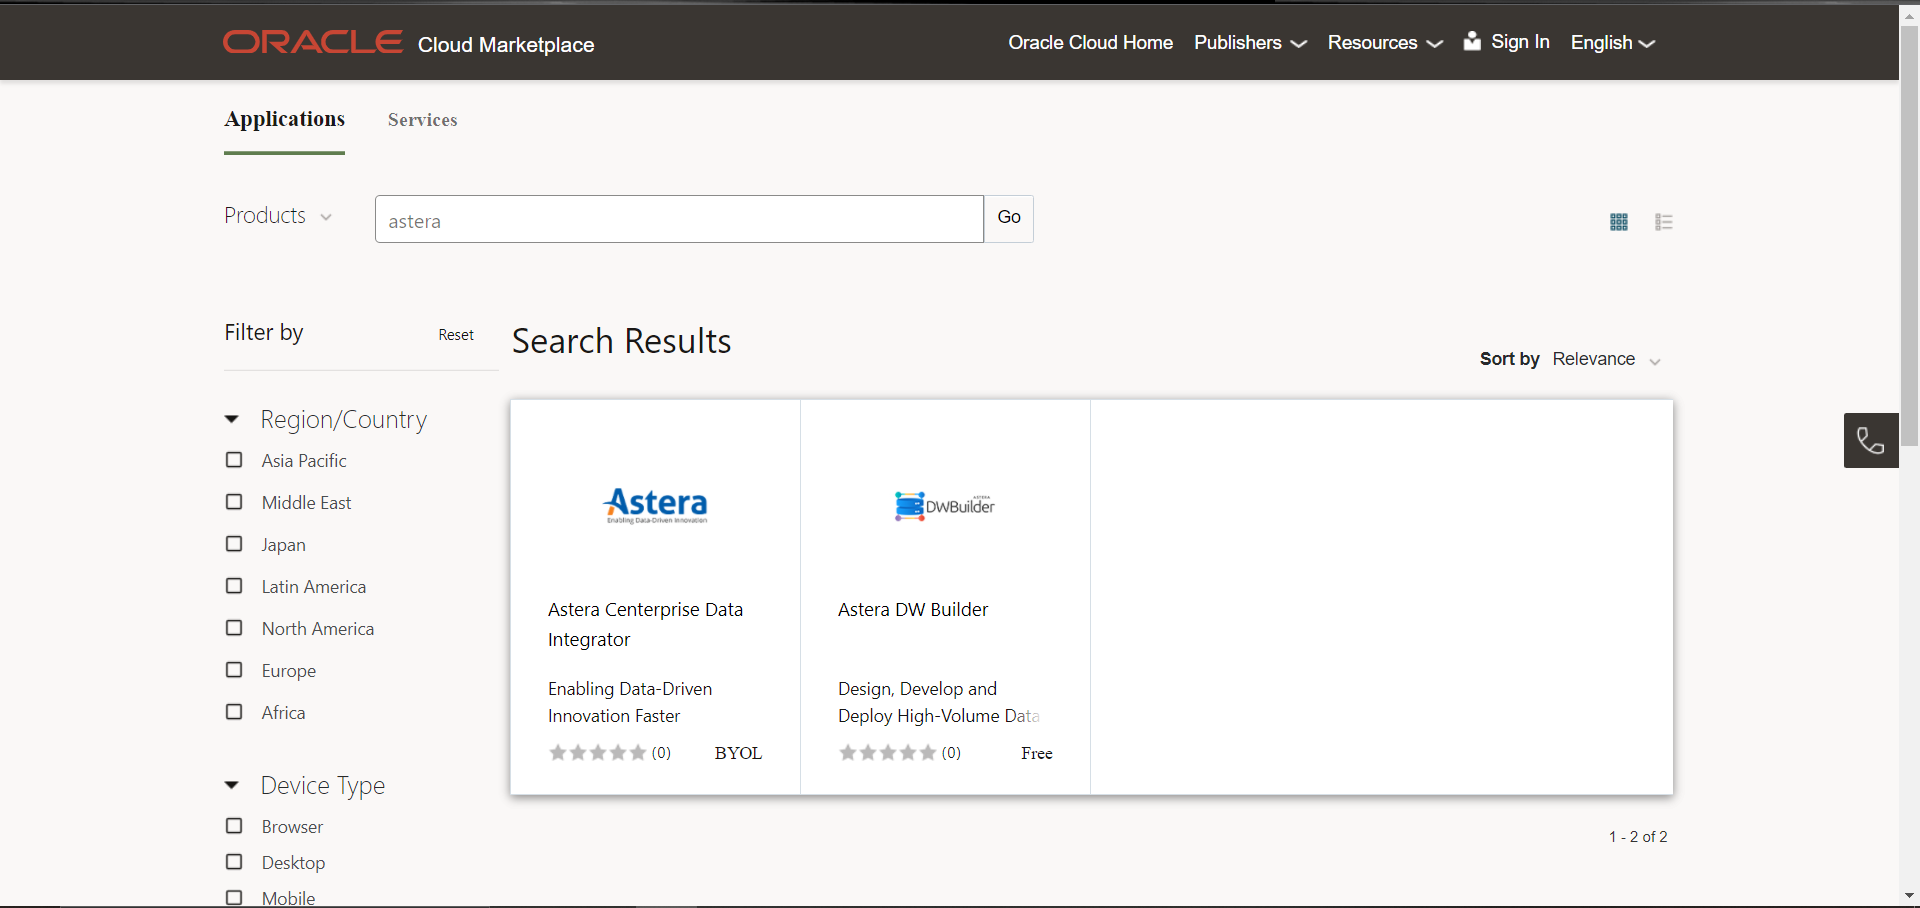
2. Go to the search bar and type “Astera”, then select Go.
You will now be led to a screen with two Astera Software products present.
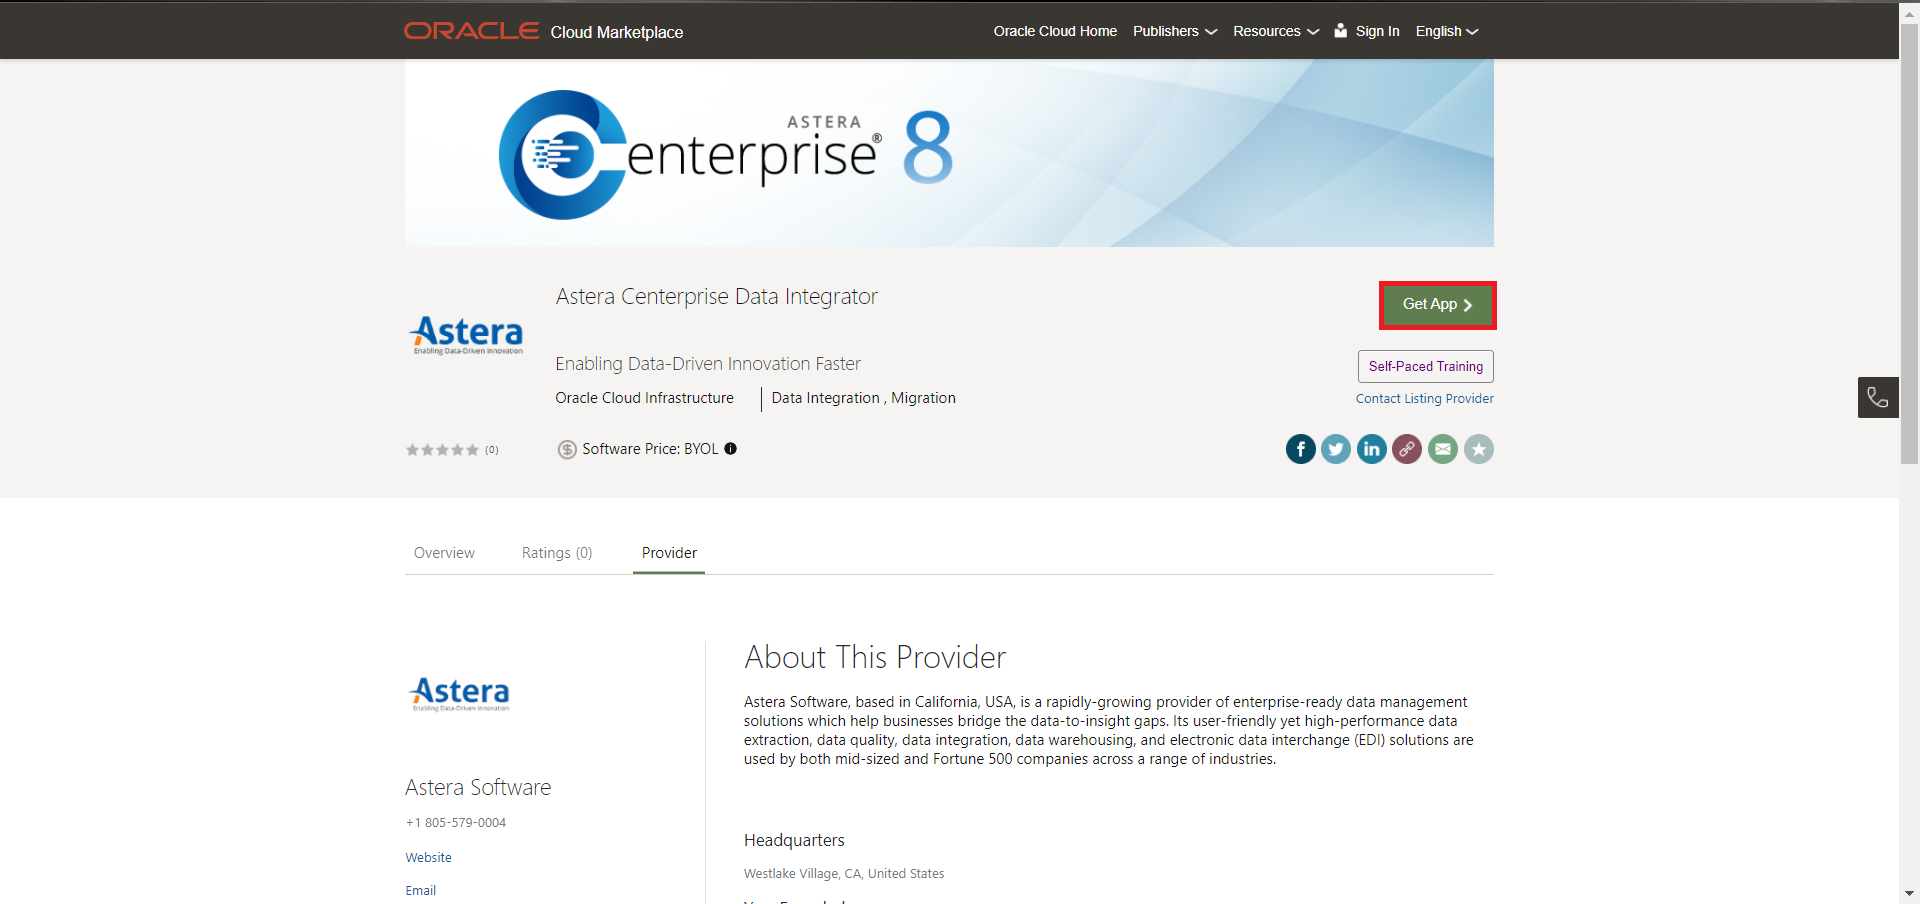
3. Select Astera Centerprise Data Integrator and a new window will open.
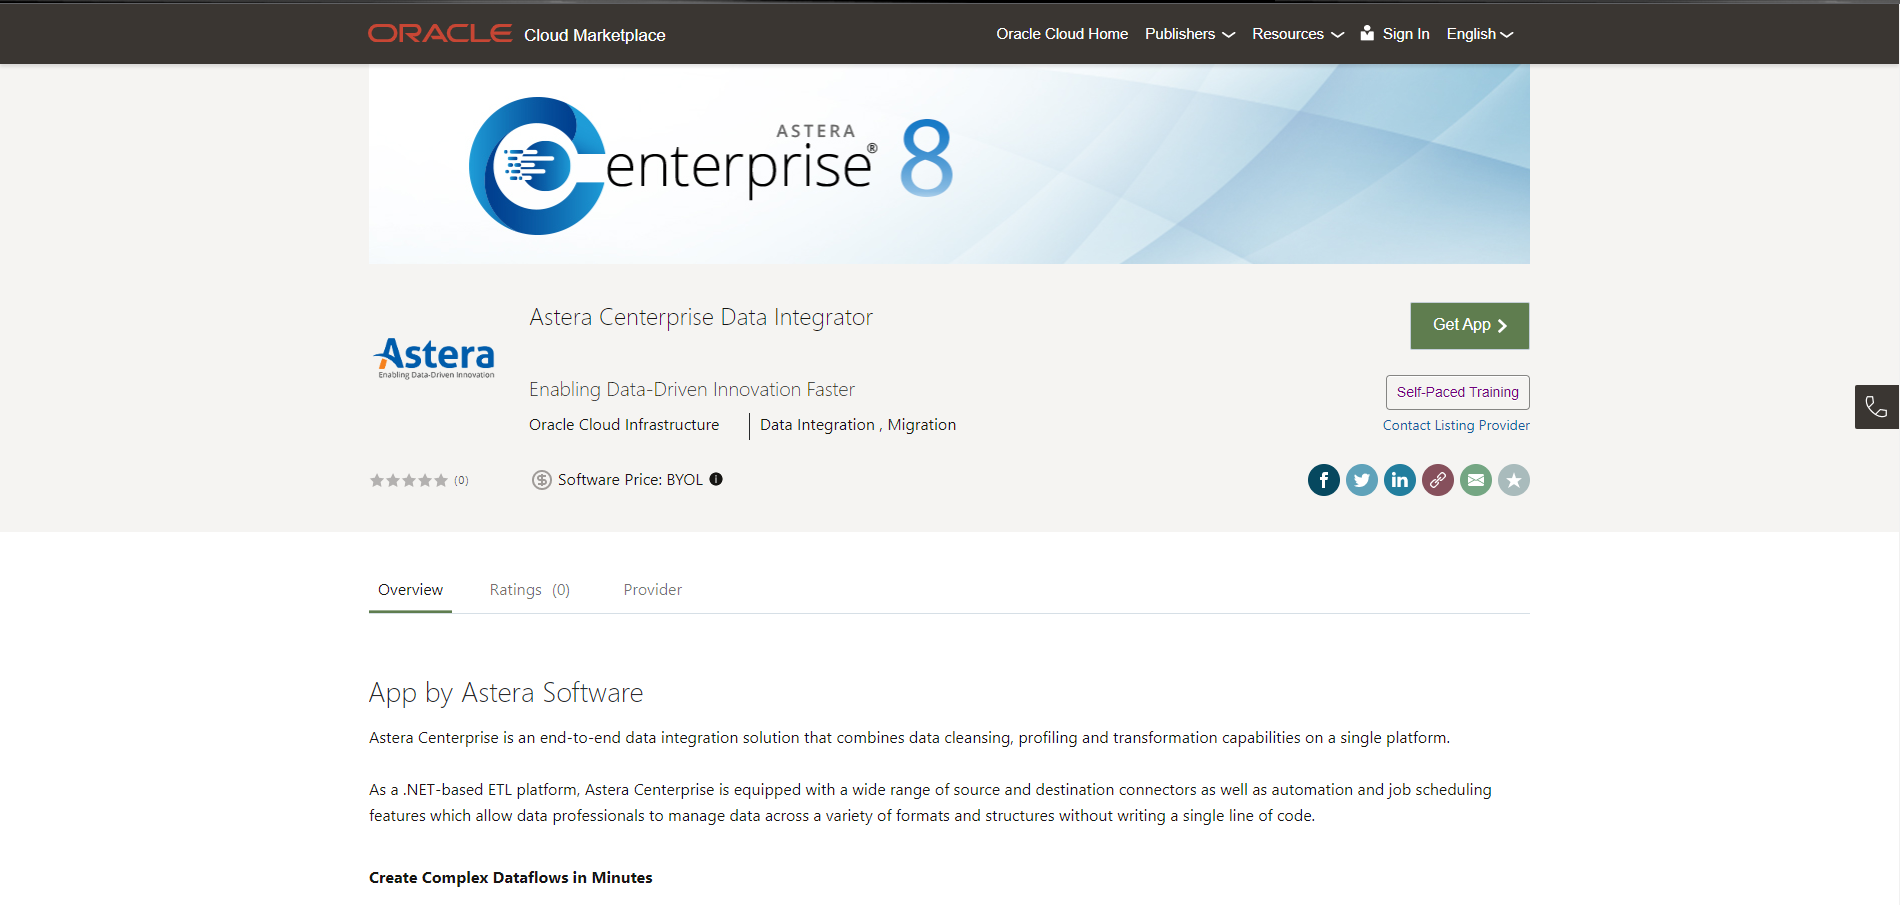
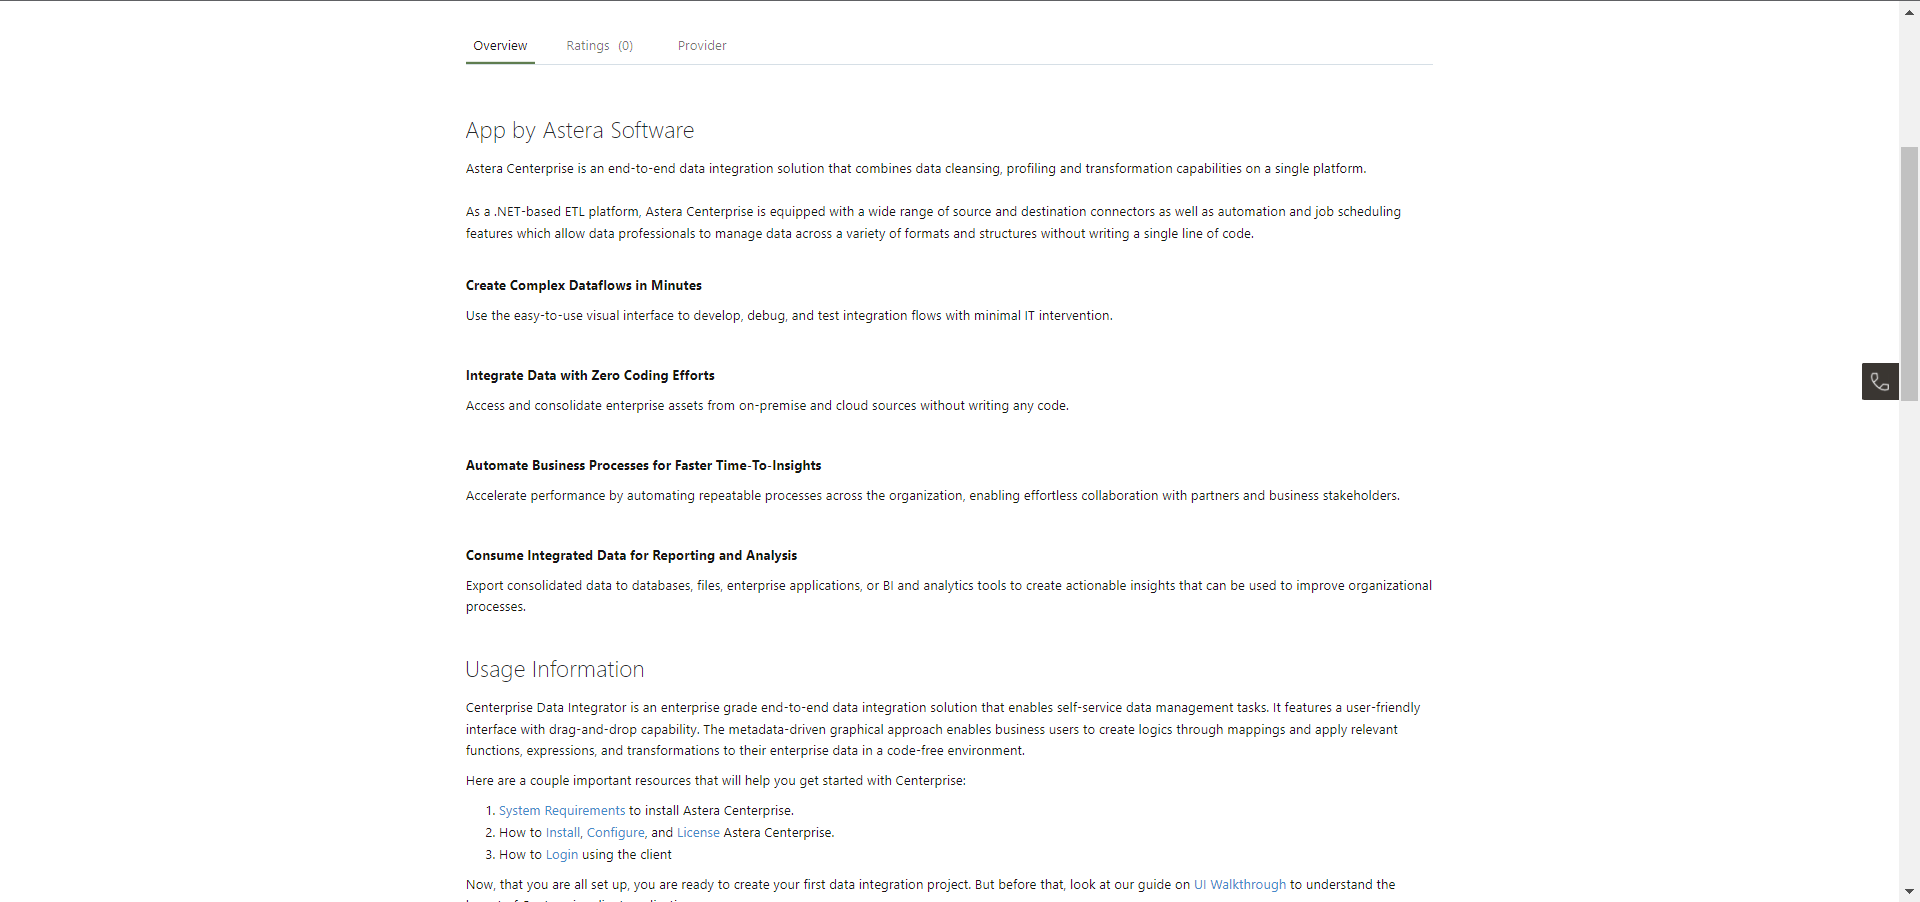
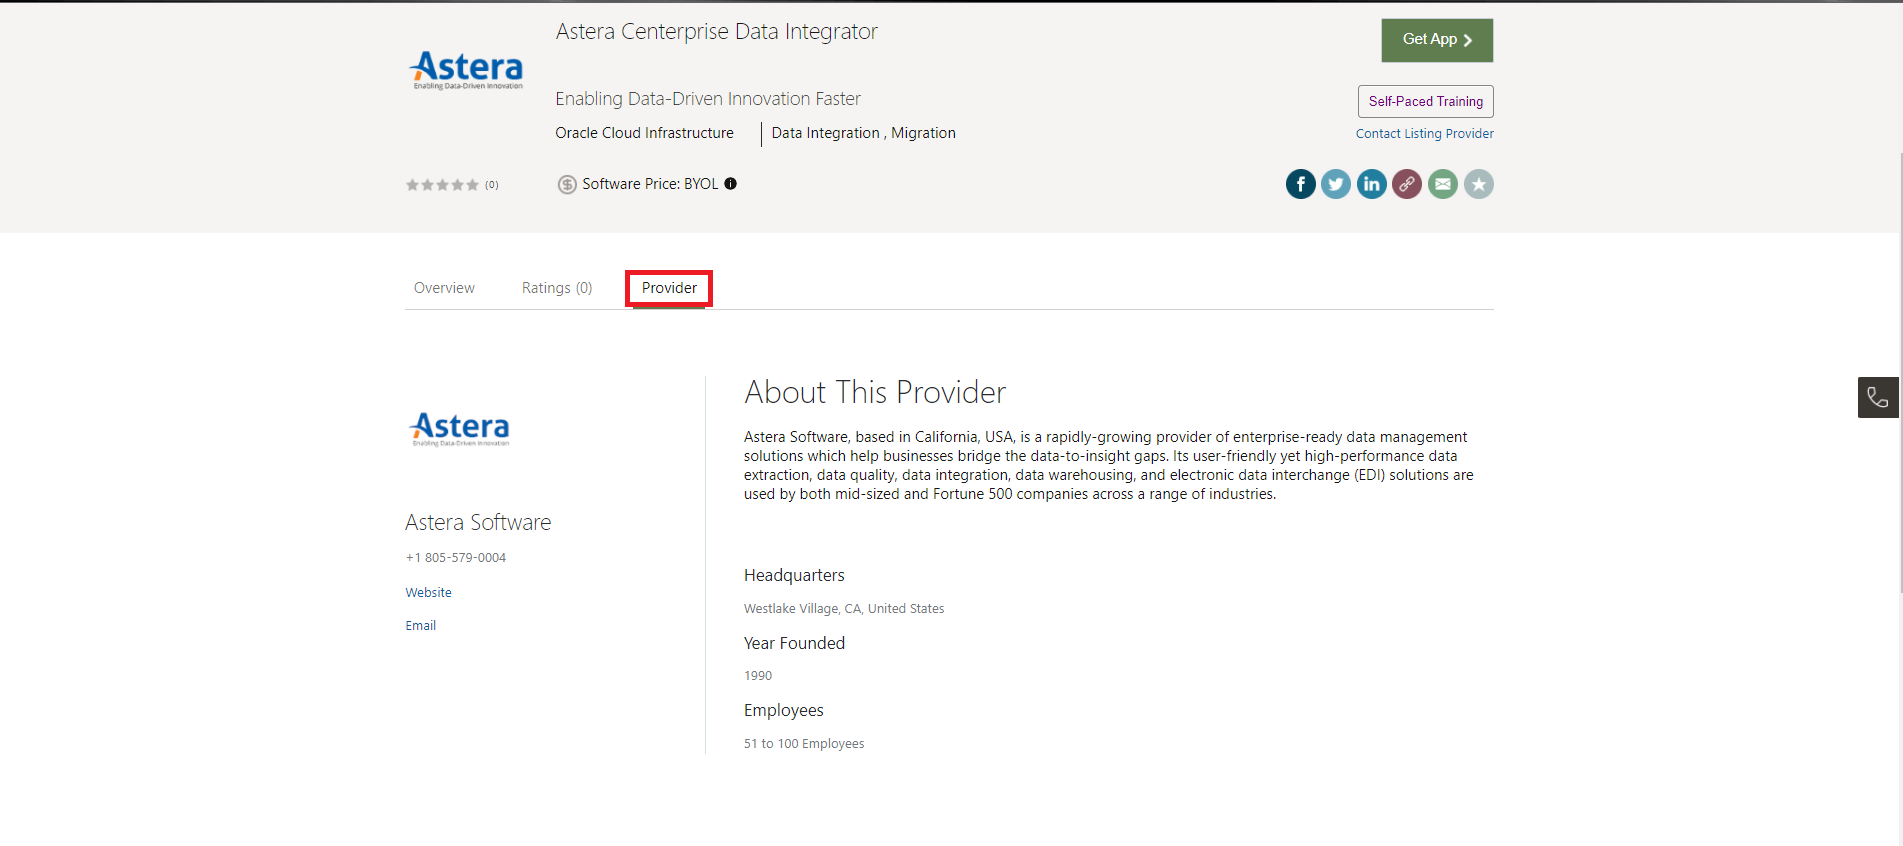
If you scroll down, you can see information regarding the product as well as various videos and documentation related to it.
Under the Provider tab, you can see information regarding the company itself.
4. Click on Get App.
You will be taken to a new window where you will be asked to sign in to the Oracle Cloud Infrastructure Account.
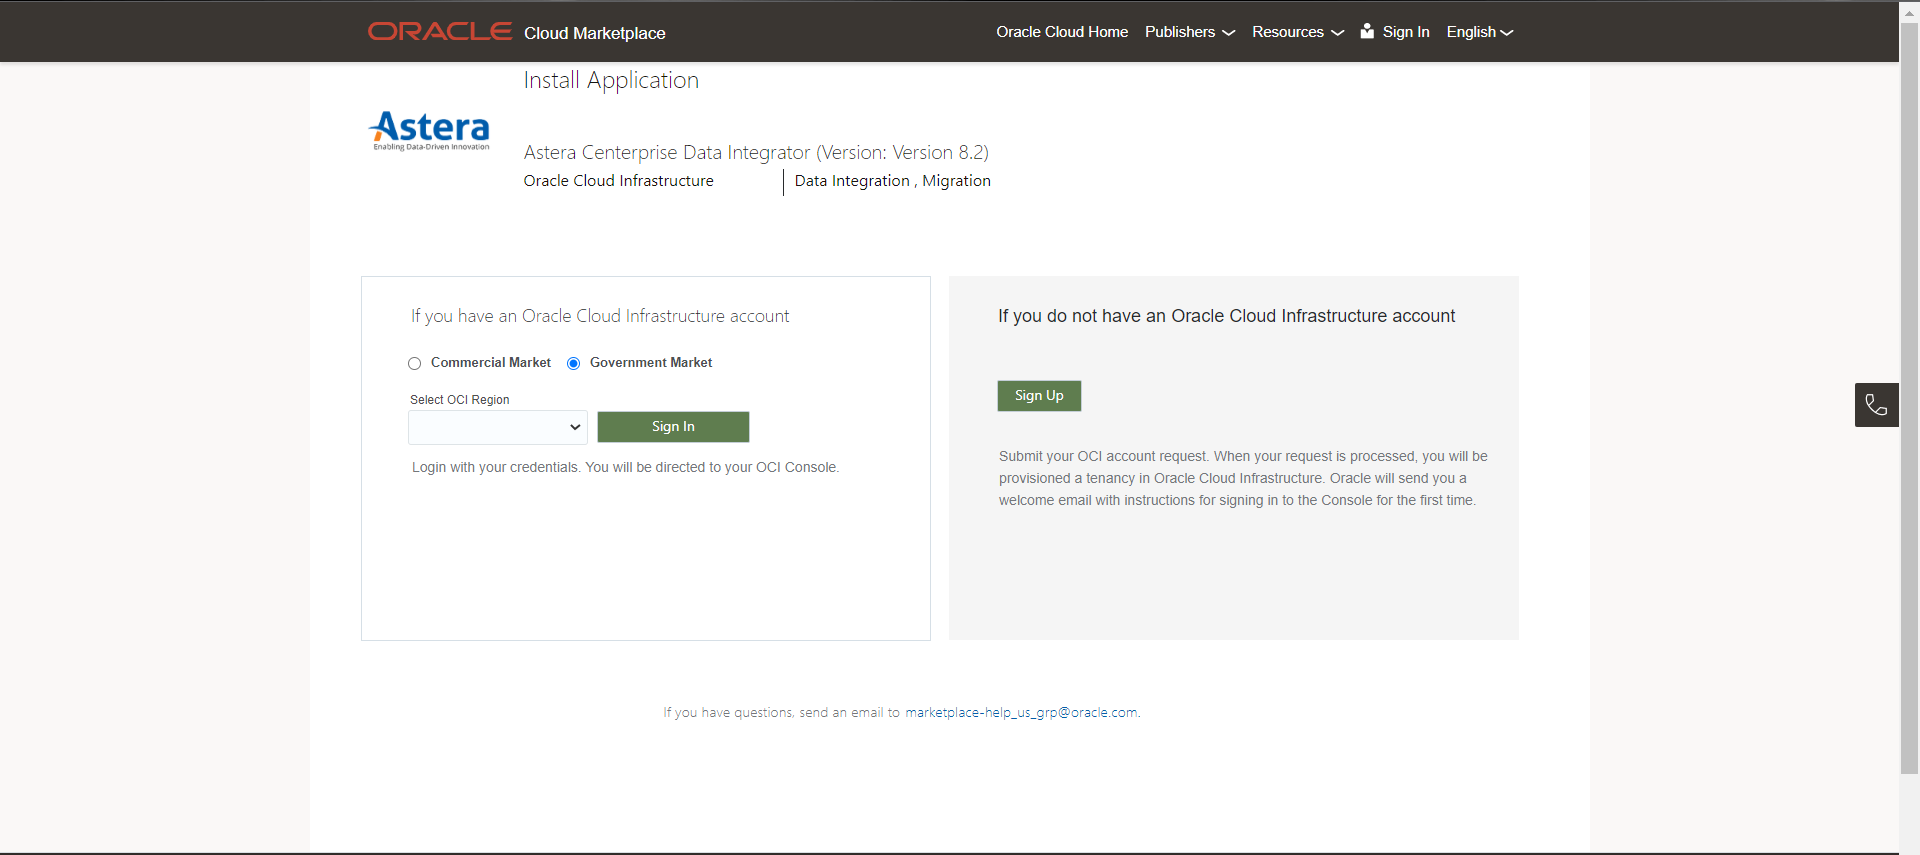
5. Select Commercial Market and click Sign In. It will redirect you to another location.

Now, the Oracle Cloud site will open.
Note: If you are not already signed in, it will ask you to sign in to Oracle Cloud first. Otherwise, it is going to take you directly towards the site.
At the bottom of the page, we have these tabs:
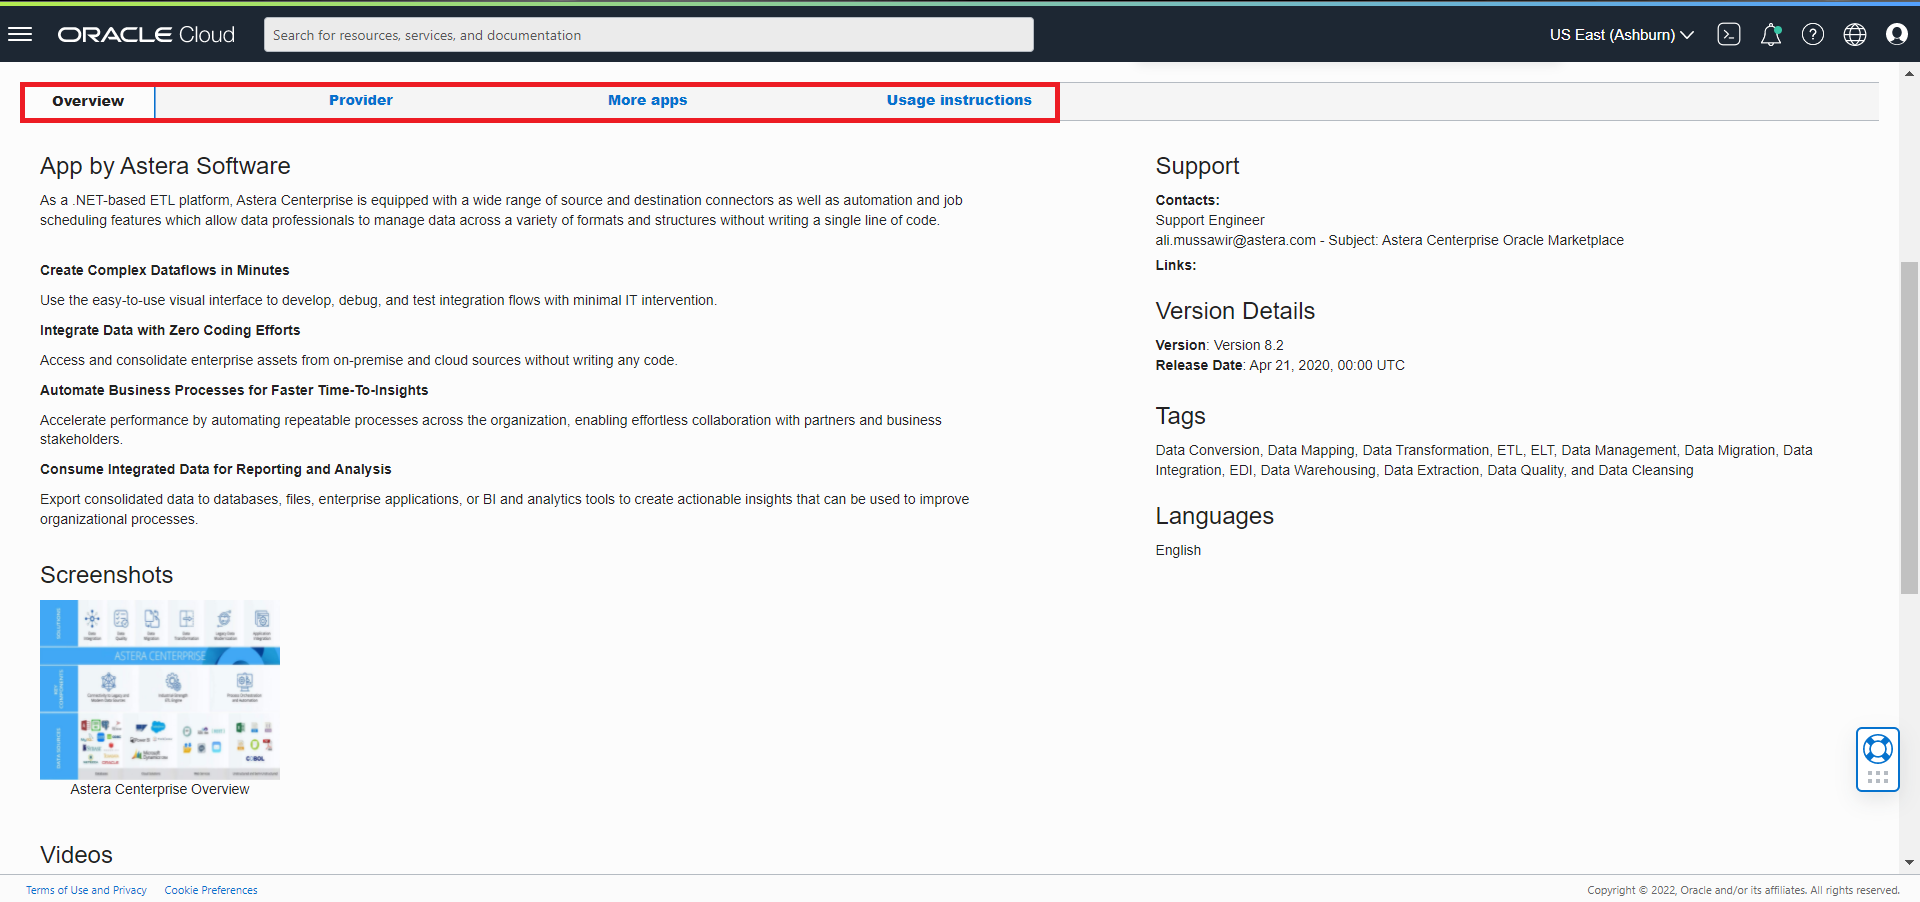
Overview: Provides an overview of the product as well as its documentation and videos.
Provider: Provides information on the company itself.
More Apps: This shows other apps by Astera apart from this one.
Usage Information: Provides step-by-step instructions on how to use the product.
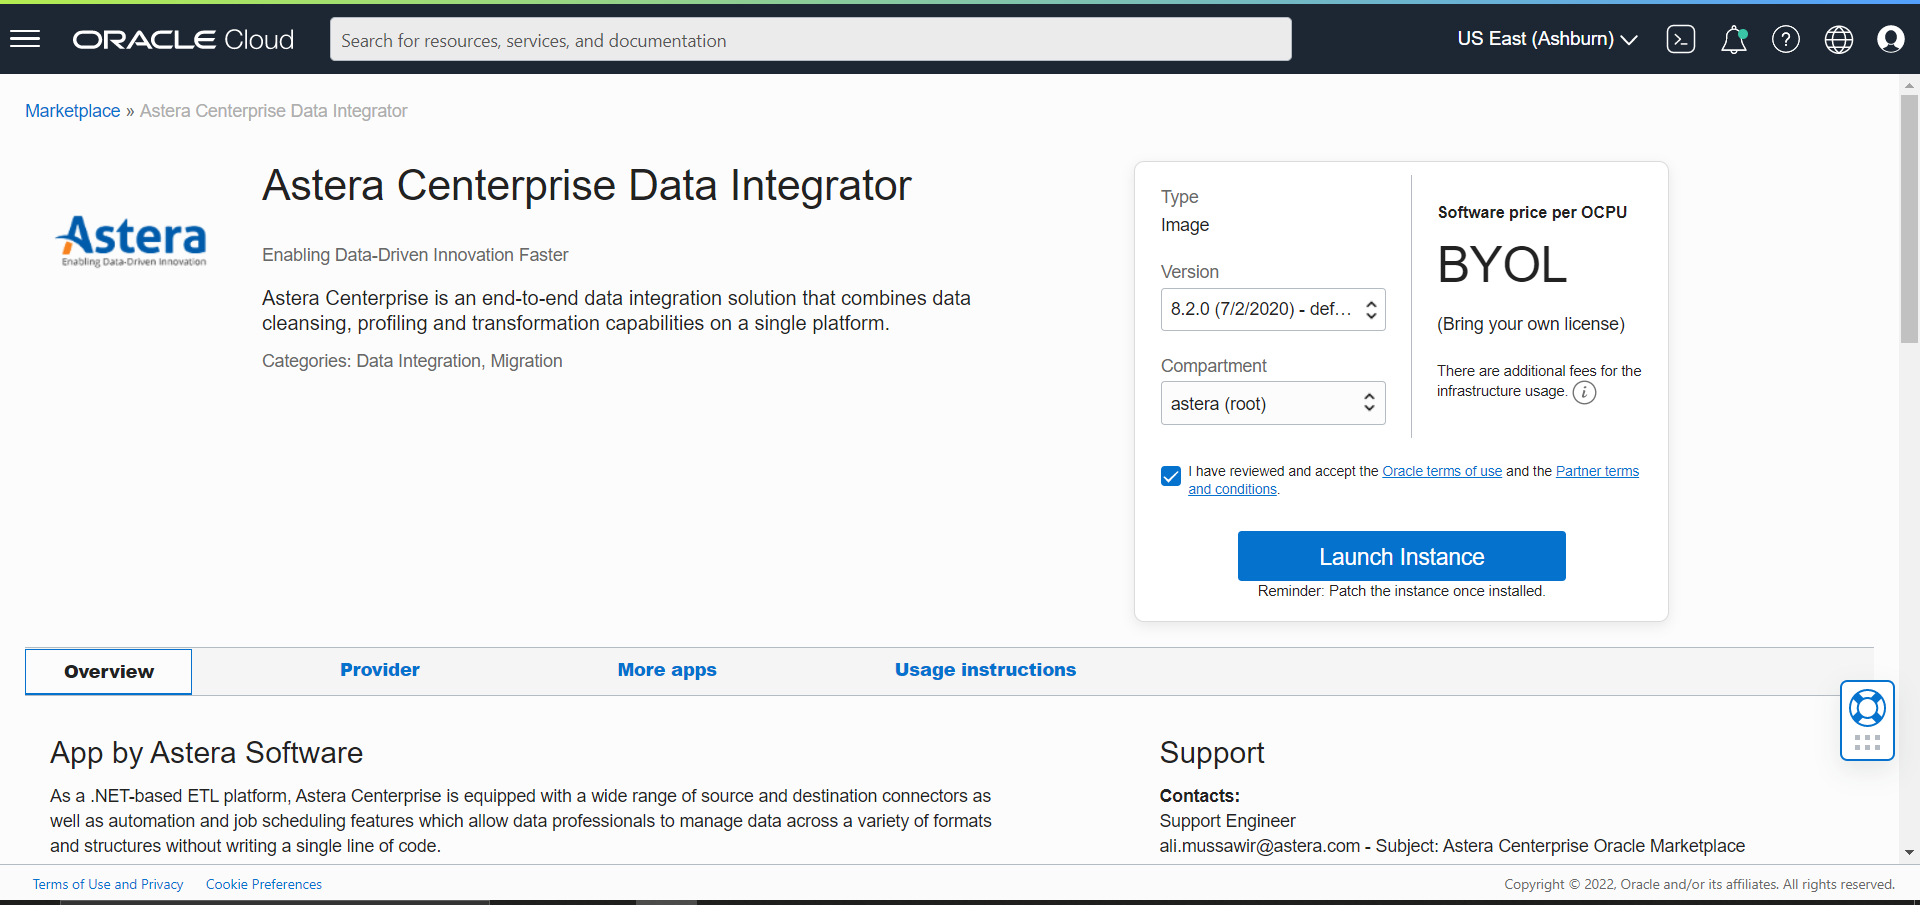
6. Once done, scroll back up and select Version and Compartment
For Version, select the default value and for Compartment, select astera (root).
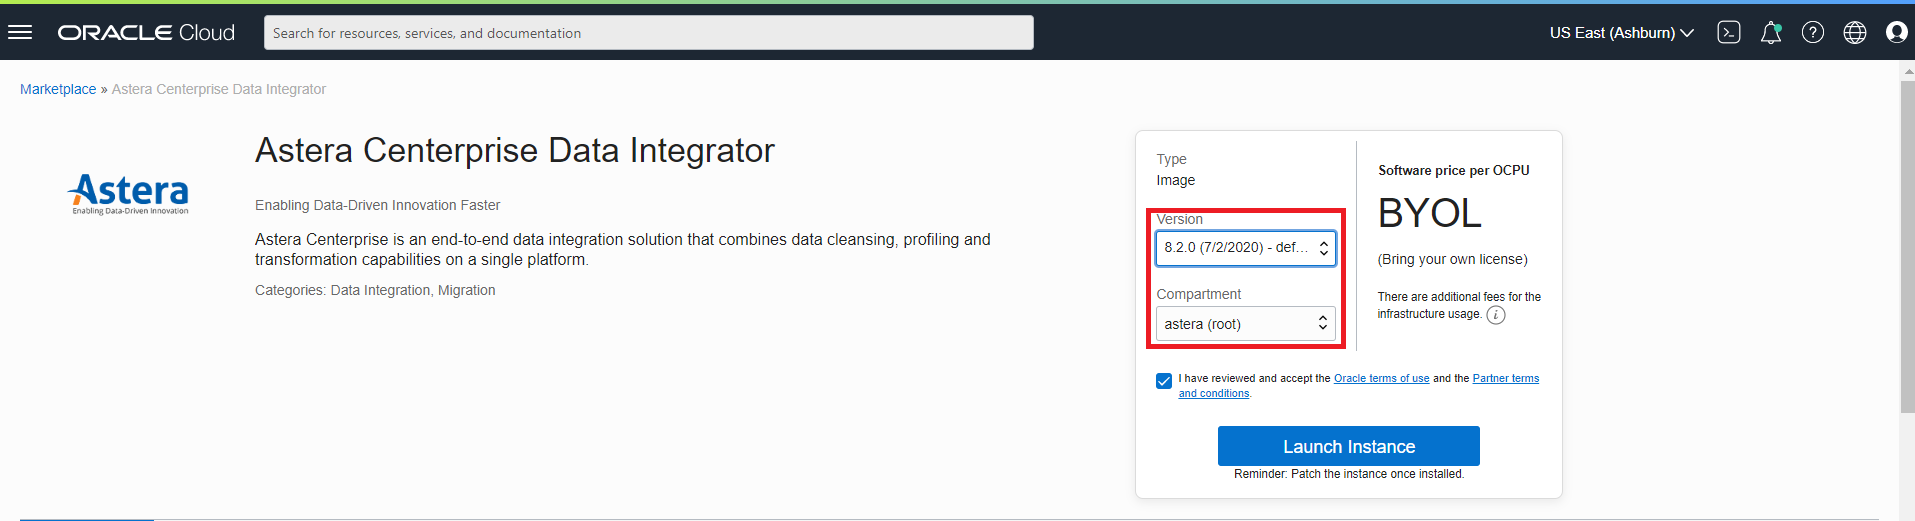
7. Select Launch Instance and you will be taken to the next screen.
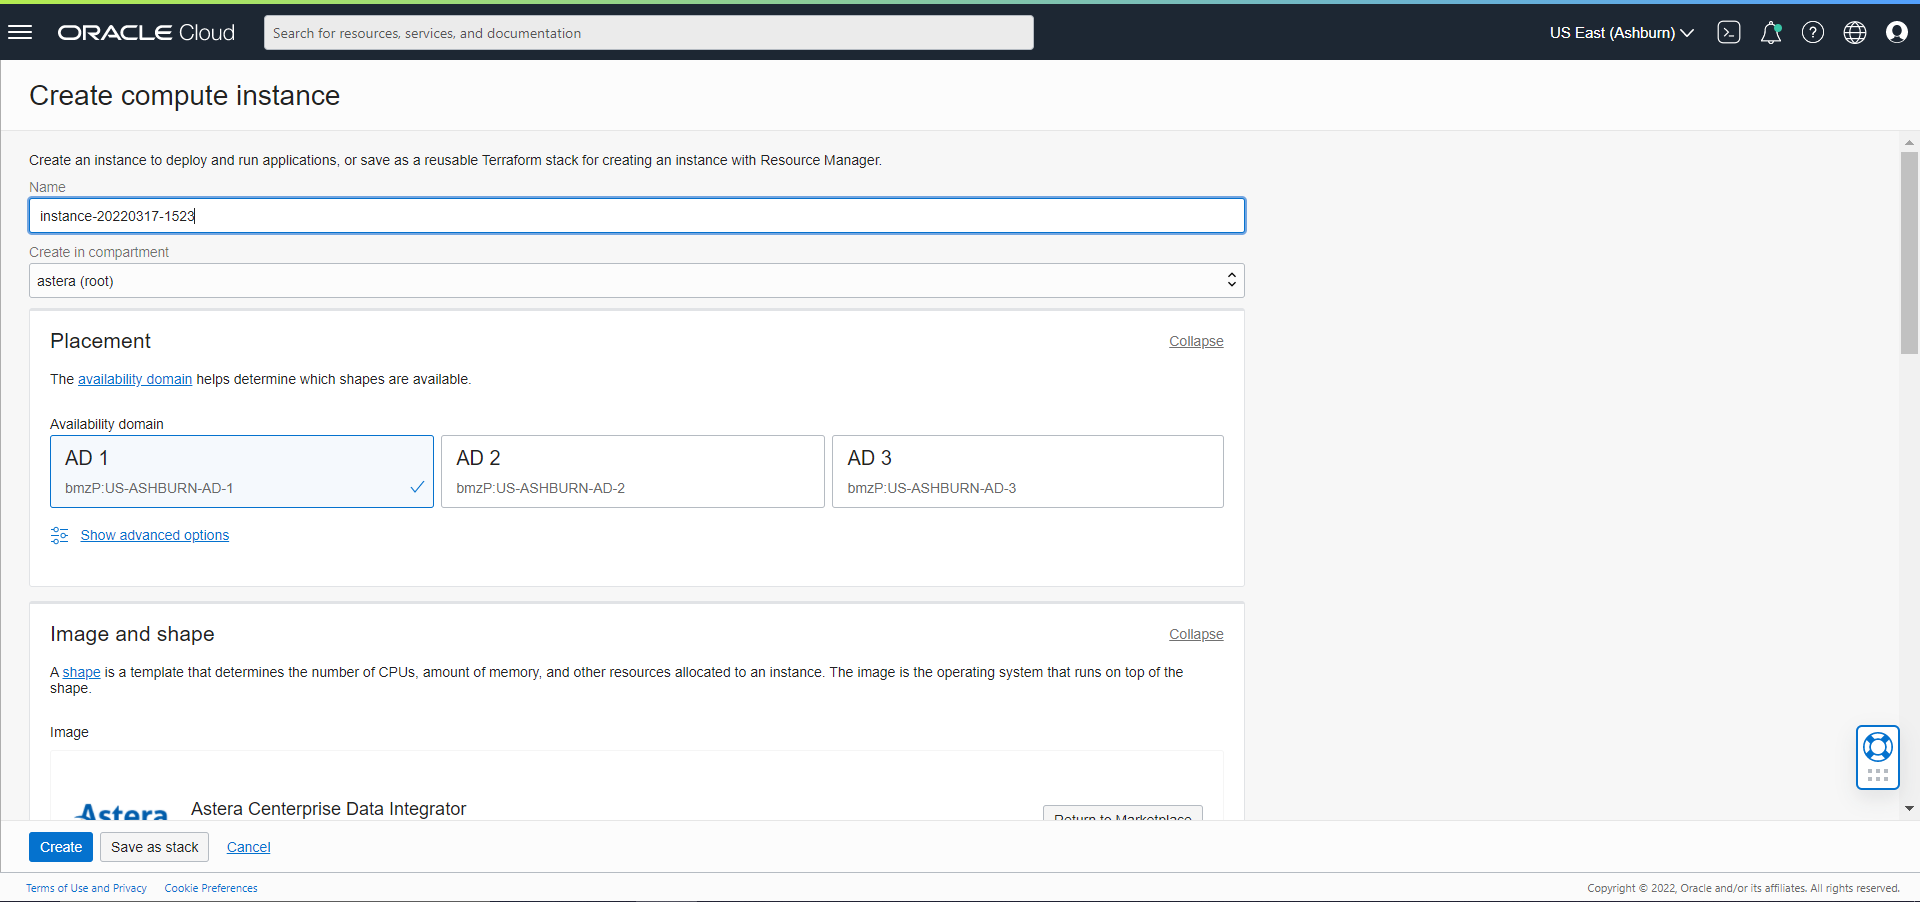
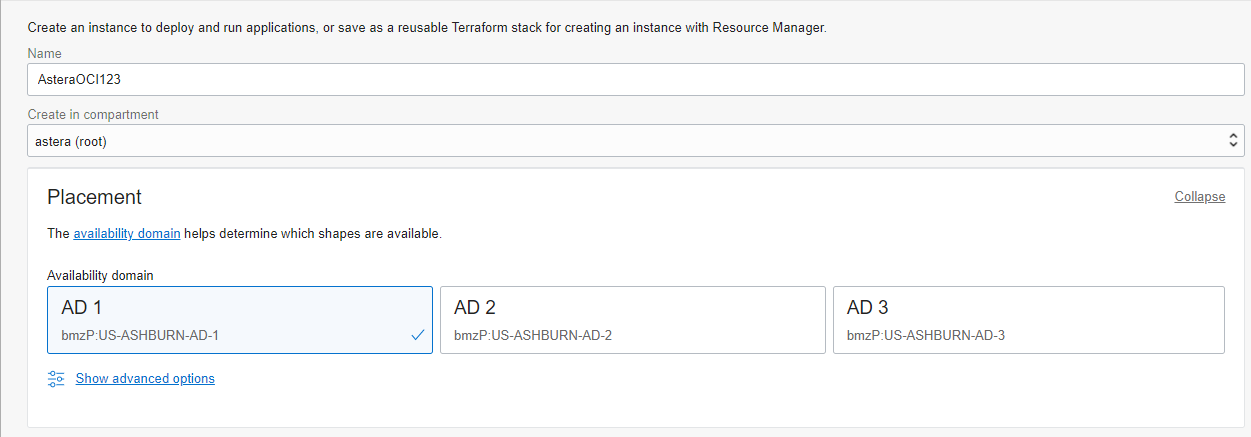
8. Next, fill in the following details:
Name: Name of the instance being created.
We are using the name ‘AsteraOCI’
Create In Compartment: The compartment in which it is going to be created.
We are using the compartment ‘astera (roots)’
Placement – Availability Domain: This helps determine which shapes are available.
It will be kept as the default one; ‘AD1’
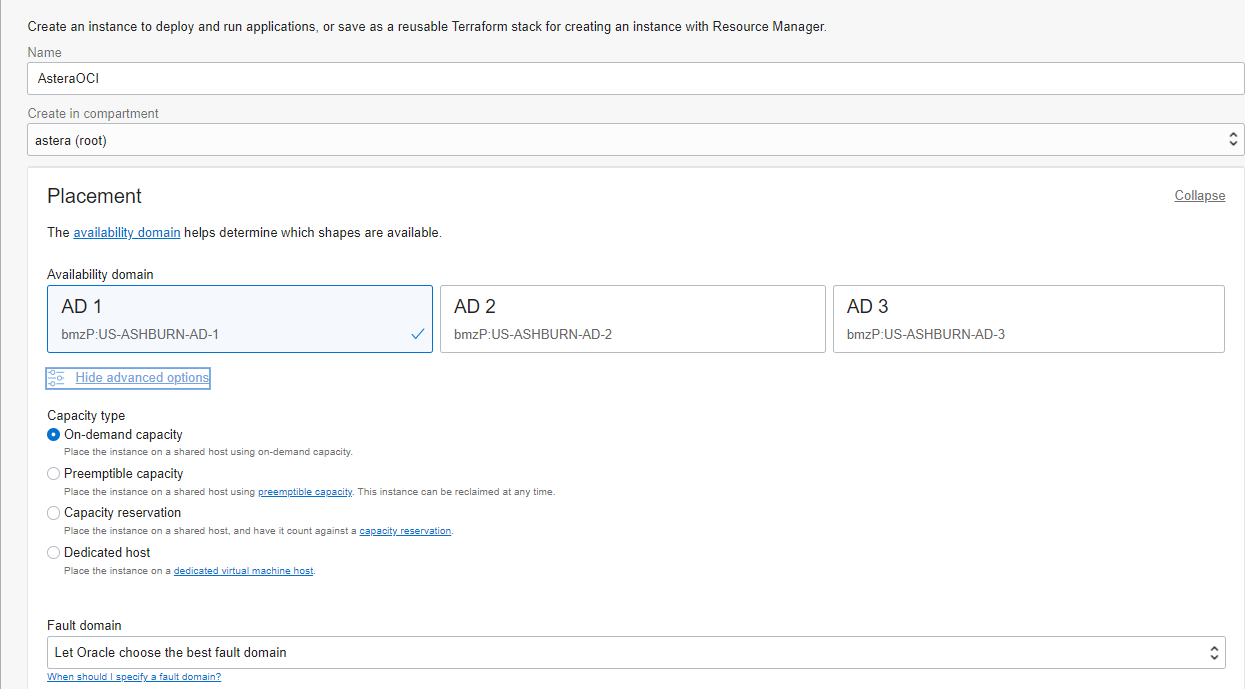
Show Advanced Options: These are extra options for the Availability domain.
They will be kept as default.
9. Scroll down and specify the following information:
Image: This is the product that is being used.
Here, it will be Astera Centerprise Data Integrator.
Shape: The specifications of the Virtual Machine, depending on the application.
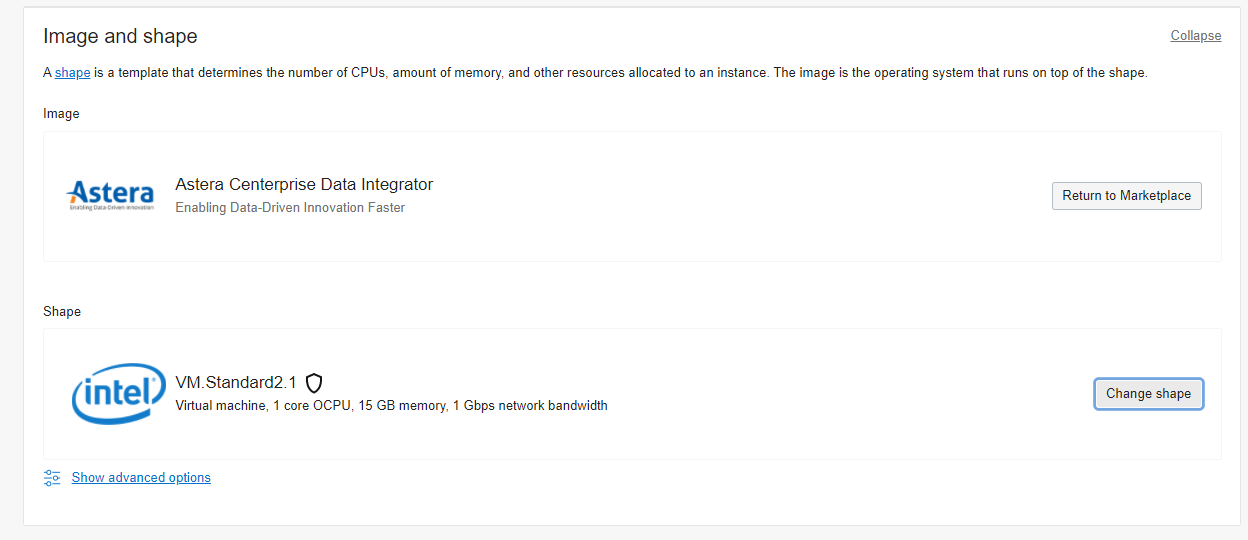
We have selected “VM.Standard2.2” for our application.
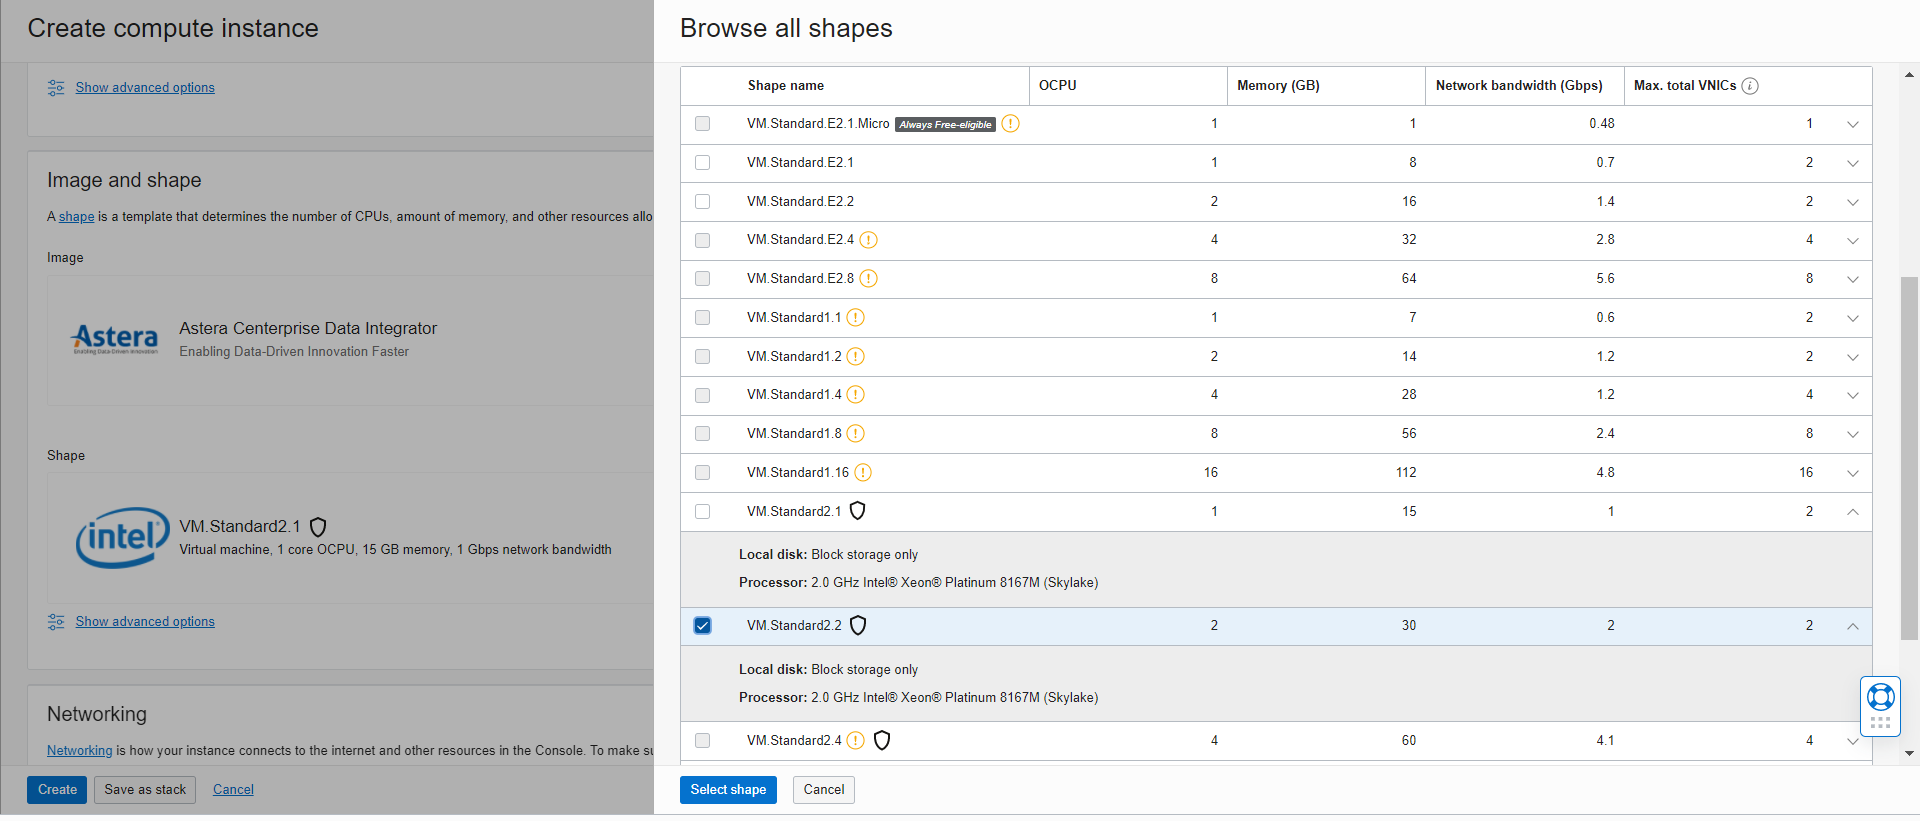
The rest of the options will remain default.
10. Click Select Shape and it will be selected.
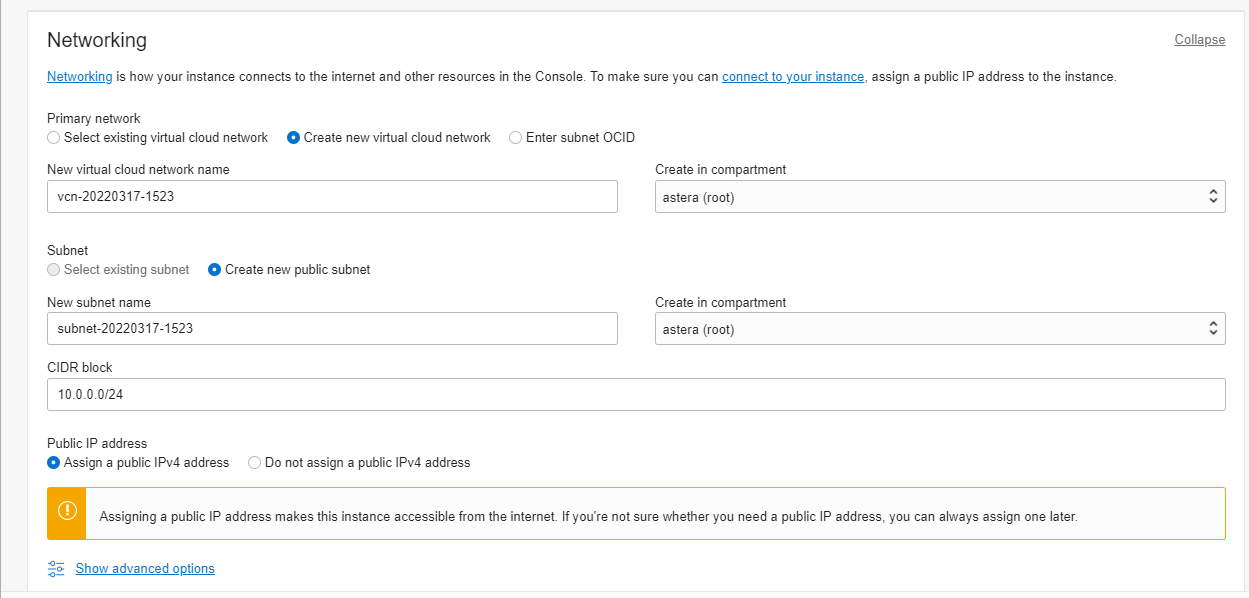
Next, we will select the Networking options. They will all remain set to default.
11. Scroll down to the Boot Volume options.
They will also be kept as default.
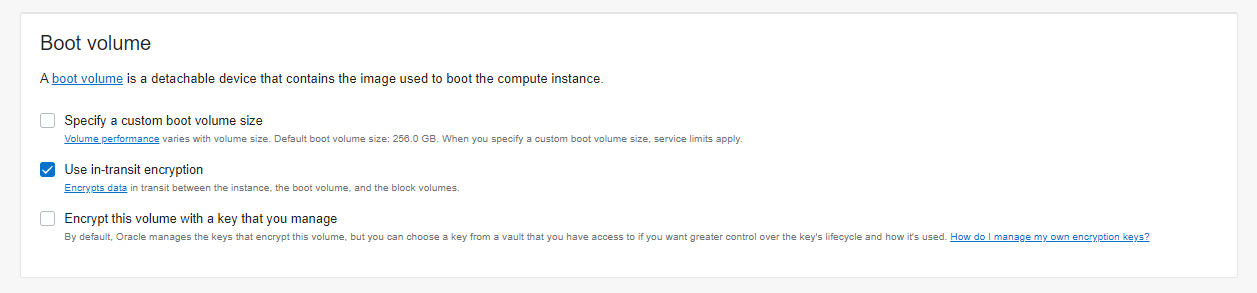
12. Click Create.
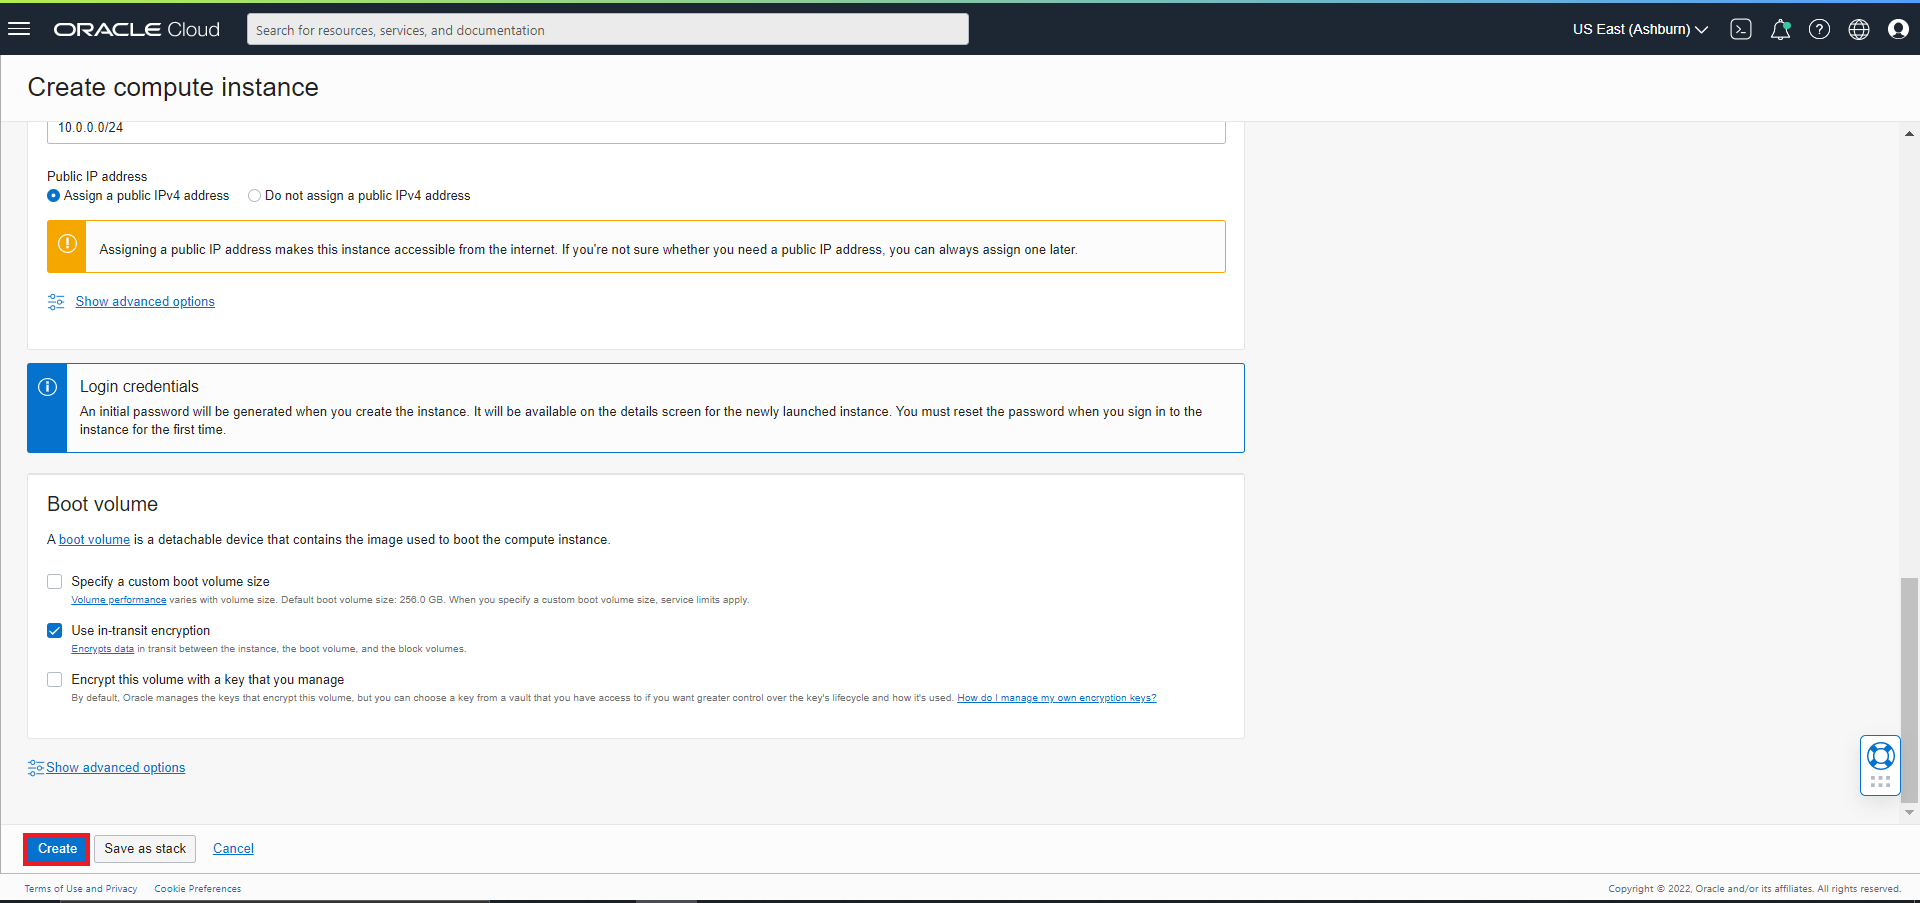
It will now start to create the Virtual Machine.
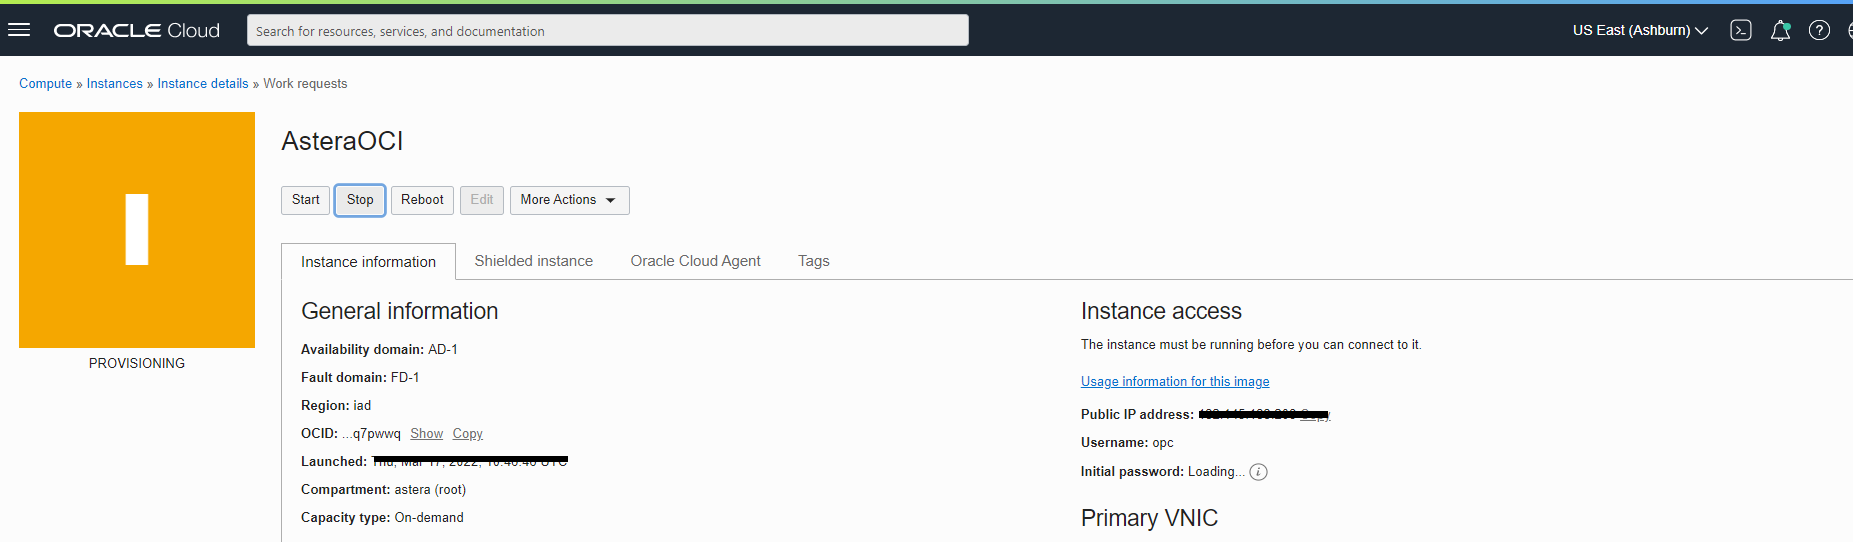
Note: It can take 5 to 10 minutes for creation.
13. The Virtual Machine has been created. You can now use the remote desktop connection to connect to it. The credentials are generated once the machine is created.
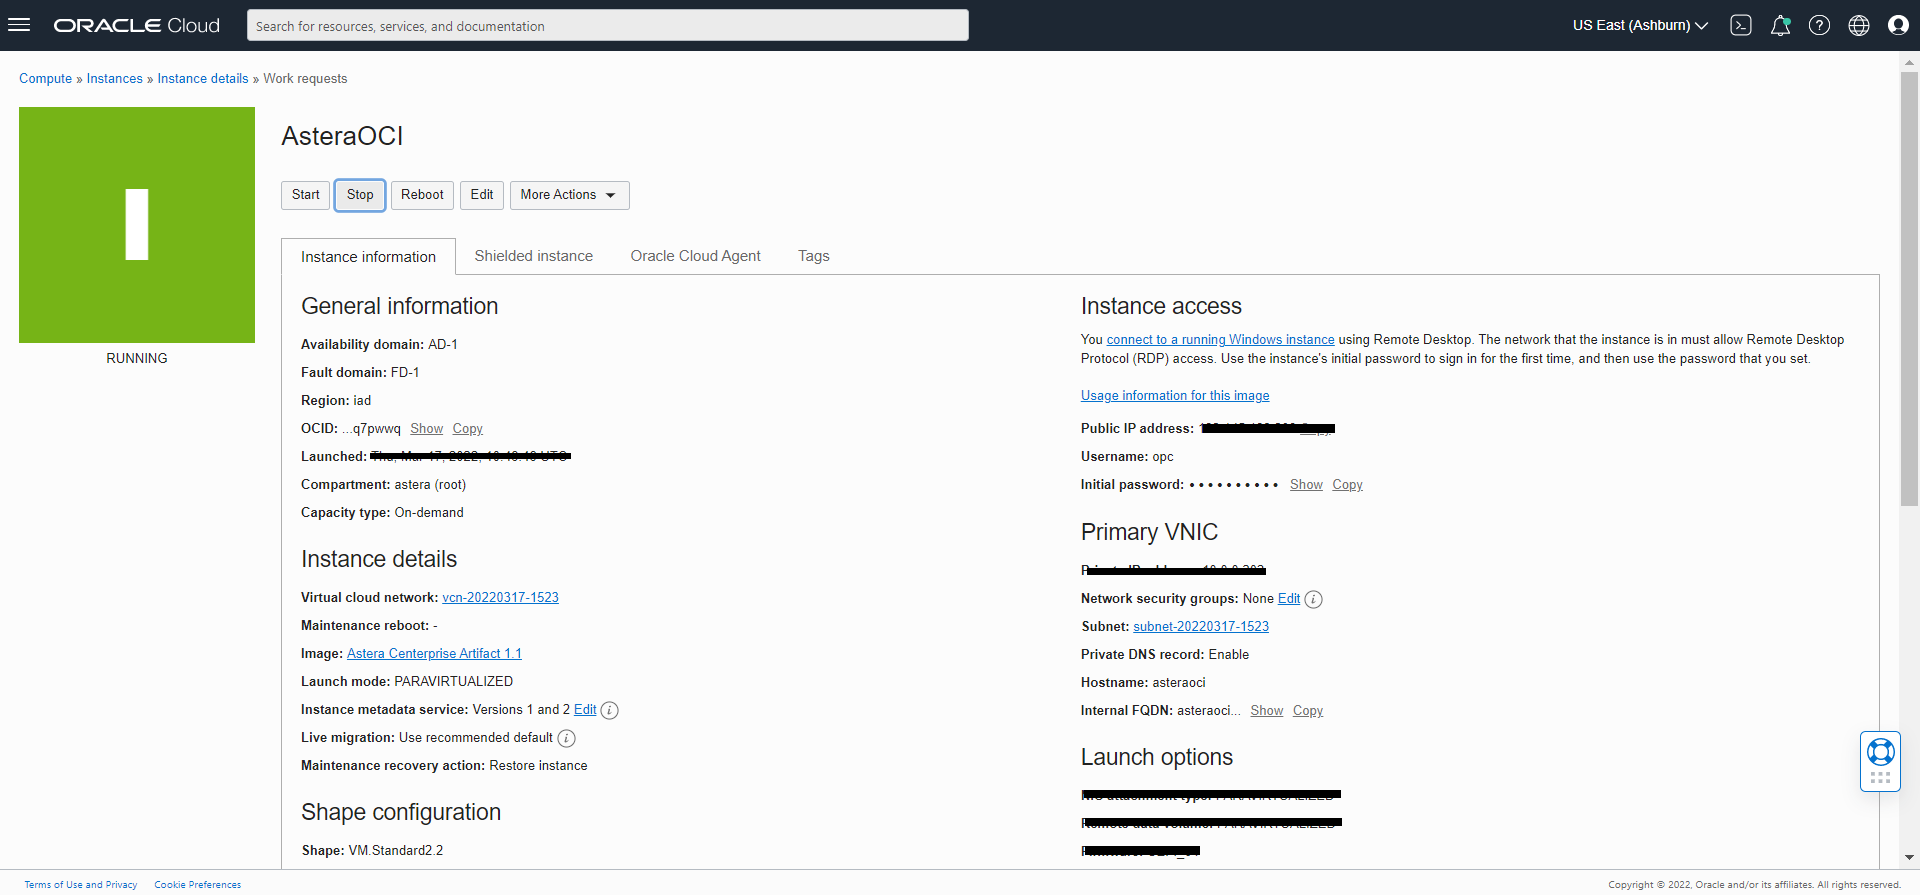
Once connected with the machine, you can install Astera Centerprise on it.
Note: Start ‘Astera Integration Server 8’ from Services first.
For more information on how to work with Astera Centerprise, click here.
Deploying Astera Centerprise Manually
1. To start, enter the Oracle Cloud login page and sign in. Once you are signed in, a new screen will appear.
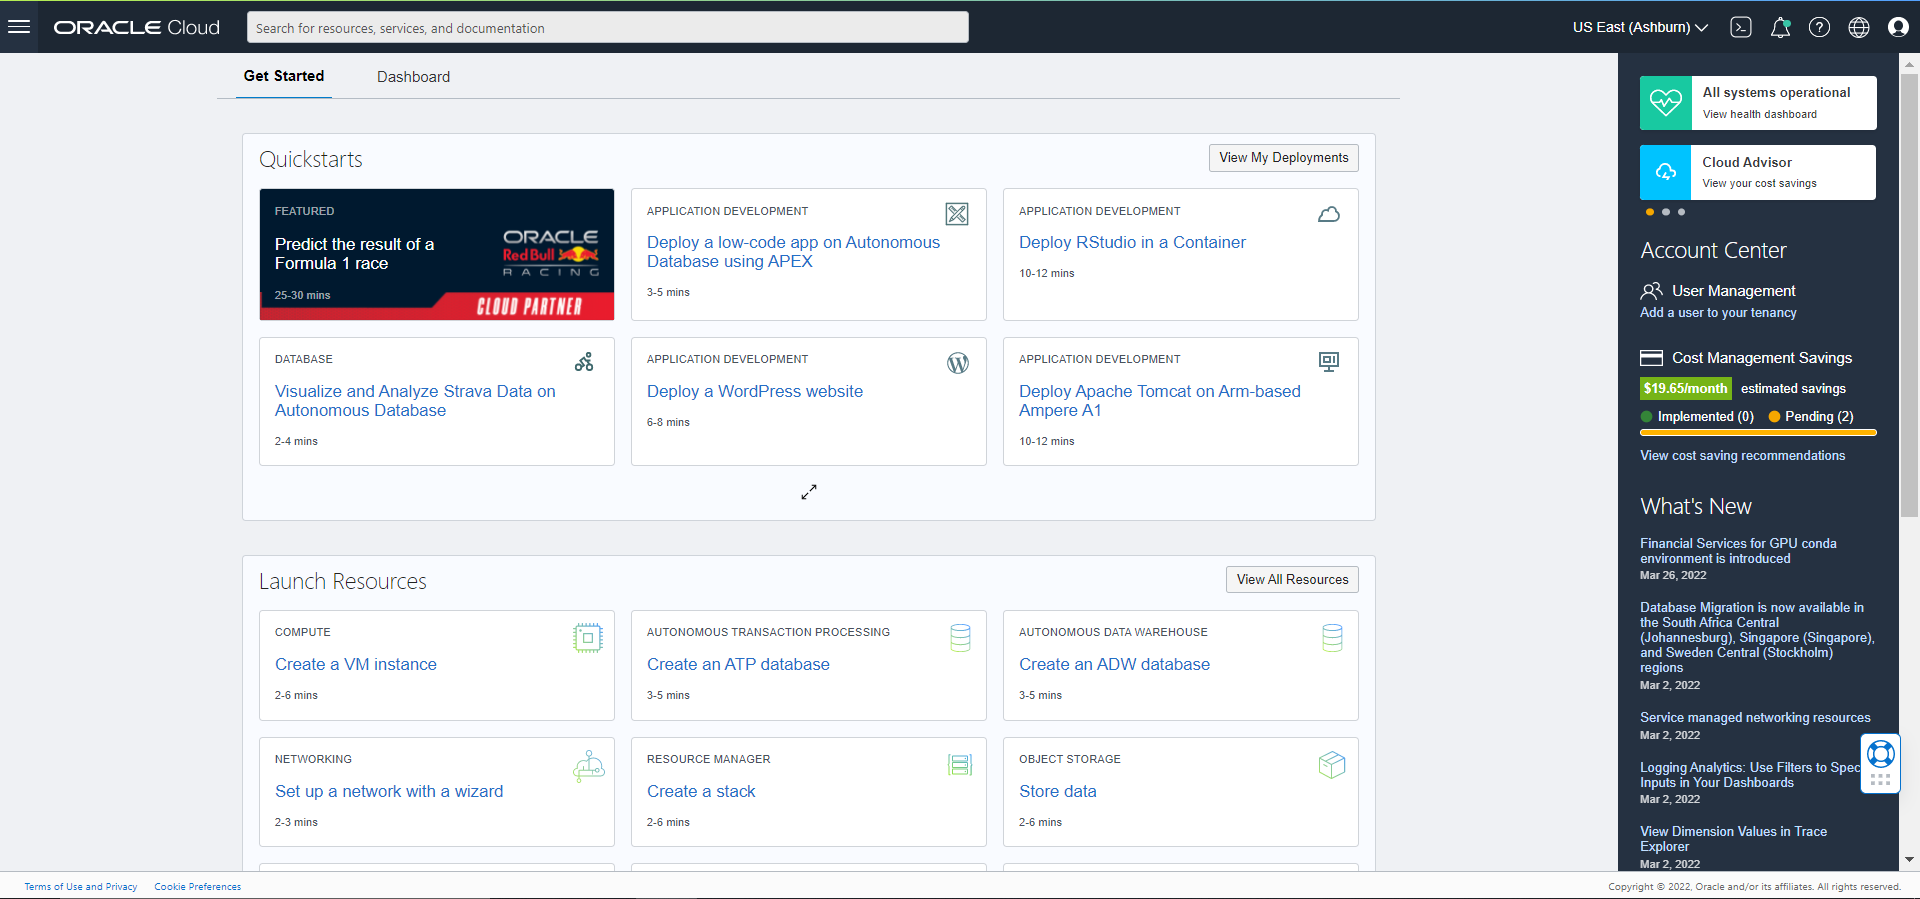
2. Click on the three lines next to the search bar located at the top, select Compute, and then click Instances.
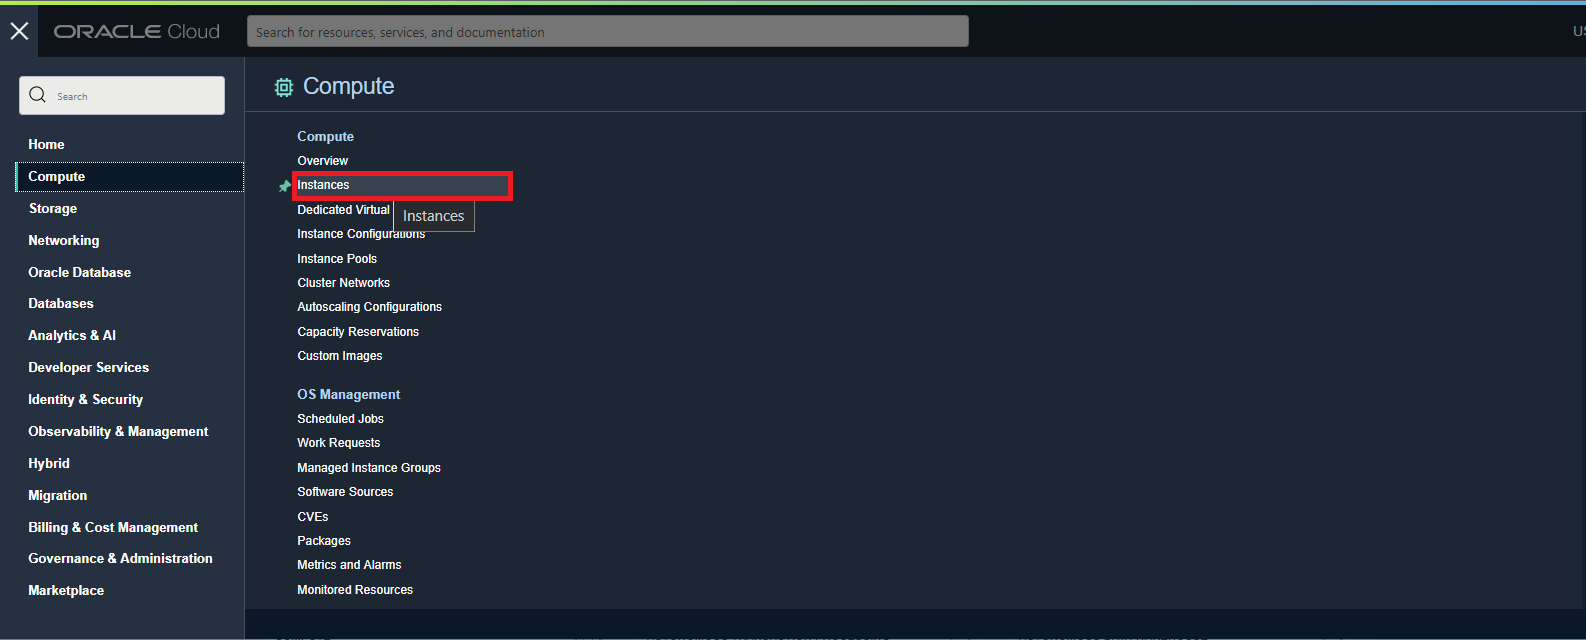
A new window will open.
Here, you can add a new instance or use an existing one.
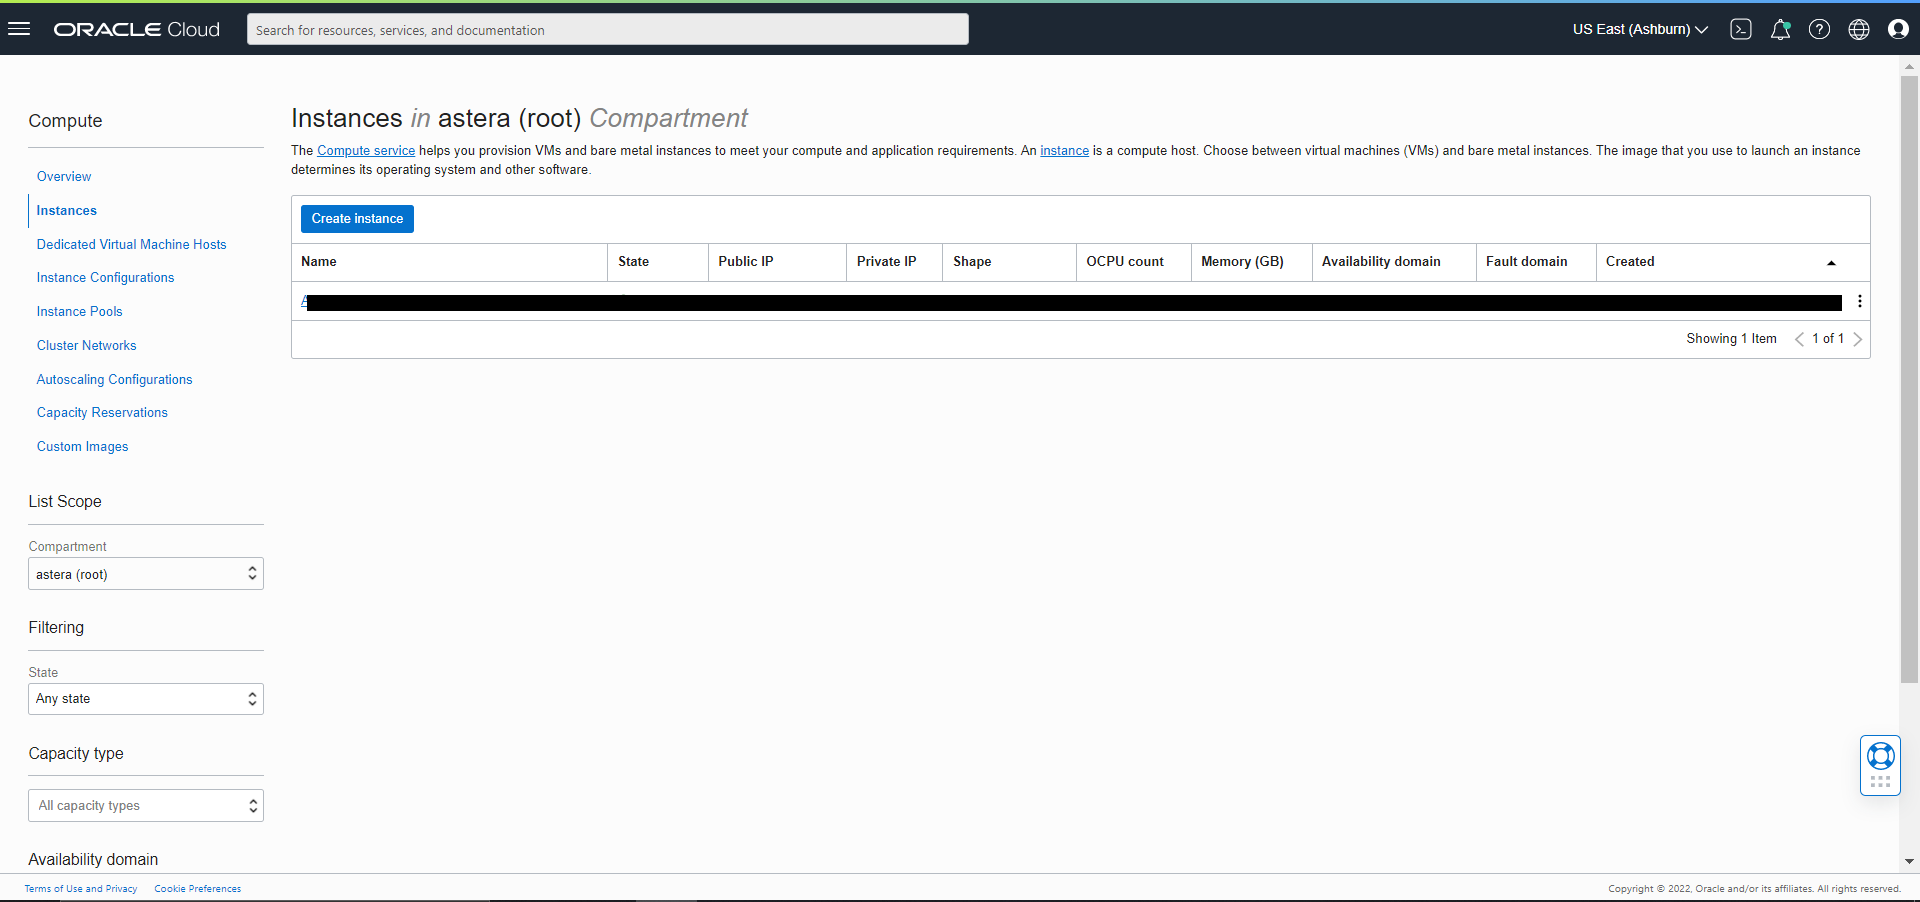
3. Select the Compartment as “astera (roots)” and select Create Instance
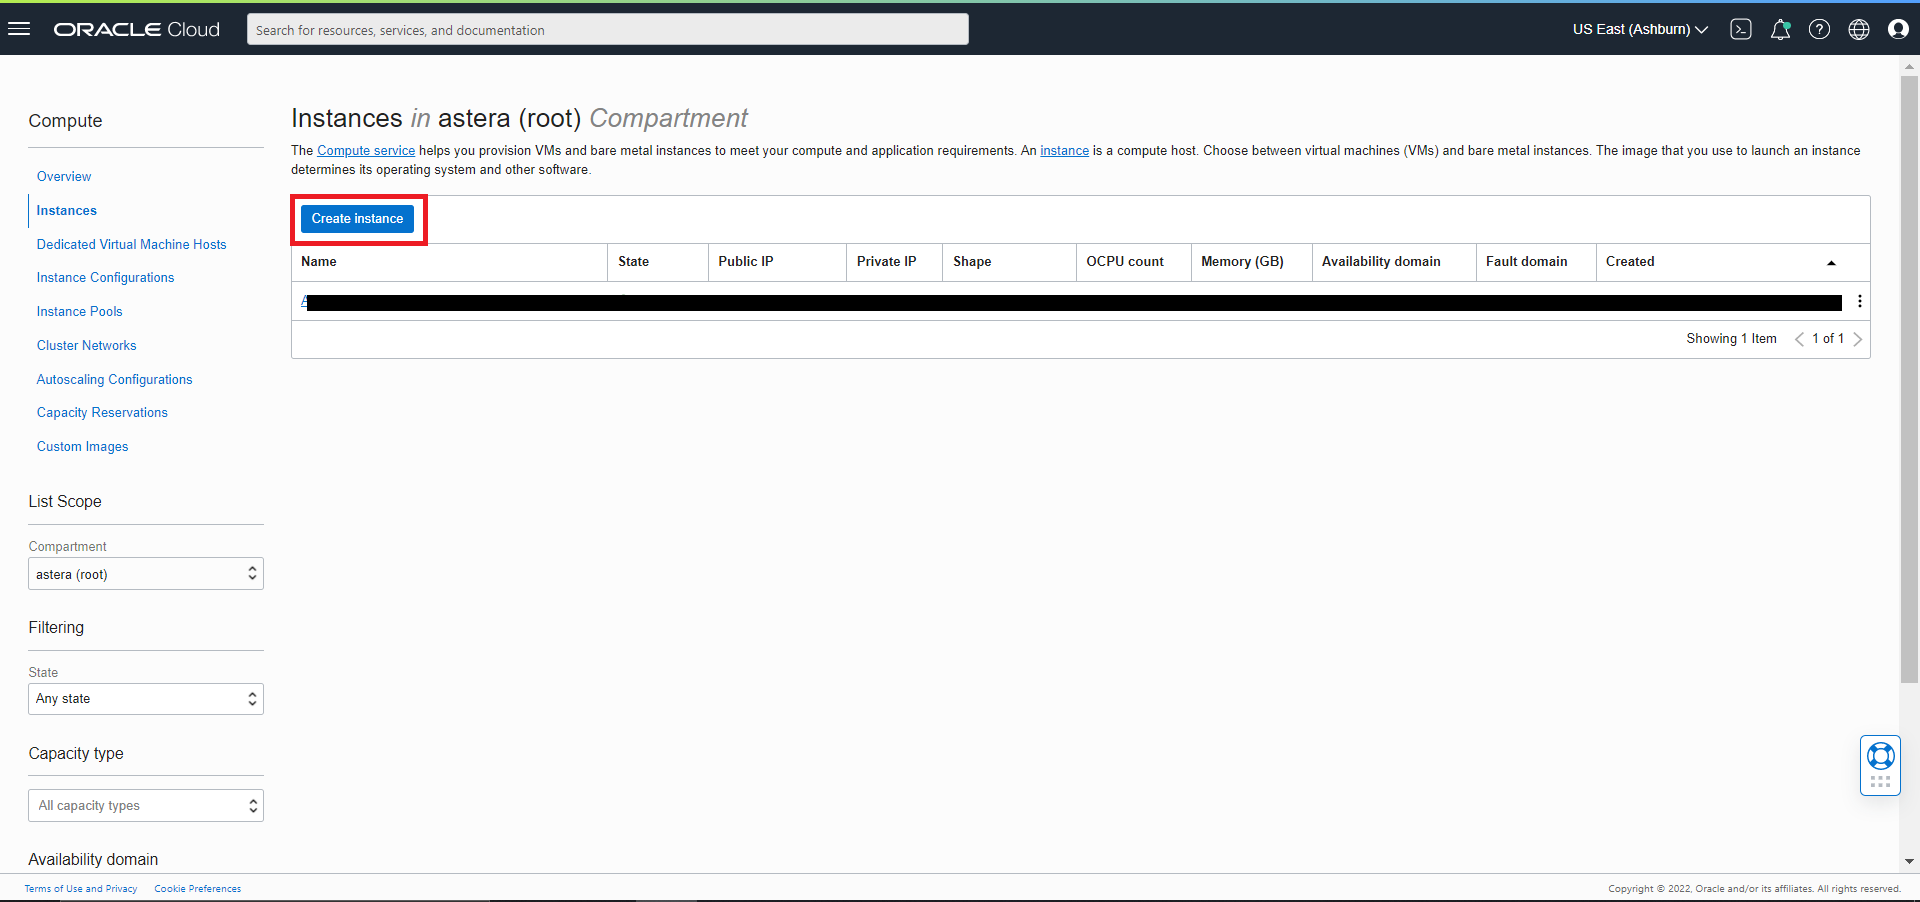
Here, we see a screen like the one in the previous method.
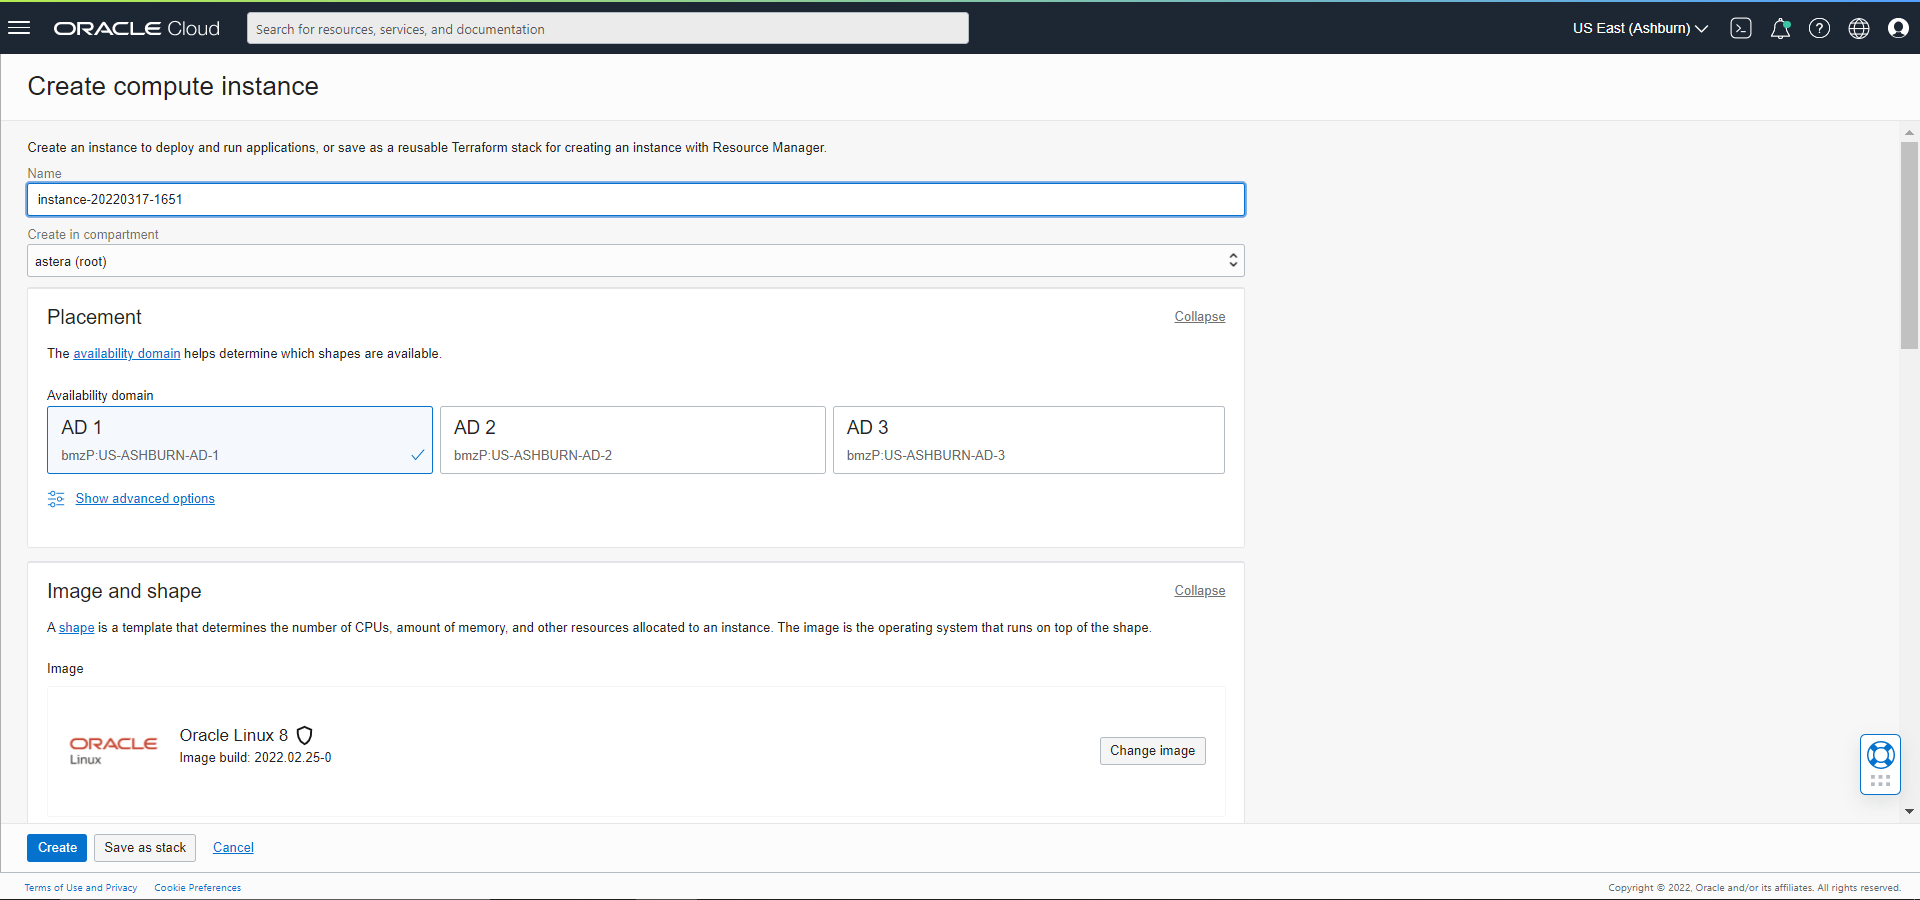
4. Write a name of your choice, select the compartment as astera (roots), and select default placement.
5. The next section is the Image and Shape section.
For Image, we will select Windows Server 2016 Standard,
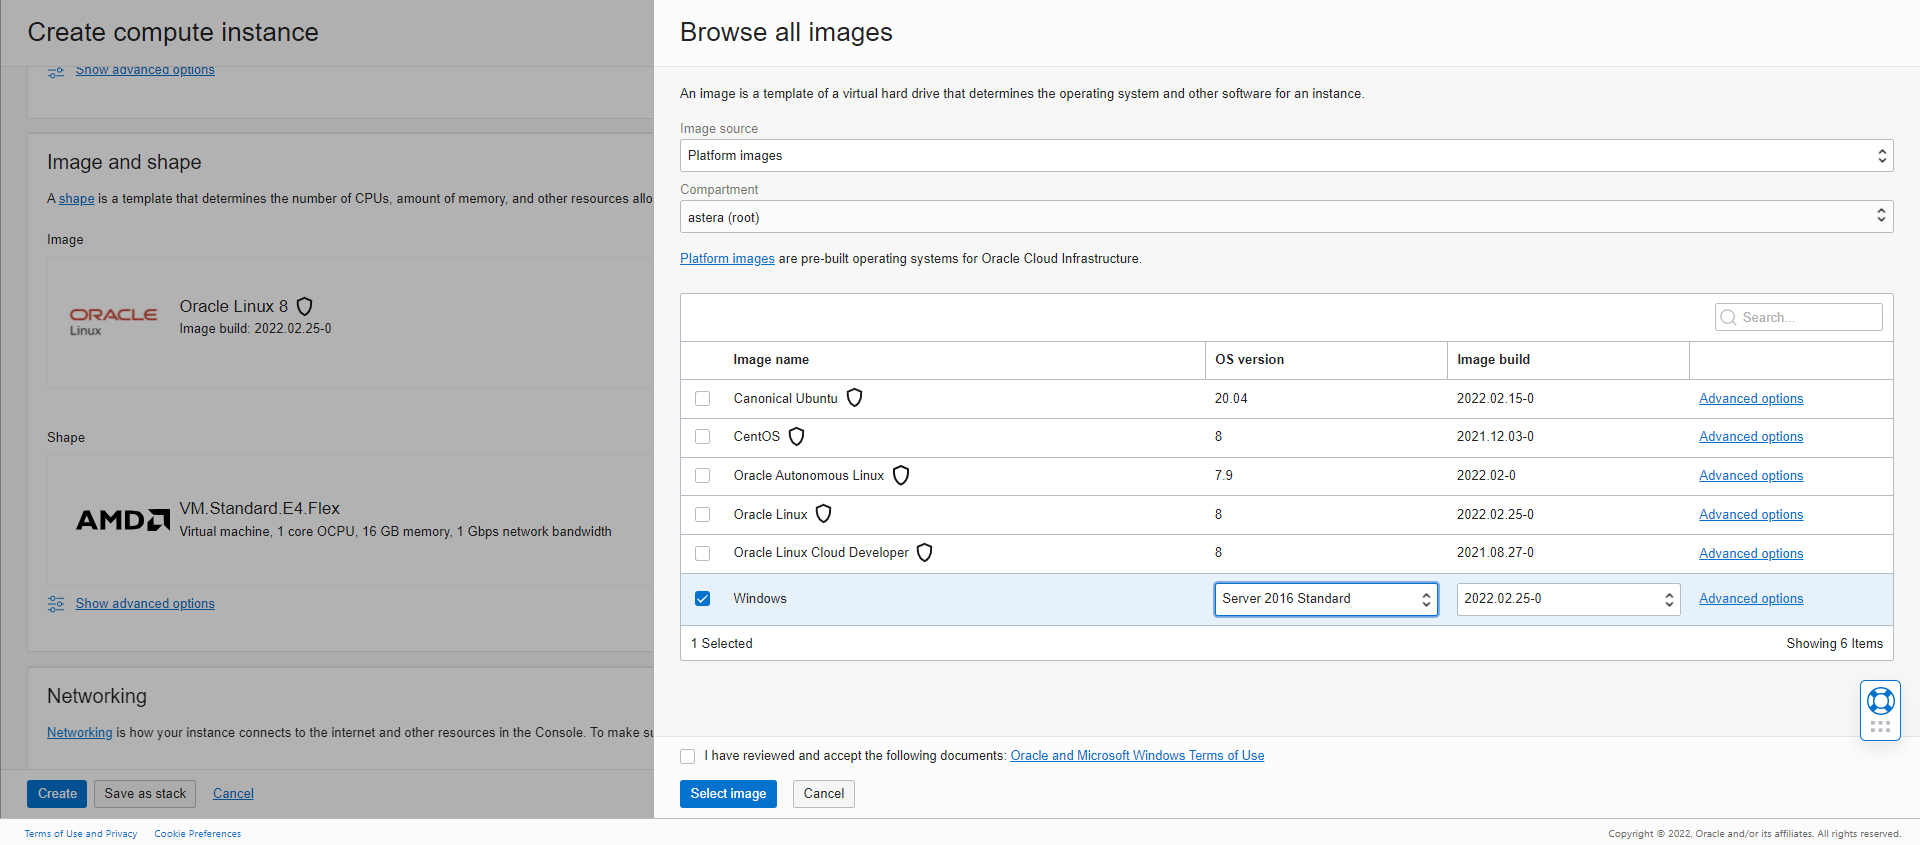
6. Select Image and head to the Shape option.
We have selected 4 OCPUs and 16 GB memory.
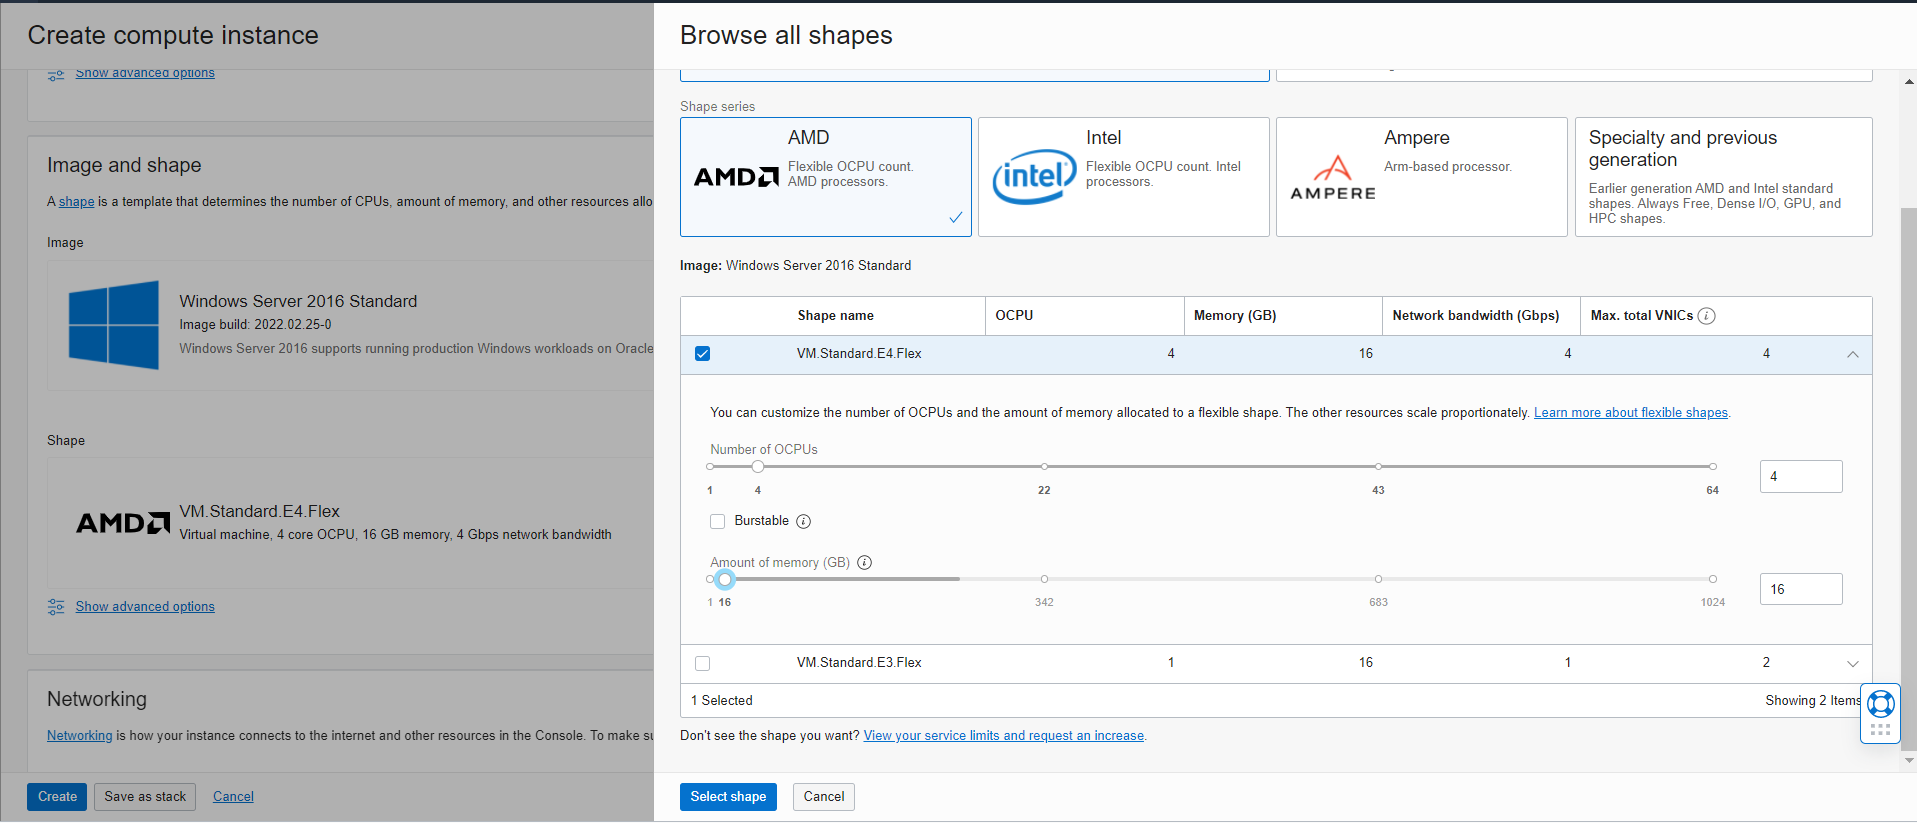
7. Select Shape and head to the next option.
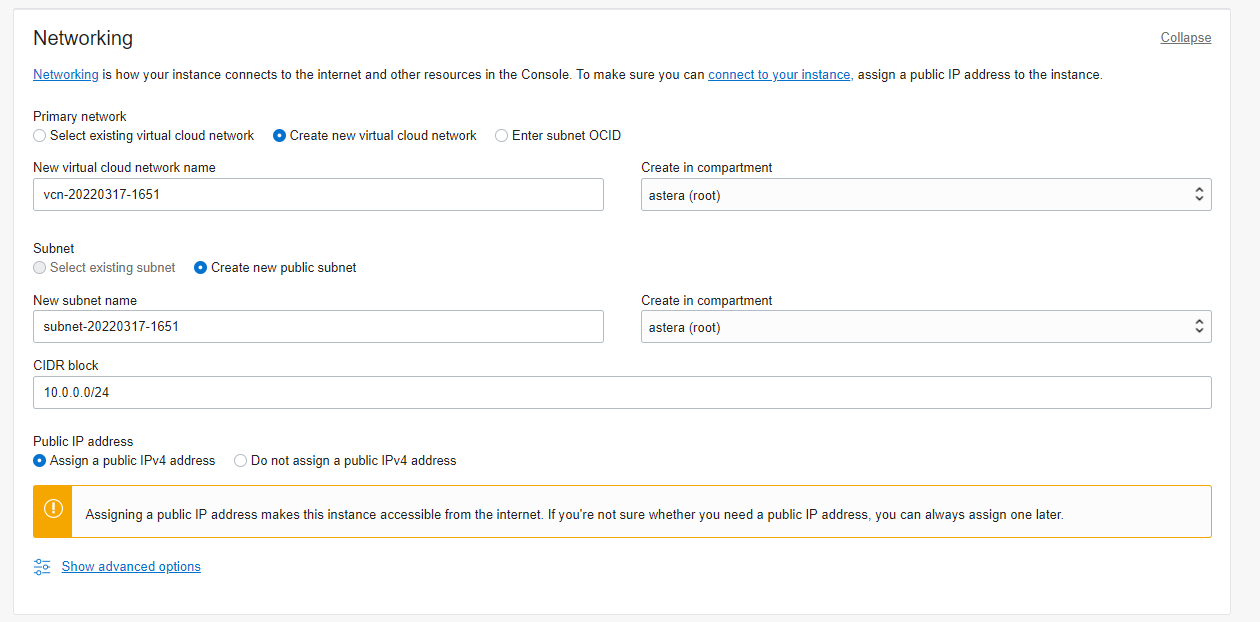
The networking options will remain set as default.
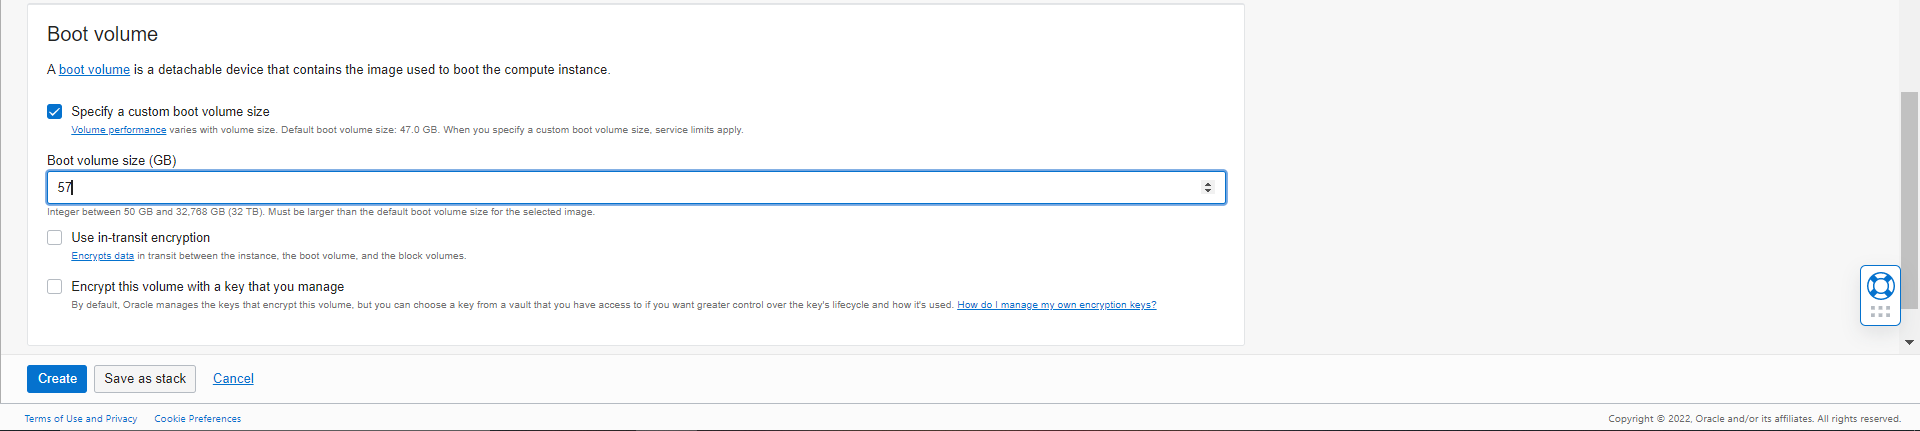
8. Scroll to the Boot Volume section and select Specify a custom boot volume size.
We are keeping it at 60GB.
9. Once done, Click Create and it will start to create the Virtual Machine.
Note: With Oracle Cloud, the user also must install the SQL Server alongside since it does not offer it by default.
To learn more about the installation of a SQL database and configuration of an SQL server, click here.
To learn more about the installation of Astera Centerprise, click here.
This concludes our discussion on the deployment of Astera Centerprise on Oracle Cloud, both through the Oracle Cloud Marketplace and Manually.