Using Microsoft’s Modern Authentication Method in Email Source Object
Microsoft has recently introduced a new email authentication method called Modern Authentication that uses the Microsoft Identity Platform to access emails. This article covers how you can import emails using this new method in Astera Centerprise.
Configuration
Let’s configure the Email Source object step-by-step using the Modern Authentication technique:
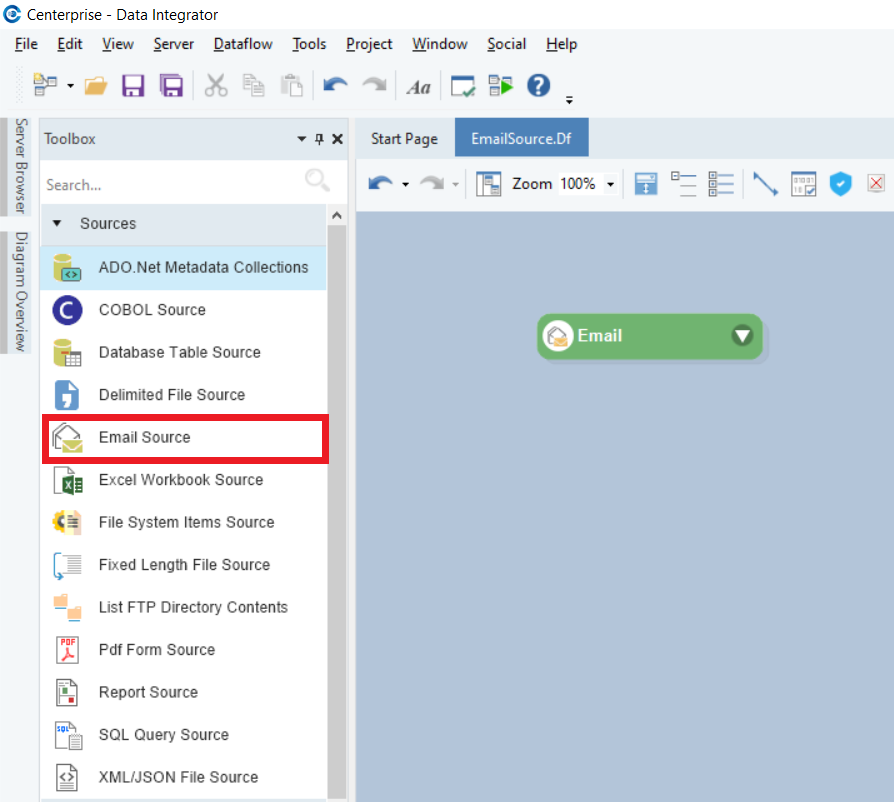
1. Drag the Email Source object from Toolbox > Sources > Email Source and drop it onto the dataflow designer. If you cannot see the Toolbox, go to View > Toolbox or press Ctrl + Alt + X.
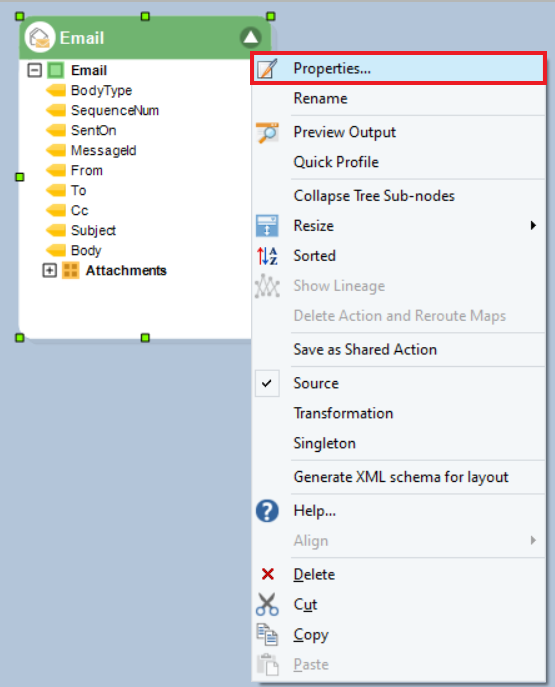
2. The next step is to configure the Email Source object. To do this, right-click on the object’s header and select Properties.
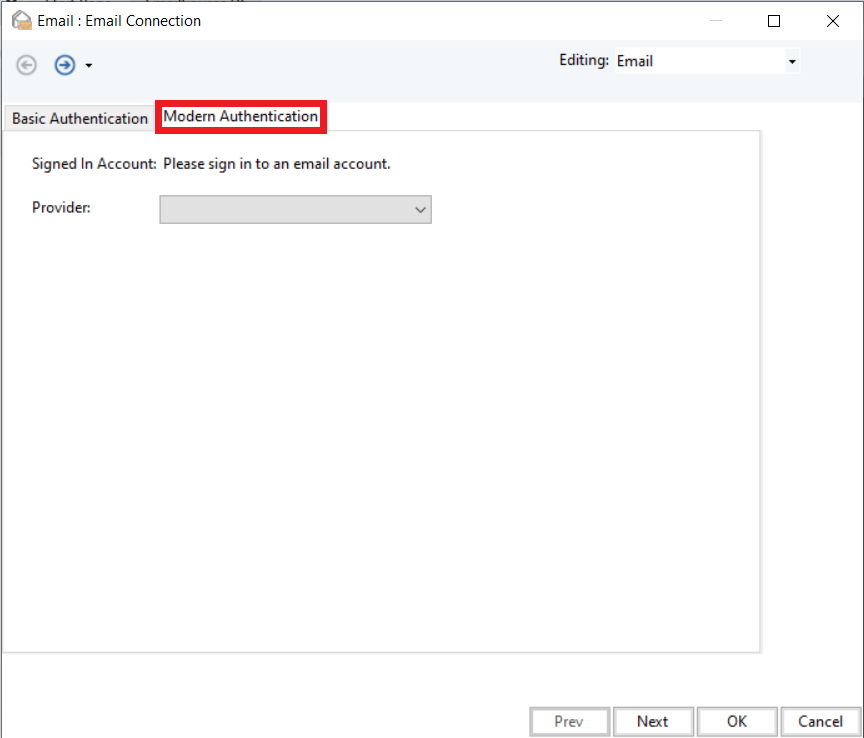
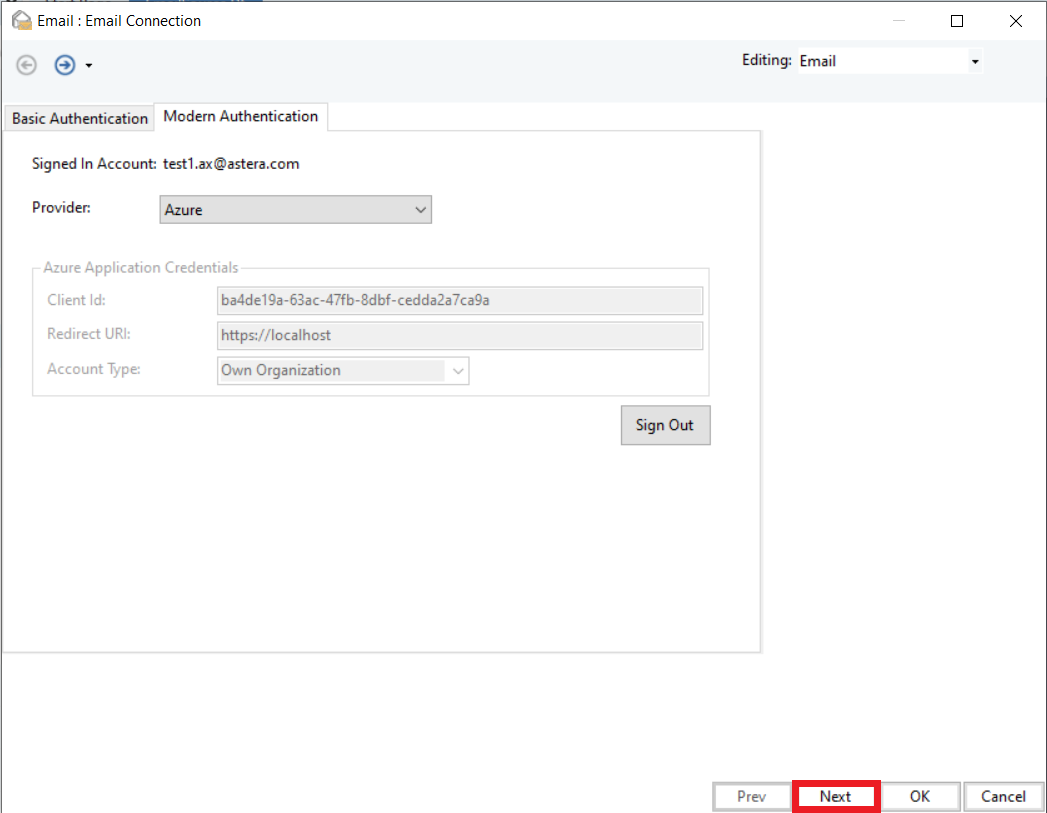
3. The Email Connection screen will open. On this screen, select the Modern Authentication tab.
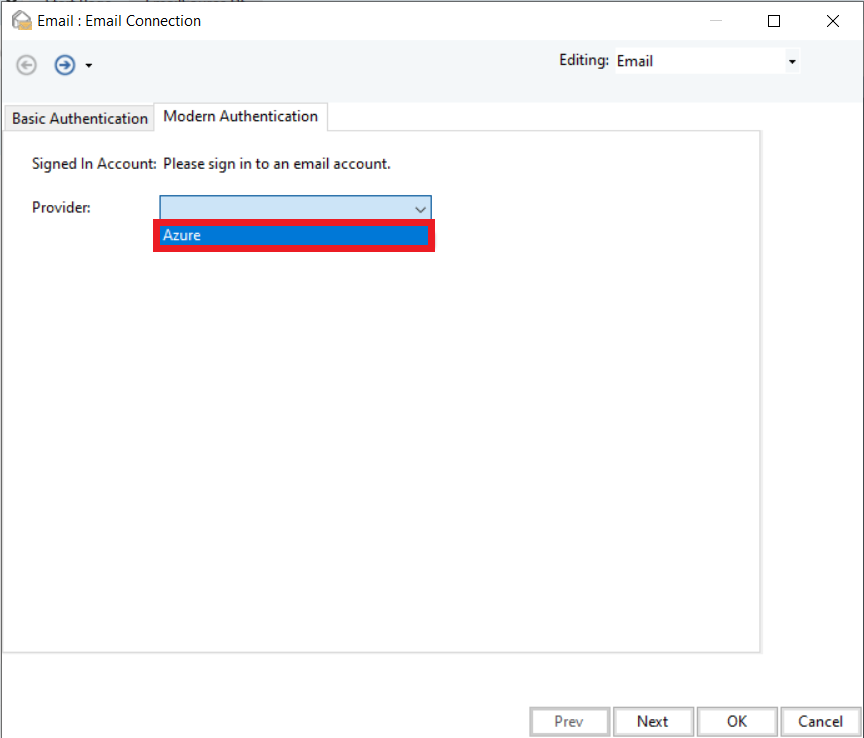
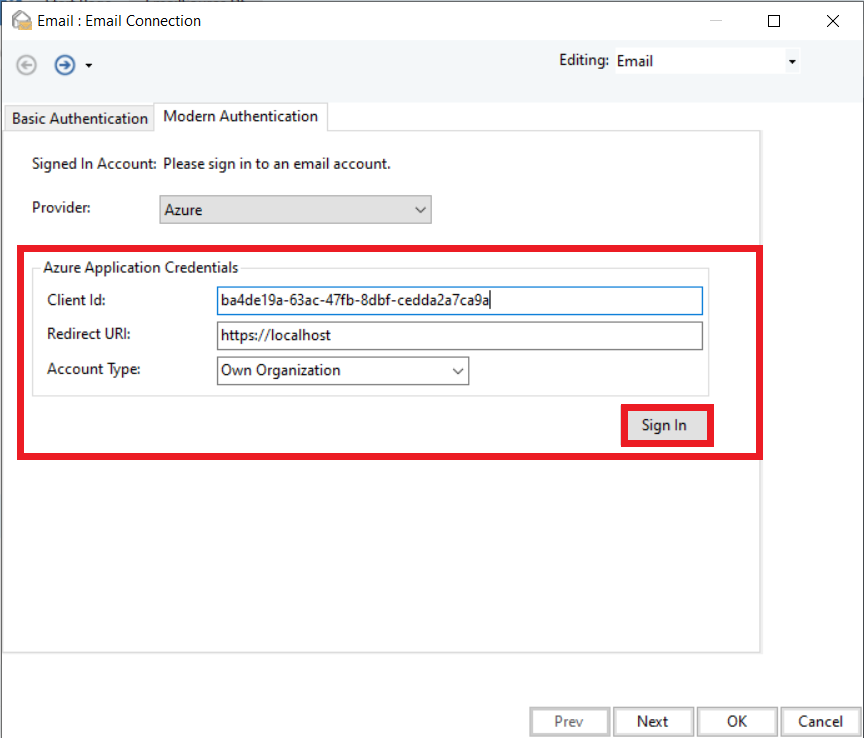
4. The next step is to select the Provider from the drop-down menu. Currently, we only support one Provider, i.e., Azure.
5. After selecting the Provider, you need to enter Azure Application Credentials. Provide your Application (Client) Id, Redirect URI, and Account Type, and click on Sign In.
Note: To create an application on Azure, access the link below: https://portal.azure.com/#blade/Microsoft_AAD_RegisteredApps/ApplicationsListBlade
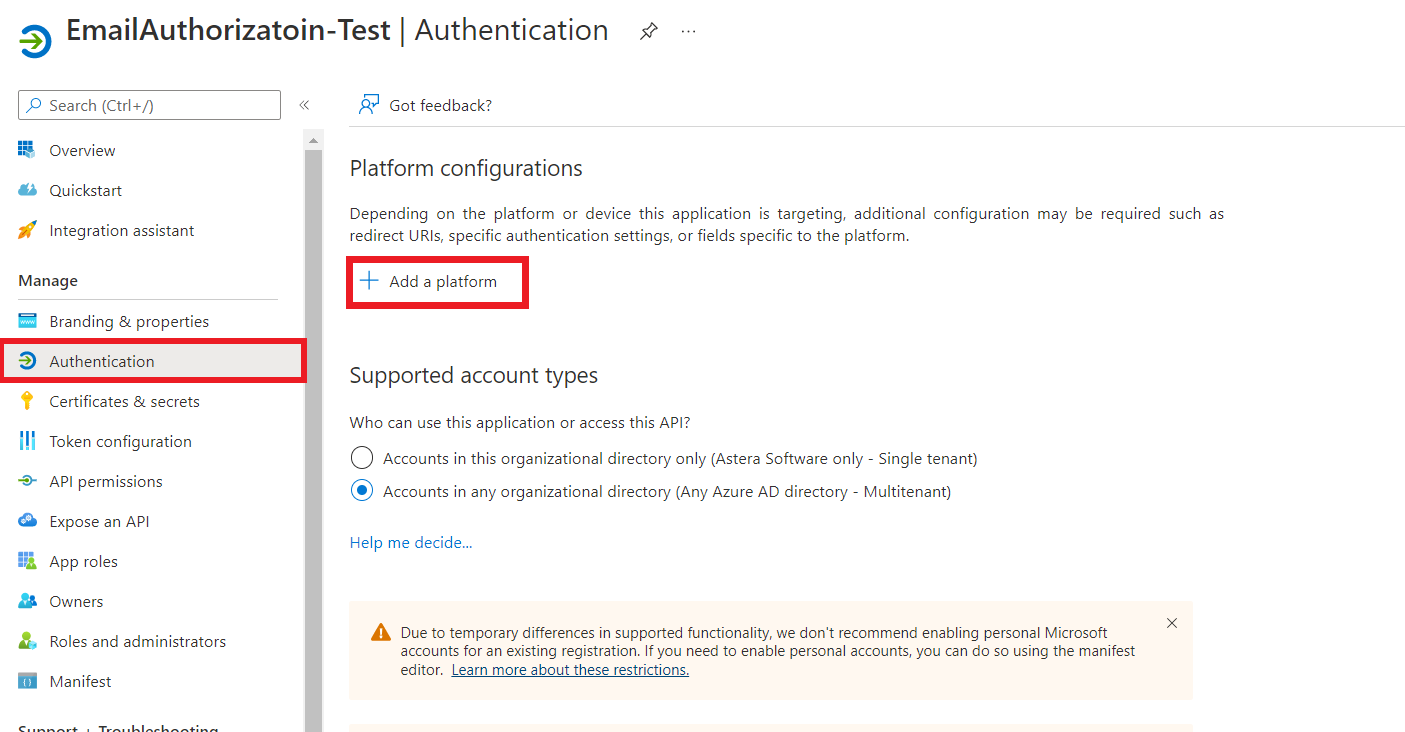
6. After creating an application, go to Manage > Authentication > Add a platform.
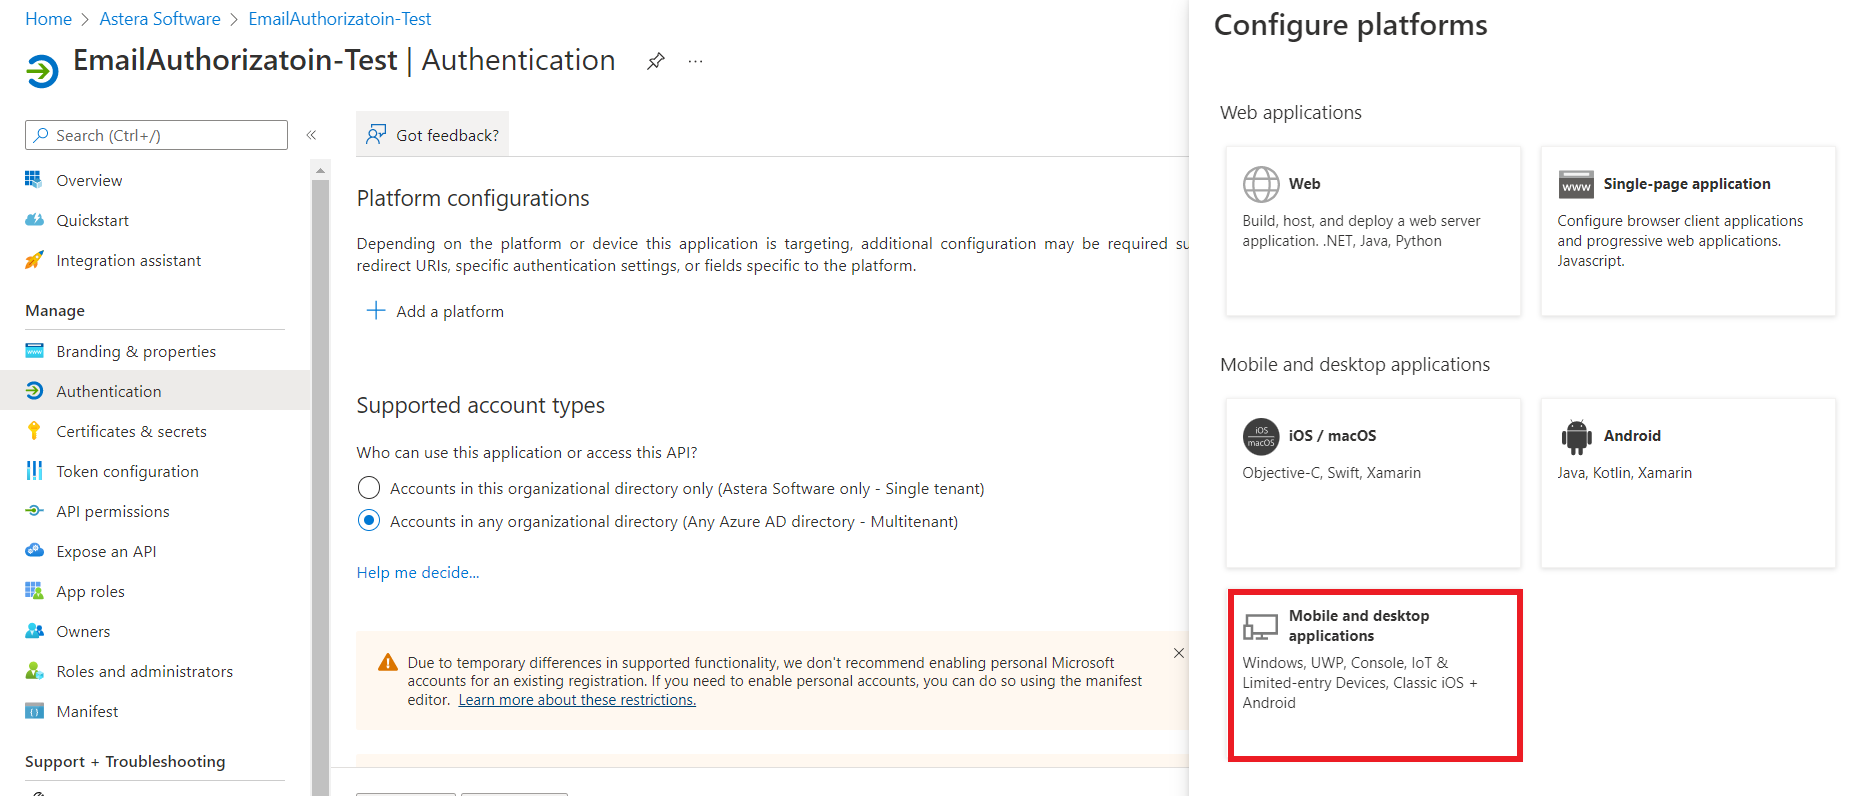
7. A Configure platforms tab will appear on the right-hand side. Select Mobile and desktop applications here.
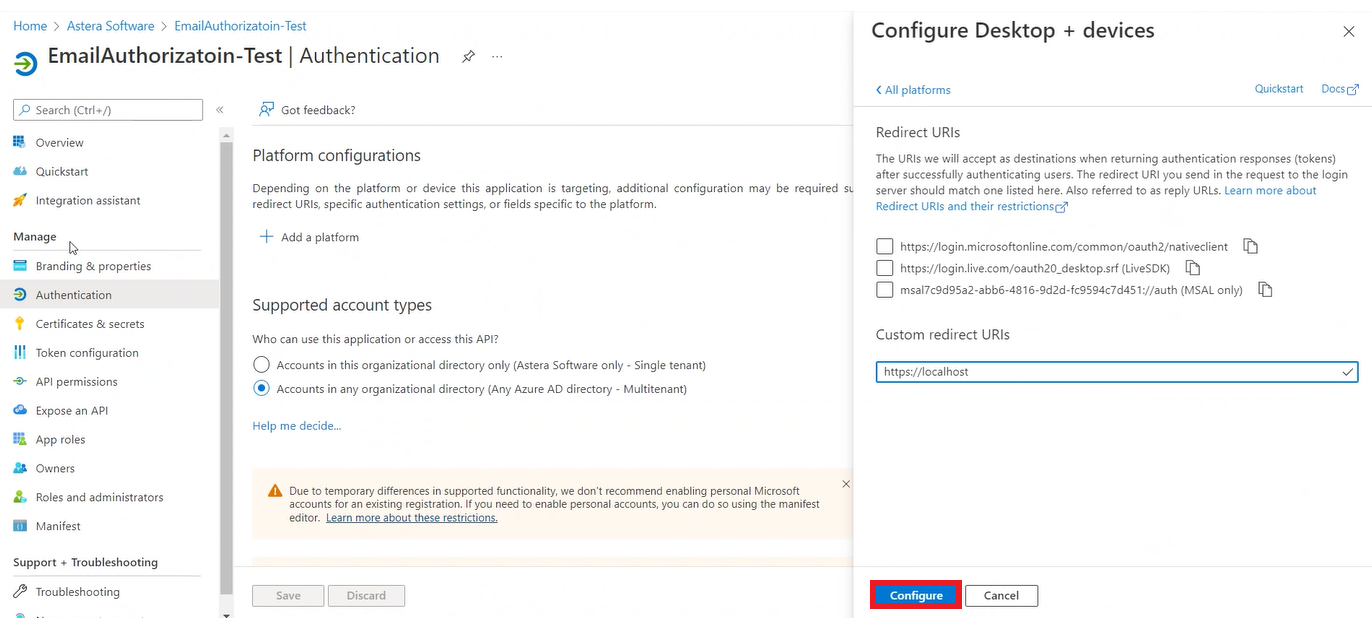
8. Either select a redirect URI from the list of Redirect URIs or provide a custom one and click on Configure.
Now that we have configured application on Azure, let’s go back to Centerprise.
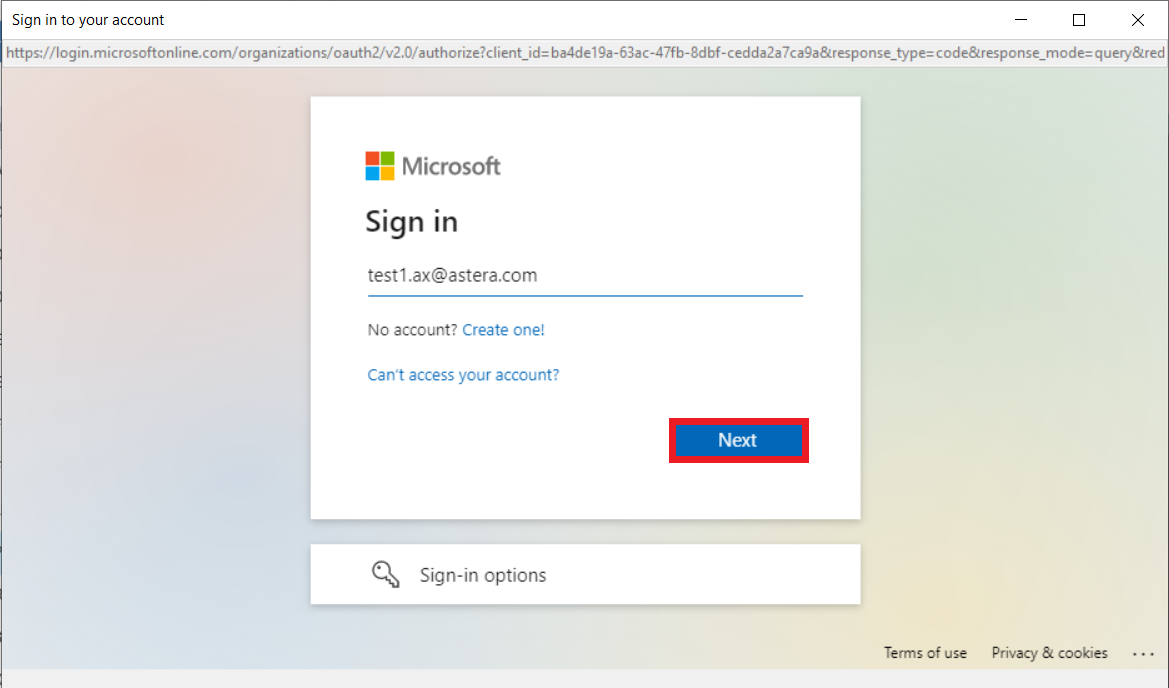
A Sign In window should appear.
9. Provide your Id and click Next.
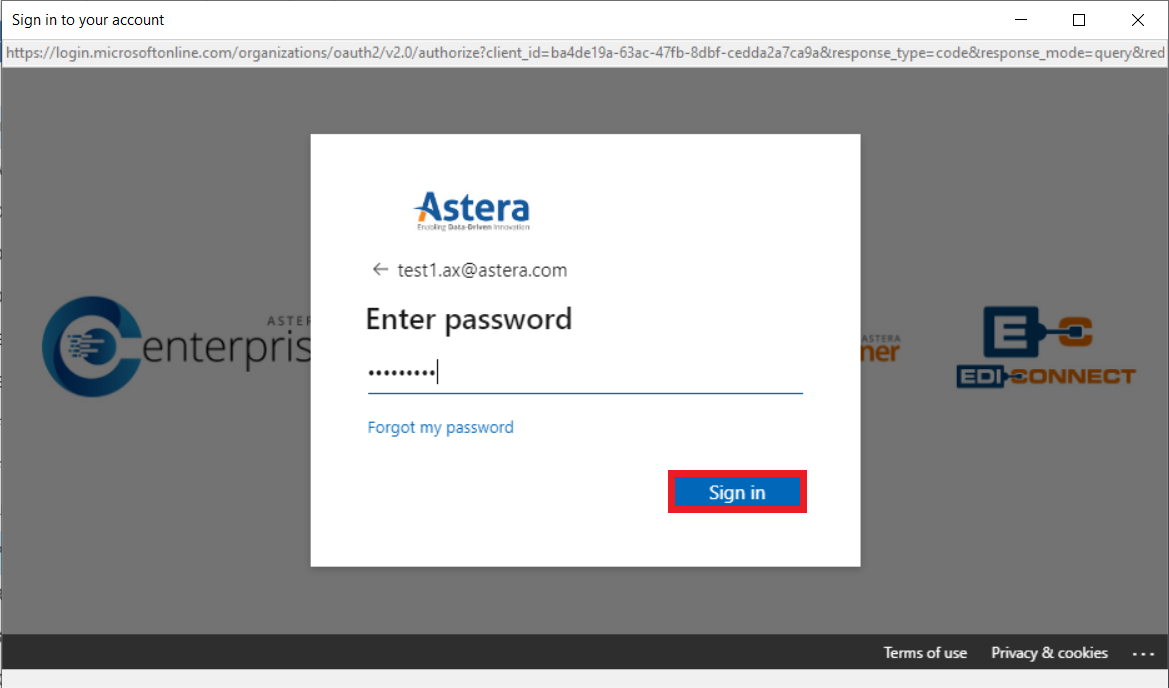
10. Then, provide your password and select Sign in.
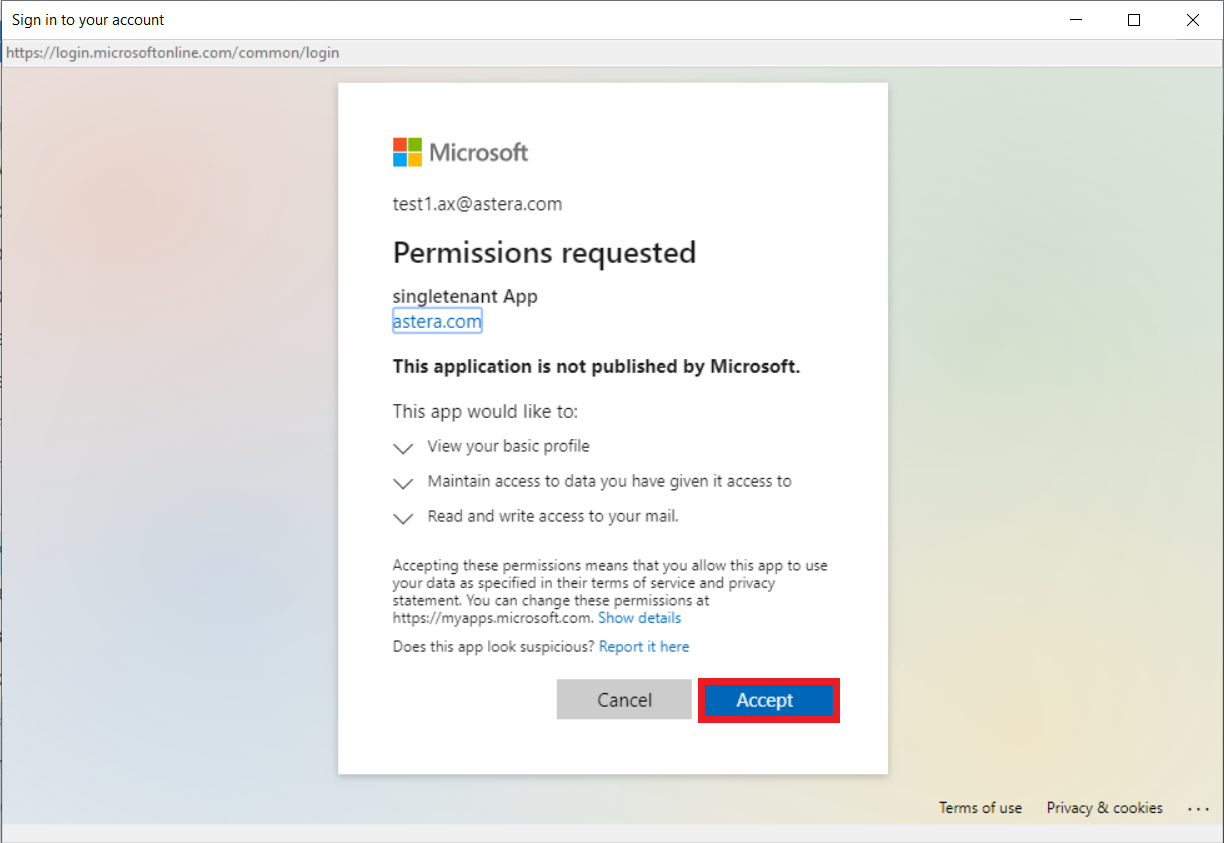
A message for requested permissions appears.
11. Select Accept.
12. Now that you have successfully signed in to your account, click Next to proceed to the Email Source Properties window to configure the email properties.
This was all about authenticating the Email Source object with Azure. To learn more about configuring the Email Source object further, read here.