Filter Transformation
Overview
The Filter transformation object in Astera Centerprise is used to filter out records based on some pre-defined rule. The records that match the specified rule are filtered out and can be mapped further in the dataflow whereas the records that do not satisfy the specified condition are omitted. The rule or logic to filter out records from data can either be chosen from an extensive library of built-in functions or you can write one of your own.
Filter transformation is quite similar to Data Quality Rules in its functionality. However, unlike Data Quality Rules, which return an error or warning when the rule condition fails while still passing the record downstream, the Filter transformation will completely filter out any such records. The filtered records, as well as their status will not be accessible to any downstream object on the dataflow, including any type of log.
Use Case
In this case, we have Customers data for a fictitious organization stored in a Delimited file source. We want to filter out the records in which:
- Country = Germany
- Contact title = Owner
To filter out these records from our source data, we will use Filter transformation object and write the relevant expression in the Expression Builder to achieve our desired output. We will then write our filtered output to a Fixed length destination.
How to Work with Filter transformation
- Retrieve your source data by using the relevant source object from the Sources section in the Toolbox. In this case, our sample Customers data is stored in a delimited file so we will be using a Delimited file source object to retrieve this data in the dataflow.
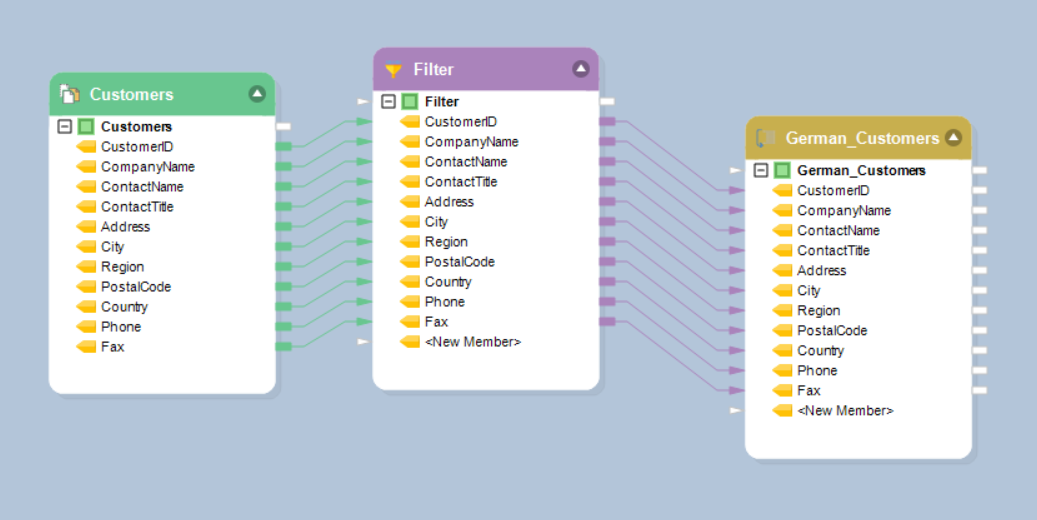
- Next, drag and drop the Filter transformation object from the Transformations section of the Toolbox to the designer and map fields from the source object to the Filter transformation object.
3. Right-click on the Filter transformation object and select Properties.
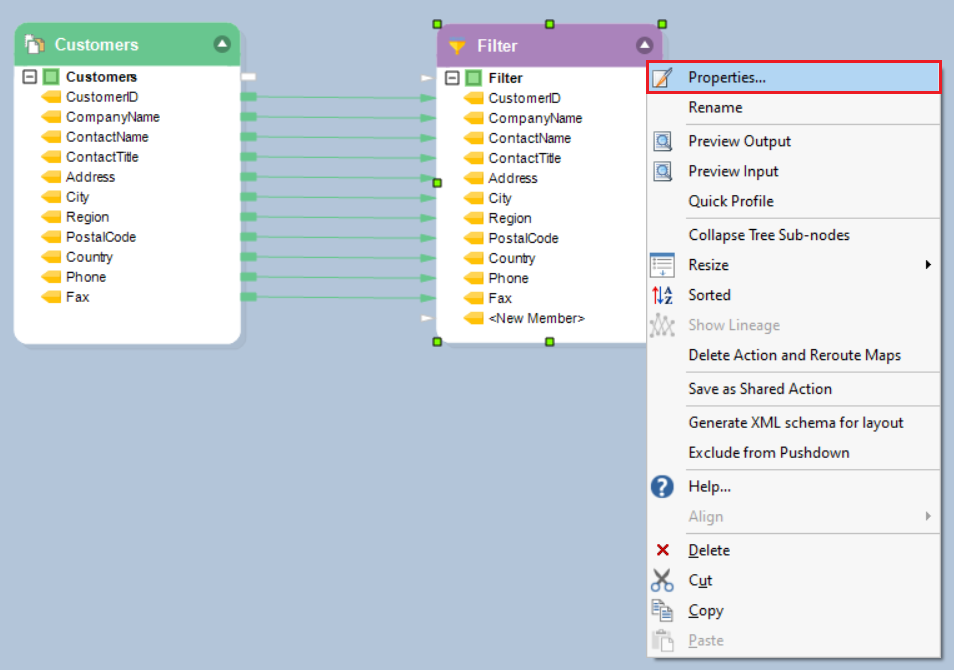
A Layout builder window will now open. Here you can modify fields and the object layout.
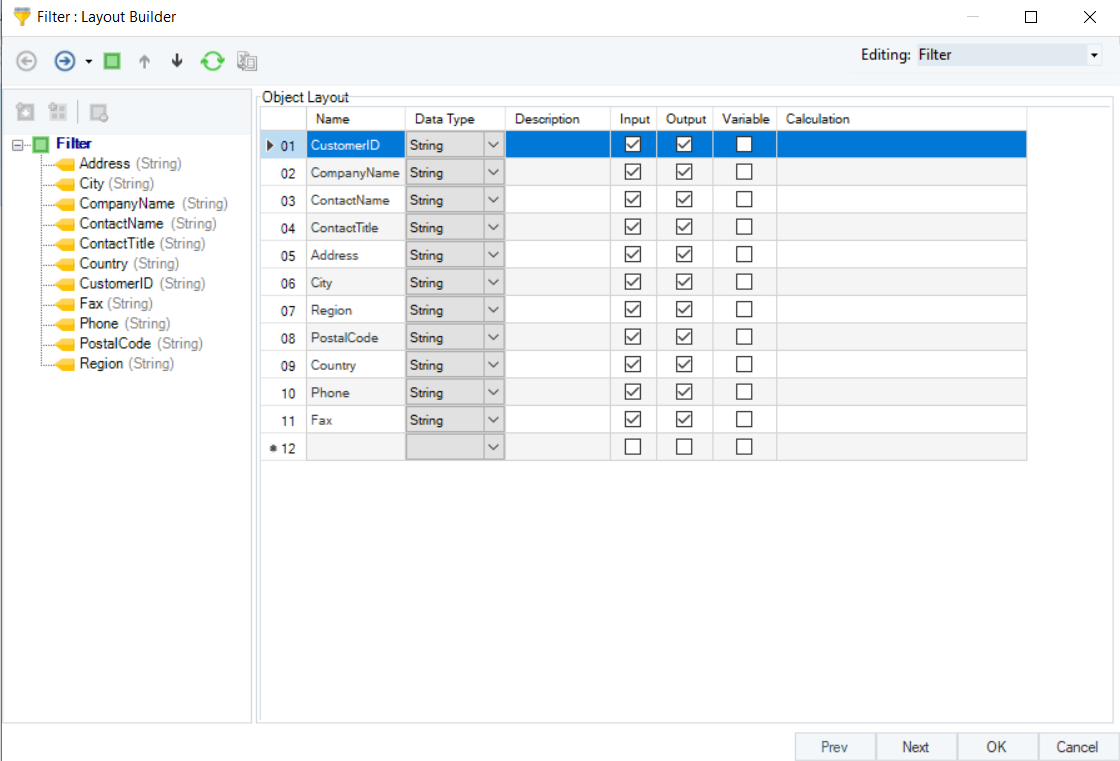
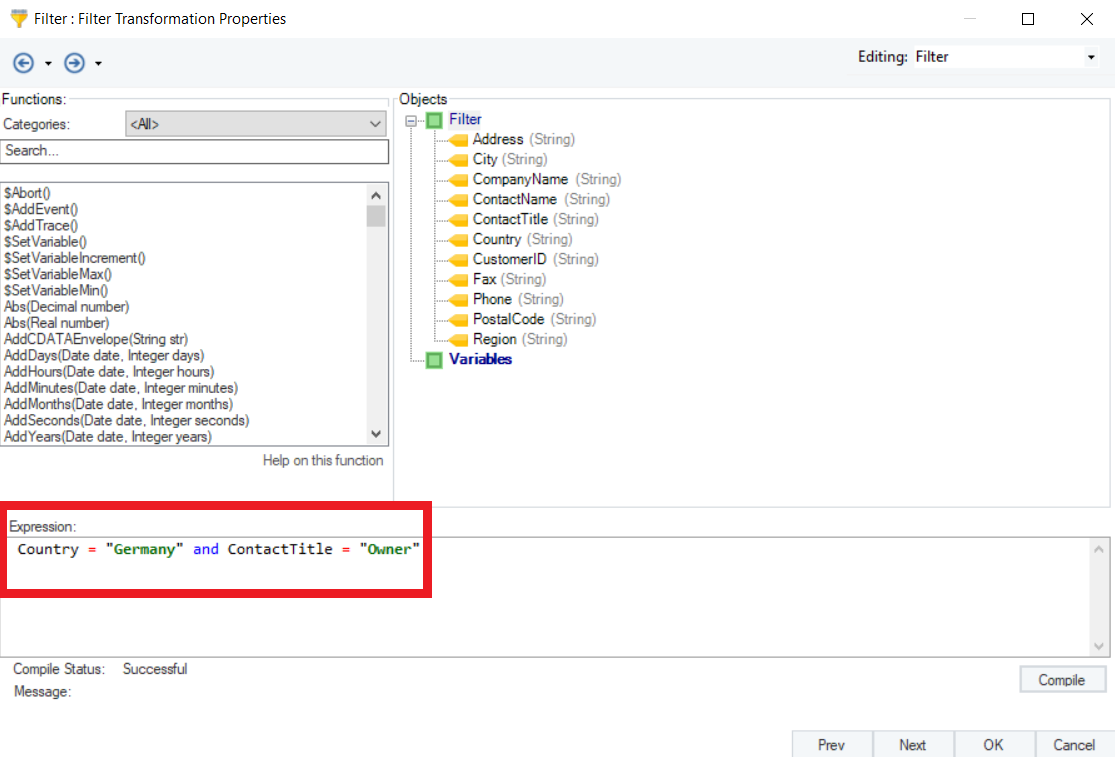
4. Click Next. This will take you to the Filter Transformation Properties window. Here, you can see the following three sections:
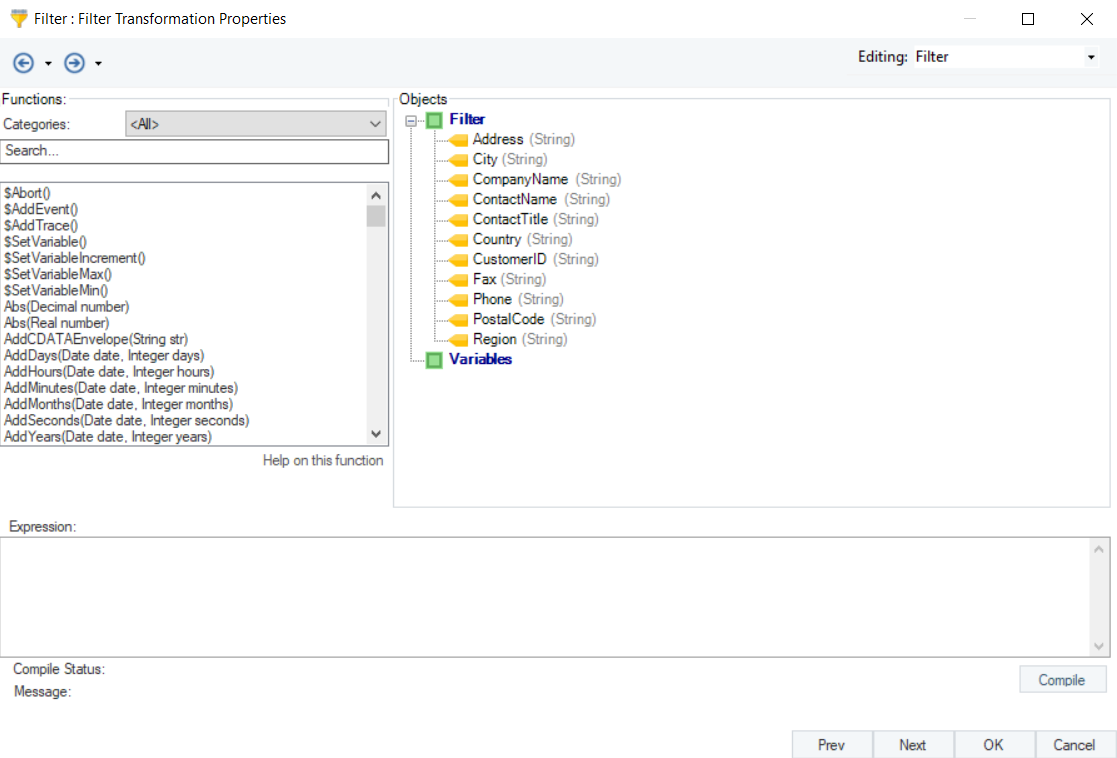
Functions: An extensive library of built-in functions organized in various categories. From here, you can select functions according to your requirement.
Expression: The filter expression will appear in this Expression box. You can either write your own expression or choose from the built-in functions library.
Objects: Contains the object layout. You can double click on any element in the layout to write it in the Expression field.
- In this example, we want to filter out records of customers with the ContactTitle, ‘Owner’, and Country, ‘Germany’. For this, we will write the following expression in the Expression box:
Country = “Germany” and ContactTitle = “Owner”
After writing the expression, click on the Compile button to check if the expression is correct. If the Compile Status is Successful, the expression is correct. If not, then you need to check and rectify your expression before proceeding to the next window.
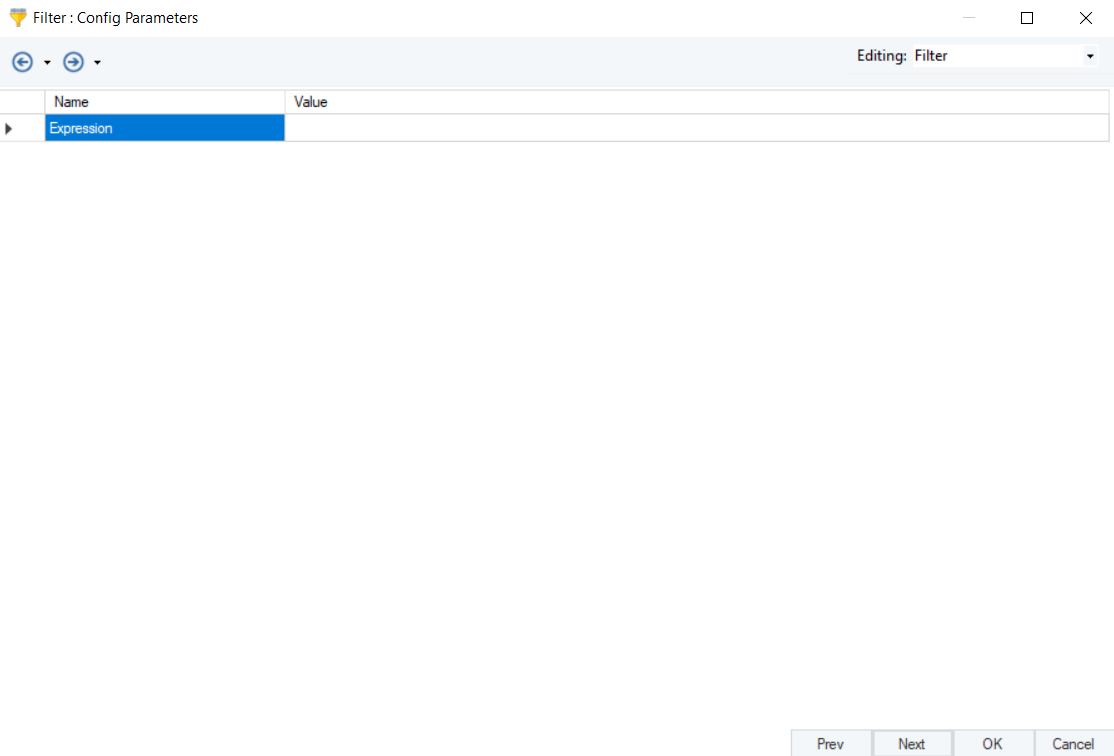
6. Click Next. This will take you to the Config Parameters window where you can further configure and define parameters for the Filter transformation object.
7. Click Next to proceed to the General Options window. This window consists of options common to most objects in a dataflow, such as:
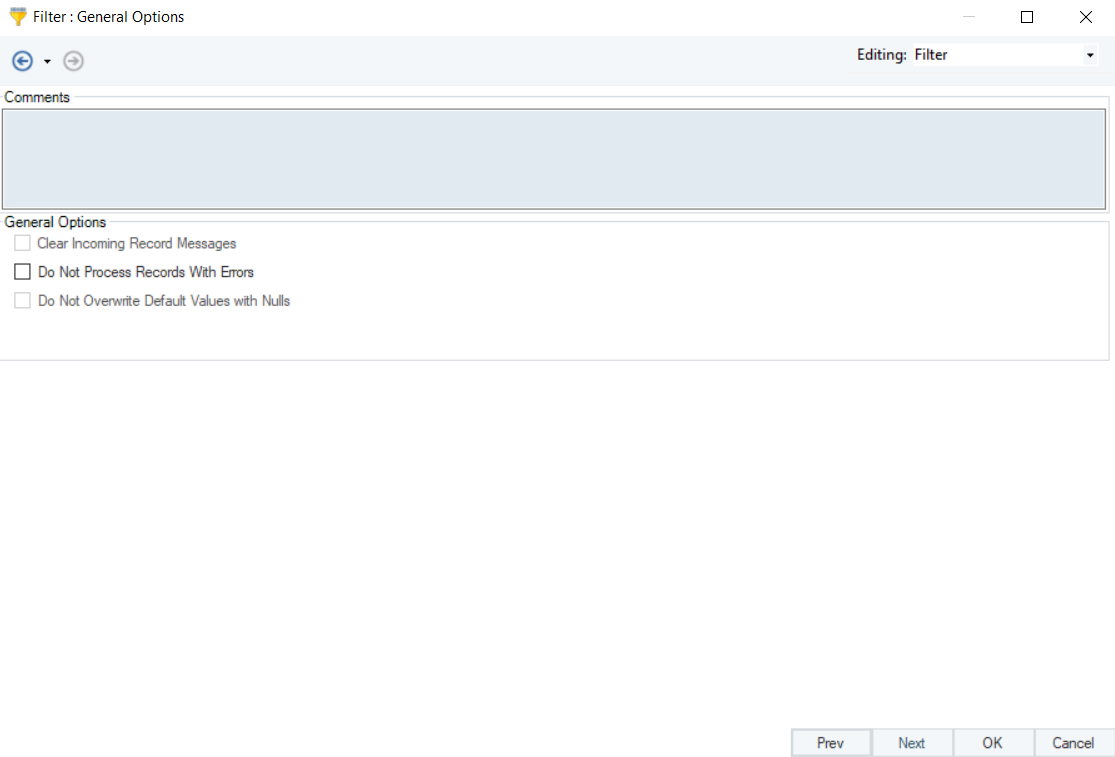
Comments:
The Comments input option allows you to enter comments associated with this object.
Clear Incoming Record Messages
When this option is checked, any messages coming in from objects preceding the current object will be cleared. This is useful when you need to capture record messages in the log generated by the current object and filter out any record messages generated earlier in the dataflow.
- Do Not Process Records with Errors
When this option is checked, records with errors will not be outputted by the object. When this option is unchecked, records with errors will be outputted by the object, and a record message will be attached to the record. This record message can then feed into downstream objects in the dataflow, for example a destination file that will capture record messages, or a log that will capture messages, as well as collect statistics.
The Filter transformation object has been configured. Click OK.
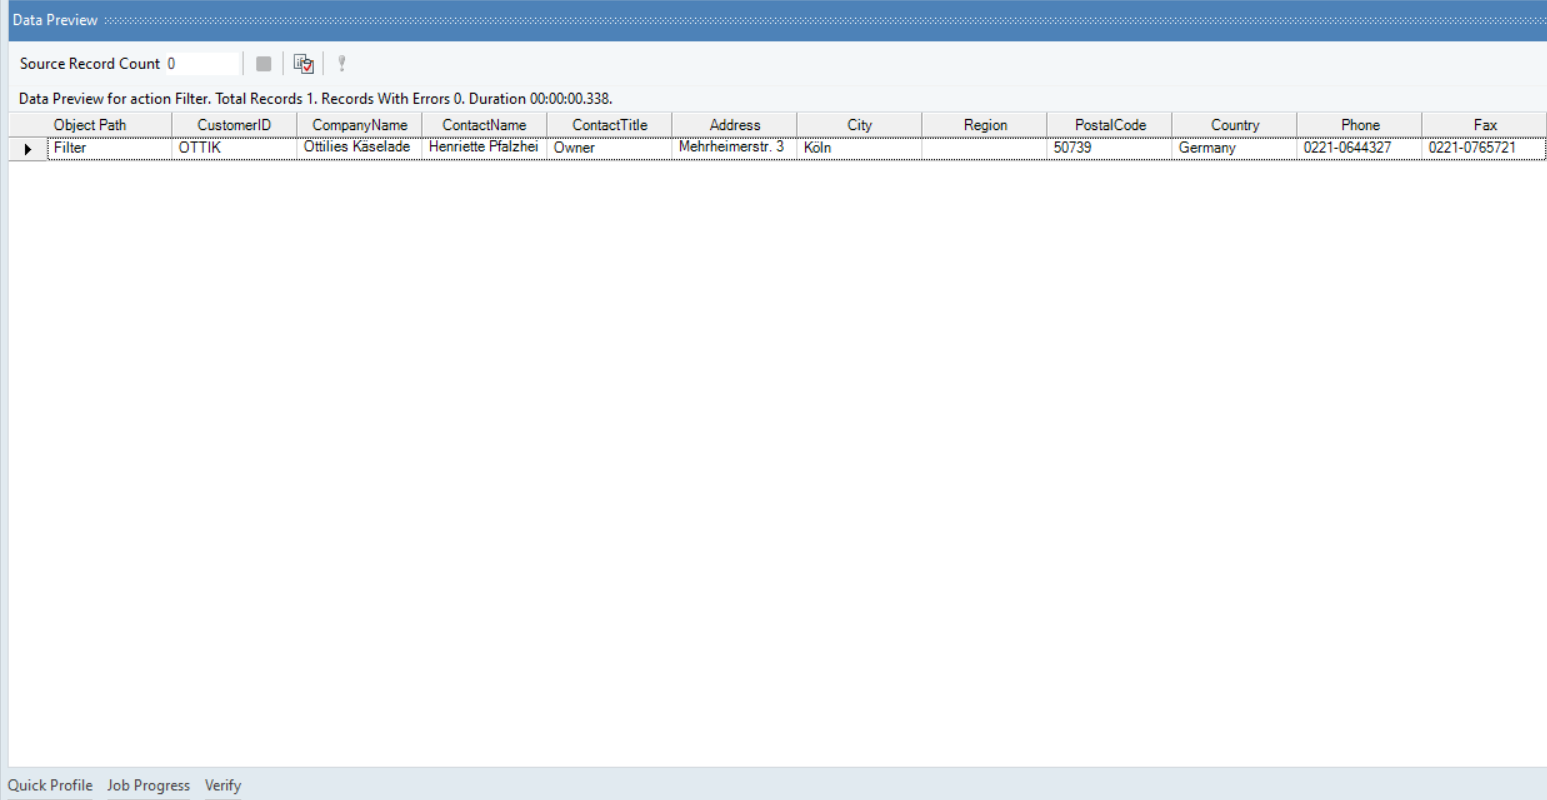
8. To preview filtered records, right-click on the Filter transformation object and select Preview Output.

The output would look like this:
9. You can now write your output to a destination or further transform it by applying some transformation.
In this case, we will write our output to a Fixed Length file destination.
Rename your destination object by double-clicking its header. Here, we will rename it as German_Customers.
This concludes using the Filter transformation object in Astera Centerprise.