Microsoft Dynamics CRM
Microsoft Dynamics CRM is a customer relationship management software package developed by Microsoft. The product focuses mainly on the sectors of sales, marketing, and service (help desk). The focus is to enhance customer relationships for any organization.
Connecting to Microsoft Dynamics CRM in Astera Centerprise
Astera Centeprise offers the Microsoft Dynamics CRM connector within the Database Source object.
1. Drag and drop the Database Source object from the Sources section of the Toolbox in Astera Centerprise.

2. Right-Click on the object and select Properties from the context menu.
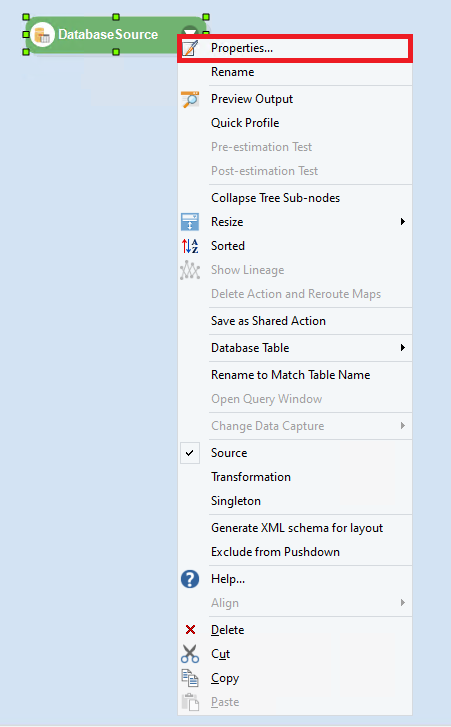
This will open a new window.
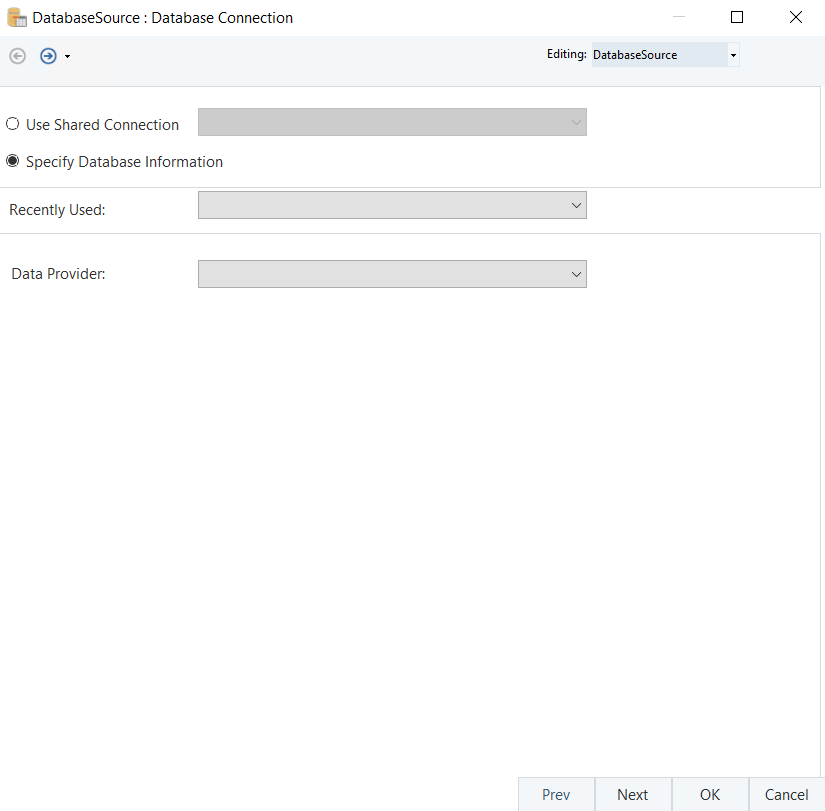
3. From the Data Provider drop-down menu, select Microsoft Dynamics CRM.
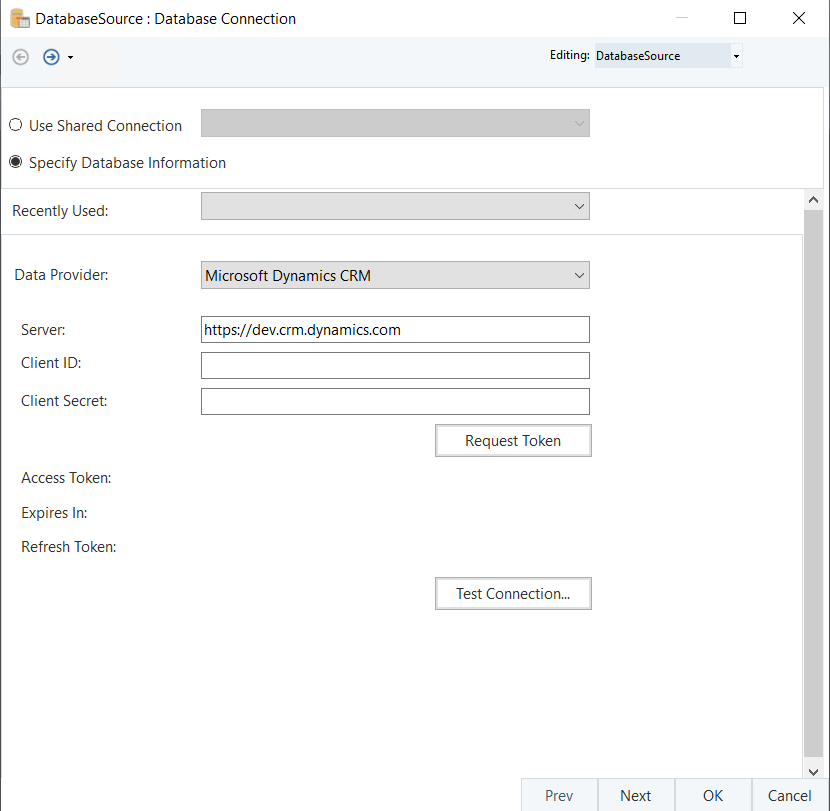
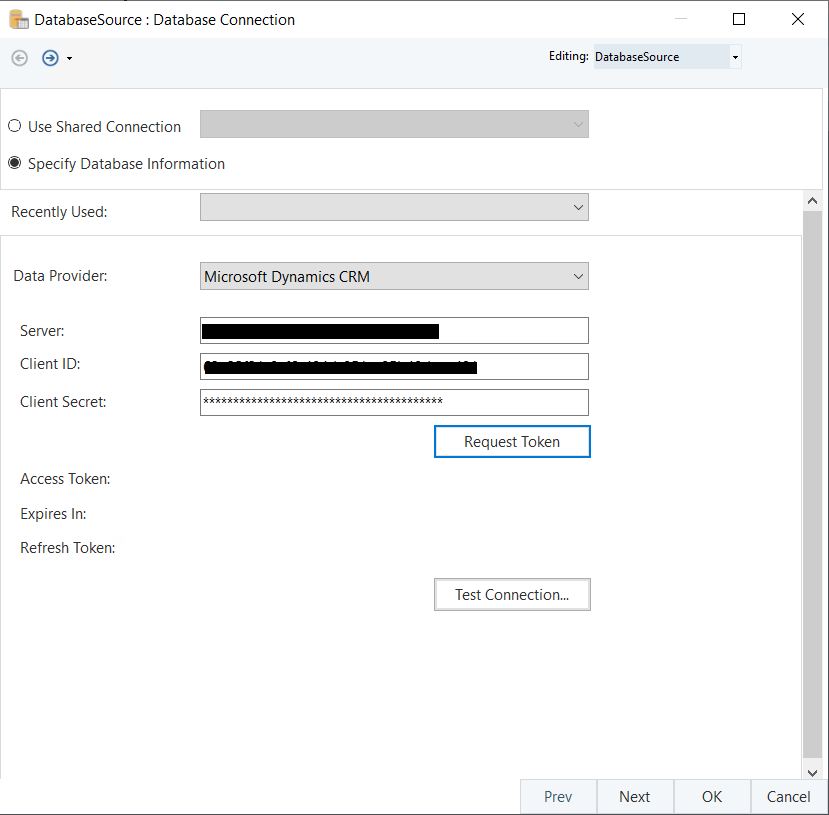
Server: This is where the link to the CRM server is added.
A Client ID and Client Secret are required to connect to Microsoft Dynamics CRM, which can be found on the Azure Active Directory once the user registers an application.
This application is registered to access Dynamics CRM. To register an application, you can follow the guide given here.
4. Select Request Token,
Note: After clicking on Request Token, a Microsoft Portal Authentication window opens, where the user must log in.
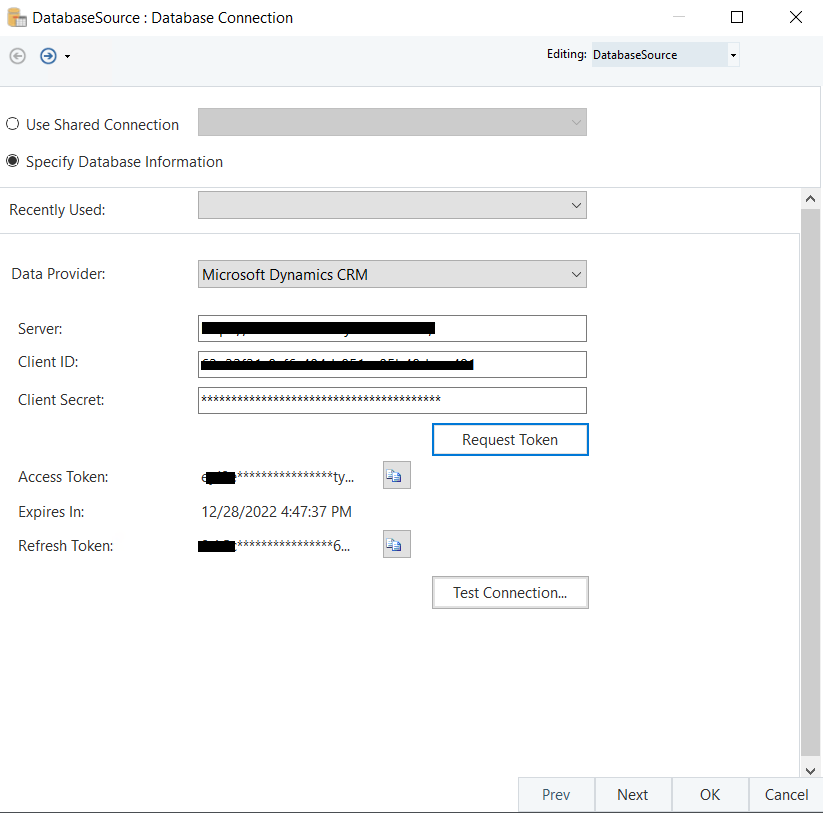
Access Token: An authentication token is added to this field after selecting the Request Token option.
Refresh Token: When the Access Token expires, its Refresh Token is used to obtain another valid Access Token.
5. Once the connection is successful, click Next and you will be taken to the next screen.
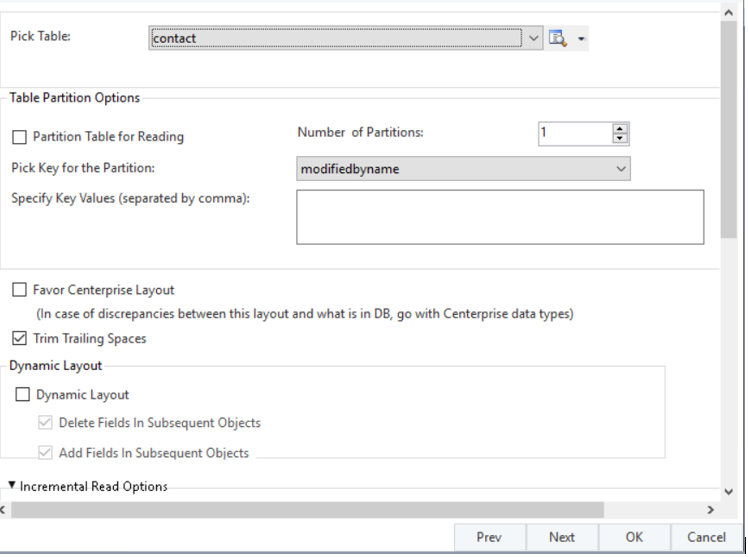
6. Select a table and click Next.
You will be taken to the Layout Builder screen.
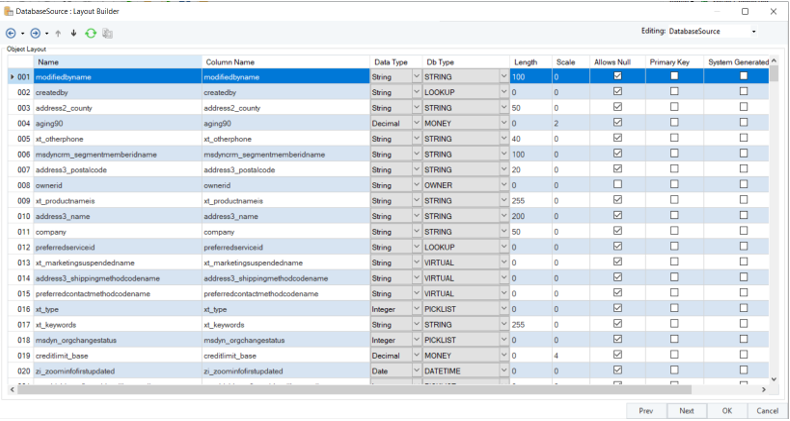
7. Click OK and the Database Source object will be configured.
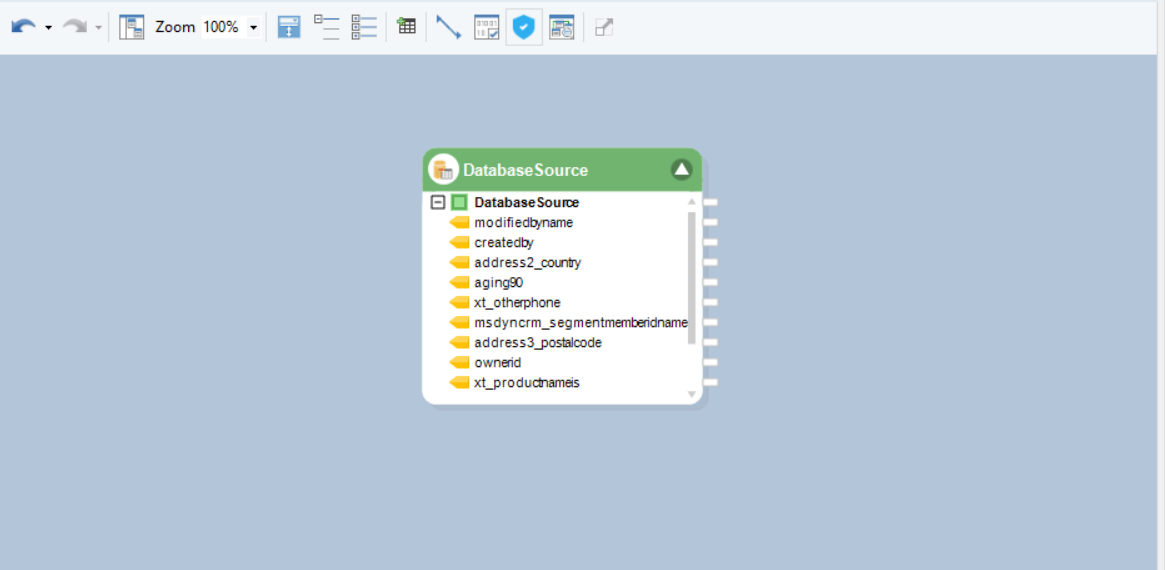
This concludes the Authentication and Configuration of the Microsoft Dynamics CRM provider in Astera Centerprise.