Parquet File Destination (Beta)
The Parquet File Destination object allows the user to fetch and map data from various kinds of sources that the Parquet format supports. It is used to write data to Parquet files since it can efficiently store large datasets. It can also be used with various transformations.
The Parquet File Destination object in Centerprise offers compression methods to reduce file size and control memory consumption.
Using the Parquet File Destination in Astera Centerprise
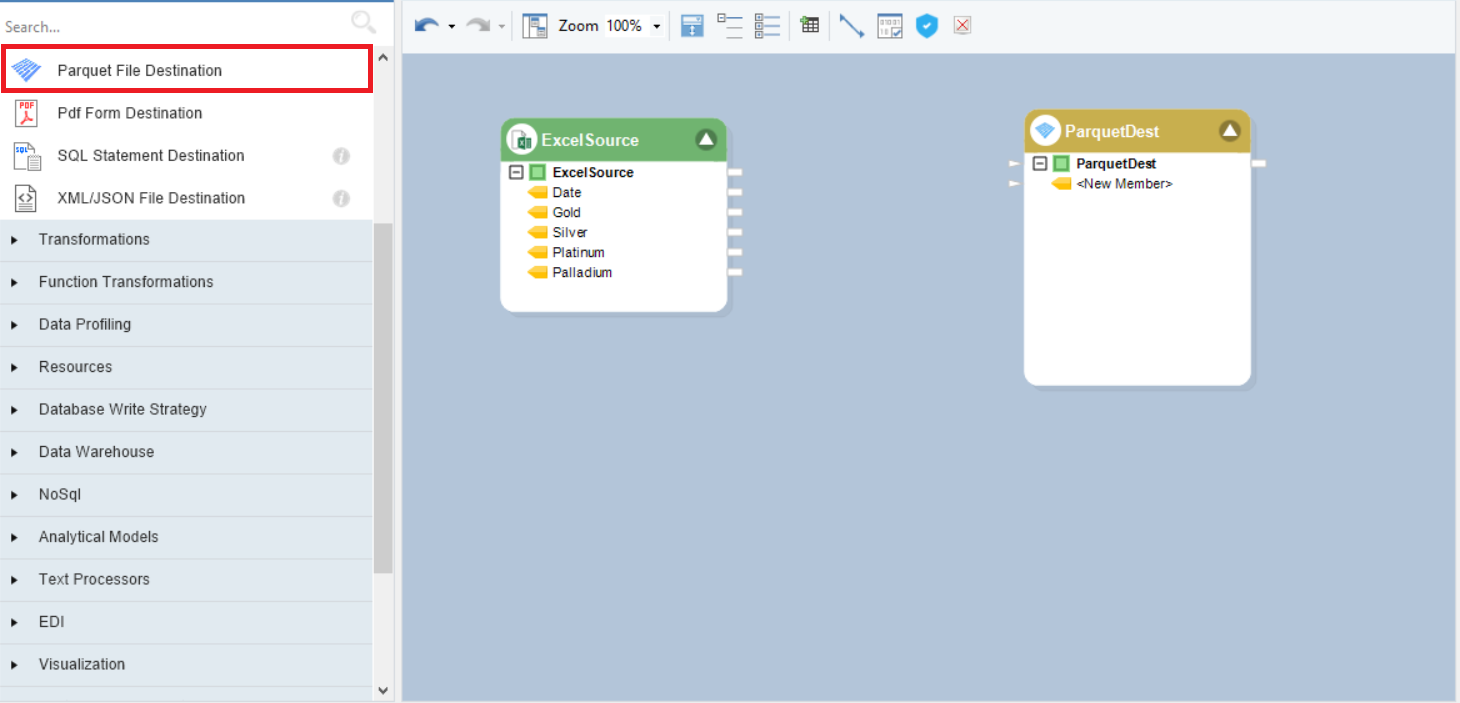
1. Drag and drop the Parquet File Destination object from the Destinations section of the Toolbox.
Note: We already have an Excel Workbook Source object configured for our use case.
2. Right-click on the Parquet File Destination object and select Properties from the context menu.
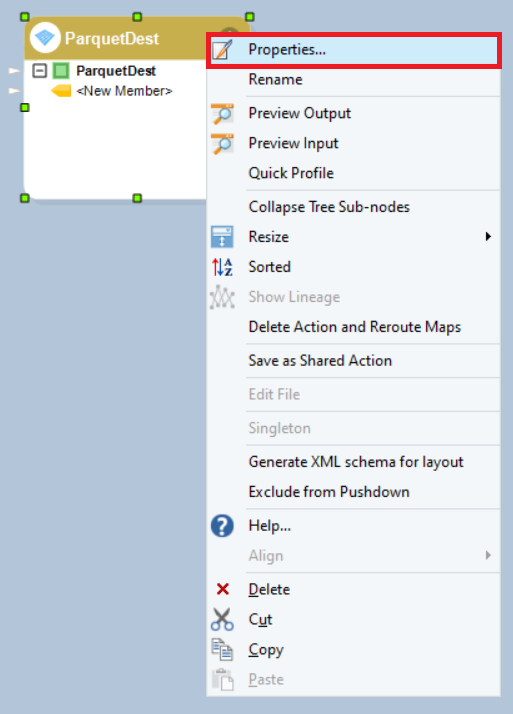
This will open the Properties screen.
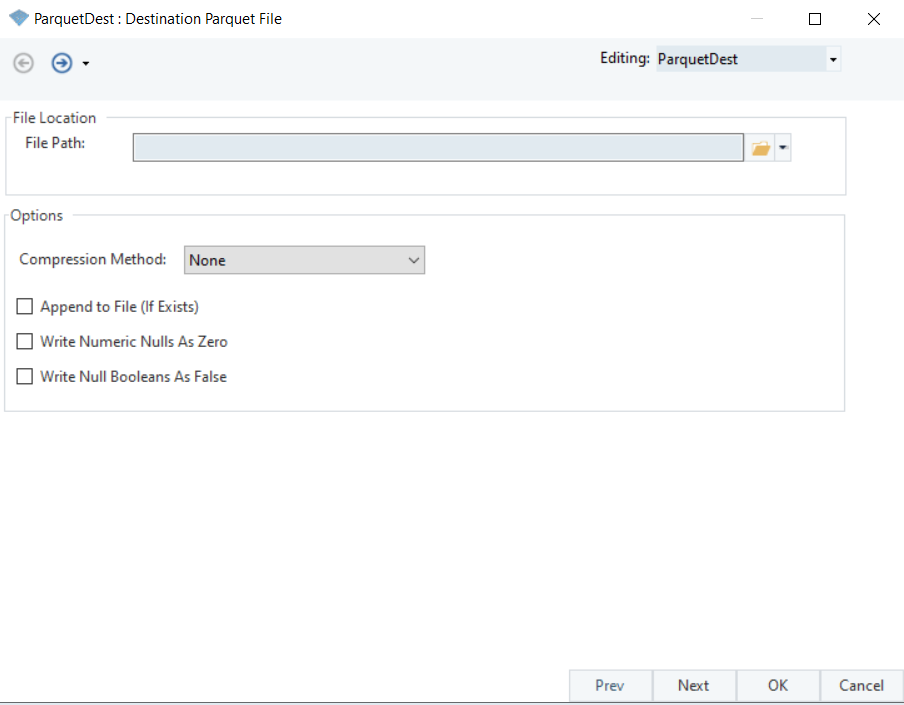
Now, let’s look at the options present on this screen.
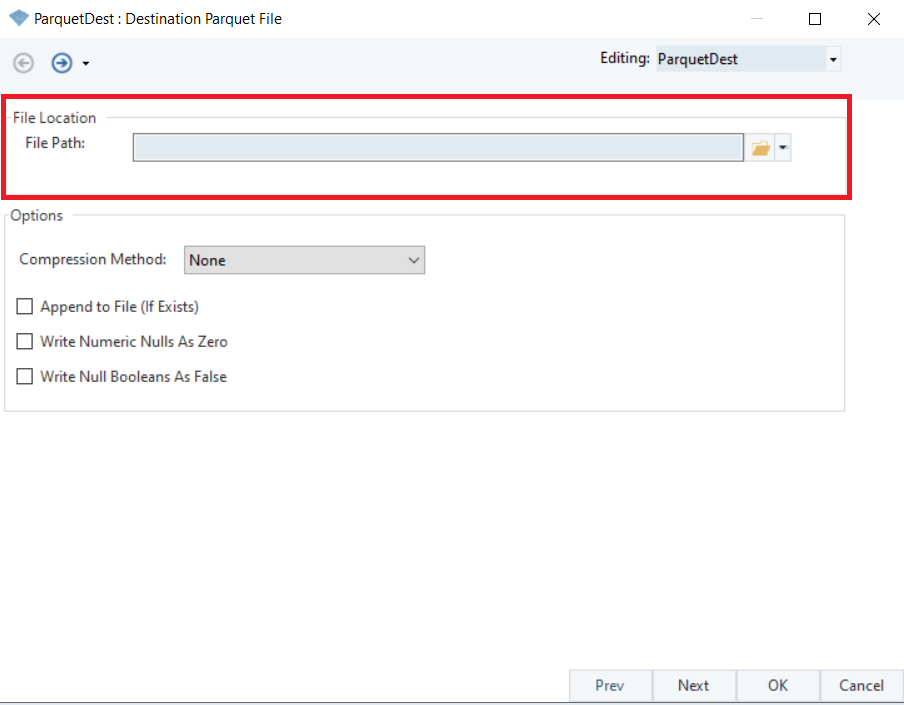
File Location
File Path: This is where the file path to the destination file is to be defined. It will be created once the dataflow is executed.
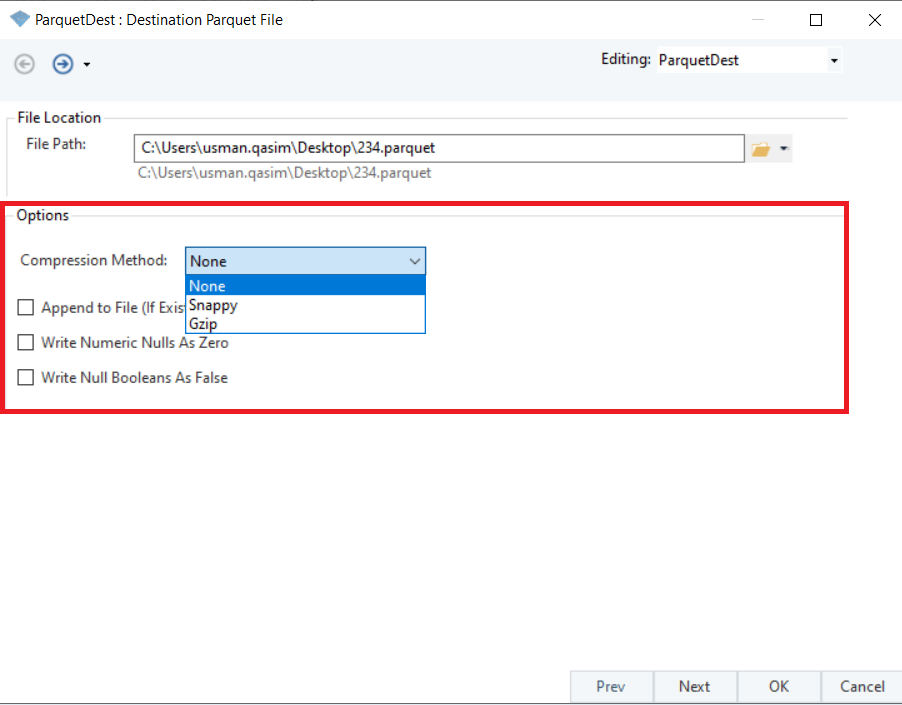
Options
Compression Method - You can select a compression method from this drop-down menu.
Snappy: This method offers high speed and reasonable compression.
Gzip: This method allows the reduction of data size at a fast rate.
Append to File (If Exists): This option will append data to the destination if there is a previously existing file present with data.
Write Numeric Nulls As Zero: Checking this box will write all null values as zero.
Write Null Booleans As False: Checking this box will write all Null Boolean values as false.
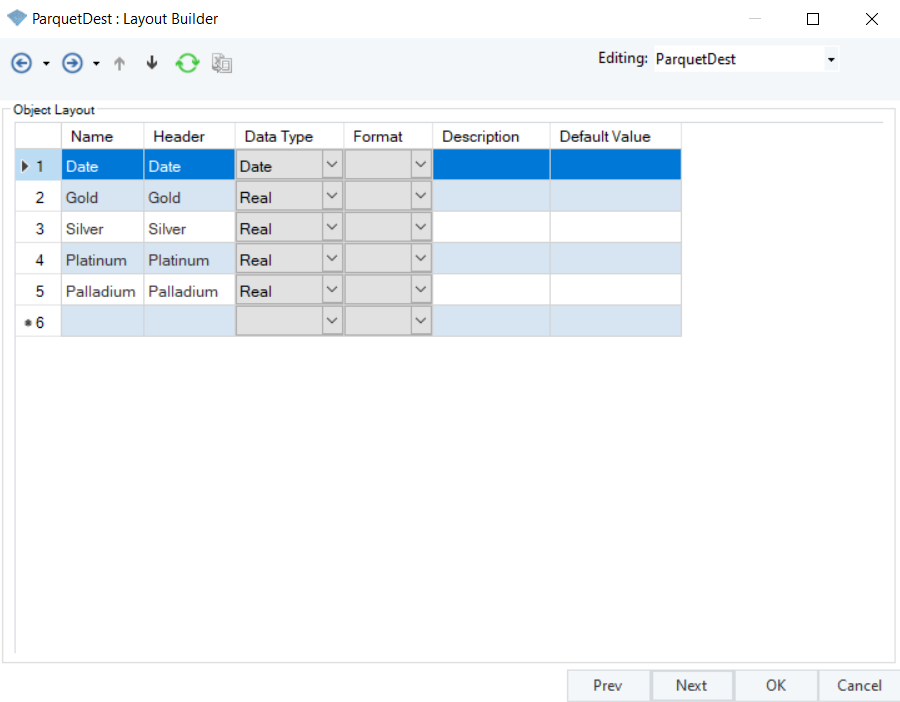
3. Once done, click Next and you will be led to the Layout Builder screen.
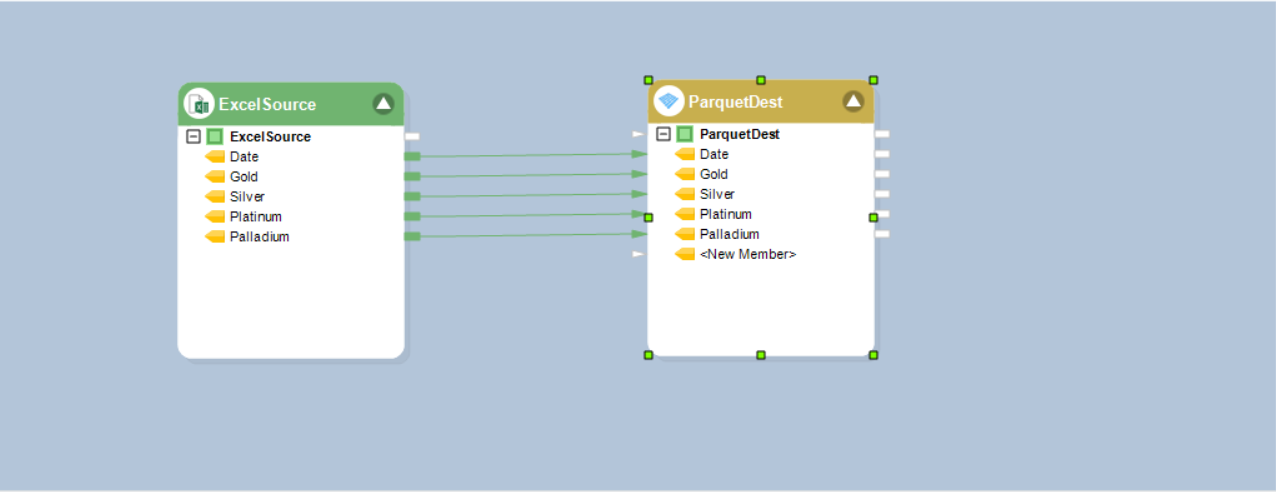
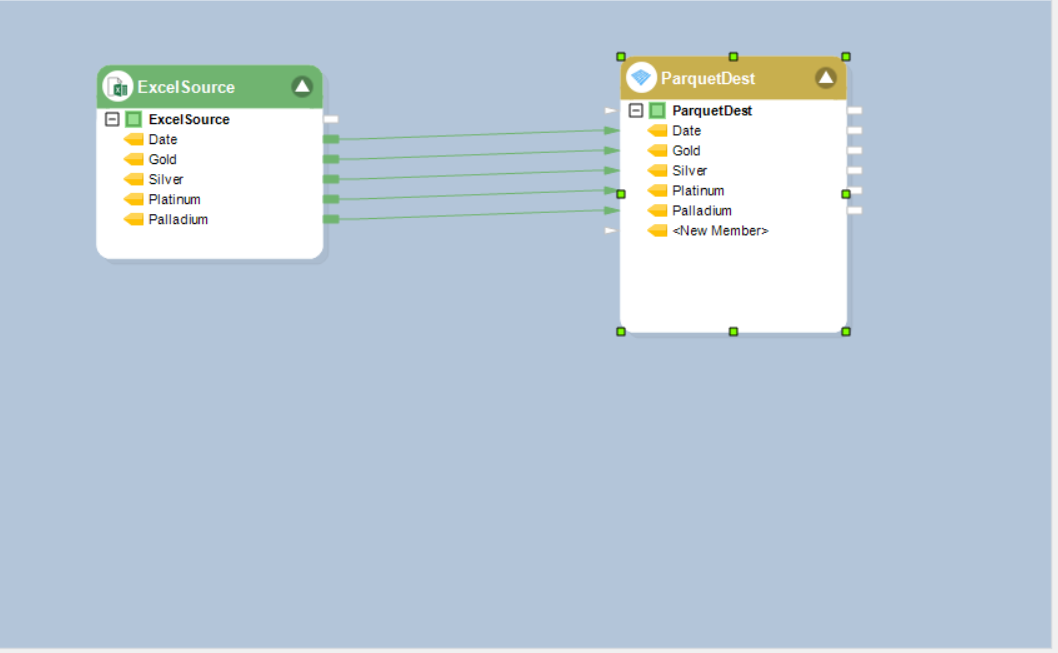
Here, the layout is going to be mapped for the destination. It can be built from the incoming data source or can be altered by the user.

We will be using our pre-configured Excel Workbook Source to map the incoming data to the Parquet File Destination object.
4. Open the Layout Builder again and it will be populated.
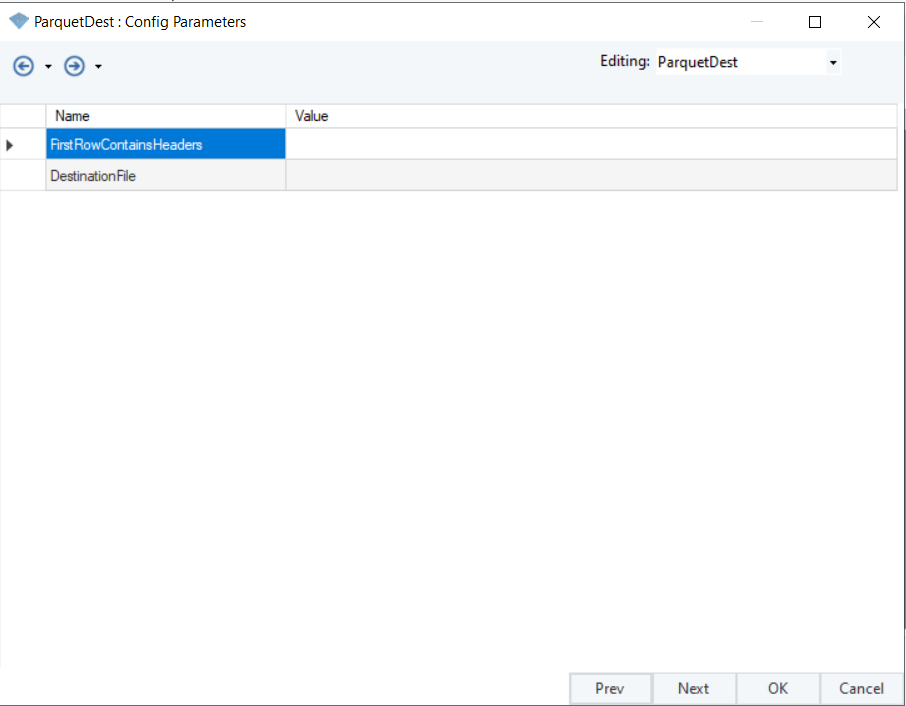
5. Click Next and you will be taken to the Config Parameters screen.
Parameters allow the deployment of flows by eliminating hardcoded values and provide a dynamic way of changing multiple configurations with a simple value change.
Note: Parameters left blank will use their default values assigned on the properties page.
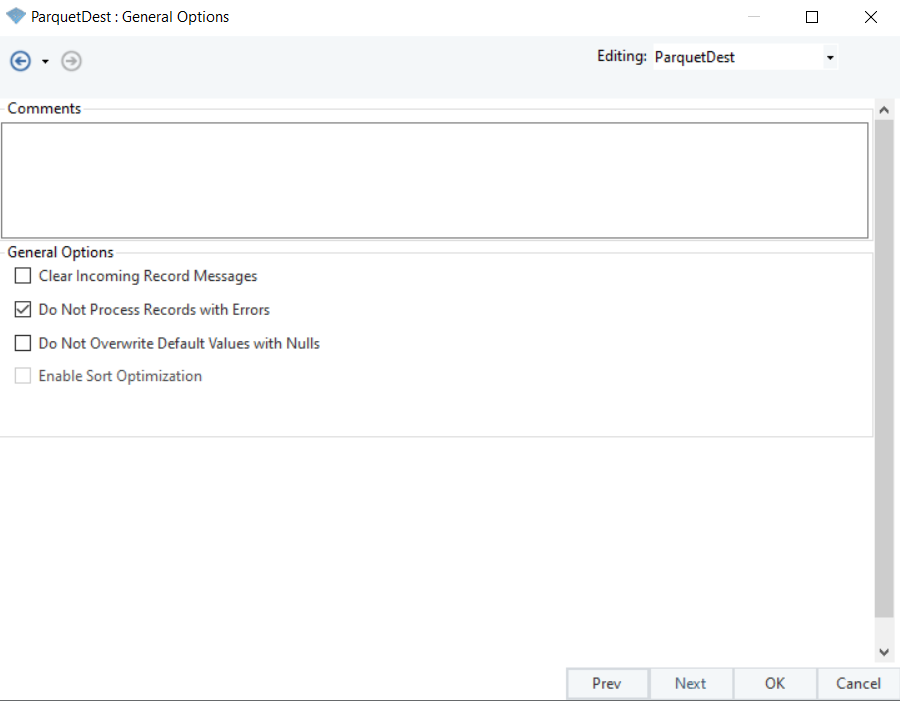
6. Click Next and you will be led to the General Options screen.
Here, you can add any comments that you wish to add.
Clear Incoming Record Messages: When this option is checked, any messages coming in from objects preceding the current object will be cleared. This is useful when you need to capture record messages in the log generated by the current object and filter out any record messages generated earlier in the dataflow.
Do Not Process Records with Errors: When this option is checked, records with errors will not be processed by the object.
Do Not Overwrite Default Values with Nulls: Selecting this option will make sure that values are not overwritten with null values in the output.
7. Click OK and the Parquet File Destination object will be configured.
This concludes the configuration of the Parquet File Destination object in Astera Centerprise.