Configuring the Cloud Connector object with the Azure Data Lake Gen 2 Storage Provider
Azure Data Lake Gen 2 is a cloud-based big data storage and analytics solution provided by Microsoft Azure. It offers scalable and cost-effective storage for structured, semi-structured, and unstructured data.
The Azure Data Lake Gen 2 provider is present within the Cloud Connector object in Astera Centerprise.
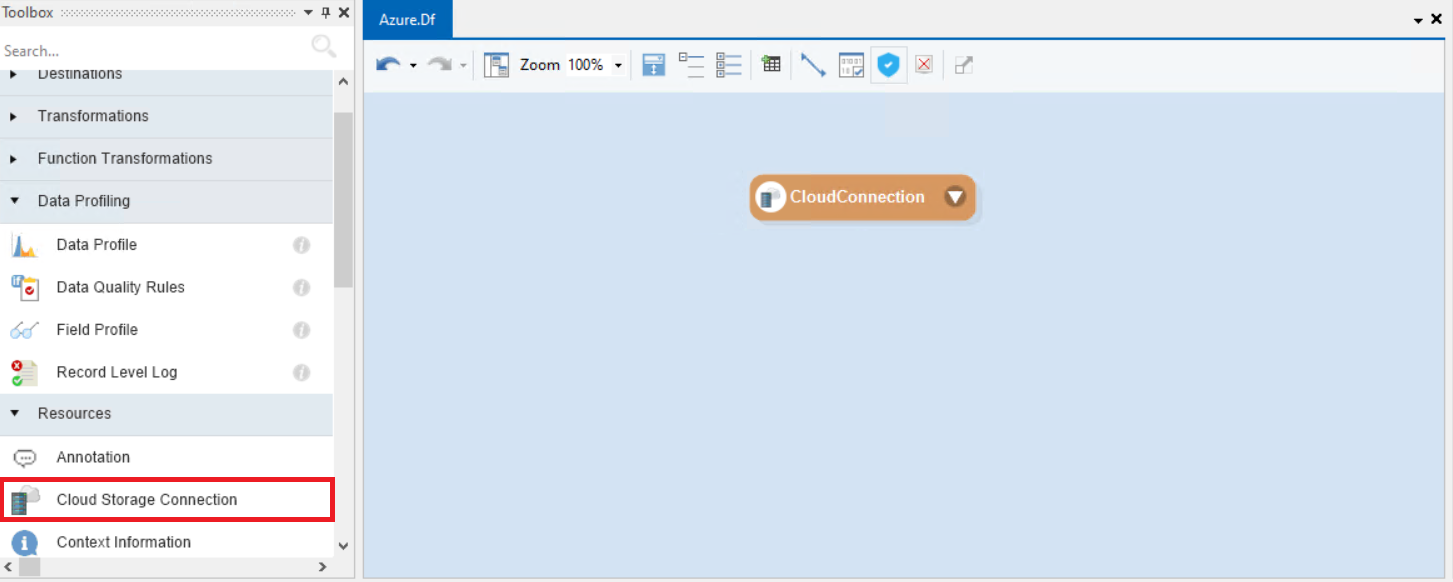
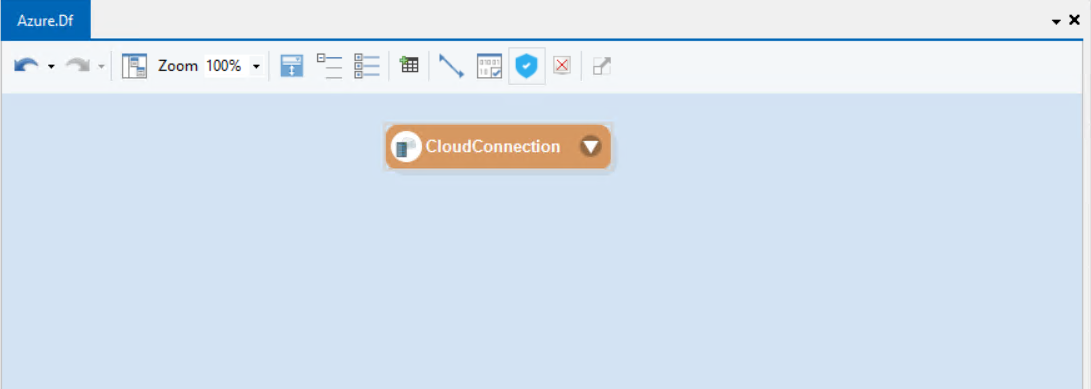
1. To start, drag and drop a Cloud Connection object from the toolbox onto a new dataflow.
Note: Alternatively, you can create a new Shared Action file, place it in a project, and configure the Cloud Connection object there as well.
2. Right-click on the Cloud Connection object and select Properties from the context menu,
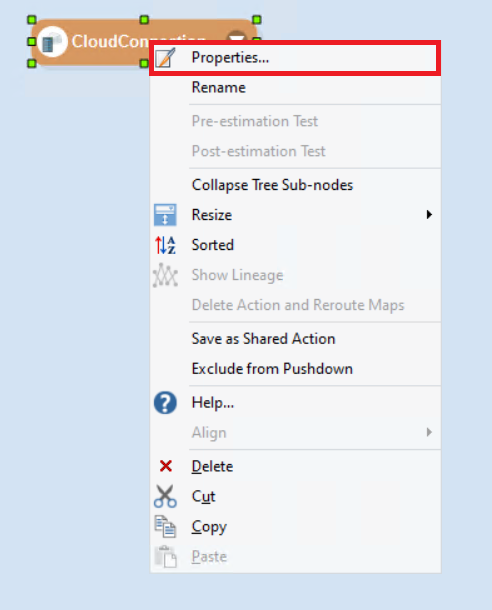
This will open the properties screen.
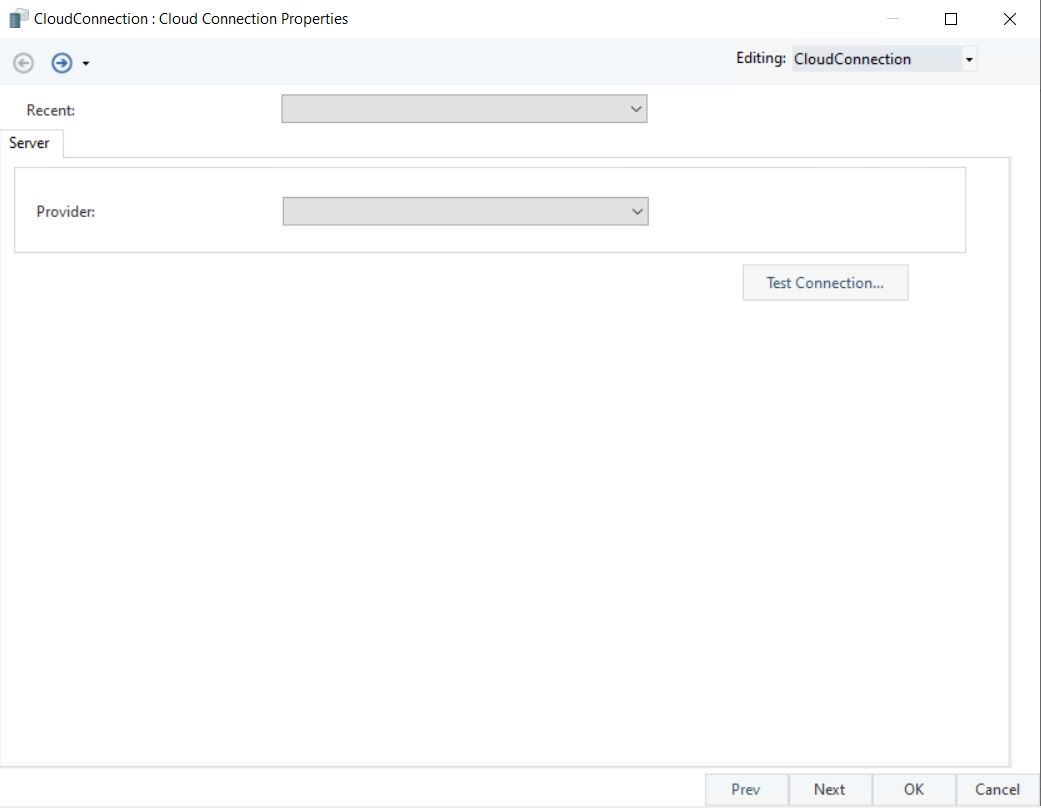
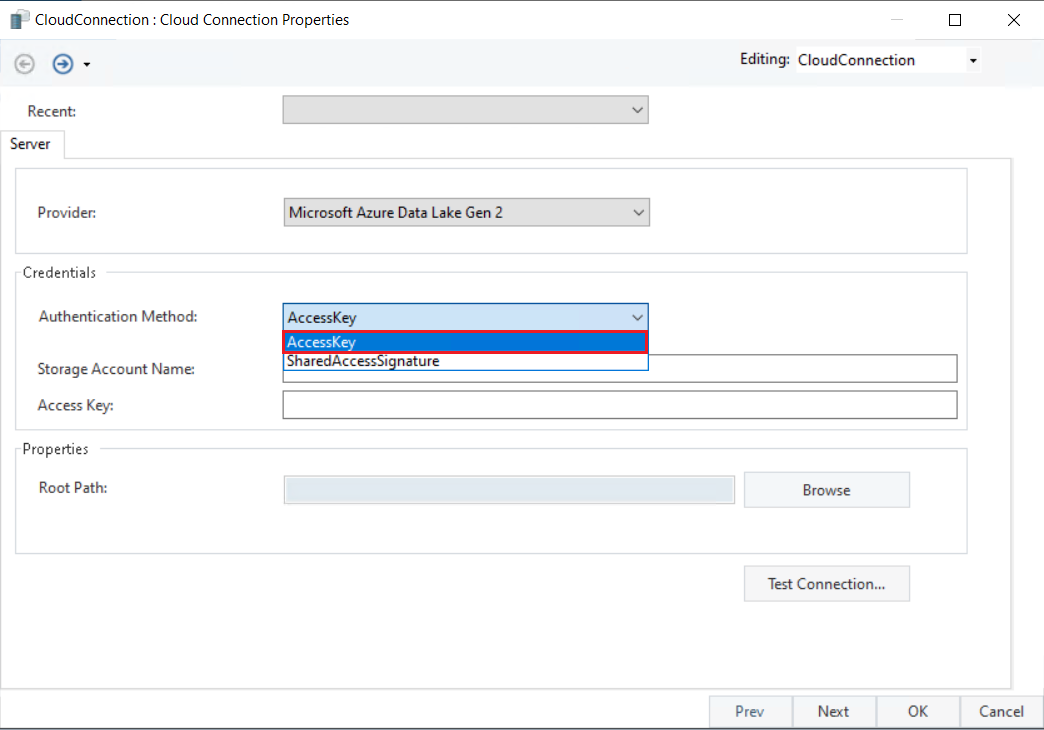
3. From the Providers drop-down menu, select Microsoft Azure Data Lake Gen 2
This will show us the following,
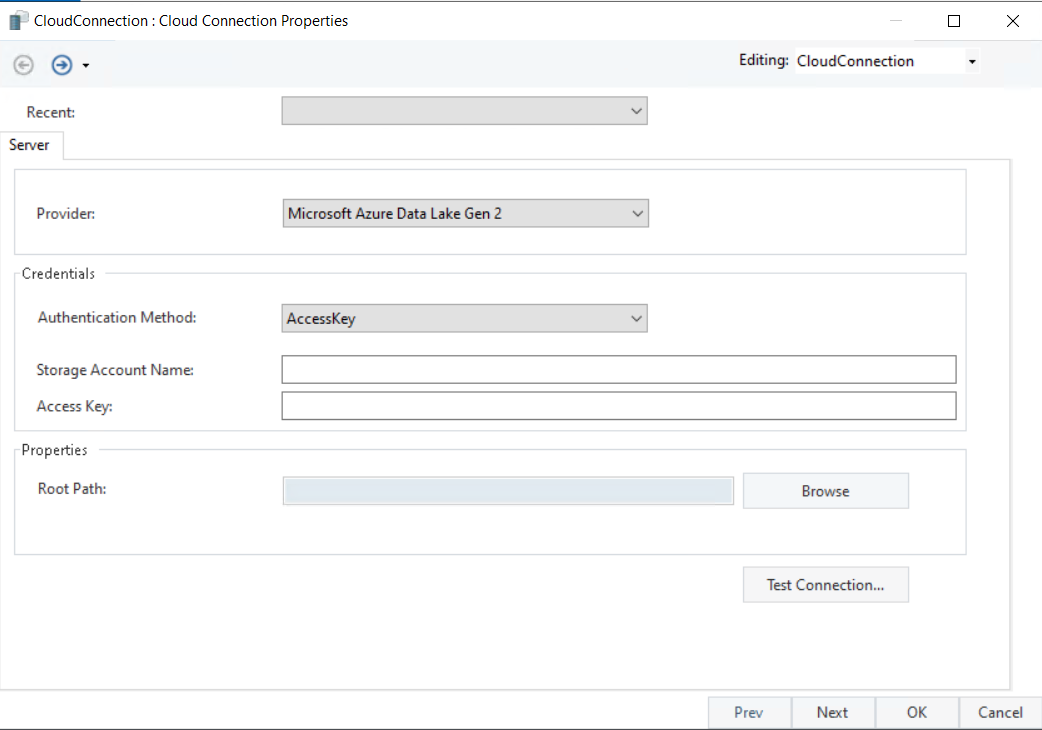
4. Here, you can select the Authentication Method from the drop-down menu. We have the following options available here,
5. After selecting the Authentication Method, we can input the Storage Account Name and Access Key values as seen in the Azure Data Lake Gen 2 authentication document.
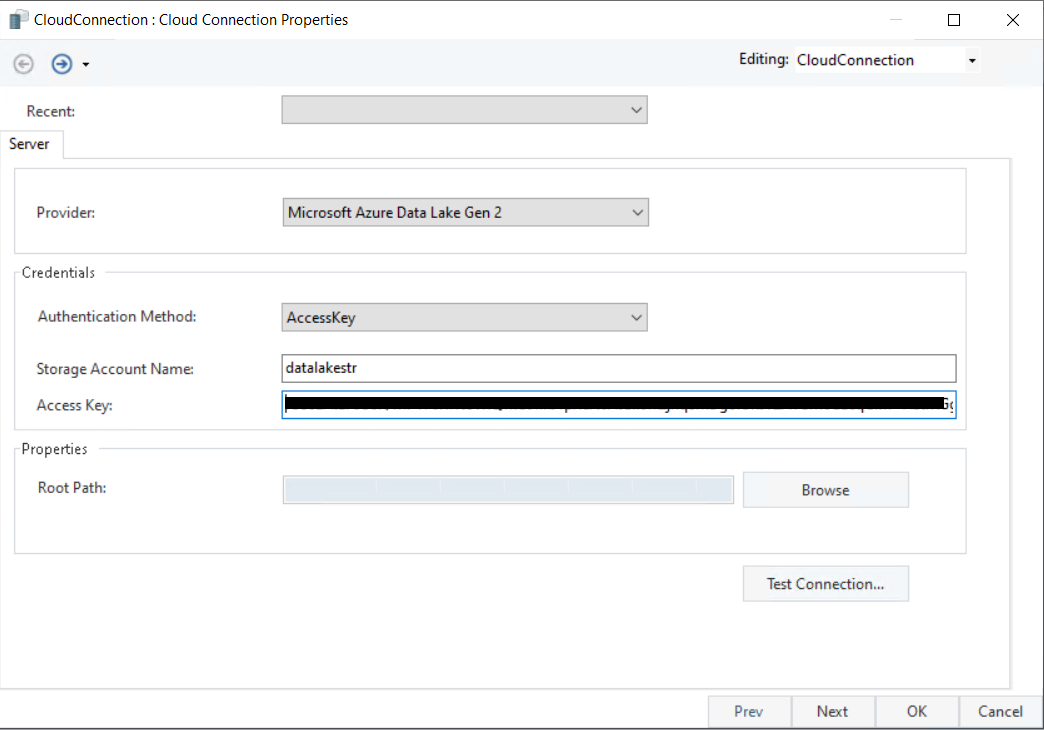
Root Path: It is to keep confidential data and information secure from access by unauthorized users. It lets you point out the file needed while protecting all other folders.
6. Select Test Connection, then click OK,
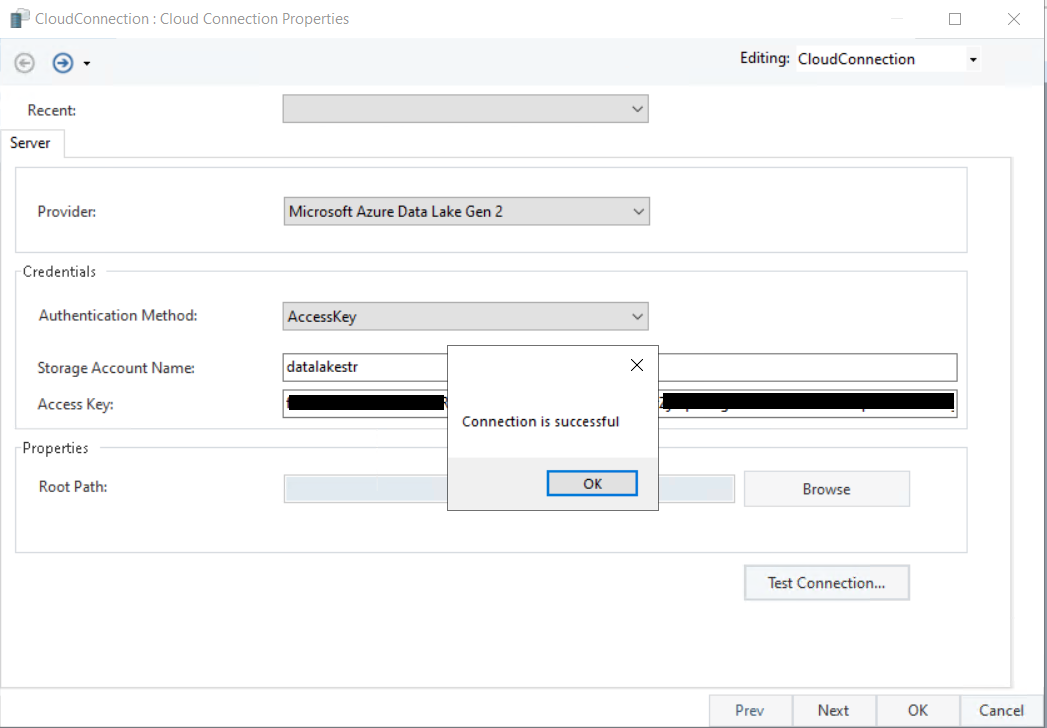
The Cloud Connection object has been configured with respect to the Azure Data Lake Gen 2 provider.
Connecting to the Azure Data Lake Gen 2 Storage provider
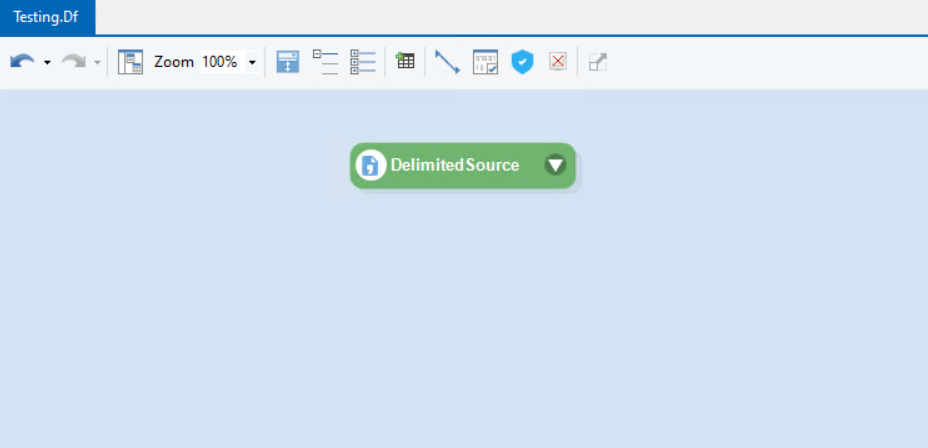
1. To start, we drag and drop a Delimited Source object from the toolbox onto the dataflow,
2. Right-click on the object and select Properties from the context menu,
This will open the properties screen.
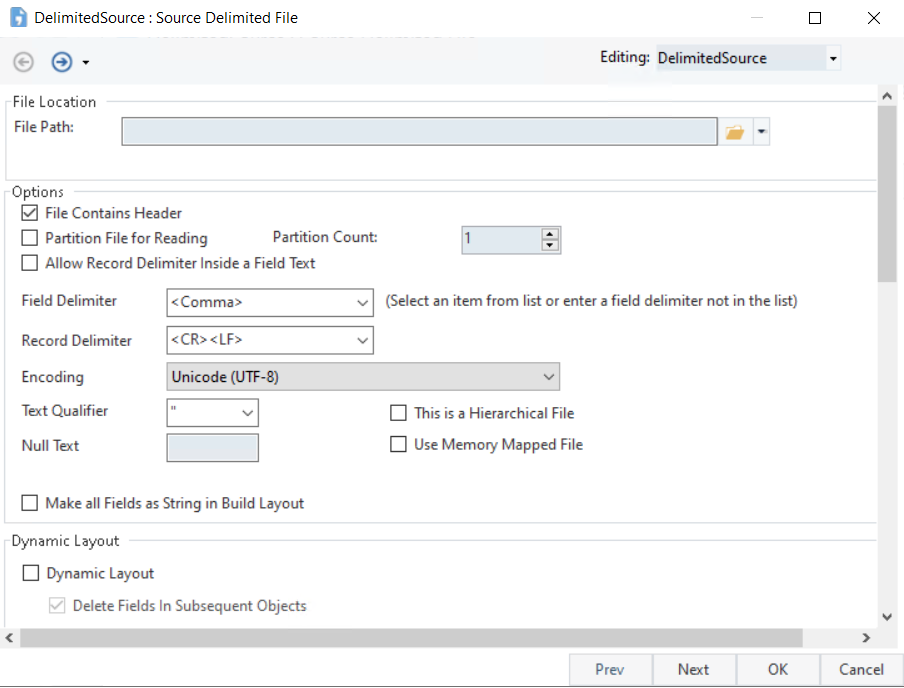
3. Select the drop-down icon next to the folder icon in the File Path row and select Browse Cloud Files.

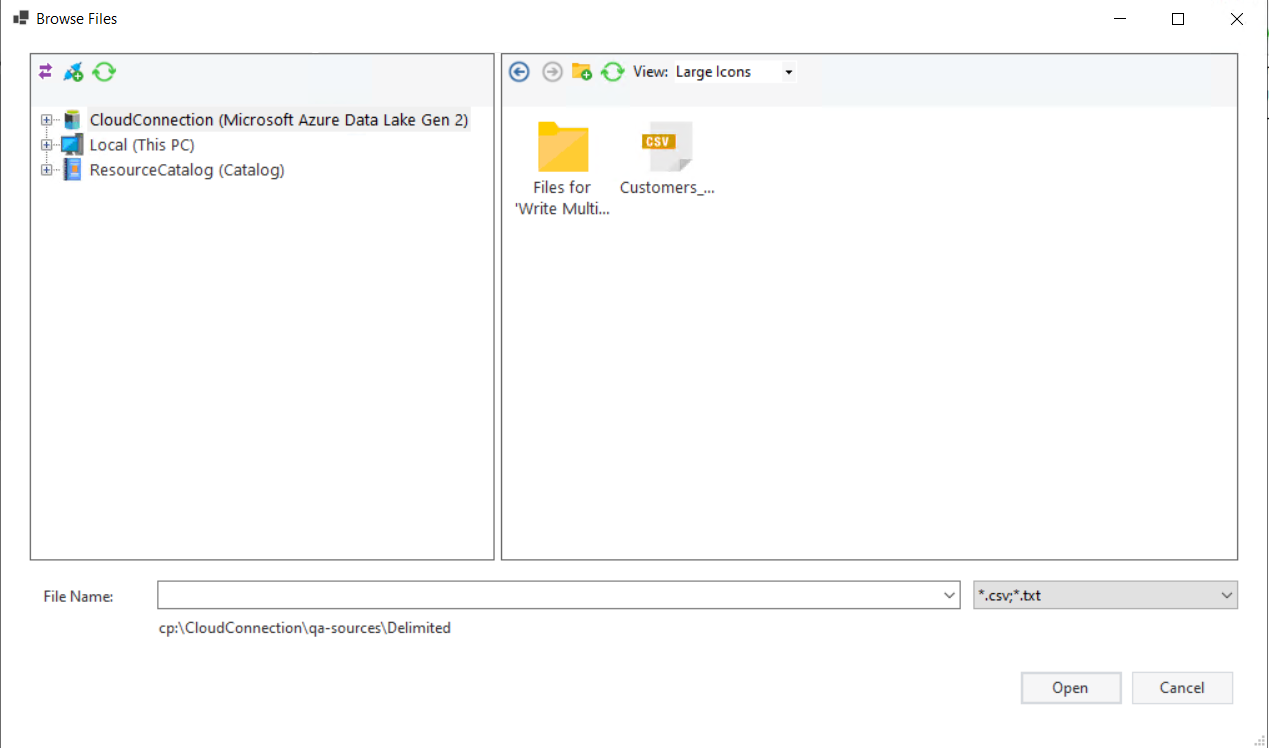
This will open a new window.
Here, you can see our defined connection,
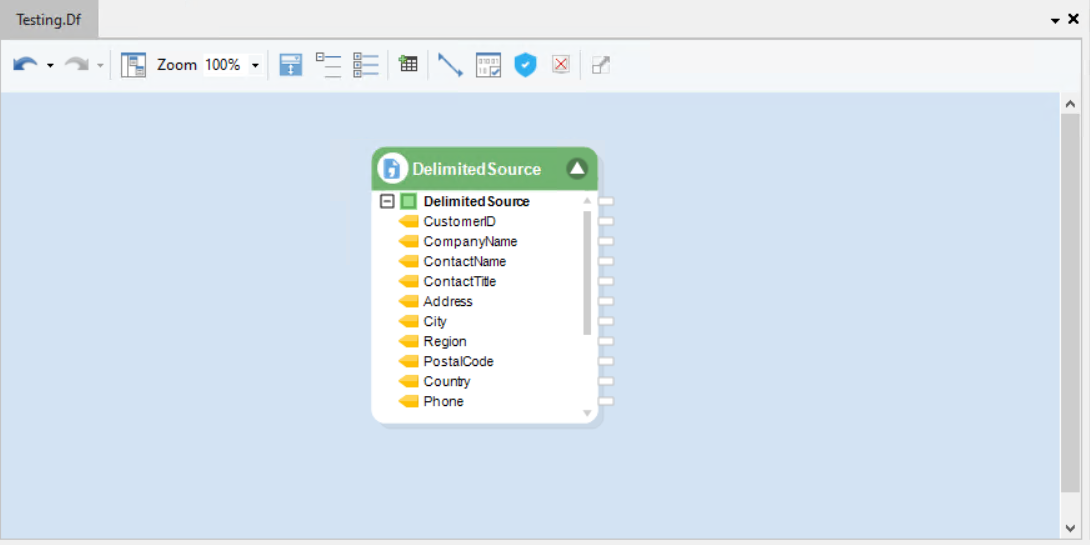
4. Once we select our file and click on Open, they are configured with our source object,
This concludes the Azure Data Lake Gen 2 Storage provider configuration and testing in Astera Centerprise.