Moving a Repository to a Remote Server
In this document, we’ll be discussing how you can move a Git repository to a remote server via Astera Centerprise. Here’s how you can do so:
1. Open the local repository by clicking on Git in the main toolbar and selecting Open Repository from the drop-down menu.
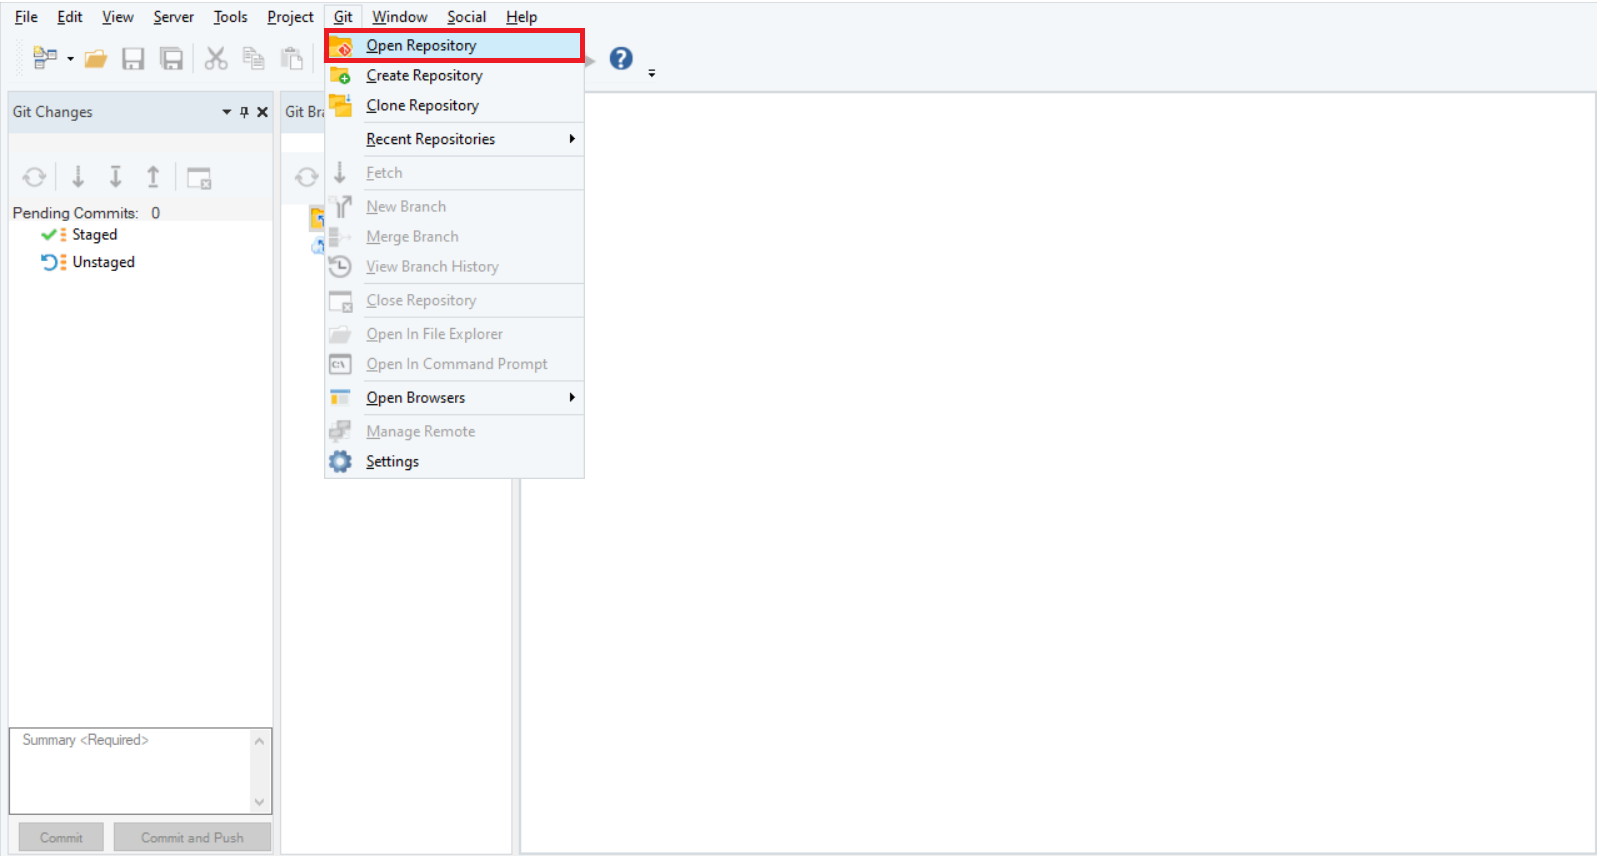
This will open the local repository.
Astera Centerprise provides the user with the ability to move a repository from the local machine to a remote server.
2. Configure the remote settings from the Git option on the main toolbar and select Settings from the drop-down menu.

A new window will open.
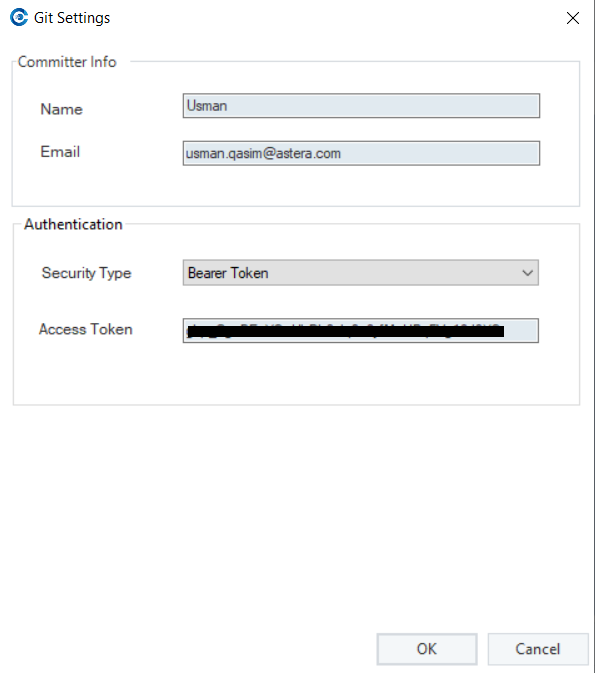
Committer Info –
Name: The name of the user performing the connection.
Email: The email address of the user performing the connection.
Authentication –
Security Type: This displays the type of authentication to establish the connection.
Access Token: The token generated from the remote server to establish a secure connection.
3. Click OK and the connection will be configured.
4. To sync a local repository to the remote server, select the Push option present in the Git Branches Browser of the Centerprise client.
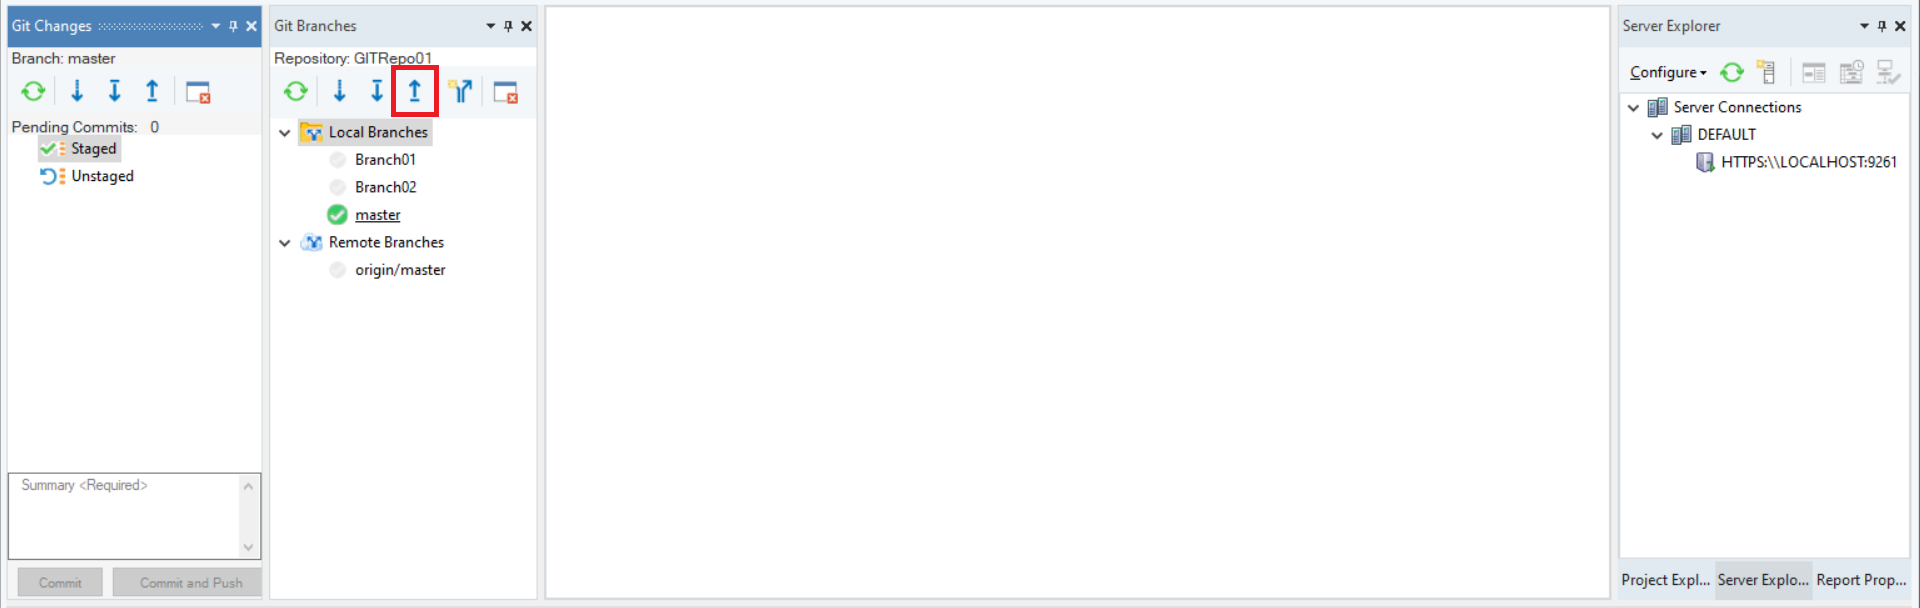
The repository has been successfully moved to the remote server.