Microsoft Azure Blob Storage in Astera Centerprise
Astera Centerprise provides cloud connectivity to Microsoft Azure Blob Storage for quick access and easy storage of data to use in an integration pipeline. The cloud connection makes connecting to data stored in Azure Blob Storage easier without delays and complicated operating procedures.
This article covers the following,
1. Getting the authentication specifications for Azure Storage from the portal.
2. Authentication methods for Azure Storage.
3. Connecting to Azure Storage in Astera Centerprise.
Authentication Specifications for Azure Storage
To connect to Azure Blob Storage in Astera Centerprise, the access token or SAS keys are required.
1. Log in to your Microsoft Azure account, follow the link; portal.azure.com
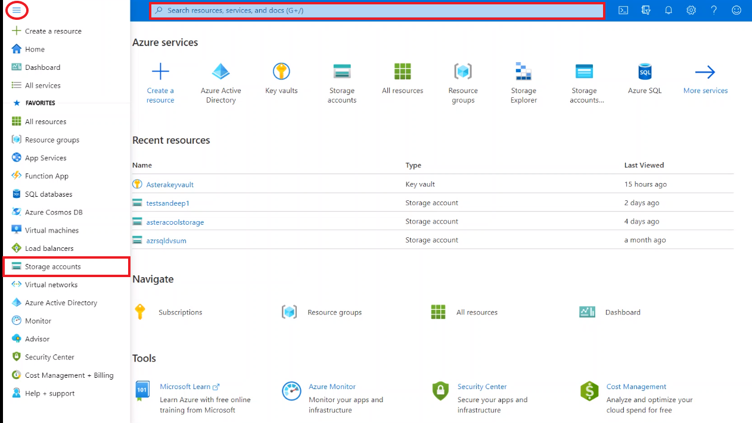
2. After logging in, go to Storage Accounts.
Either search it on the search bar or go to the menu bar from the top left corner and open storage accounts.
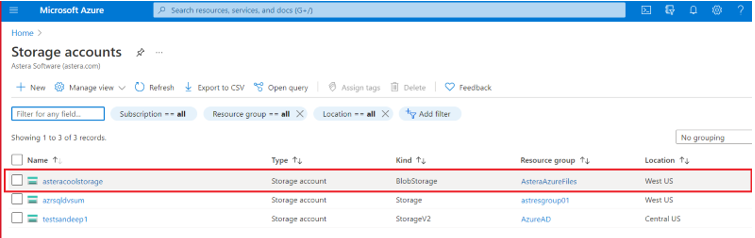
A list of all the storage accounts would appear.
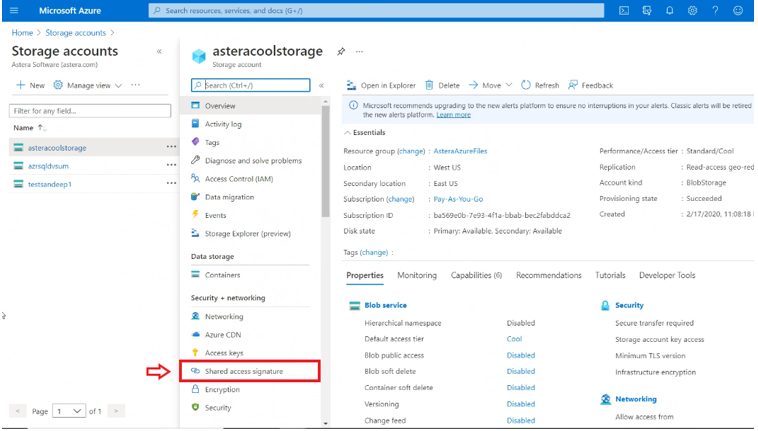
3. Select the one that you want.
Note: We’ve chosen the “asteracoolstorage” account in this case.
Authentication Methods in Azure Storage
There are two authentication methods for connecting to Azure storage.
- Access Keys
- Shared Access Signature
Authentication Method: Access Keys
1. On the selected storage dashboard window, go to Settings and select Access Keys.
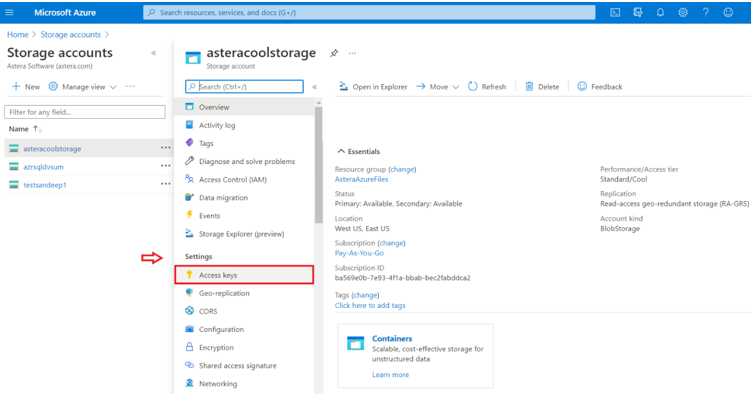
A new windowpane will open with all your access keys for the selected storage account. The Storage Account Name and Access Key are required to connect in Astera Centerprise.
2. Select Show Keys to preview the keys and copy them.
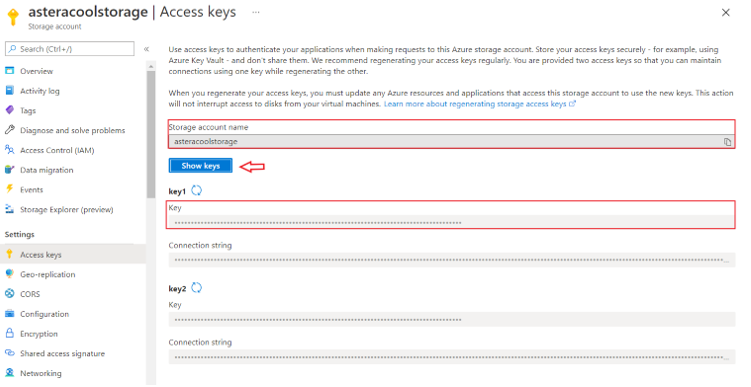
You can now use the copied access key to connect to Azure Blob Storage in Astera Centerprise.
Authentication Method: Shared Access Signature
1. On the selected storage dashboard window, go to Security + Networking and select Shared Access Signature.
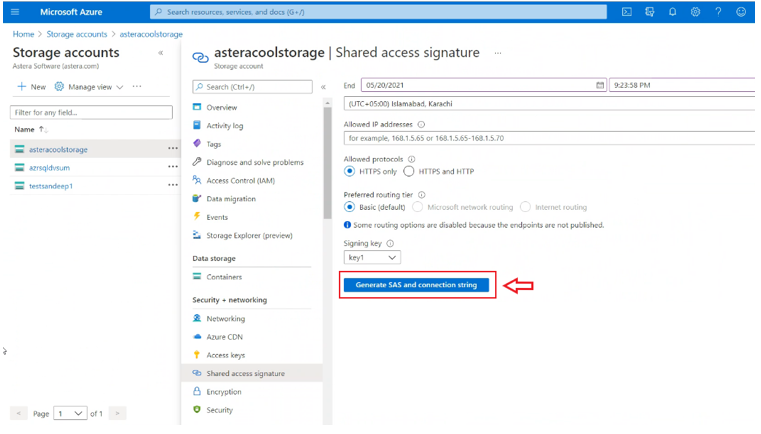
A new windowpane would open where you can configure Shared Access Signature settings for the access keys according to your requirements.
2. Click on Generate SAS and Connection String to generate the key.
The Blob Service SAS URL is required for the SharedAccessSignature Authentication Method in Centerprise.
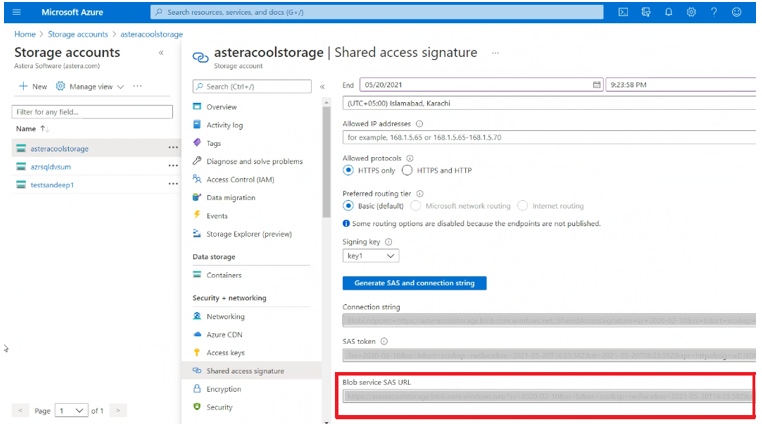
The copied URL can now be used to connect to Azure Blob Storage in Astera Centerprise through the Authentication Method, Shared Access Signature.
Connecting to Azure Storage in Astera Centerprise
1. Drag and drop the cloud connection object from the Resources section of the Toolbox in Astera Centerprise.
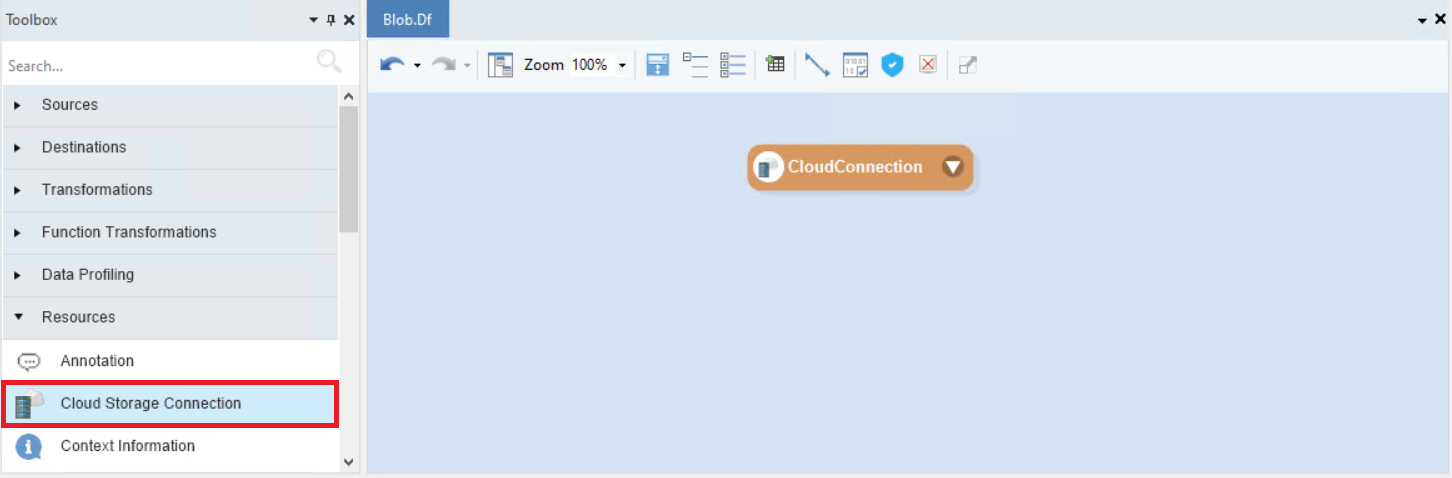
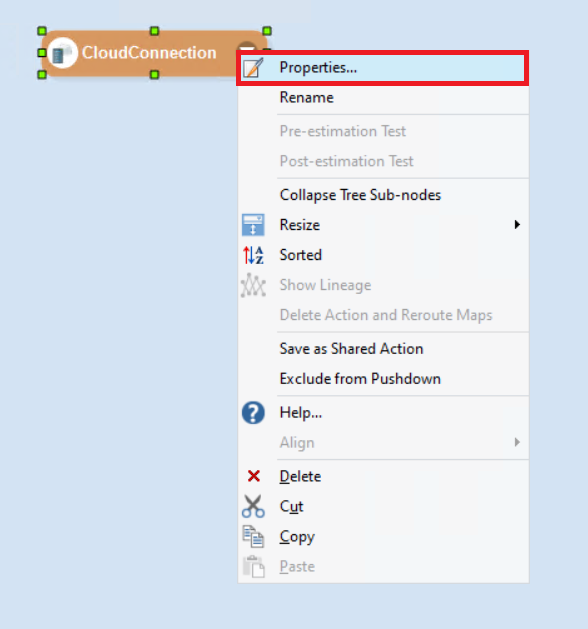
2. Right-click on the Cloud Storage Connection and select Properties from the context menu,
3. The Cloud Storage Connection Properties window would open. On this screen, select Microsoft Azure Storage as your cloud provider from the Provider dropdown.
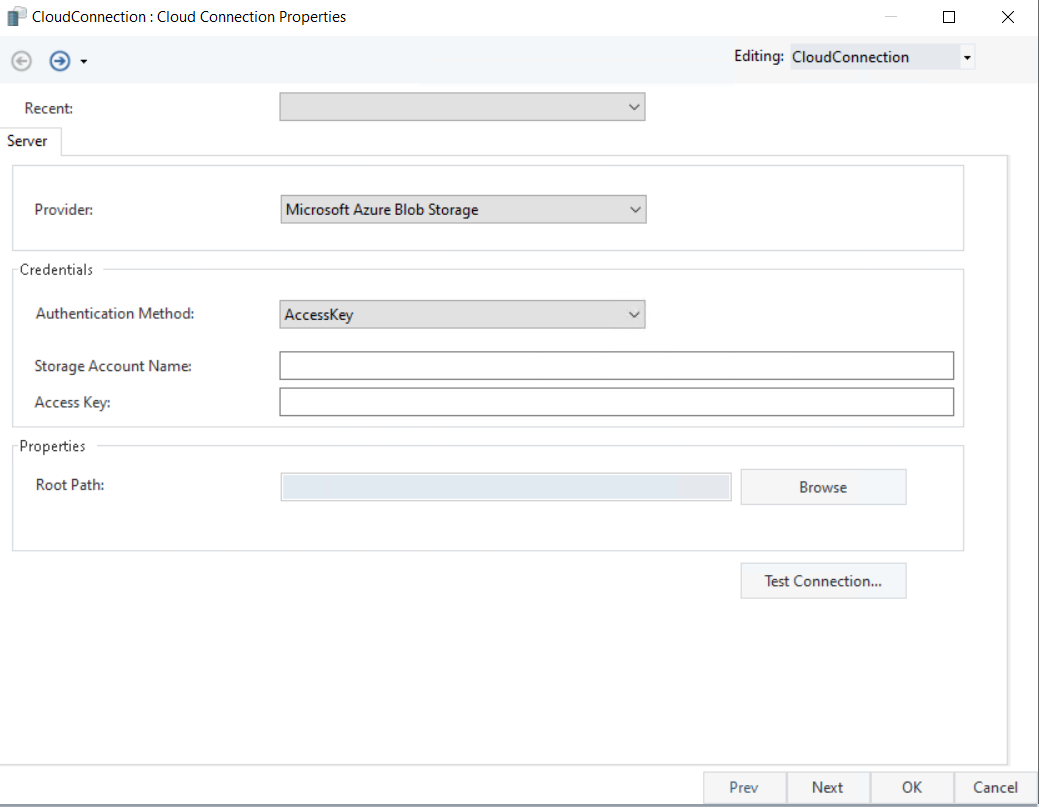
4. To connect to Azure storage, the authentication type needs to be specified, where the credentials can be provided. There are two methods. Select the one that you want to use.
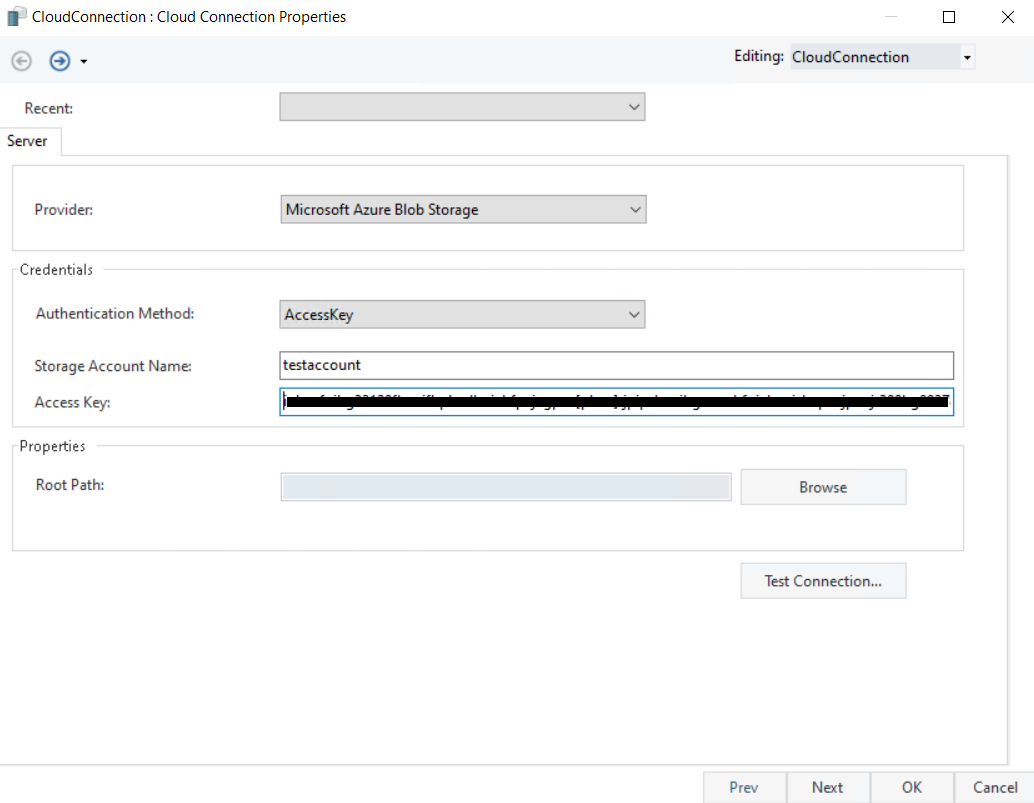
For our use case, we have made use of the Access Key authentication method.
Learn more about Azure Blob Storage Account Access Keys here.
5. Test the connection.
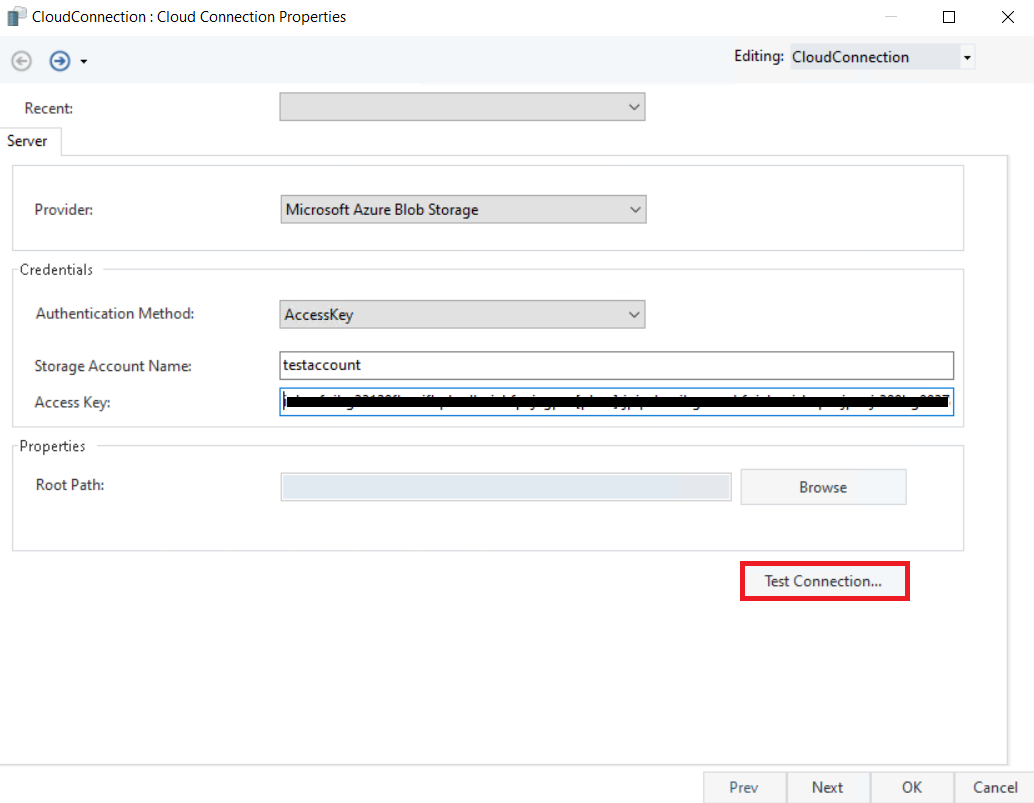
Root Path: This option is used to keep confidential data and information secure from access by unauthorized users. It lets you point out the file needed while keeping all the other folders protected.
Note: This option only works for authentication through the access key.
6. Click OK and the Cloud Storage Connection object will be configured.

The Microsoft Azure Blob Storage Cloud Storage Connection has been authenticated in Astera Centerprise.