Method Operations
In this article, we will be discussing various HTTP methods. We will see how HTTP requests can be made through the REST Client object in Astera Centerprise.
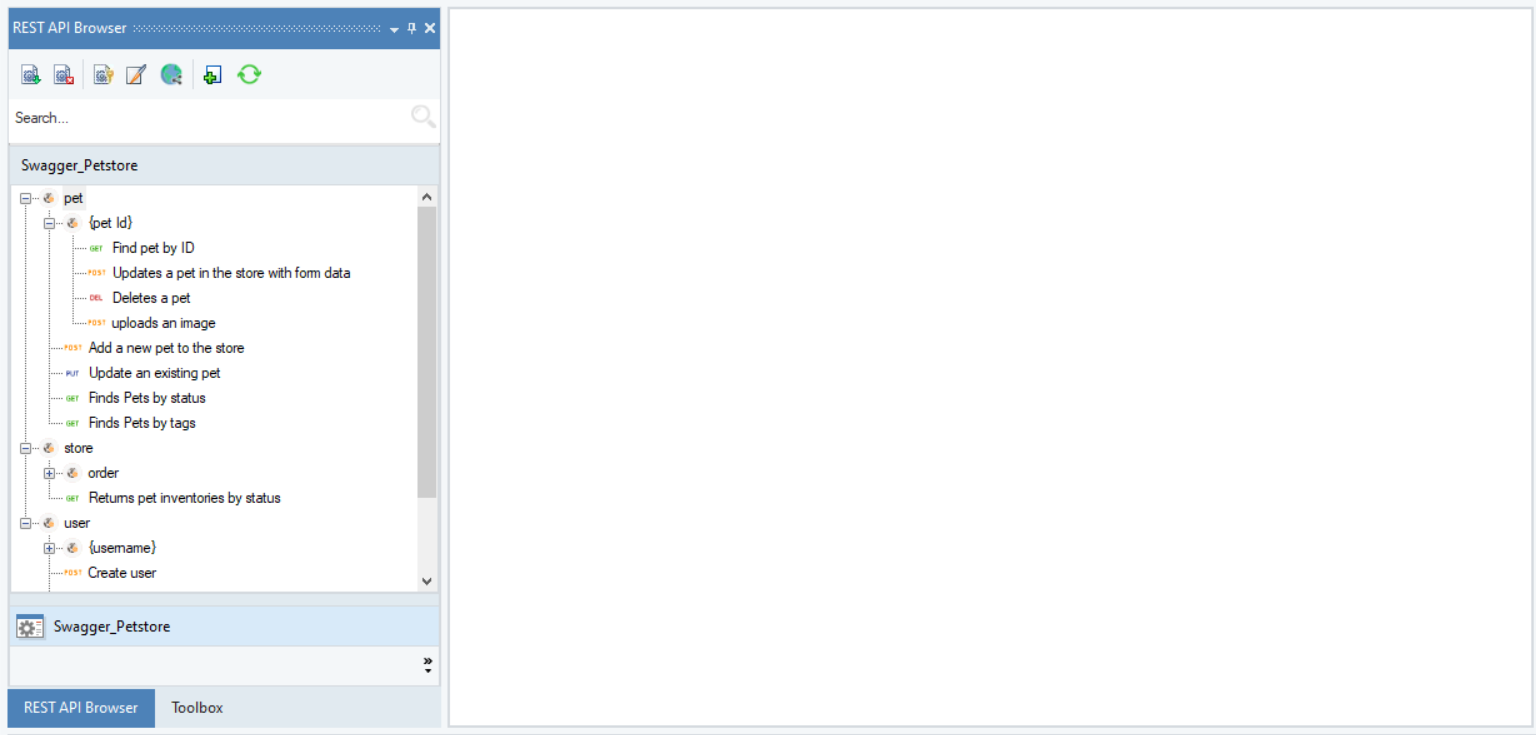
For our use-cases, we have made use of the Petstore Open-API definition. We can import the API to the REST API Browser using its import URL.
Once done, it automatically establishes various pre-defined endpoints as REST Client objects. They can then be dragged and dropped onto a dataflow for further configurations and transformations.
Note: When imported, a shared connection object will also be created containing the base URL and authentication details.
To learn more about importing a URL to the REST API Browser, click here.
For Petstore import URL, click here.
Making a GET Request
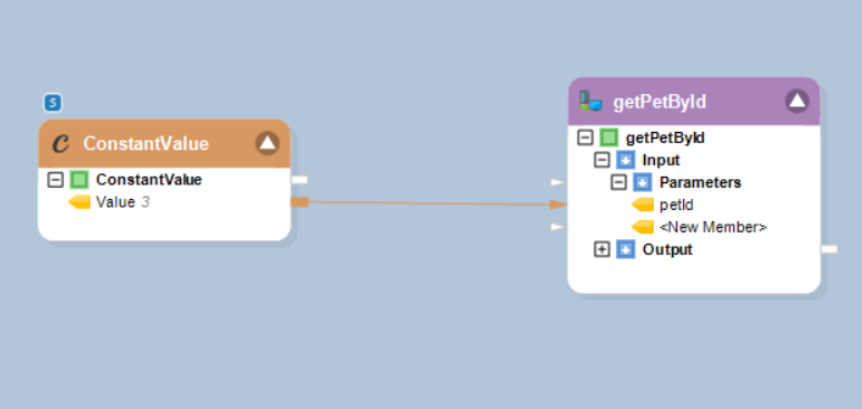
1. First, we drag-and-drop the ‘Find pet by ID’ endpoint from the browser onto the dataflow.
In this scenario, we want to get information for a pet with PetId, ‘3’. For this, we will pass the relevant PetId using a ConstantValue object.
2. To explore the REST Client object for this method, right-click on the object’s header and select Properties.
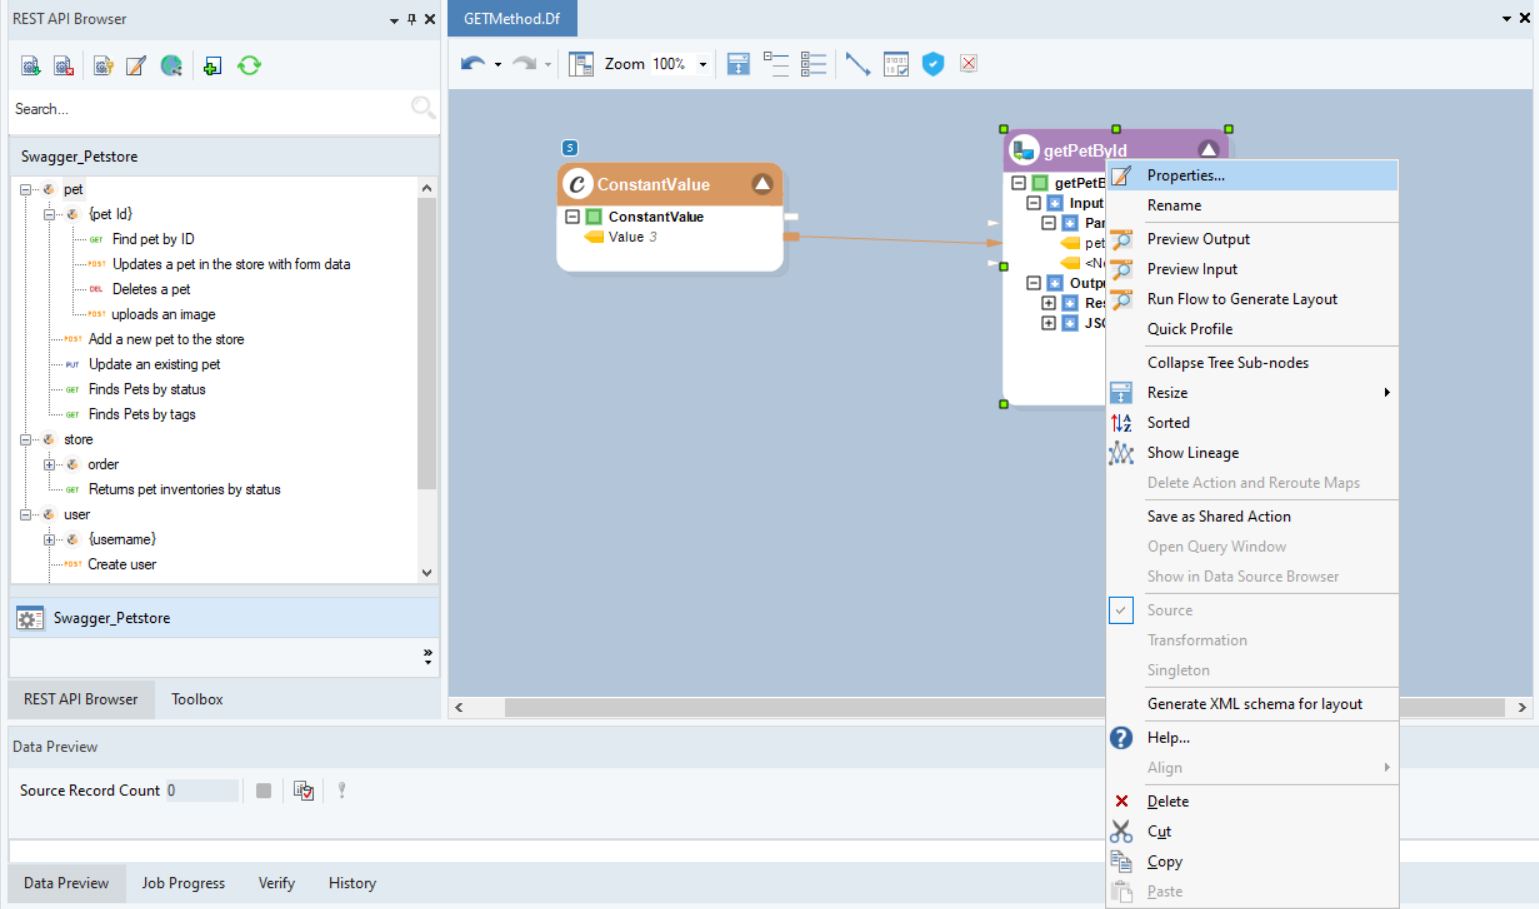
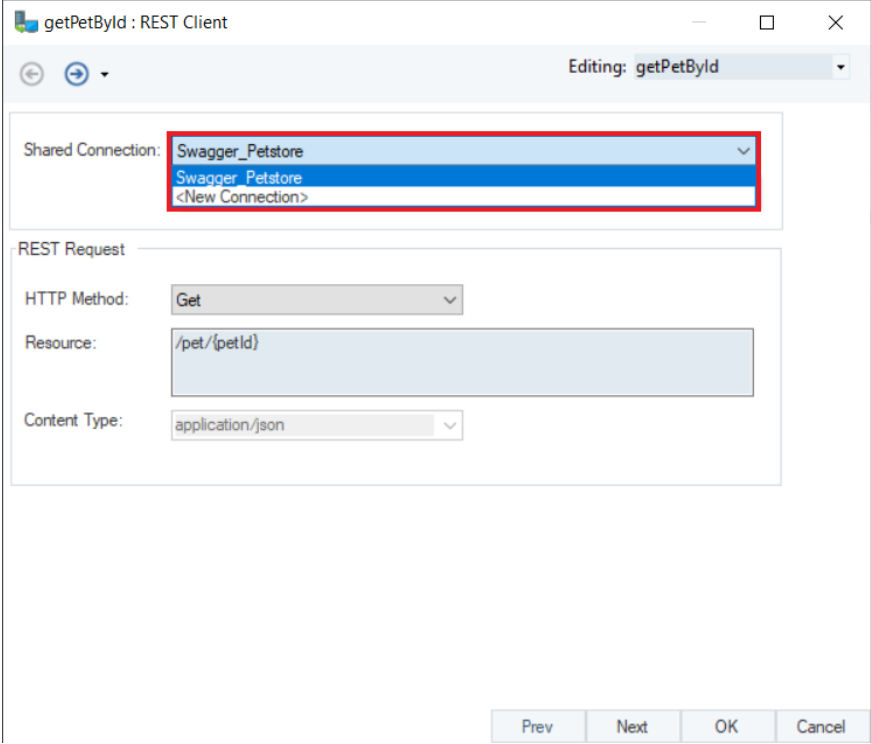
This will open the REST Client screen where the connection info of your API is defined.
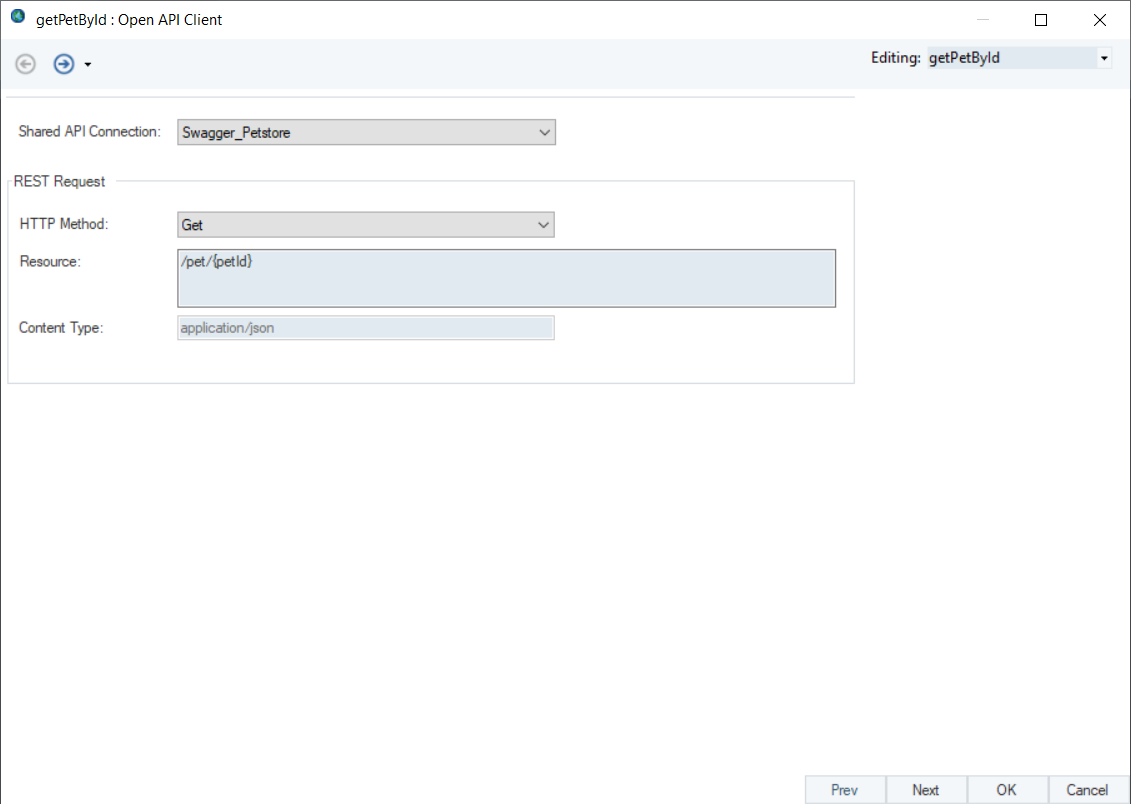
The Shared Connection, Method, and Resource here are already configured. Notice that Resource consists of ‘pet’ along with the ‘petId’ URL parameter.
3. Click Next.
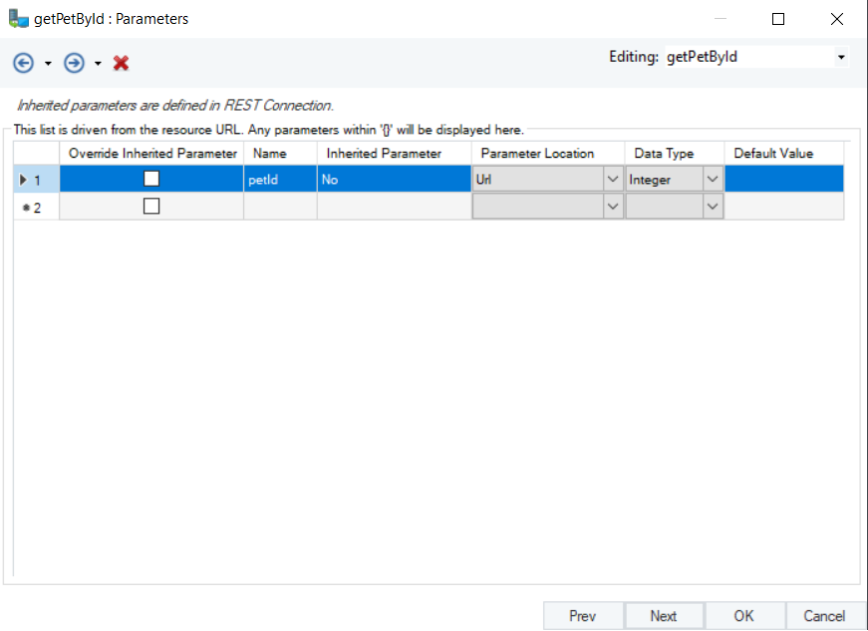
Here, the ‘petId’ URL parameter follows from the defined resource.
For our use case, we will use this parameter to get details for a pet.
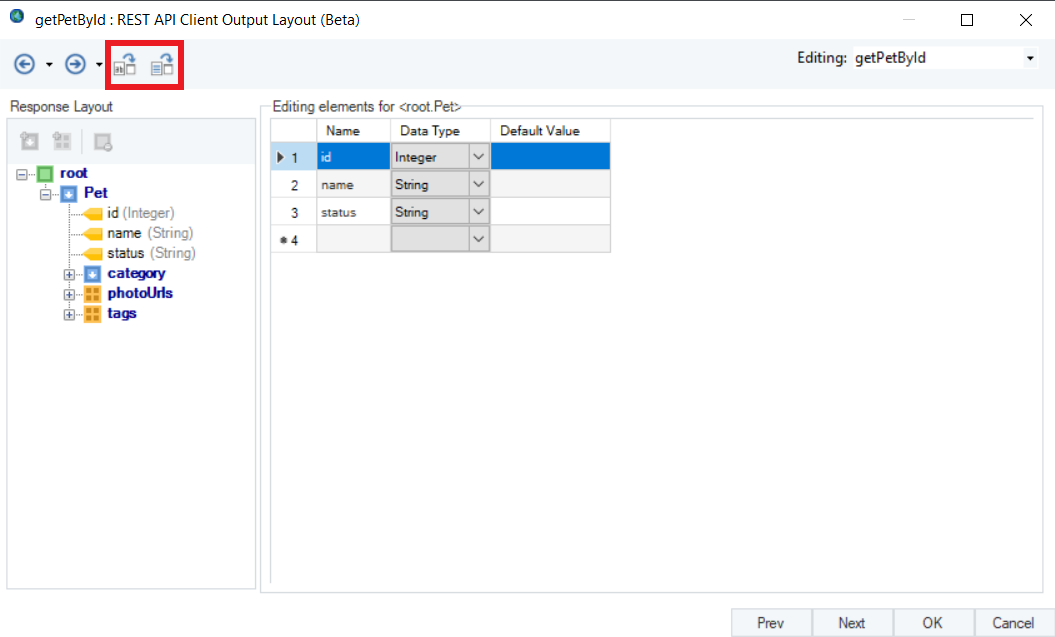
Click Next to proceed to the Output Layout screen, where you can view the Response Layout of your API. There are two ways in which you can generate the output layout, if required.
1. The first one is by providing sample text by clicking the Generate Layout by providing Sample Text option.
2. The other way to do this is by running a request by clicking the Generate Layout by running Request option.
4. Click Next to proceed to the Pagination Options screen.
For our use case, we have selected None.
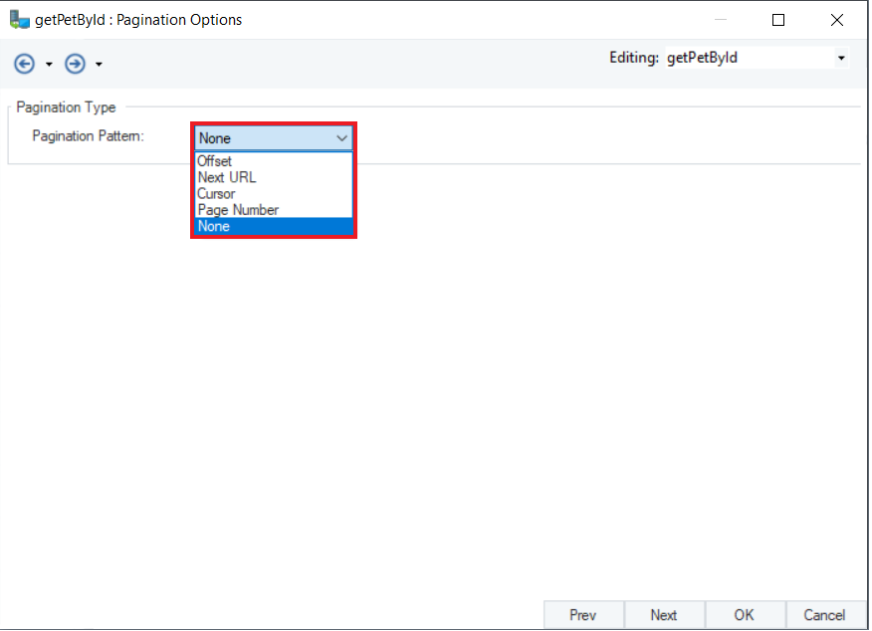
5. Click OK.
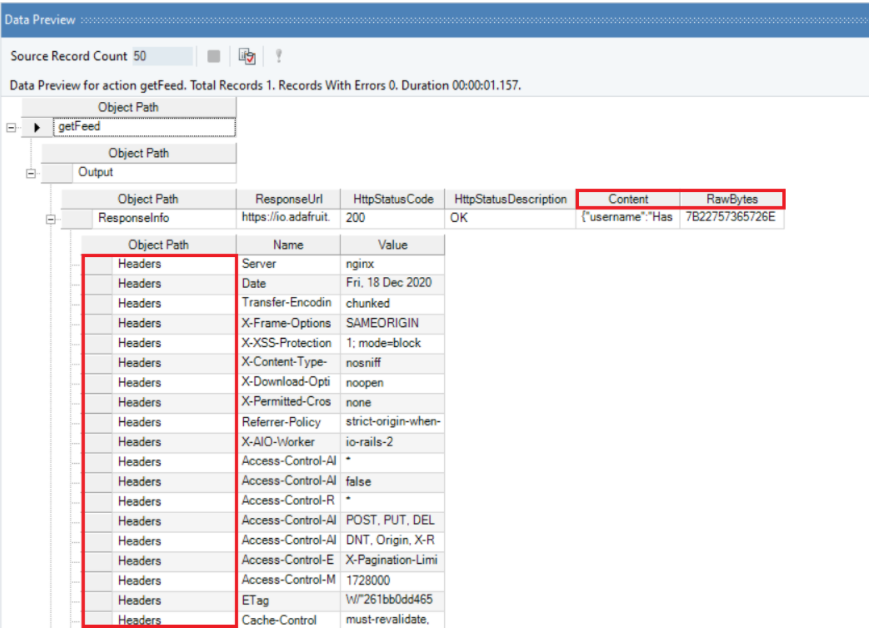
6. You can preview the data by right-clicking on the object and selecting Preview Output from the context menu.
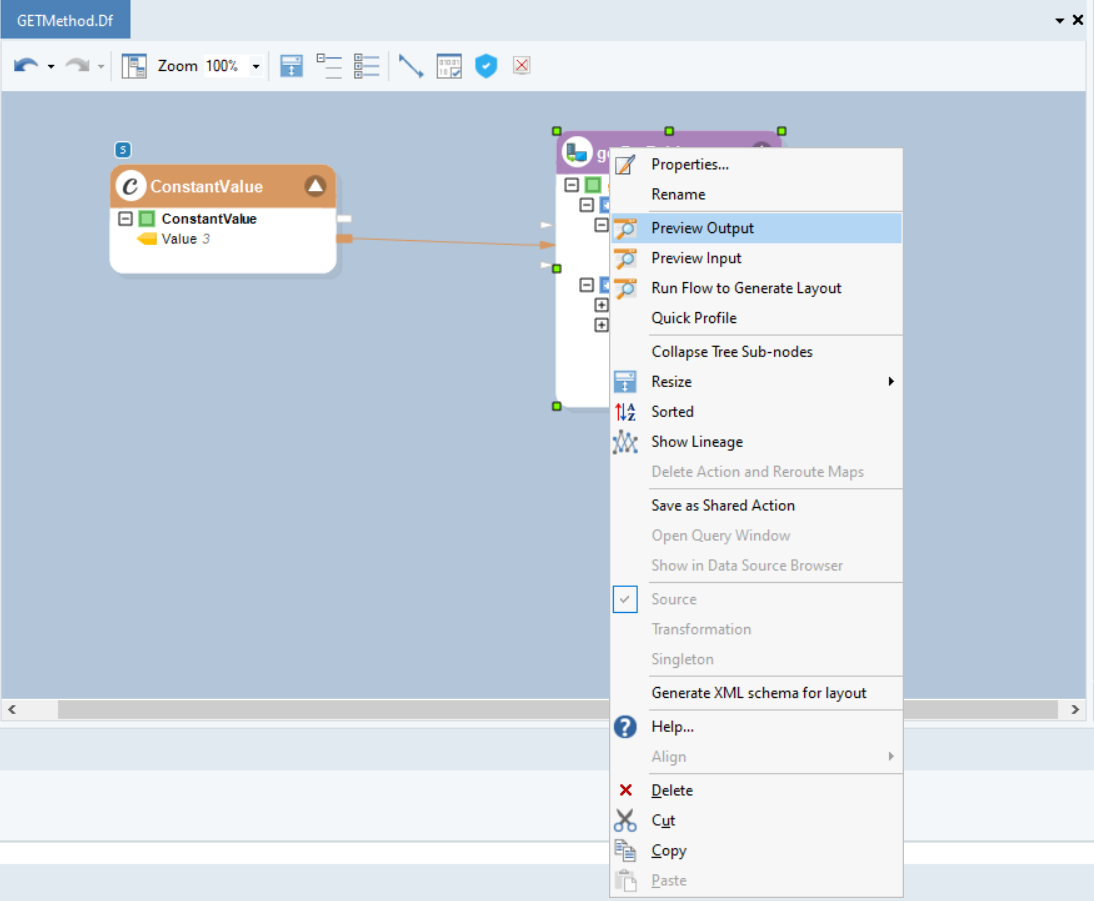
As seen below, the GET request that was made, has fetched data according to the user application.
Making a POST Request
Now, let’s try adding a pet to Petstore.
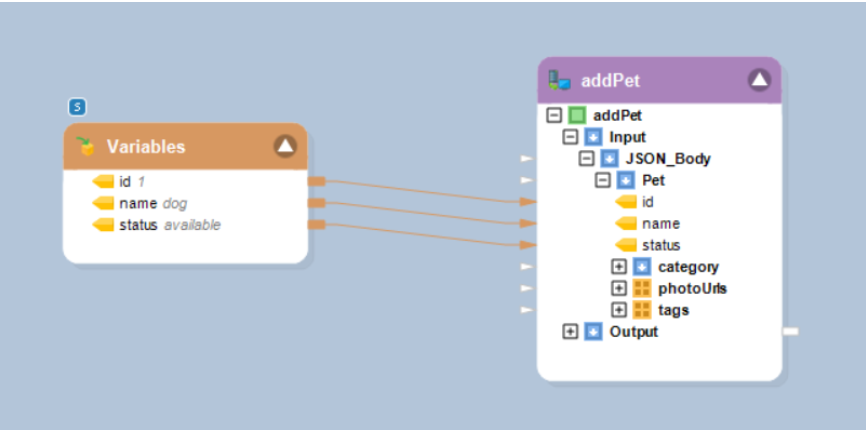
1. Drag-and-drop the POST method as a REST Client object and open its Properties.

We will pass the required parameters to the POST request object using a Variables object.
2. Now, right-click on the REST API Client (addPet) object and select Preview Output.
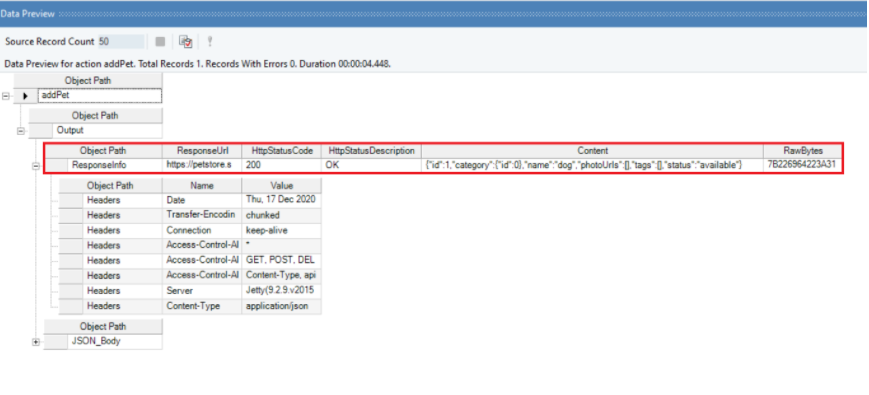
You can see that the HTTPStatusCode is “200”, which means that the REST API has successfully carried out the action requested by the client. Let’s verify it by making a GET request for the same PetId which we had posted earlier.

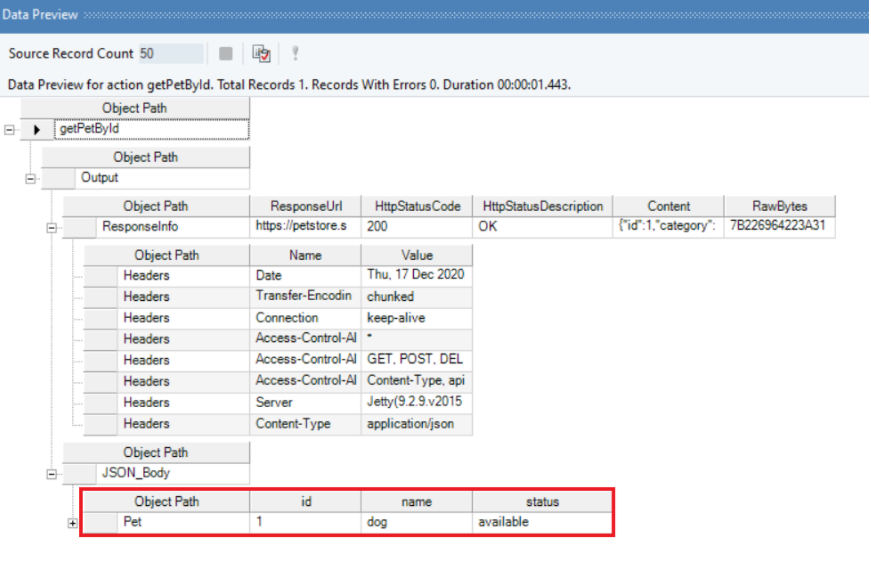
You can see that a GET request for PetId, “1”, has returned the same information which we had posted.
Making a DELETE Request
Now, let’s try making a DELETE request.
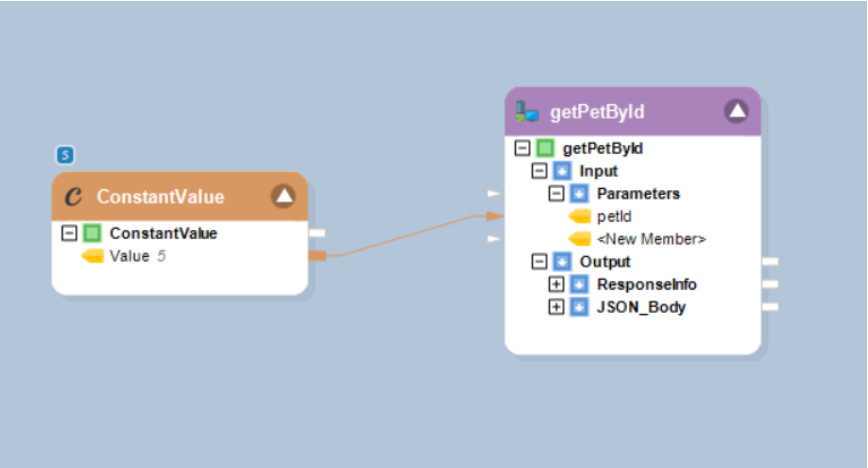
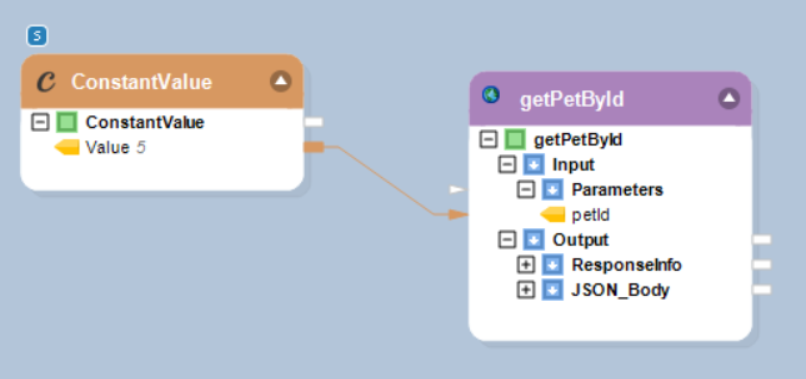
1. For this, we will first make a GET request to check whether that pet exists in the petstore before we try to delete this record. We will pass PetId, “5”, using a ConstantValue object.
2. Right-click on the REST Client (getPetById) object and select Preview Output.
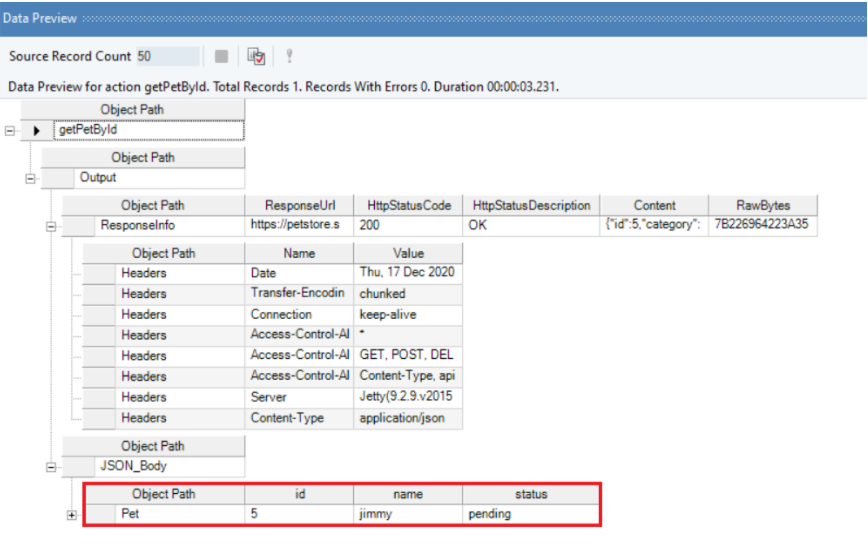
It has fetched the details of the pet with PetId, “5”, and the status shows that the pet is available on Petstore.
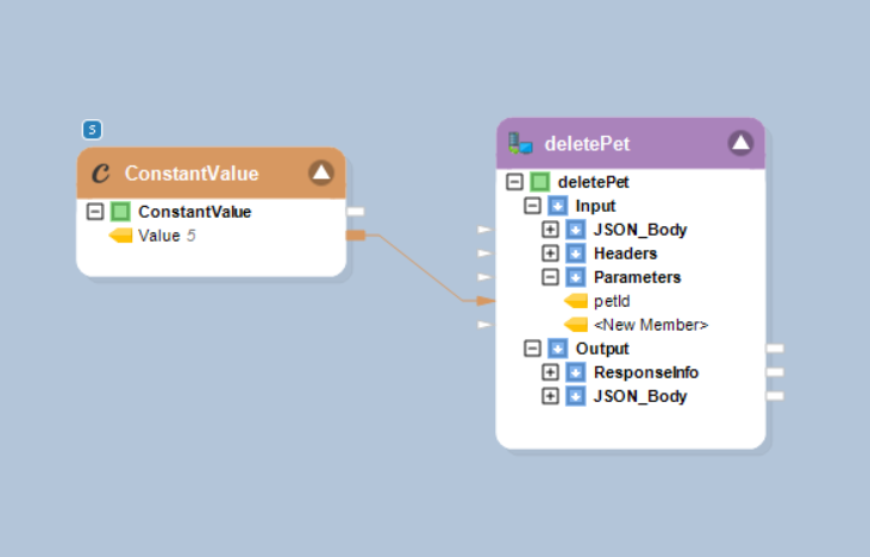
3. To delete this pet record, we will drag-and-drop another DELETE REST Client object onto the flow and configure its Properties according to the DELETE method.
4. Pass PetId, “5”, to the DELETE request object using a ConstantValue object.
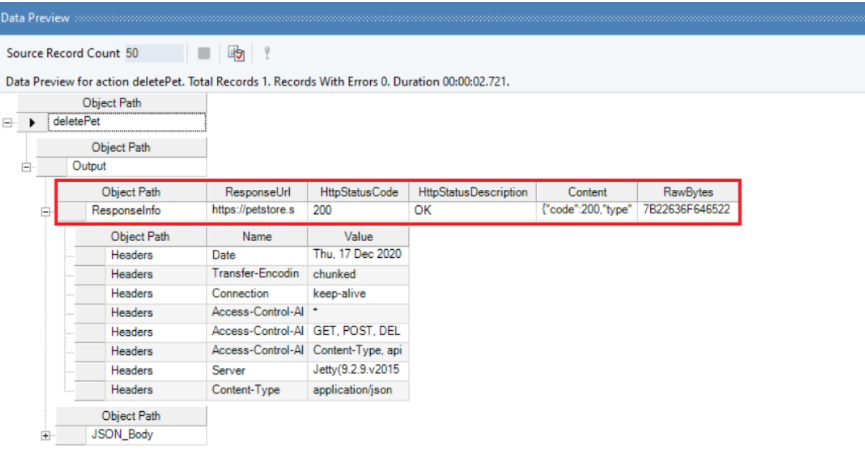
5. Right-click on the REST Client object and select Preview Output. You can see that it has returned HTTPStatusCode, “200”, which indicates a successful execution.
Let’s verify it by making a GET request again, and check if pet with PetId, “5”, has been deleted.
6. Right-click on the REST API Client (getPetById) object and select Preview Output.
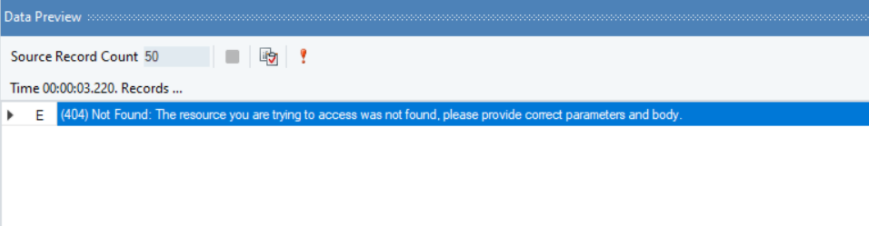
You can see that Centerprise has returned error 404 which means that there is no pet found with PetId, “5”, and the pet record has been successfully deleted from petstore API.
Making a PUT Request
Let us now look at the PUT HTTP Method.
1. Drag-and-drop the GET endpoint from the REST API Browser onto the dataflow.

2. Right-click on the object and select Properties from the context menu.
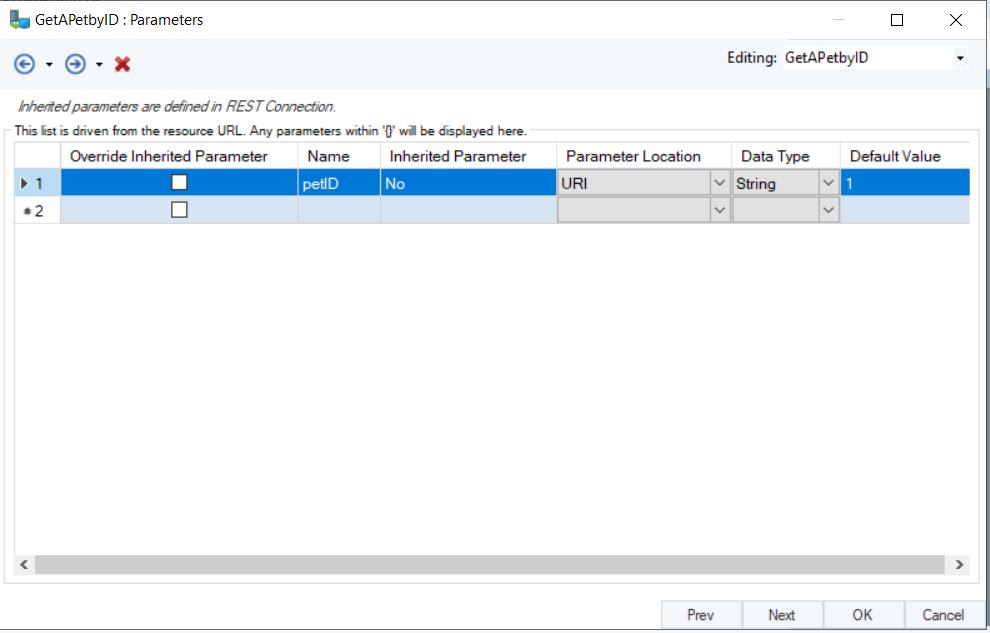
3. Click Next, and the Parameters screen will appear.
For this use-case, we will be updating the Pet with an ID of ‘1’. Let’s define this ID in the Default Value field.
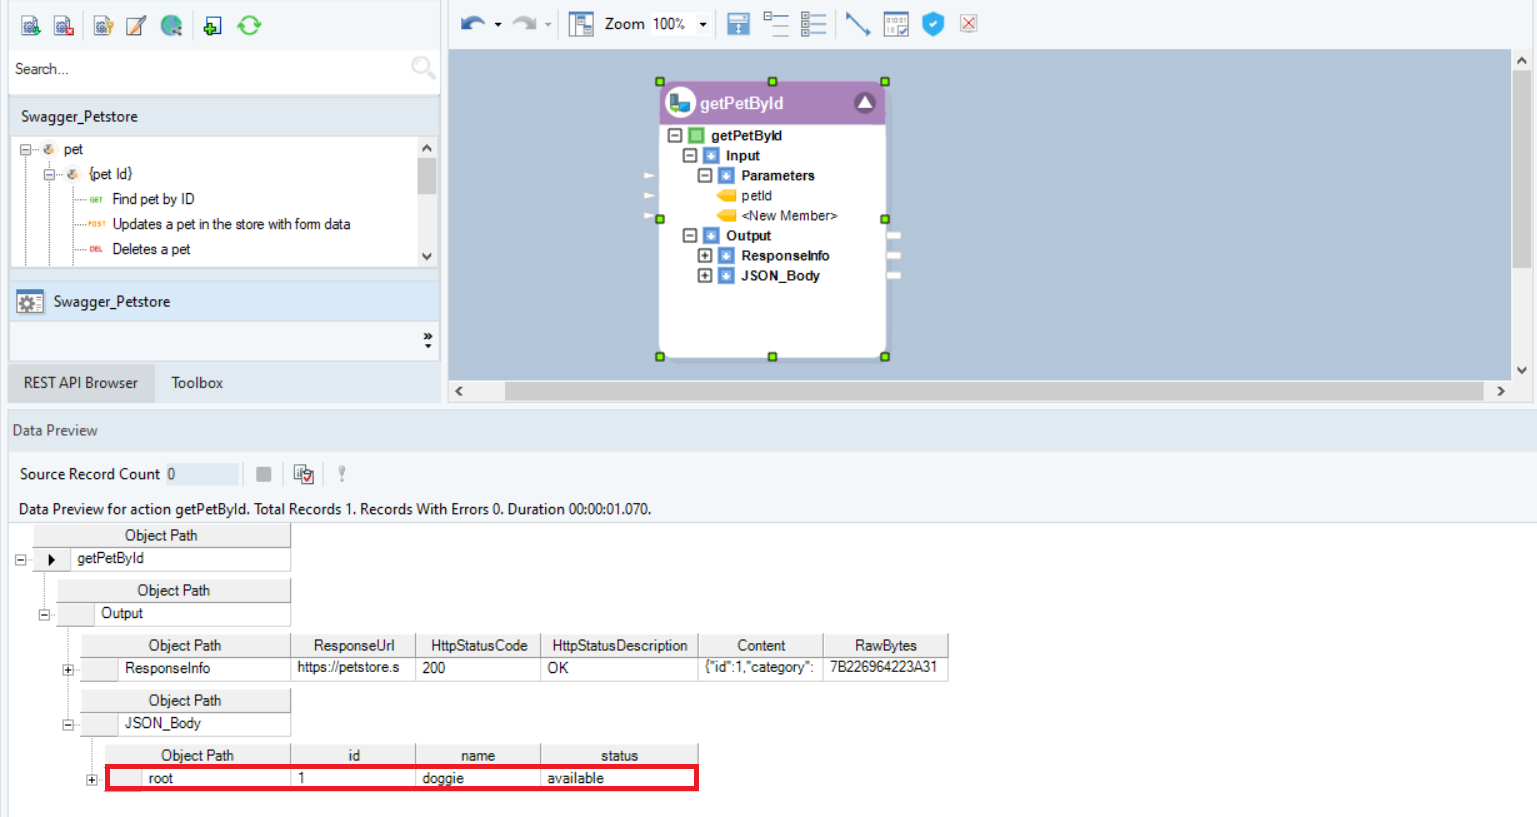
4. Click OK and preview the output by right-clicking on the object and selecting Preview Output

As you can see in the preview screen below, the GET method has retrieved the Pet by ID.
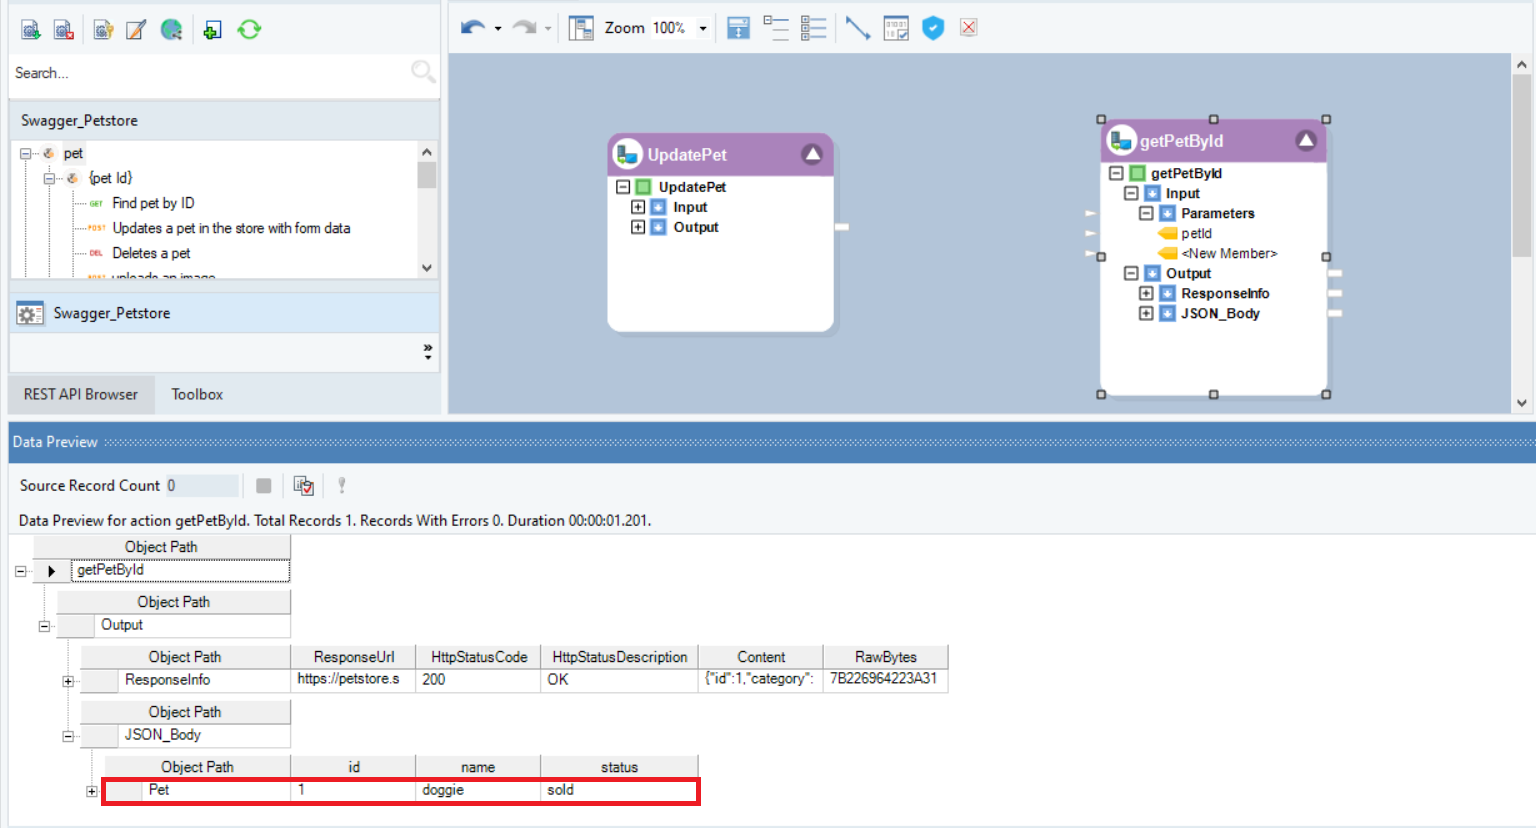
5. Now, drag-and-drop the PUT endpoint from the REST API Browser onto the dataflow, labeled ‘UpdatePet’.

For our use case, we will be using this object for the PUT method so we can update the status of a pet.
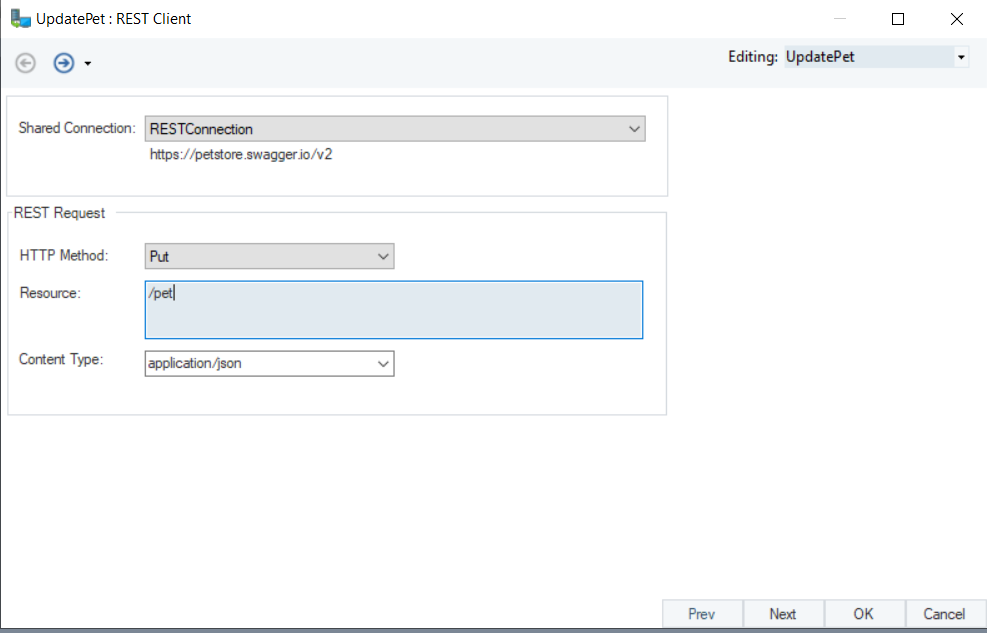
6. Right-click on the object and select Properties from the context menu.
Our Shared Connection has already been defined.
The HTTP Method is Put, and the Resource to update is a pet.
7. Click Next, and you will be led to the Parameters screen.
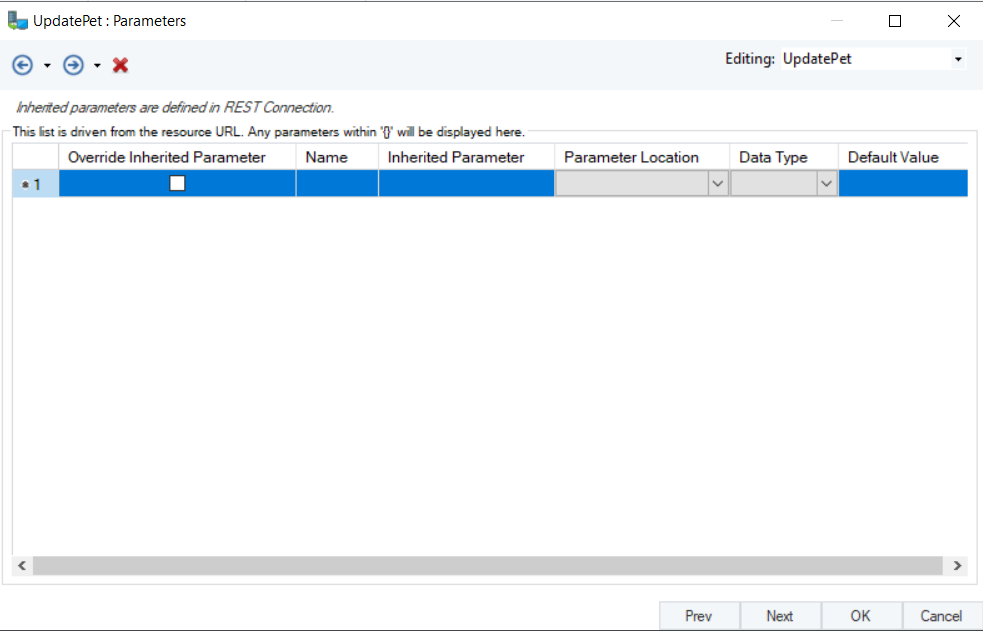
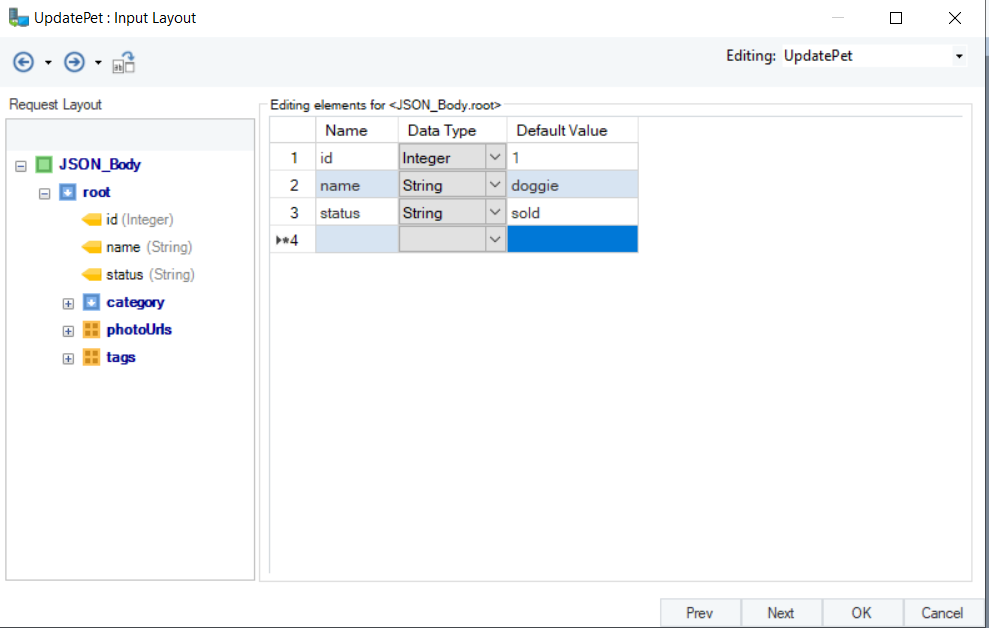
Since we are not defining any specific records here, we will click Next and head to the Input Layout screen, where a layout has already been populated from the imported API definition.
We have defined the status of the pet that we wish to update here. For our use case, we have changed the status from ‘available’ to ‘sold’.
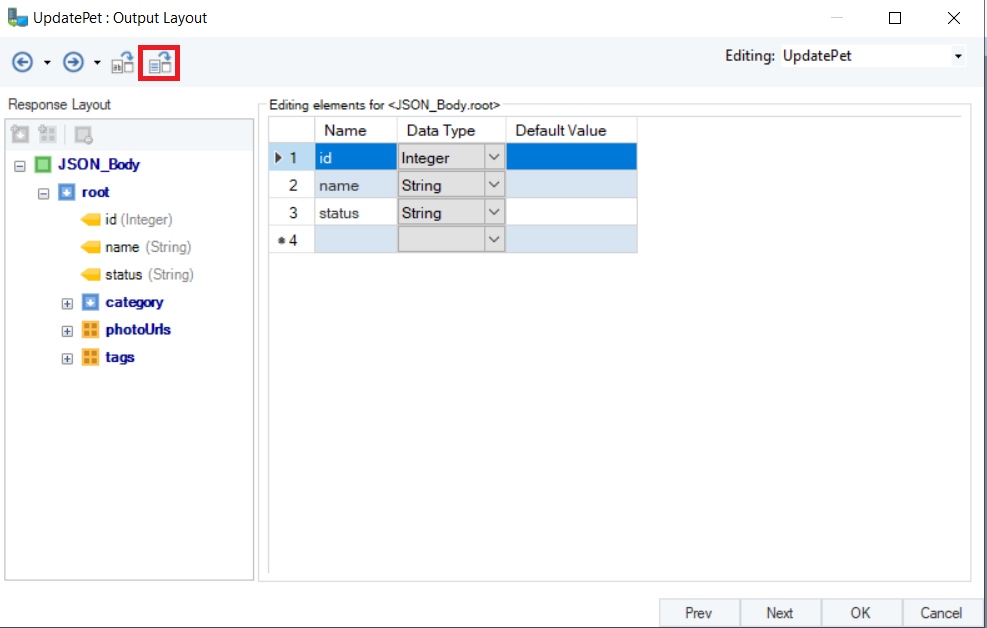
8. Click Next and you will be led to the Output Layout screen, where the output has already been generated.
If required, an output can be generated by running a request using the available option.
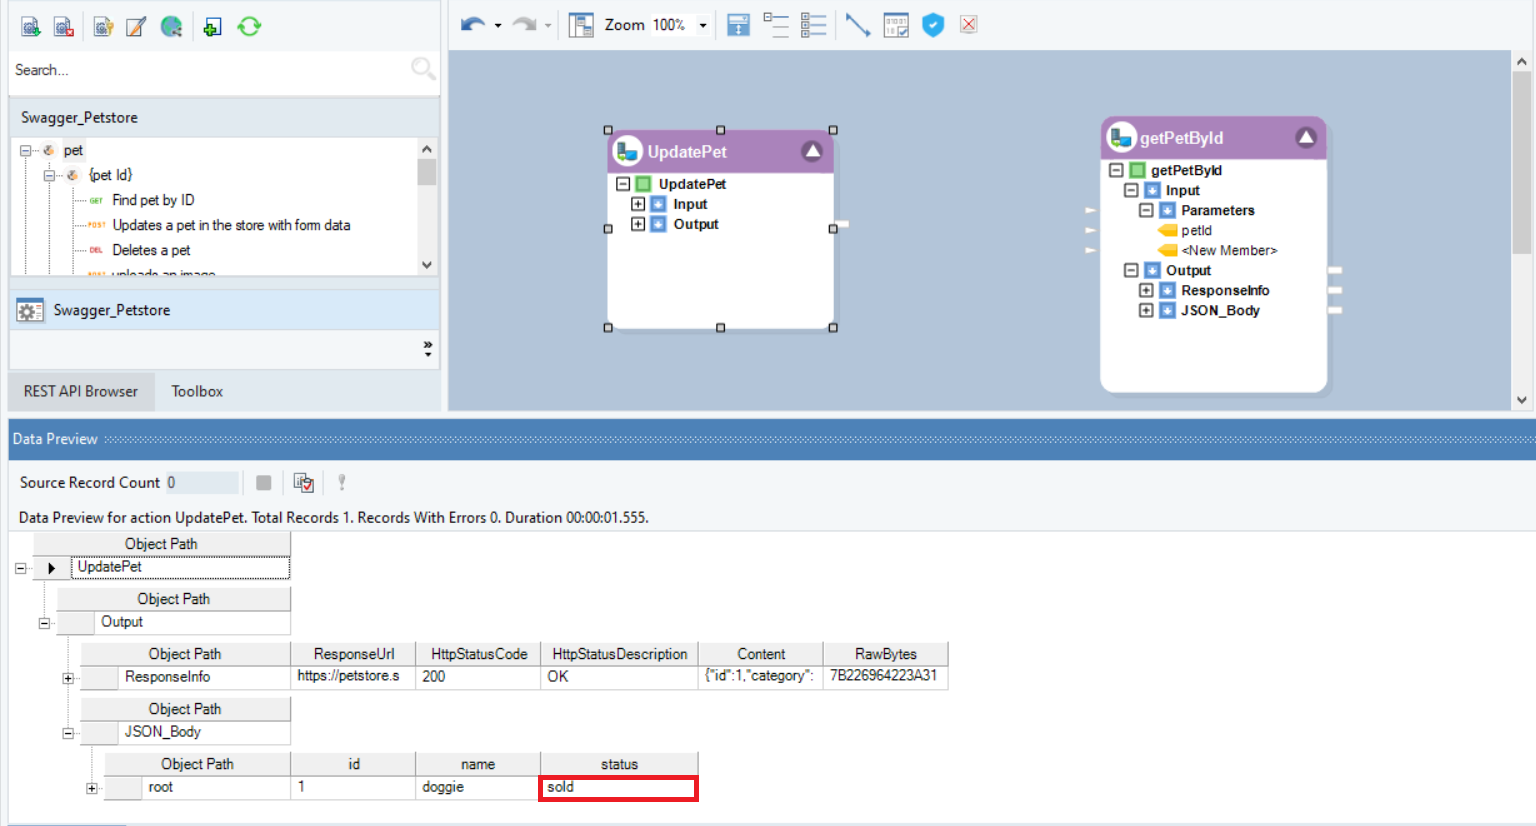
9. Click OK, right-click on the object and select Preview Output.
As you can see here, the status of the pet has been updated from ‘available’ to ‘sold’
10. We will now preview the output of the GET object we have configured to verify if the pet status has been updated.
As you can see, the value has been updated.
Making a PATCH Request
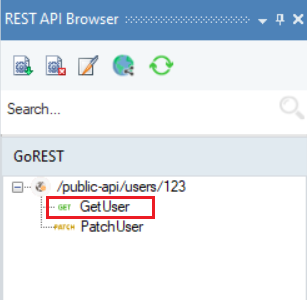
Since the PetStore OpenAPI Definition does not contain a PATCH request, we will be using the GoREST API for this use-case.
Let’s make a GET request to see what information is there in the user ID where we want to update something.
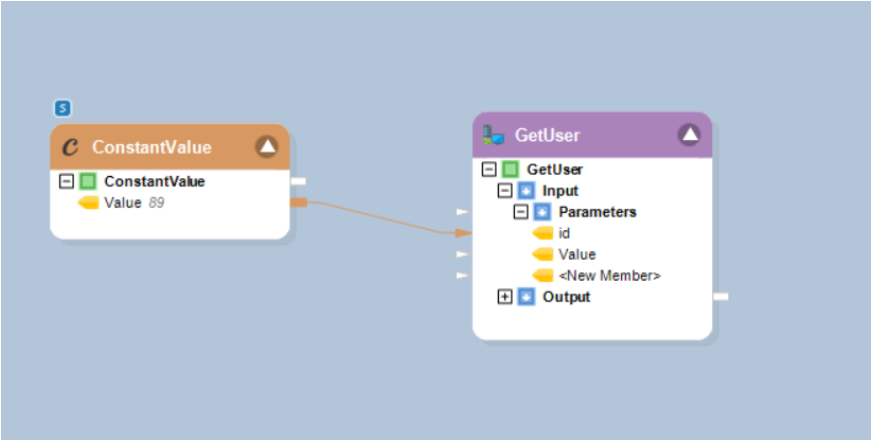
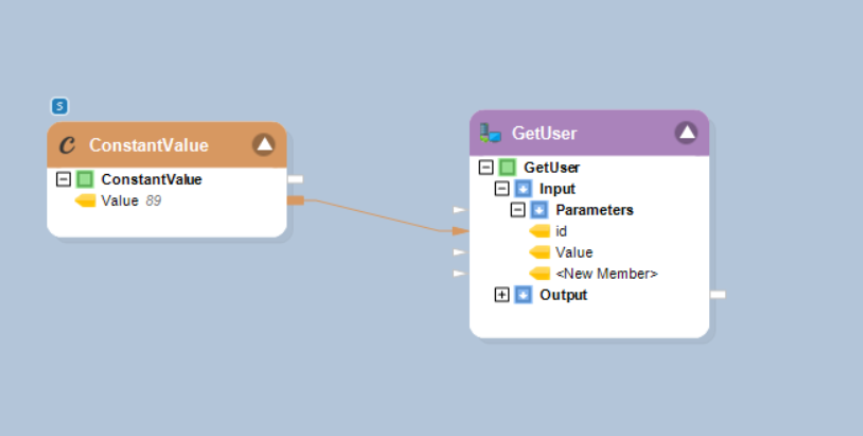
1. To make a GET request, drag-and-drop the GET REST Client object onto the dataflow.
2. Pass userID ‘89’ to the id under the Parameters node in the GetUser object using the ConstantValue transformation object.
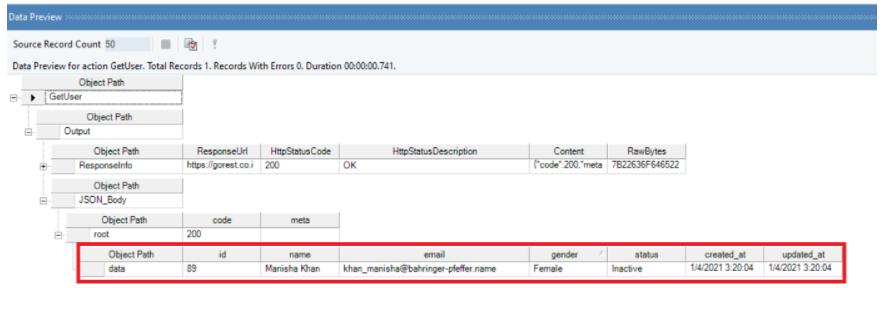
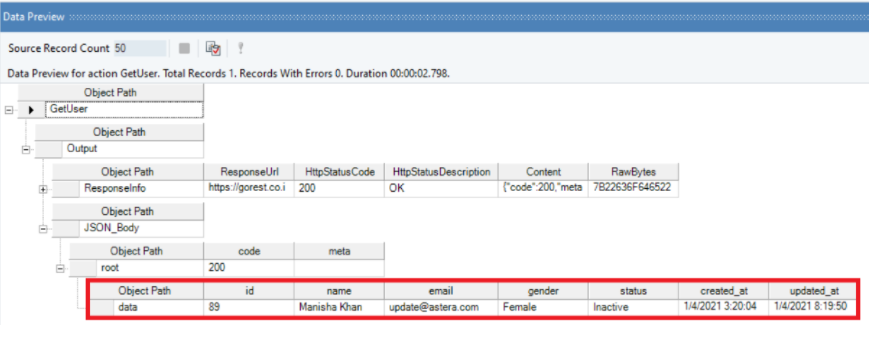
3. Right-click the REST Client (GetUser) object’s header and select Preview Output.
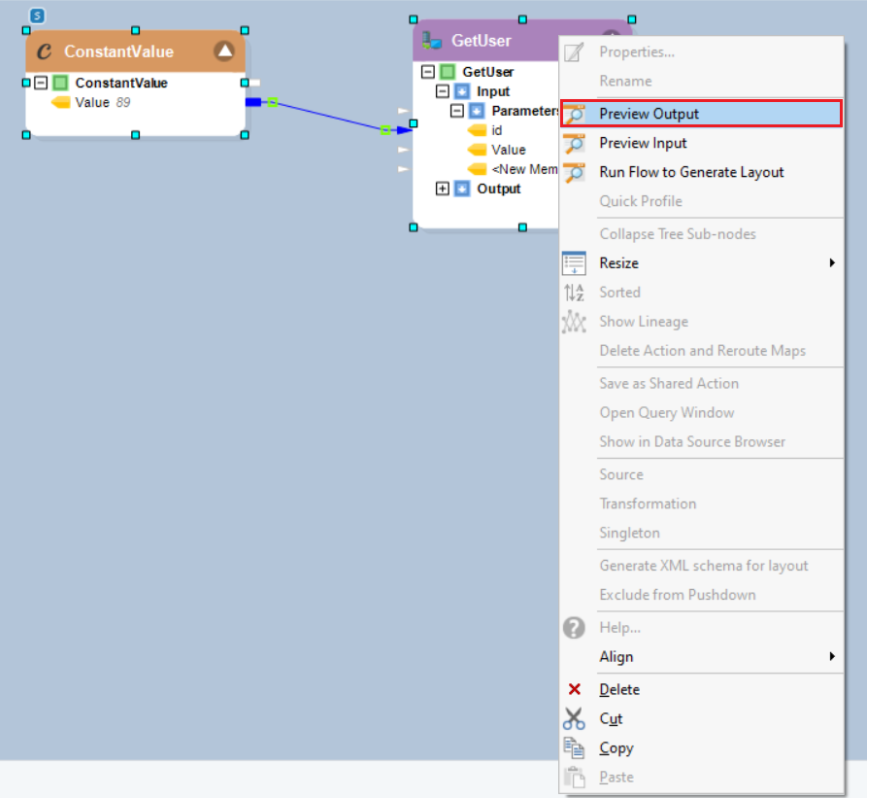
Here is what the output looks like:
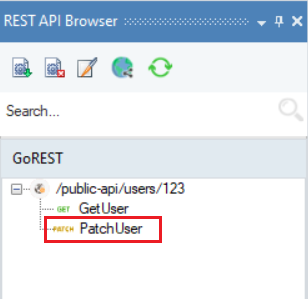
4. Drag-and-drop the PatchUser REST Client object to use the PATCH method.
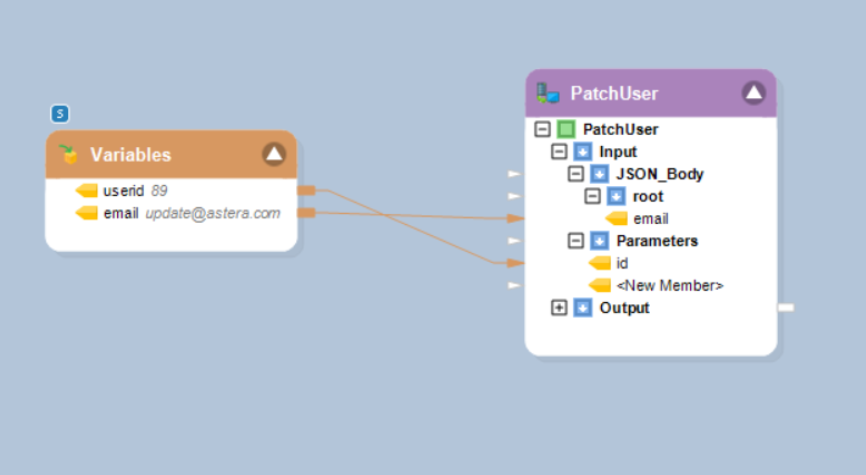
5. Pass userId ‘89’, and email, ‘updatedemail@astera.com’, using a Variables resource object.
6. Right click on the PatchUser object’s header, and select Preview Output.
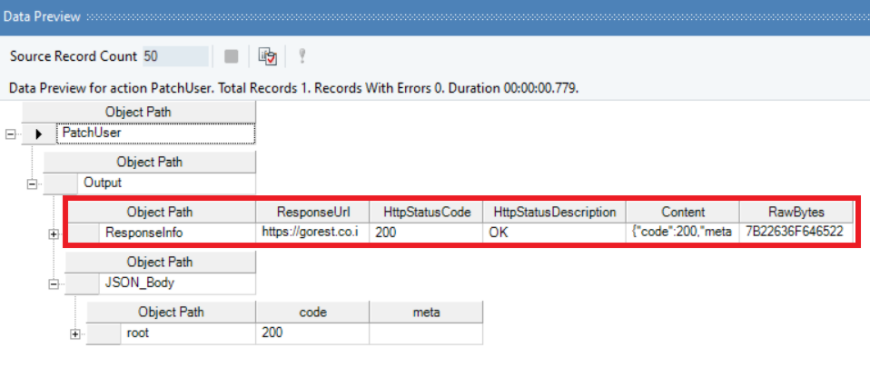
You can see that the HTTPStatusCode is 200, which means that the REST API has successfully carried out the PATCH request. Let’s verify it by making a GET request for the same userId which we altered.
7. Right-click the GetUser object’s header and select Preview Output.
As you can see, the request has been successfully carried out and the email address has been updated.
This concludes our discussion on the HTTP method operations in Astera Centerprise.