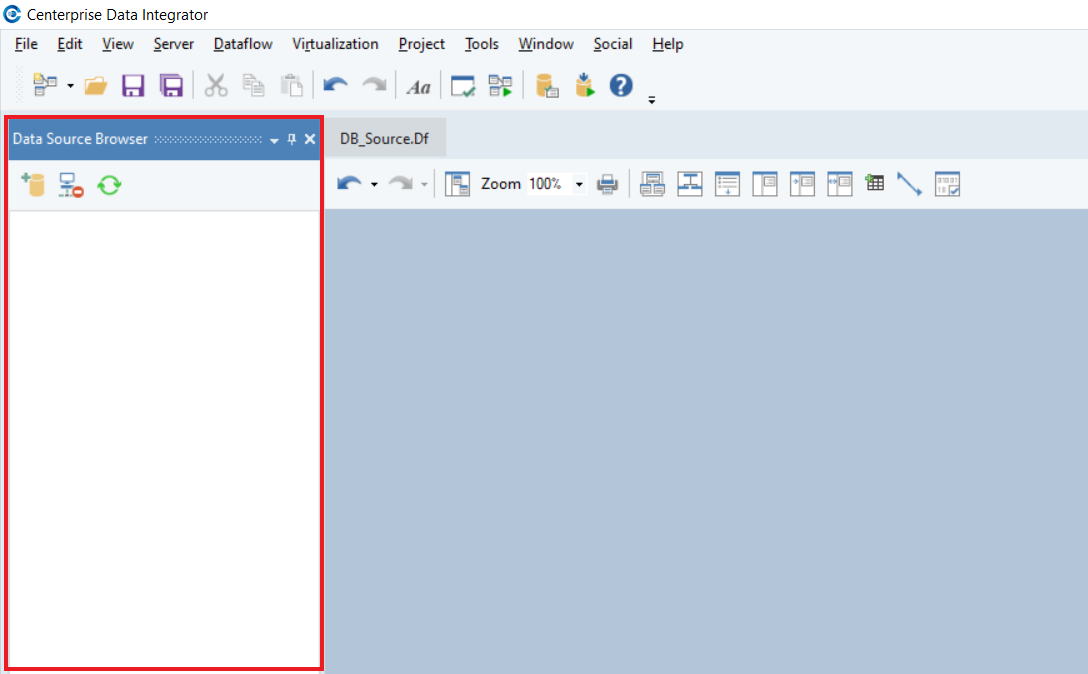
Database Table Source
The Database Table Source object provides the functionality to retrieve data from a database table. It also provides change data capture functionality to perform incremental reads, and supports multi-way partitioning, which partitions a database table into multiple chunks and reads these chunks in parallel. This features brings about major performance benefits for database reads. The object also enables you to specify a WHERE clause and sort order to control the result set.
Video
Overview
In this article, we will be discussing how to:
- Get a Database Table Source object on the dataflow designer.
- Configure the Database Table Source object according to the required layout and settings.
We will also be discussing some best practices for using a Database Table Source object.
Getting a Database Table Source Object
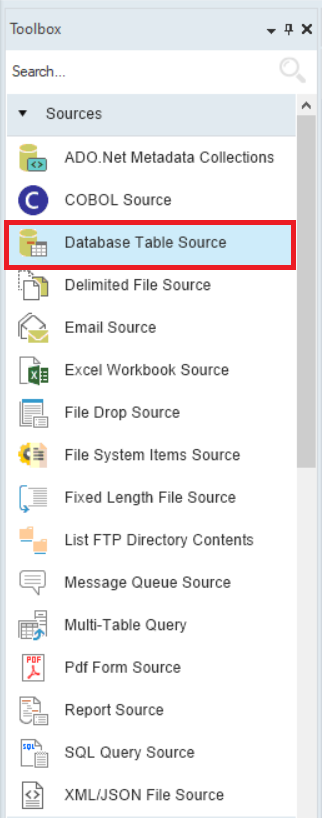
1. To get a Database Table Source from the Toolbox, go to Toolbox > Sources > Database Table Source. If you are unable to see the Toolbox, go to View > Toolbox or press Ctrl + Alt + X.
2. Drag-and-drop the Database Table Source object onto the designer.
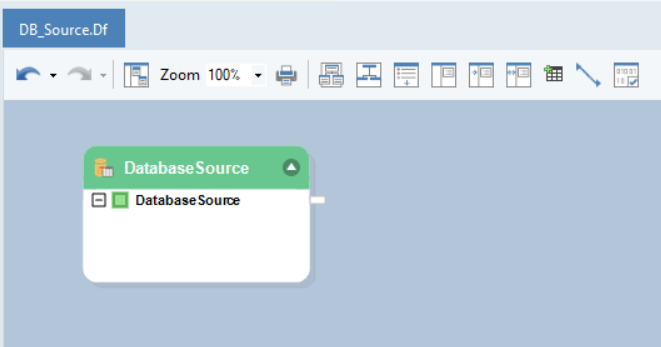
You can see that the dragged source object is empty right now. This is because we have not configured the object yet.
Configuring the Database Table Source Object
1. To configure the Database Table Source object, right-click on its header and select Properties from the context menu.
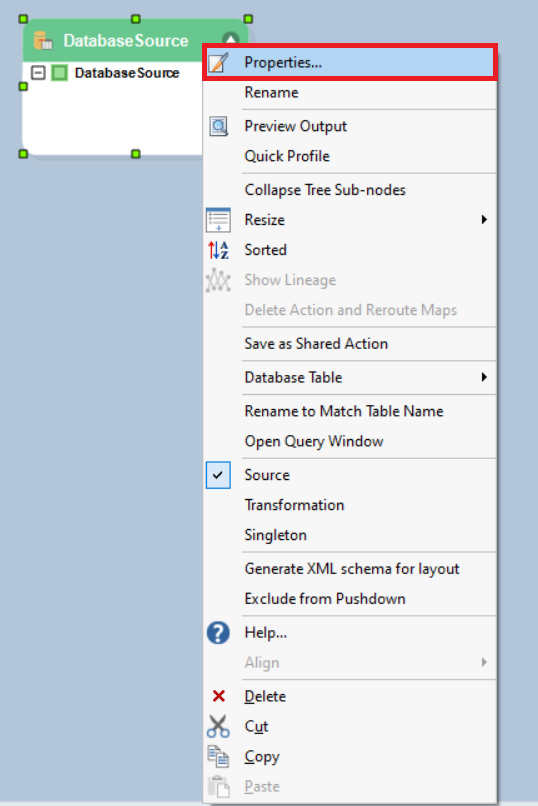
A dialog box will open.
This is where you can configure the properties for the Database Table Source object.
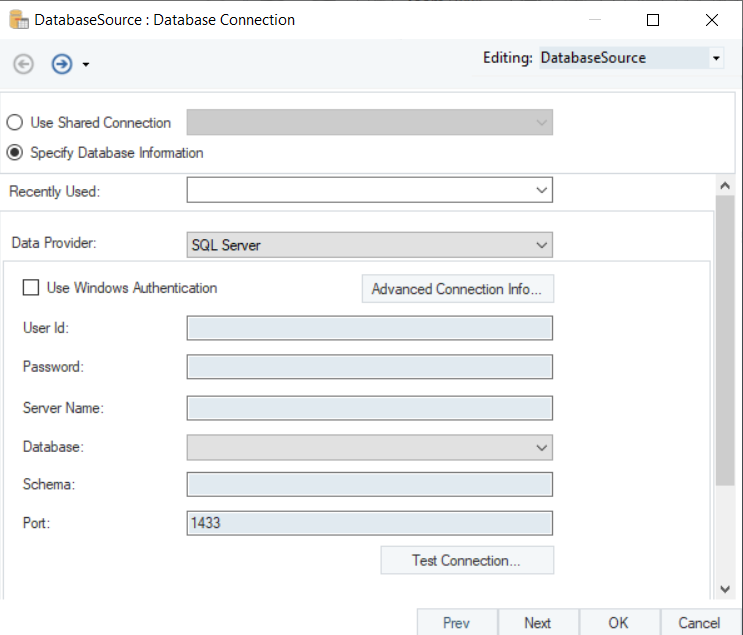
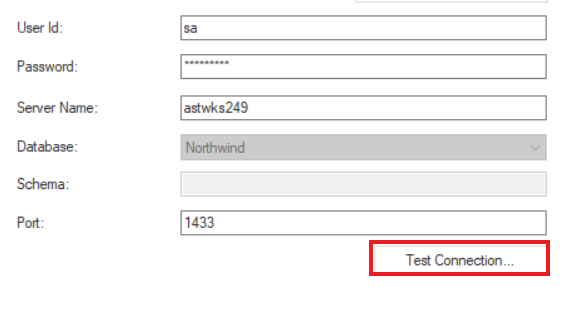
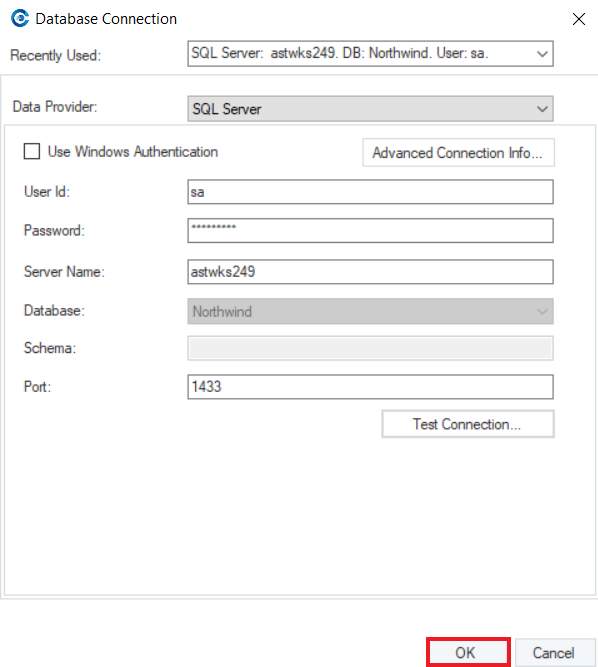
2. The first step is to specify the Database Connection for the source object.
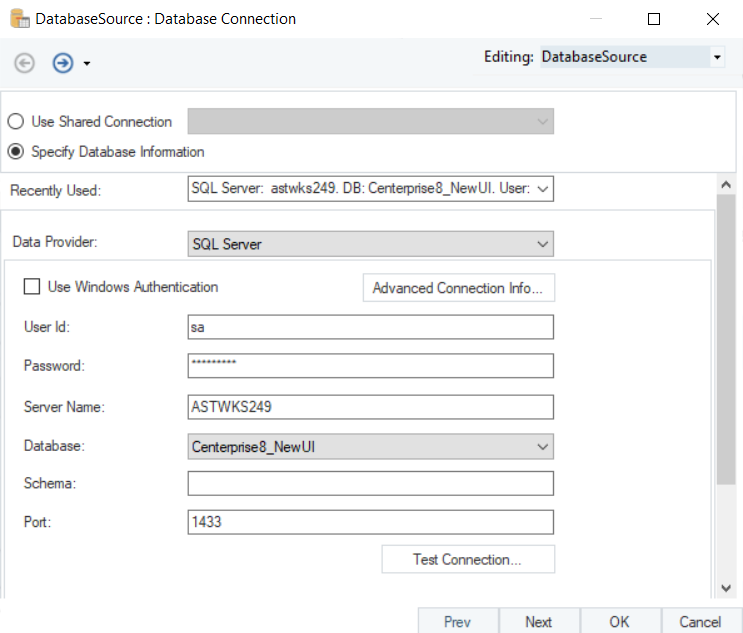
- Provide the required credentials. You can also use the Recently Used drop-down menu to connect to a recently connected database.
- You will find a drop-down list next to the Data Provider.
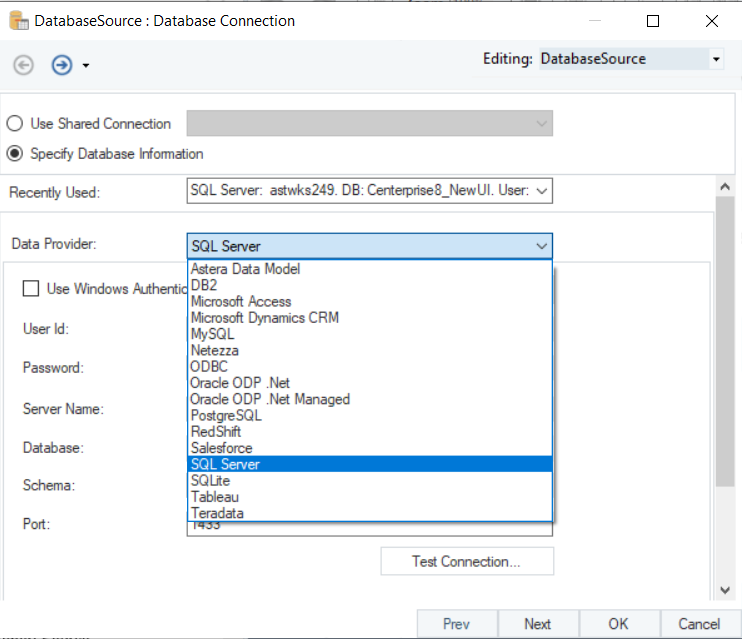
This is where you select the specific database provider to connect to. The connection credentials will vary according to the provider selected.
- Test Connection to make sure that your database connection is successful and click Next.
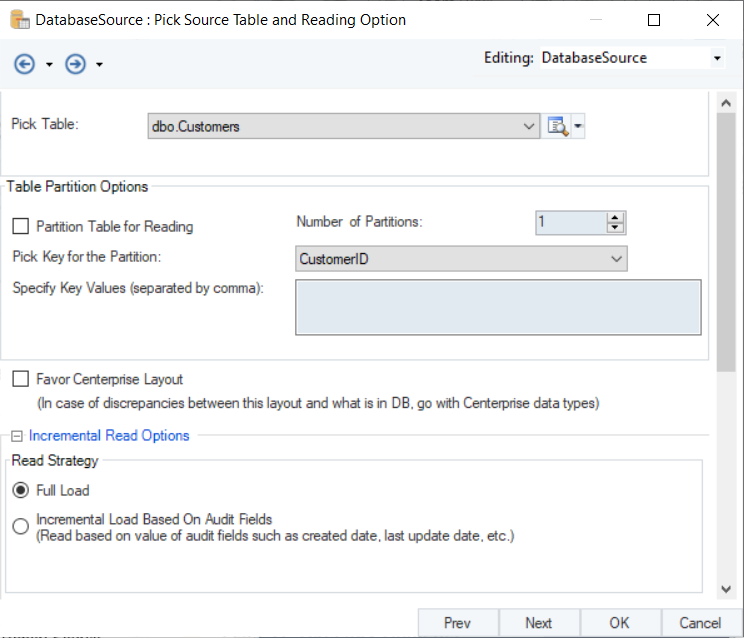
3. Next, you will see a Pick Source Table and Reading Options window. On this window, you will select the table from the database that you previously connected to, and configure the table from the given options.
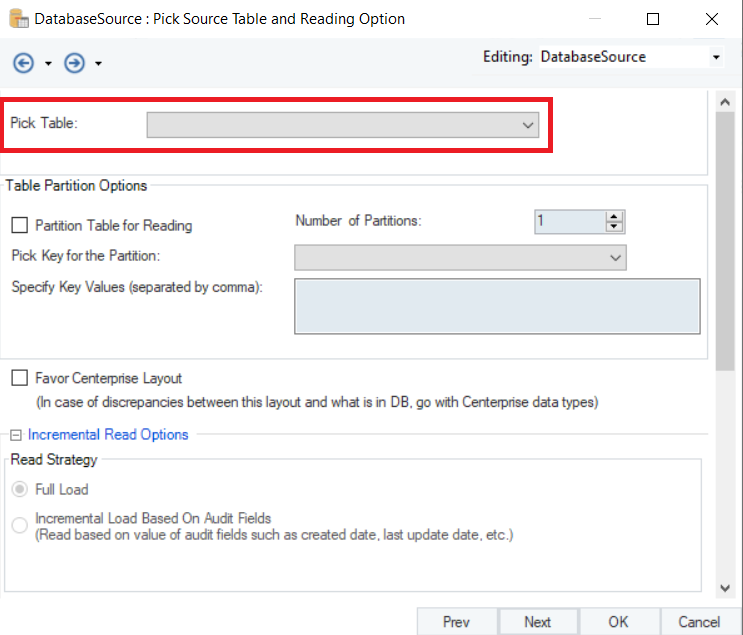
From the Pick Table field, choose the table that you want to read the data from.
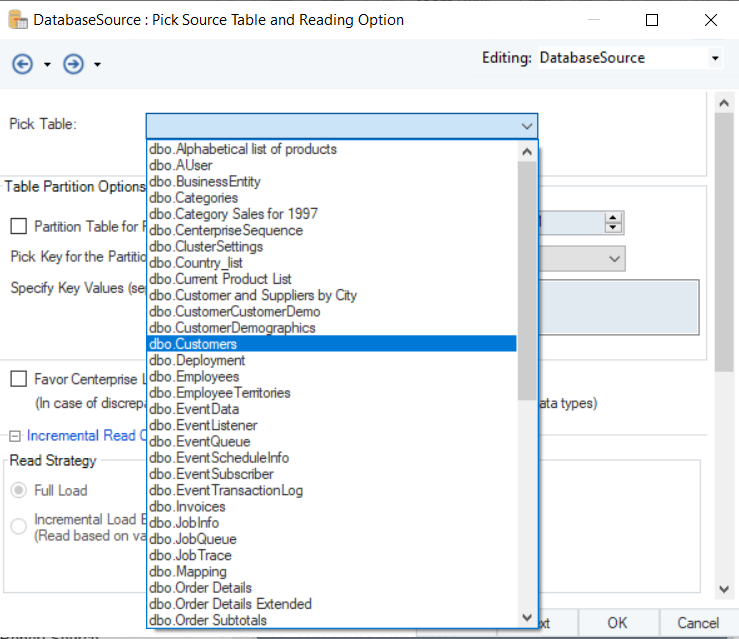
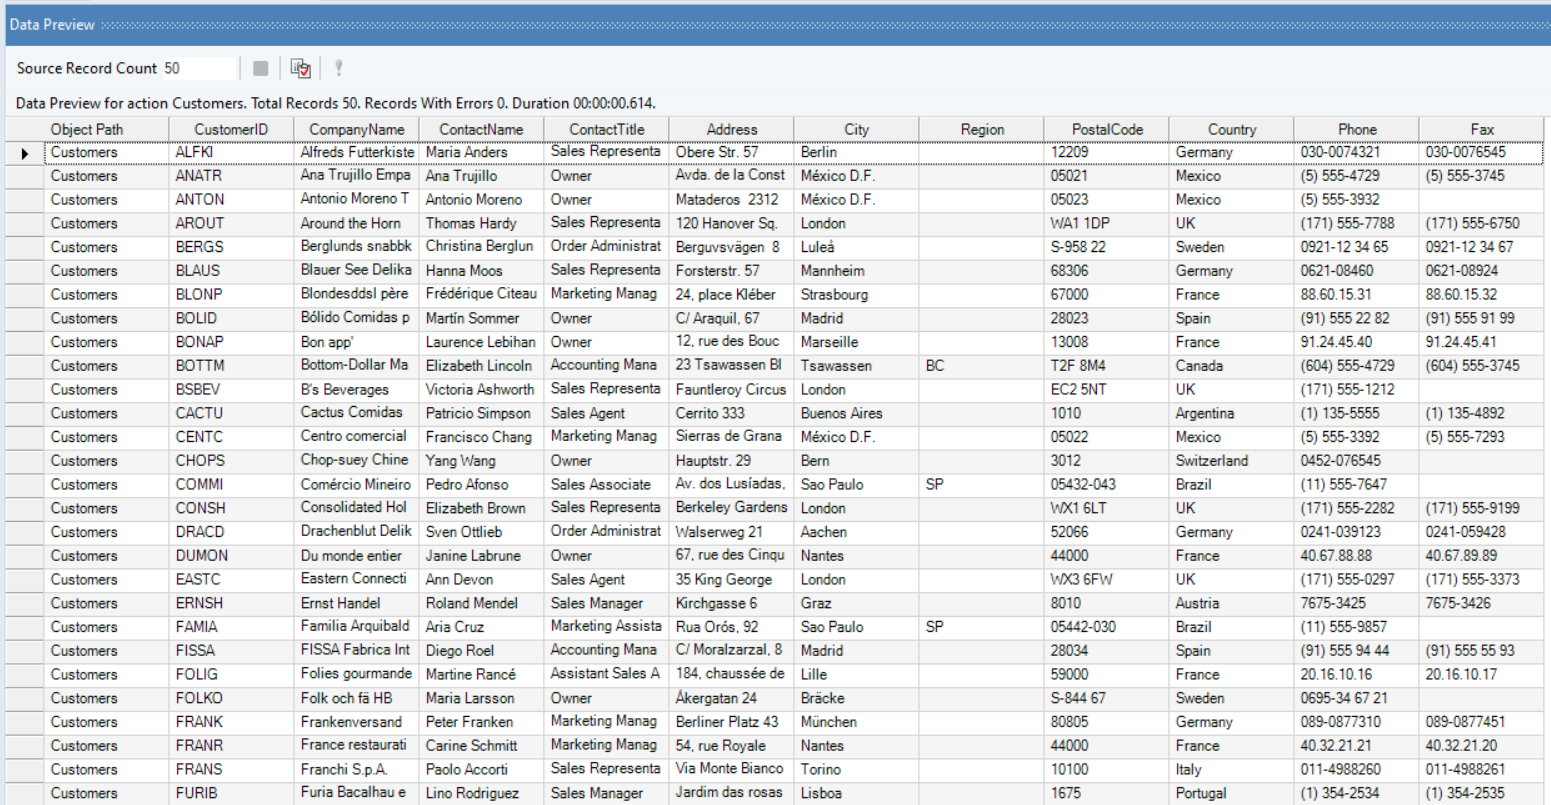
Note: We will be using the Customers table in this case.
Once you pick a table, an icon will show up beside the Pick Table field.
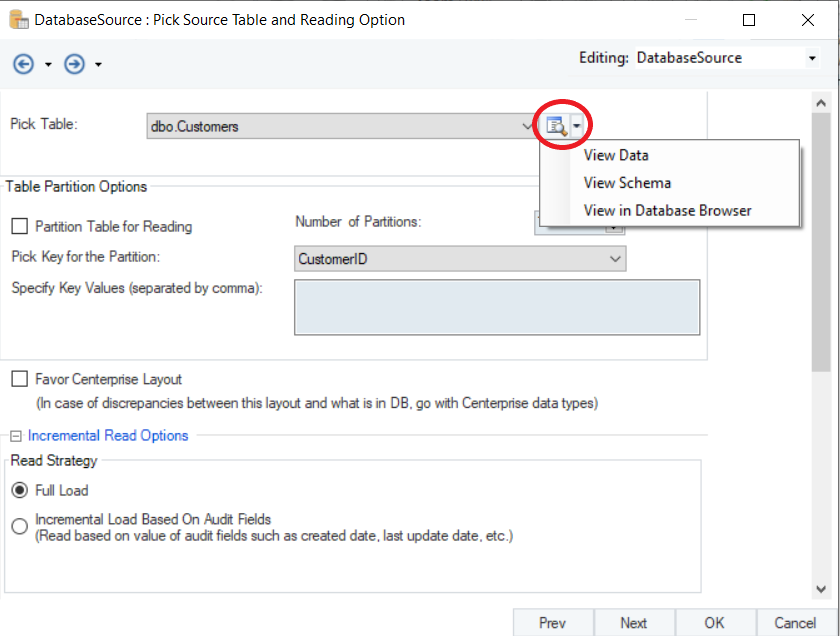
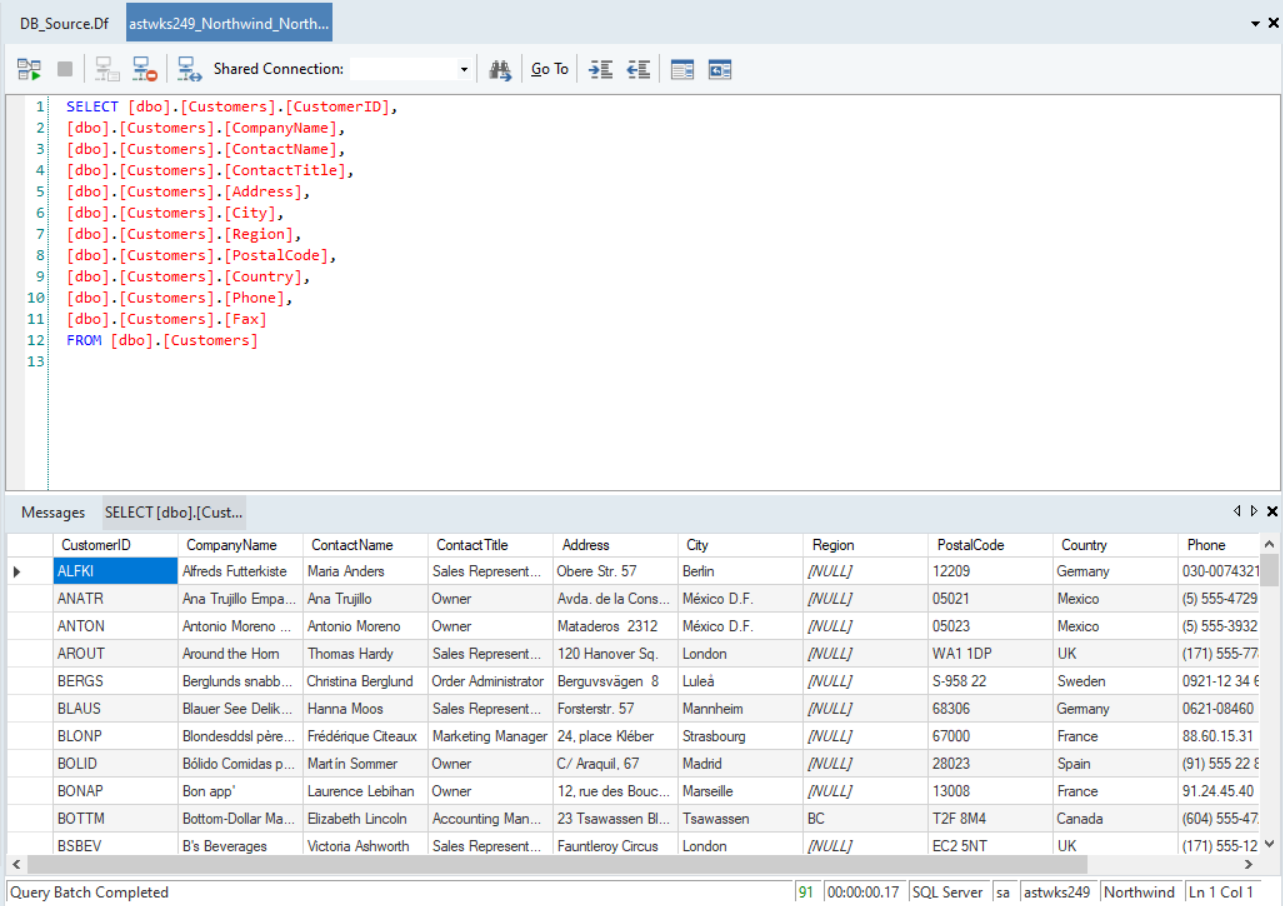
- View Data: You can view data in a separate window in Centerprise.
- View Schema: You can view the schema of your database table from here.

- View in Database Browser: You can see the selected table in the Database Source Browser in Centerprise.
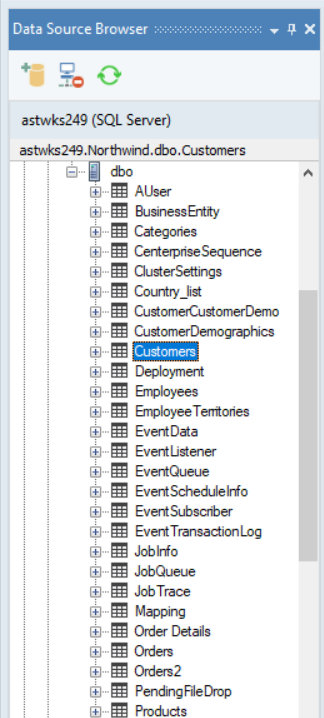
Table Partition Options
This feature substantially improves the performance of large data movement jobs. Partitioning is done by selecting a field and defining value ranges for each partition. At runtime, Centerprise generates and runs multiple queries against the source table and processes the result set in parallel.
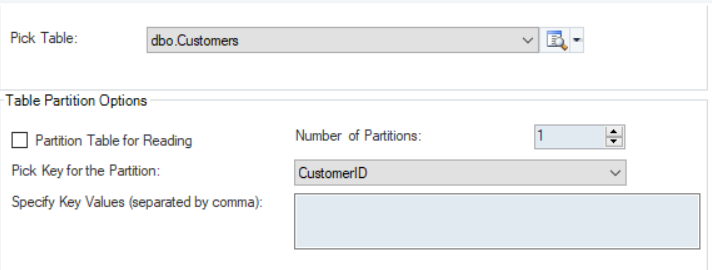
- Check the Partition Table for Reading option if you want your table to be read in partitions.
- You can specify the Number of Partitions.
- The Pick Key for the Partition drop-down will let you choose the key field for partitioning the table.
- If you have specific key values based on which you want to partition the table, you can use the Specify Key Values (Separated by comma) option.
The Favor Centerprise Layout option is useful in cases where your source database table layout has changed over time, but the layout built in Centerprise is static. And you want to continue to use your dataflows even with the updated source database table layout. You check this option and Centerprise will favor its own layout over the db layout.

Incremental Read Options
The Database Table Source object provides incremental read functionality based on the concept of audit fields. Incremental read is one of the three change data capture approaches supported by Centerprise. Audit fields are fields that are updated when a record is created or modified. Examples of audit fields include created date time, modified date time, and version number.
Incremental read works by keeping a track of the highest value for the specified audit field. On the next run, only the records with value higher than the saved value are retrieved. This feature is useful in situations where two applications need to be kept in sync and the source table maintains audit field values for rows.
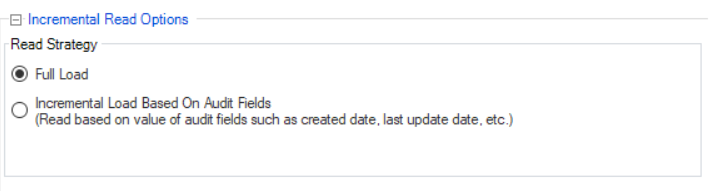
Select Full Load if you want to read the entire table.
Select Incremental Load Based on Audit Fields to perform an incremental read. Centerprise will start reading the records from the last read.
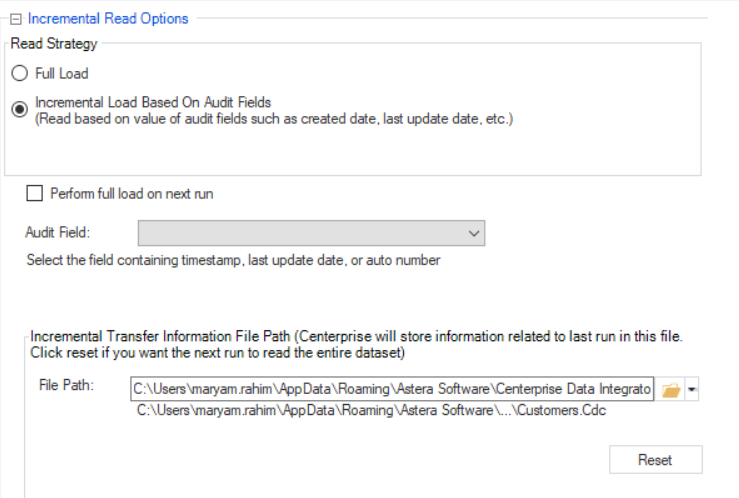
- Checking the Perform full load on next run option will override the incremental load function from the next run onwards and will perform a full load on it.
- Use Audit Field to compare when the last read was performed on the dataset.
- Specify the path to the file in the File Path, that will store incremental transfer information.
4. The next window is the Layout Builder. In this window you can modify the layout of your database table.
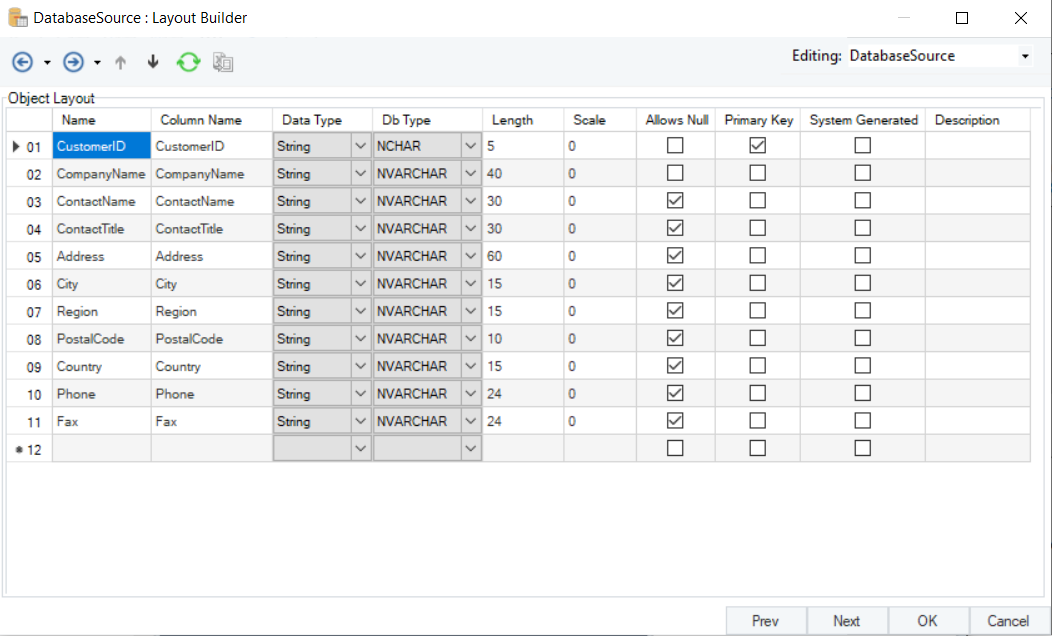
Note: By default, Centerprise reads the source layout.
If you want to delete a field from your dataset, click on the serial column of the row that you want to delete. The selected row will be highlighted in blue.
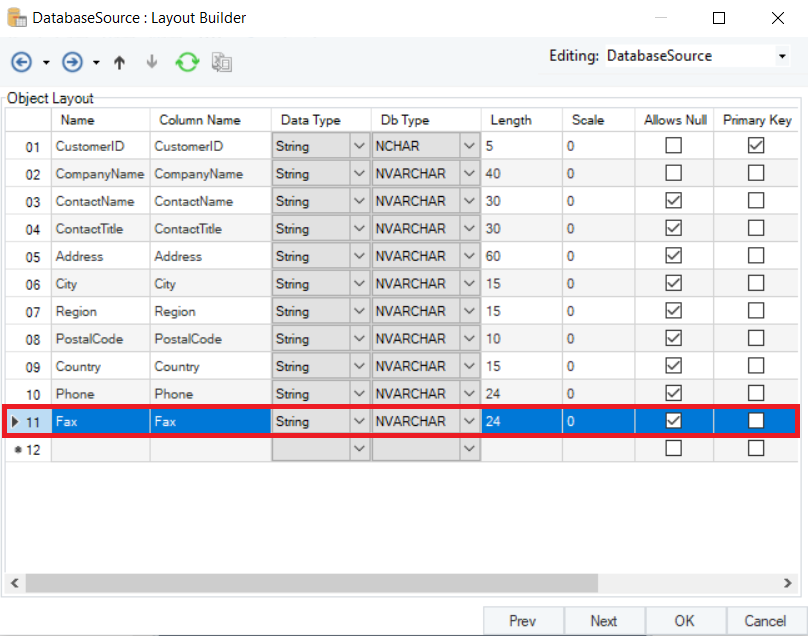
Right-click on the highlighted line, a context menu will appear in which you will have the option to Delete.
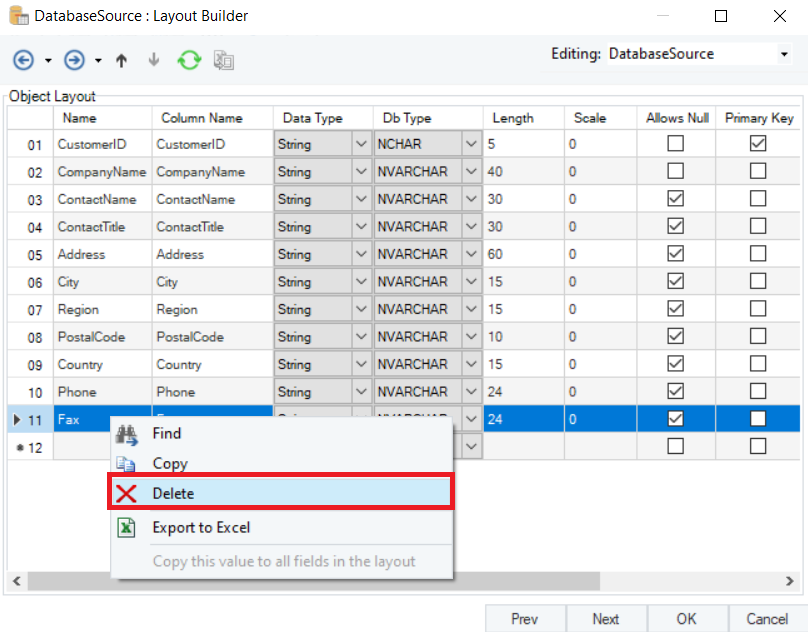
Selecting Delete will delete the entire row.
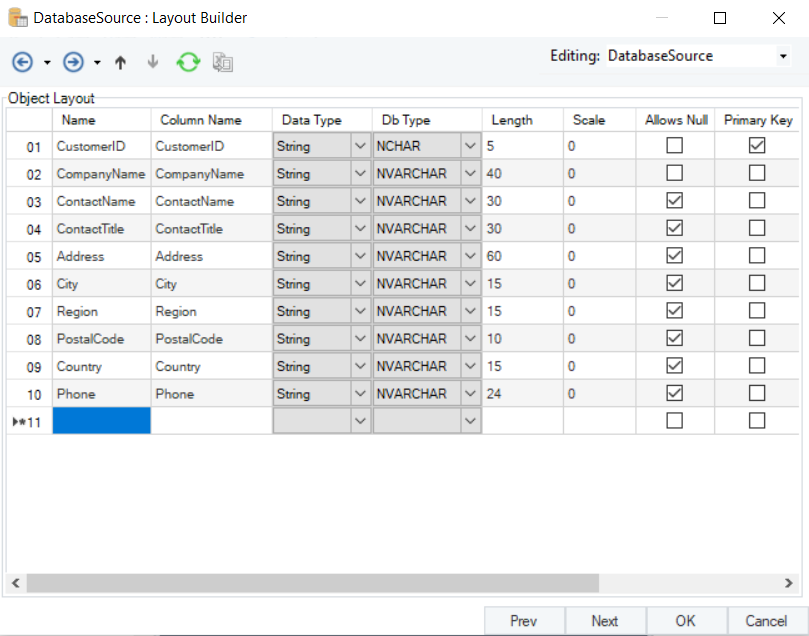
The field is now deleted from the layout and will not appear in the output.
Note: Modifying the layout (adding or deleting fields) from the Layout Builder in Centerprise will not make any changes to the actual database table. The layout is only specific to Centerprise.
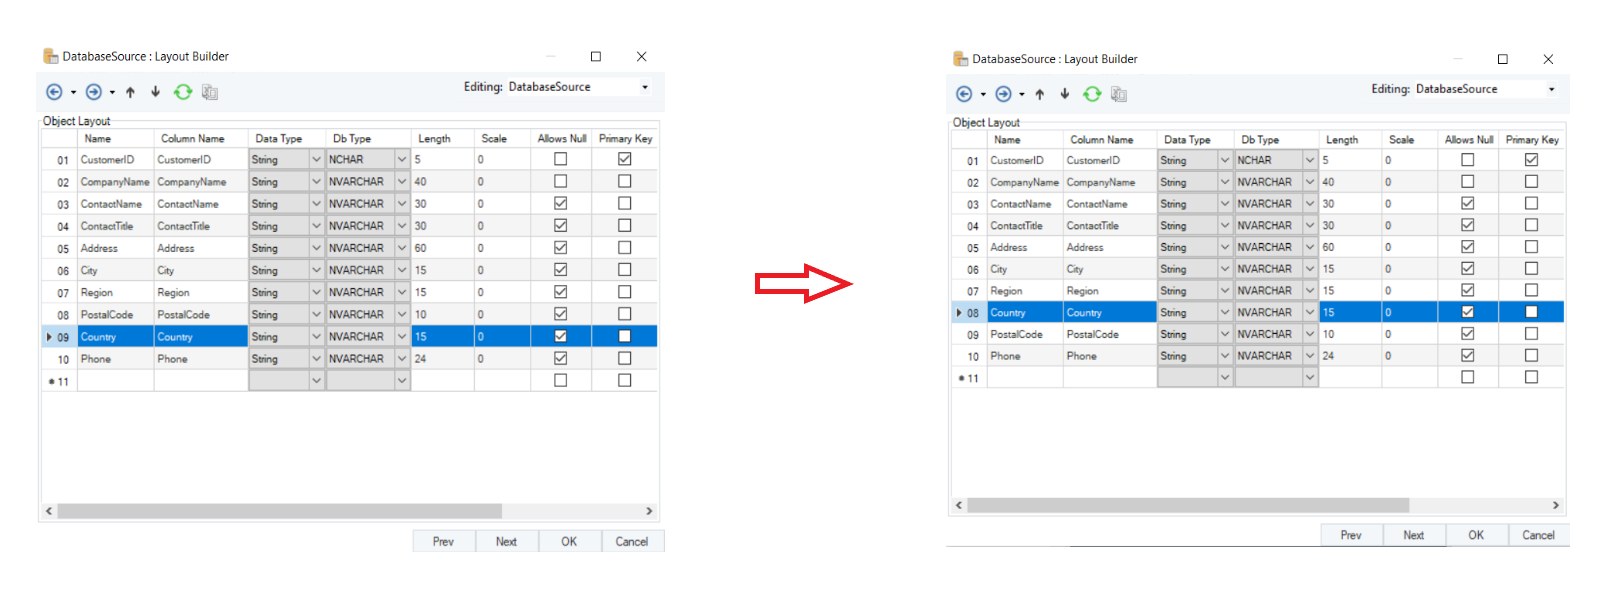
If you want to change the position of any field and want to move it below or above another field in the layout, you can do this by selecting the row and using the Move up/Move down keys.
Note: You will find the Move up/Move down icons on the top left of the builder.
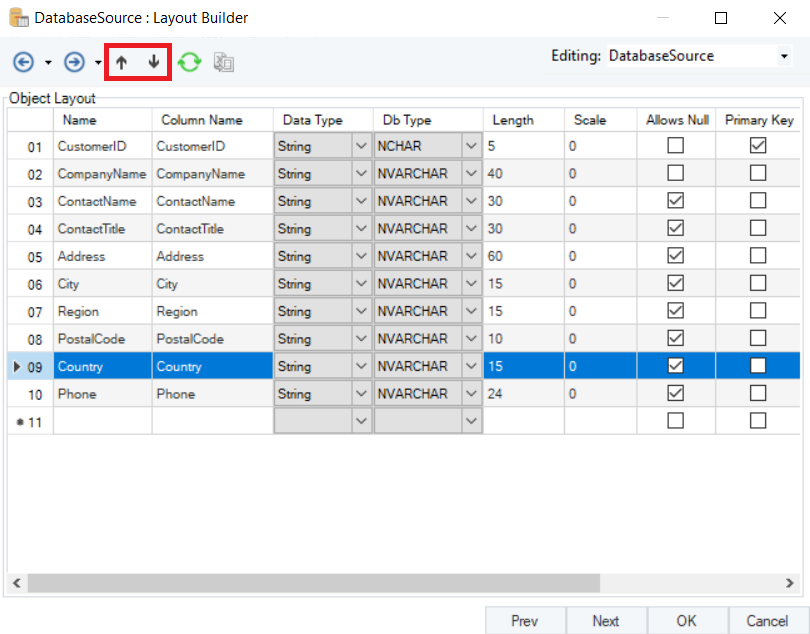
For example: We want to move the Country field right below the Region field. We will select the row and use the Move up key to move the field from the 9th row to the 8th.
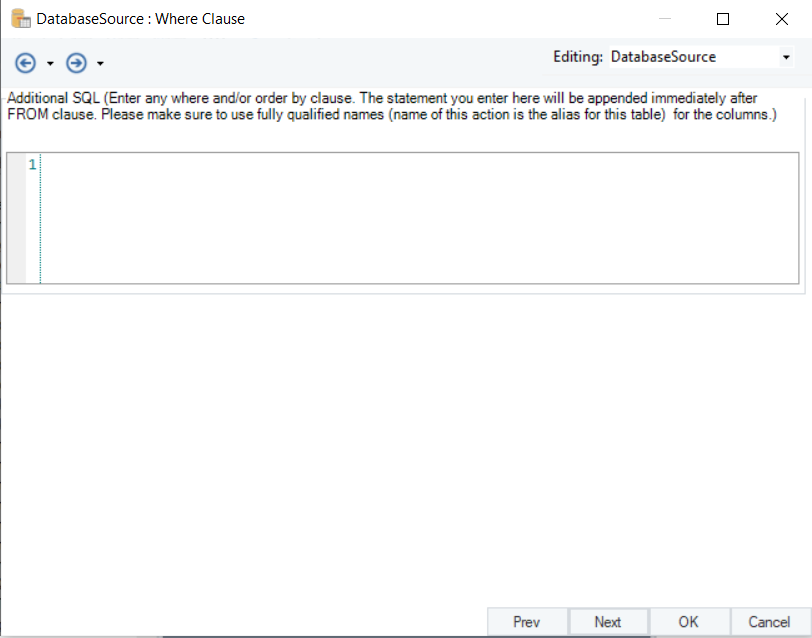
5. After you are done customizing the Layout Builder, click Next. You will be taken to a new window, Where Clause. Here, you can provide a WHERE clause, which will filter the records from your database table.
Note: If the wizard is left blank, Centerprise will use the default values of the database table.
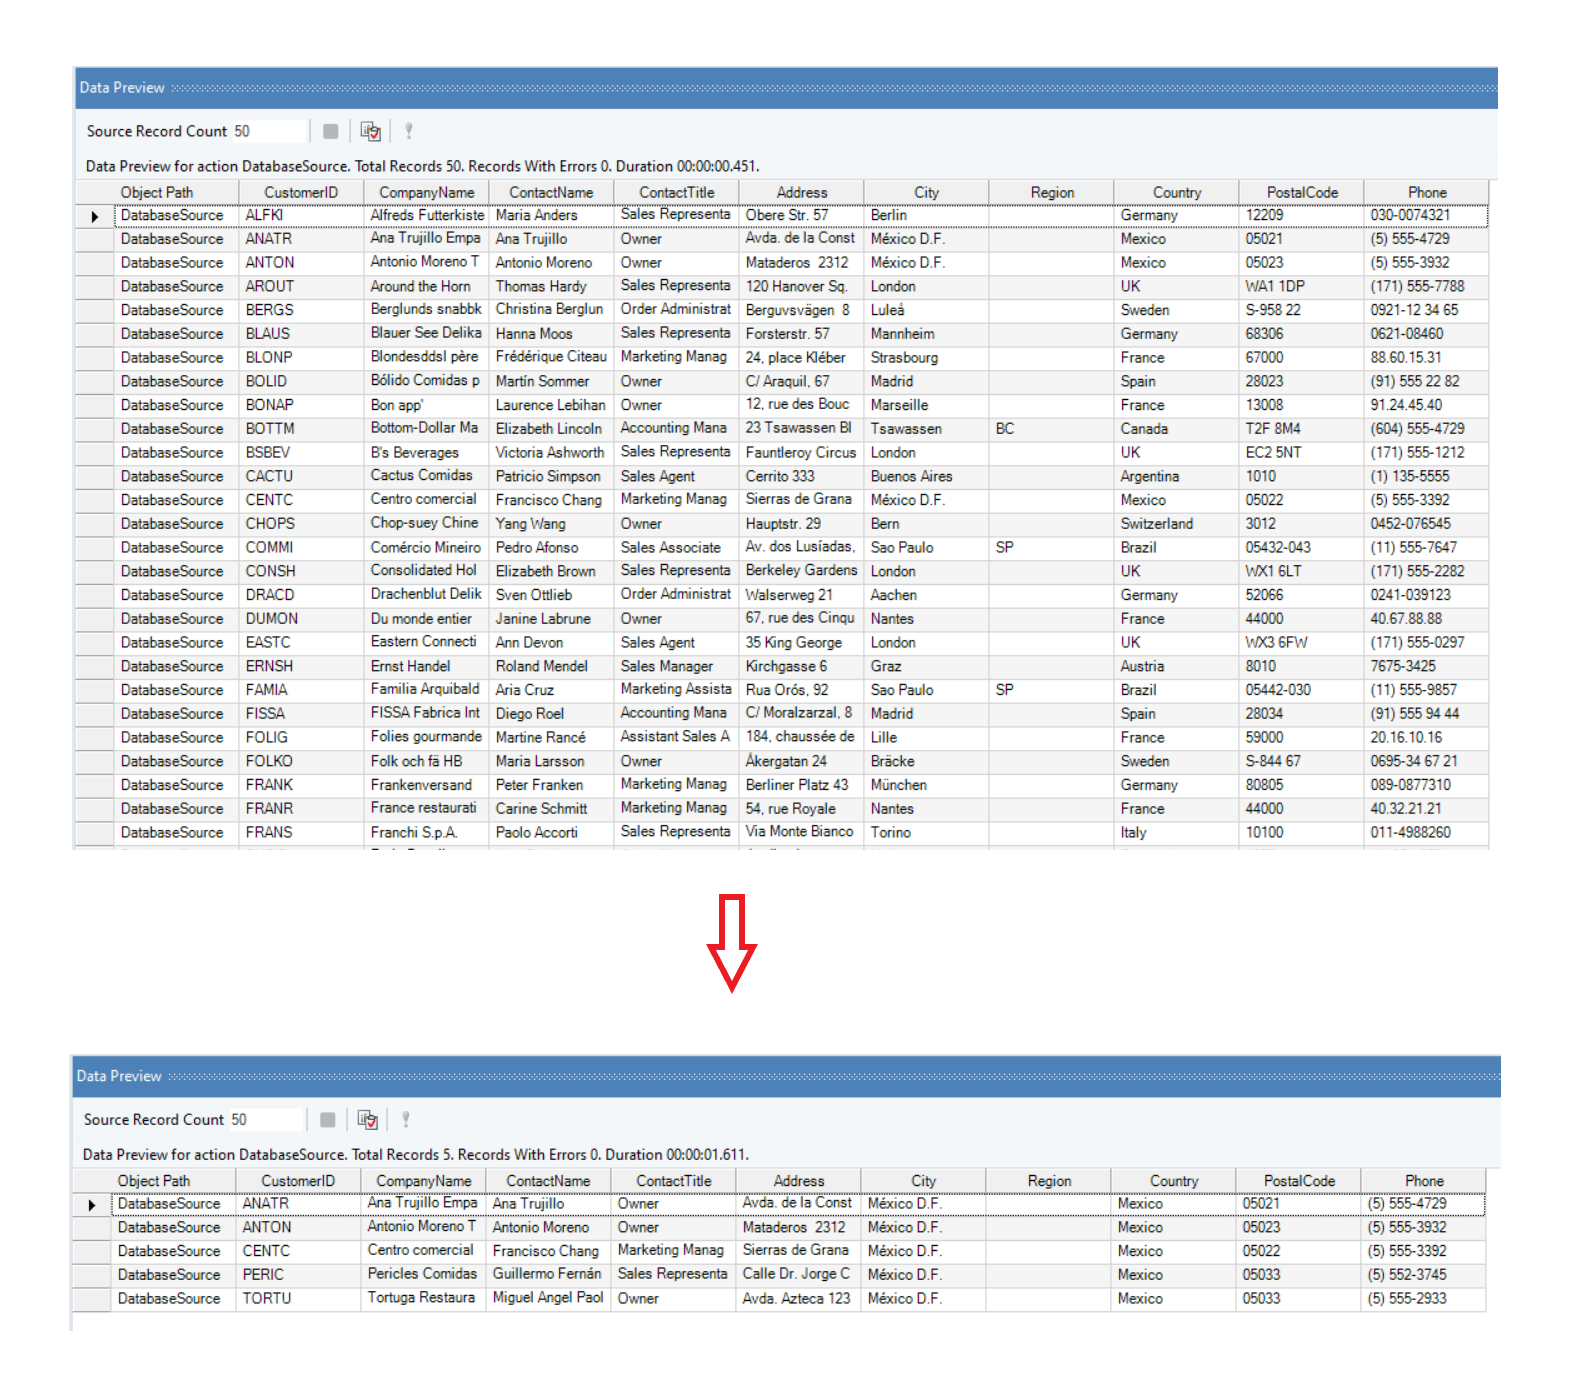
For instance, if you add a WHERE clause that selects all the customers from the country “Mexico” in the Customers table.
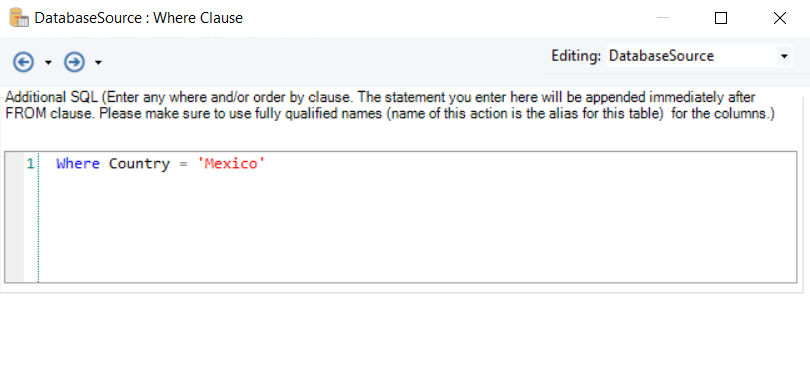
Your output will be filtered out and only the records that satisfy the WHERE condition will be read by Centerprise.
6. Once you have configured the Database Table Source object, click Next.

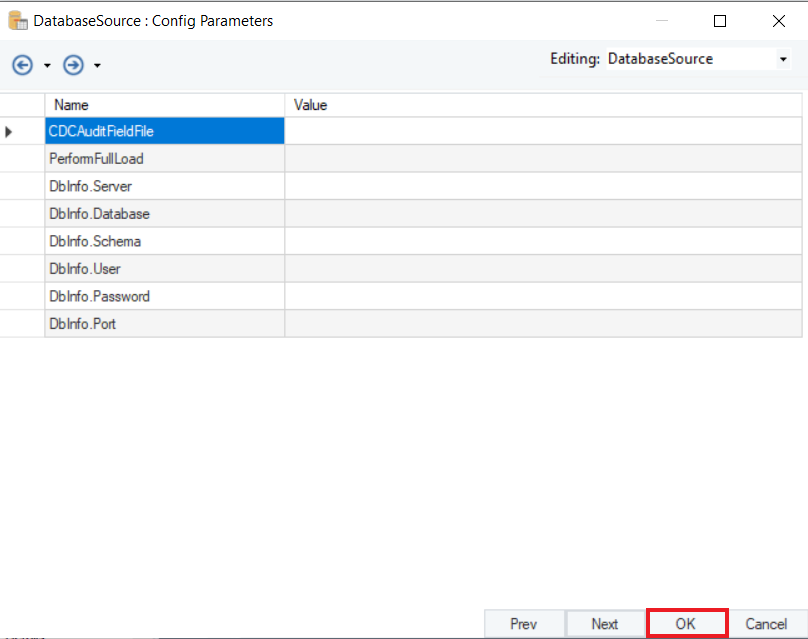
7. A new window, Config Parameters will open. Here, you can define parameters for the Database Table Source object.
Parameters can provide easier deployment of flows by eliminating hardcoded values and provide an easier way of changing multiple configurations with a simple value change.
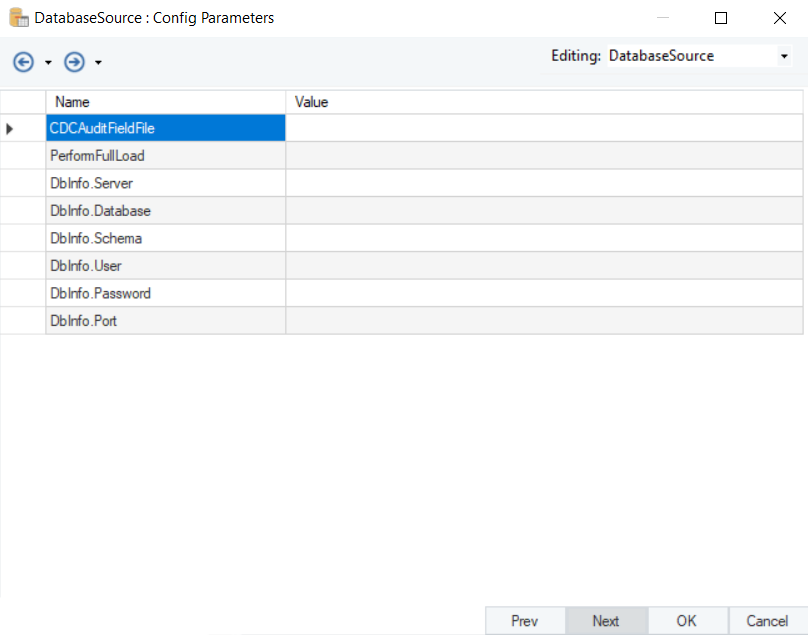
Note: Parameters can be changed in the Config Parameters wizard page. Parameters left blank will use their default values assigned on the properties page.
8. Click OK.
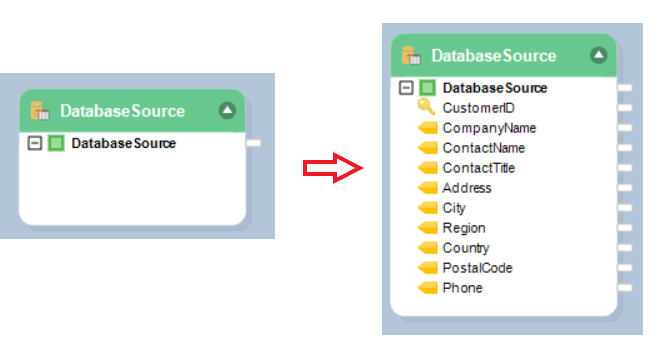
You have successfully configured your Database Table Source object. The fields from the source object can now be mapped to other objects in a dataflow.
Best Practices for Using the Database Table Source Object
Get the Database Table Source Object from the Data Source Browser
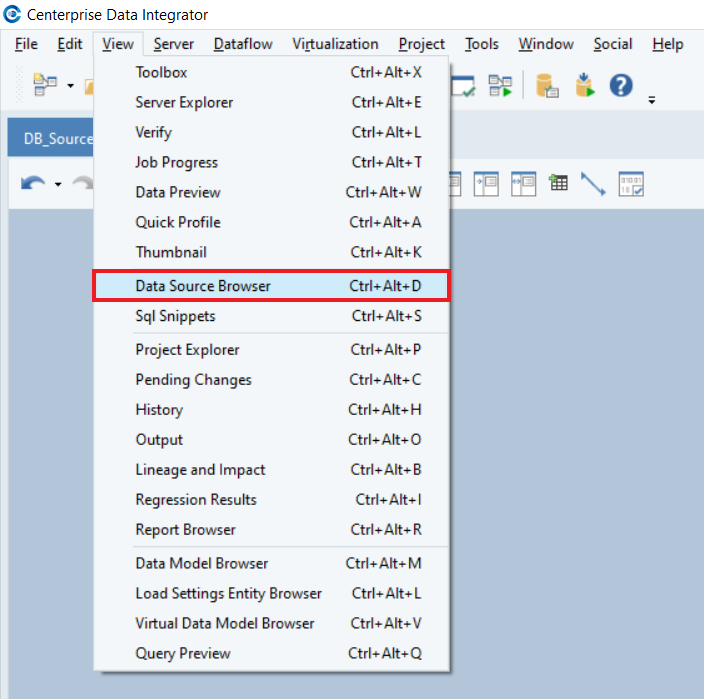
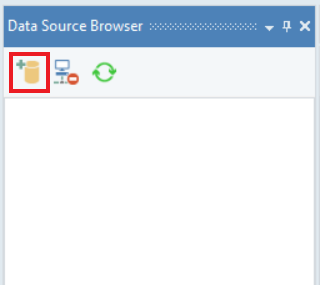
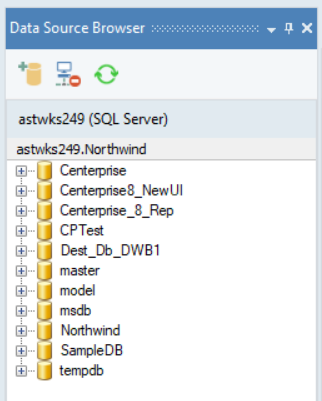
1. To get the Database Table Source object from the Data Source Browser, go to View > Data Source Browser or press Ctrl + Alt + D.
A new window will open. You can see that the pane is empty right now. This is because we are not connected to any database source yet.
3. To connect the browser to a database source, click on the first icon located at the top left corner of the pane.
A Database Connection box will open.
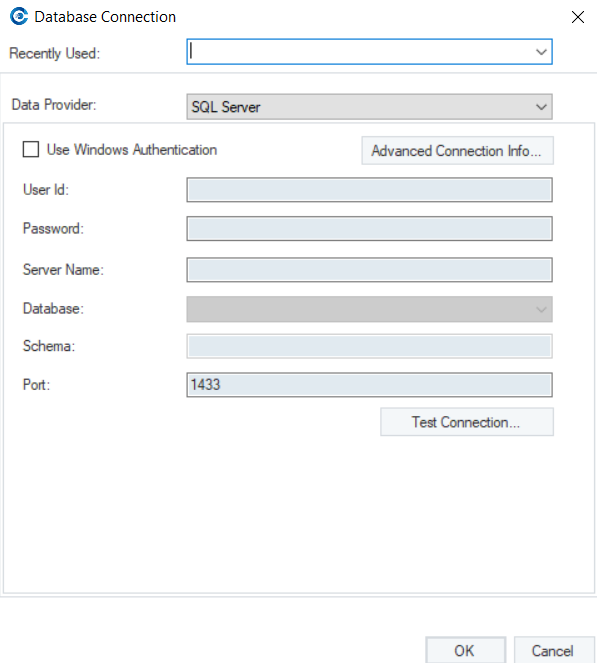
This is where you can connect to your database from the browser.
You can either connect to a Recently Used database or create a new connection.

Note: In this case we will use one of our recent connections.
To create a new connection, select your Data Provider from the drop-down list.
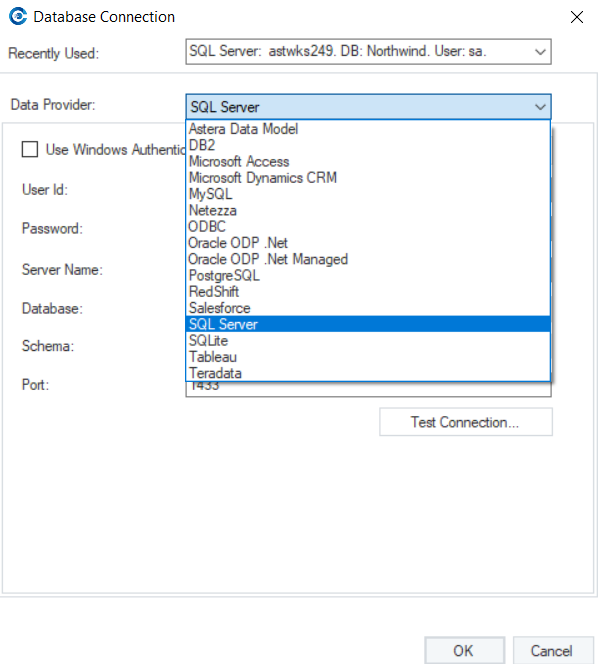
Note: We will be using the SQL Server in this case.
The next step is to fill in the required credentials. Also, to ensure that the connection is successfully made, select Test Connection.
Once you test your connection, a dialog box will indicate whether the test was successful or not.

Click OK.
Once you have connected the browser, your Data Source Browser will now have the databases that you have on your server.
4. Select the database that you want to work with and then choose the table you want to use.
Note: In this case we will be using the Northwind database and Customers table.

5. Drag-and-drop Customers table onto the designer in Centerprise.
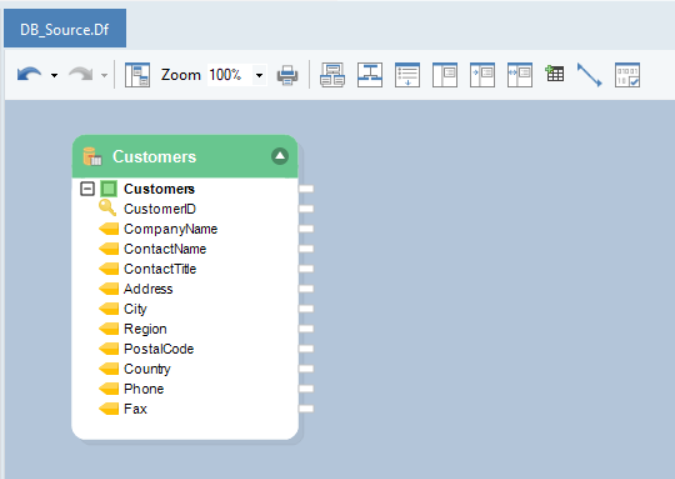
If you expand the dropped object, you will see that the layout for the source file is already built. You can even preview the output at this stage.
Database Table Options
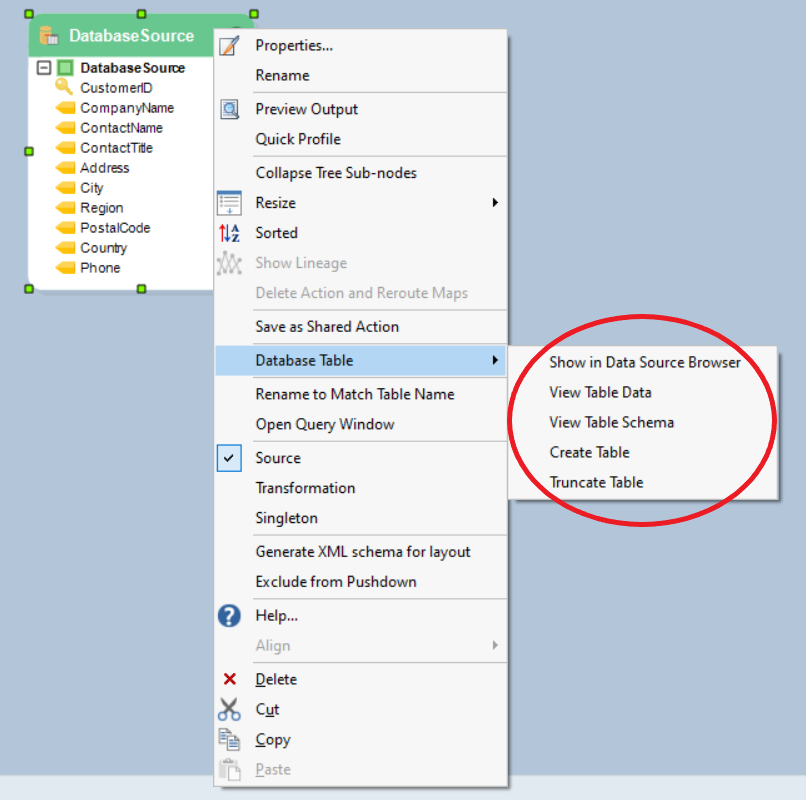
Right-clicking on the Database Table Source object will also display options for the database table.
- Show in DB Browser - Will show where the table resides in the database in the Database Browser.
- View Table Data - Builds a query and displays all the data from the table.
- View Table Schema - Displays the schema of the database table.
- Create Table - Creates a table on a database based on the schema.