ODBC Connector
In addition to offering a wide range of database providers, Centerprise features an ODBC connector (Open Database Connectivity (ODBC) by Microsoft) to access data in database management systems using SQL as a standard. Thus, if you wish to connect to a data provider that does not have a native provider in Centerprise, ODBC can act as an intermediary between Centerprise and the DBMS of your choice, providing you with the ability to connect to any database that supports ODBC connection.
To access an ODBC database, an ODBC driver must be installed on your machine for the database you want to access. The ODBC driver’s job is to convert Centerprise’s data queries into commands that are understood by the DBMS. A connection to the data source can be made using the ODBC Data Sources application. Once the data provider is configured in ODBC, it can be imported into Centerprise.
Use Case
In this example, we will use the ODBC connection to connect with SQL Anywhere.
The first step is to ensure the driver for SQL Anywhere is installed on our machine. Next, to establish a connection with SQL Anywhere, we will open the ODBC Data Sources application and create a new data source using the driver. The name assigned to this new data source in ODBC will be used for reference in Centerprise. In this example, we will refer to our data source by the name “Test-SqlAnywhere”.
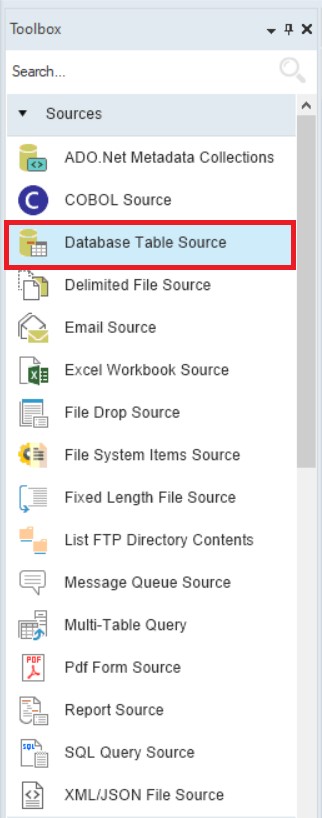
After the connection is successfully established in ODBC, we will open Centerprise and add the Database Table Source object to the dataflow by dragging and dropping it from the Sources section of the Toolbox.
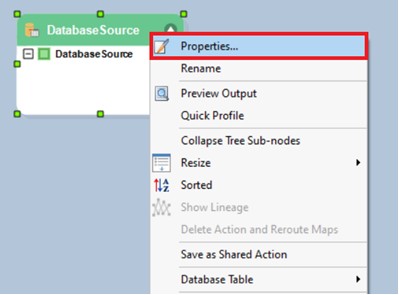
To configure the Database Table Source object, right-click on its header and select Properties from the context menu.
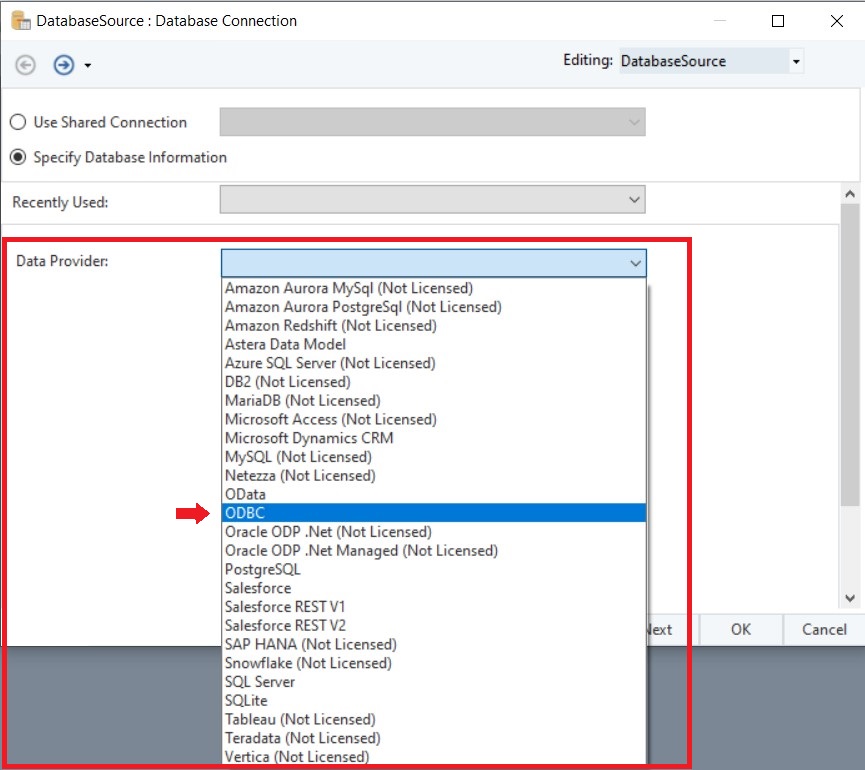
A dialogue box will open where we can configure the properties for the Database Table Source object. In the Data Provider drop-down list, we’ll select ODBC.
Next, we’ll establish a connection with our data provider by using the following options:
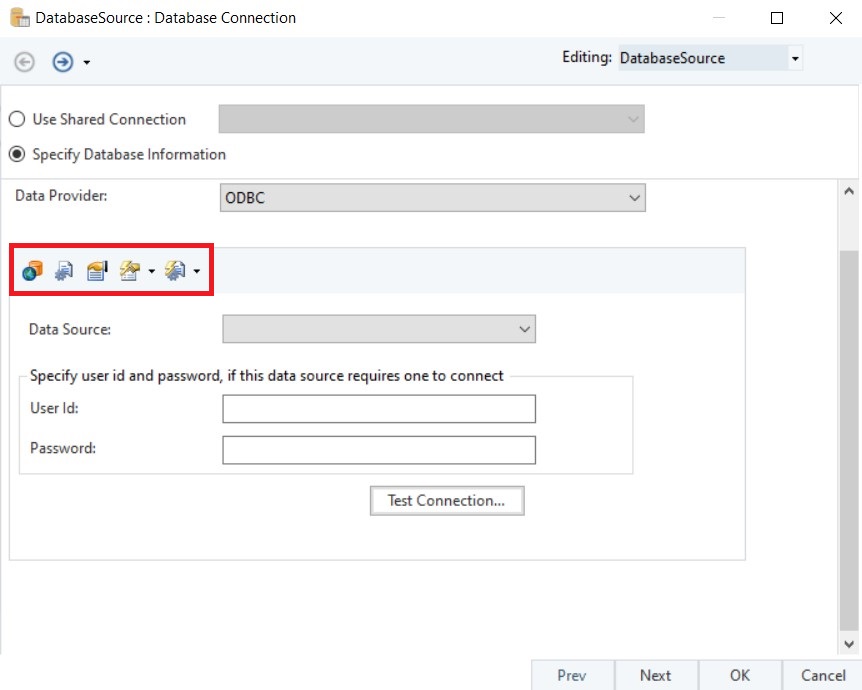
Let’s have a look at the functionality of these options one by one:
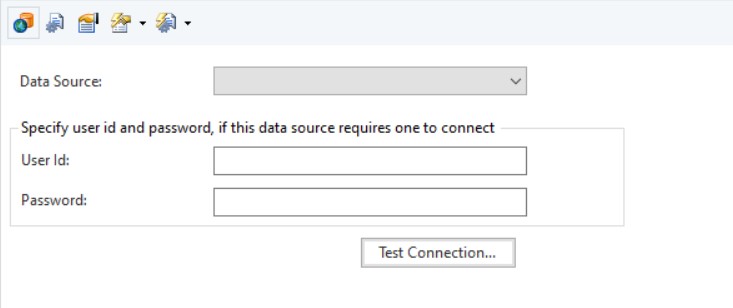
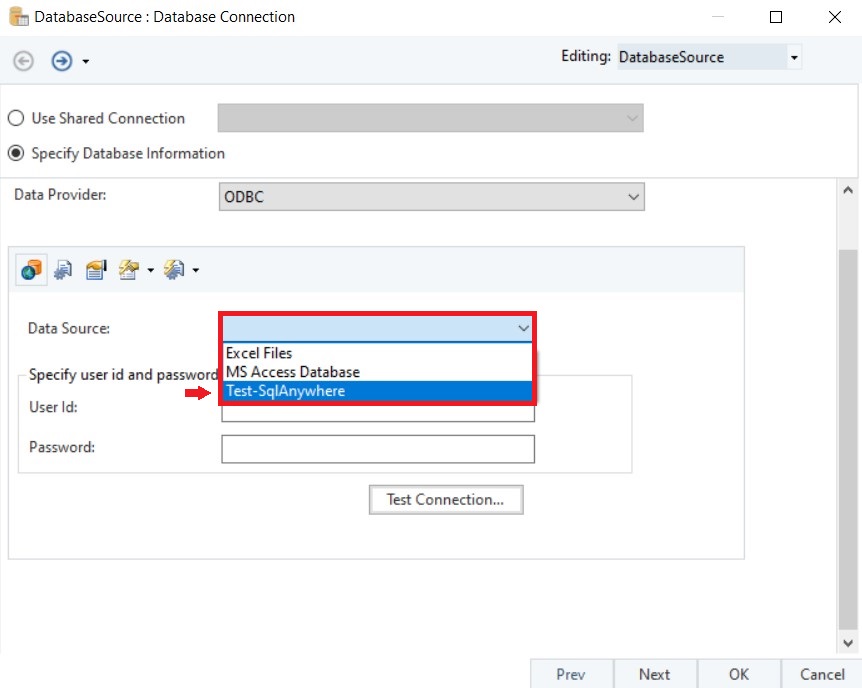
Use DSN: This is the first panel opened by default. The drop-down list of Data Source shows every DSN (Data Source Name) created on the client machine in ODBC. Here, we can select our data provider and enter credentials if required.
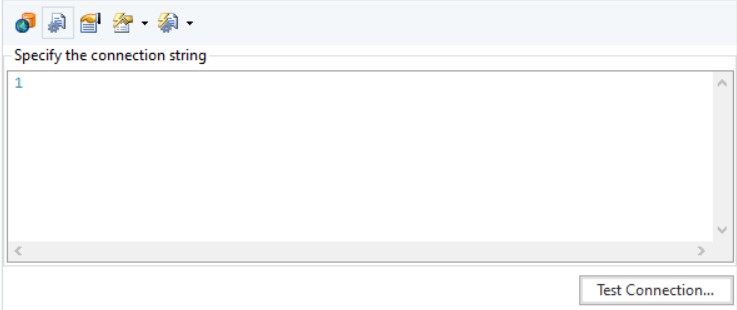
Use Connection String: This panel is used when the data source is present somewhere else, such as on a shared network. It gives us the ability to specify information about our data source and the means of connecting to it by entering a connection string.
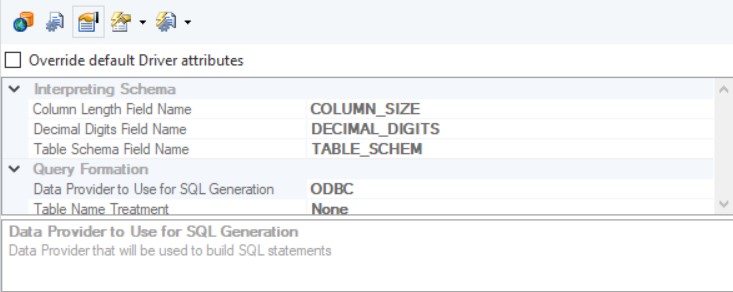
Specify Driver Attributes: This panel provides the ability to modify some attributes of the driver, which Centerprise has set by default. These attributes can be edited by selecting the Override default Driver attributes checkbox*.*
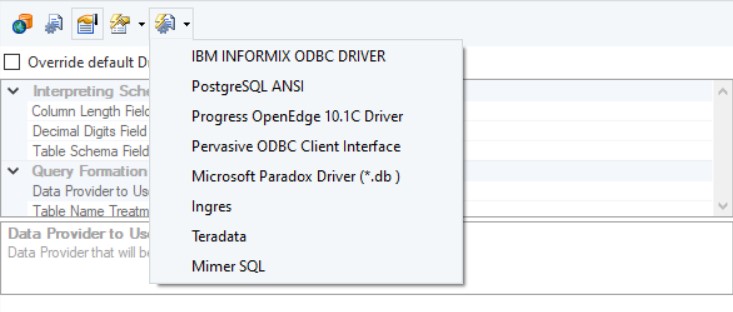
Default Driver Attributes: This is a drop-down list that has some common drivers. When a driver is selected from this list, Centerprise automatically sets the default attributes of this driver which can be observed in the Specify Driver Attributes panel.
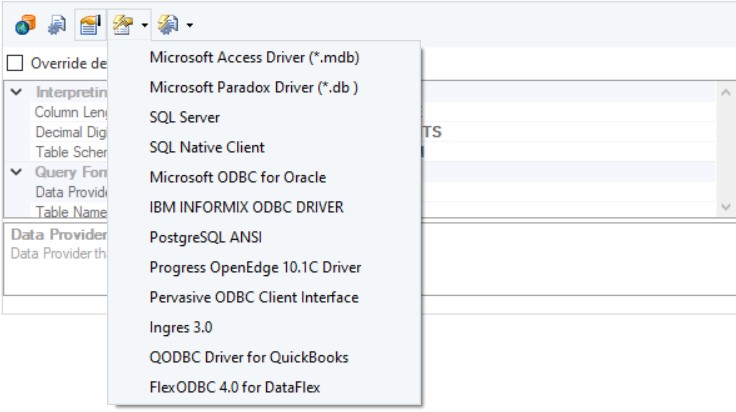
- Sample Connection Strings: This feature automatically generates a sample connection string for the data provider selected from its drop-down list. If the data provider of your choice is not listed here, you will need to enter it manually in the Use Connection String panel.
In our case, our data provider (SQL Anywhere) was configured on our local machine. Hence, we’ll connect using the first panel, Use DSN.
From the drop-down list of Data Source, we’ll select Test-SqlAnywhere. After specifying the user ID and password, we’ll click Next.
This will take us to the Pick Source Table and Reading Options window. Here we can select a table from the database and configure it from the given options.
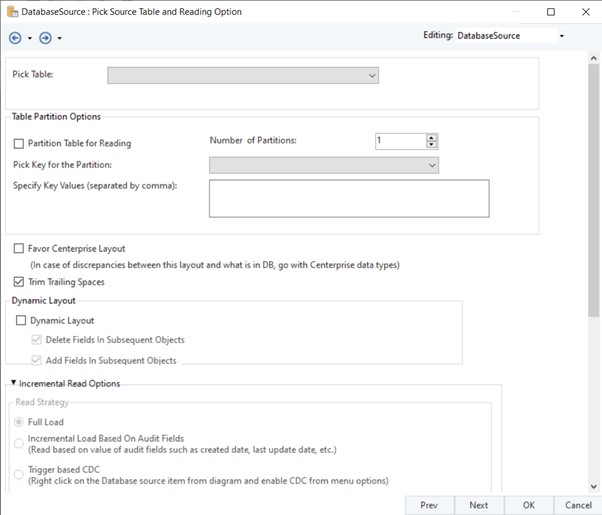
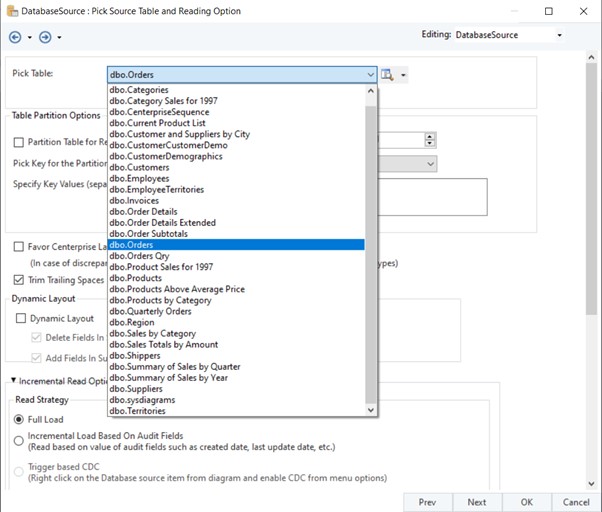
From the Pick Table drop-down list, we’ll select the Orders table and click Next.
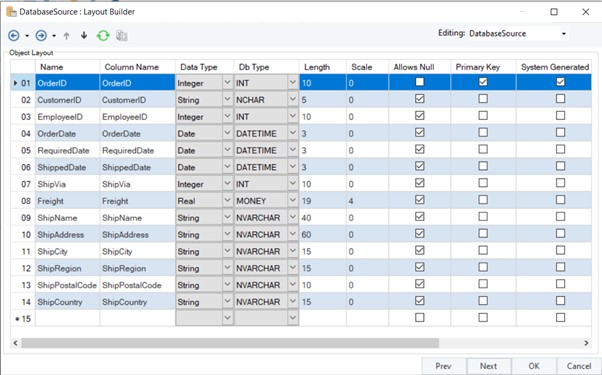
The next window is the Layout Builder where we can modify the layout of our database table. In this example, we’ll keep the default layout and click OK.
We have now successfully used ODBC connectivity in this example to import our required data from SQL Anywhere.