Connecting to Microsoft SharePoint in Astera Centerprise (Coming Soon)
Creating Credentials for SharePoint
Registering an App in the Azure Directory
1. Head over to the following URL, https://portal.azure.com/#blade/Microsoft_AAD_IAM/ActiveDirectoryMenuBlade/Overview
2. Click on App Registrations,
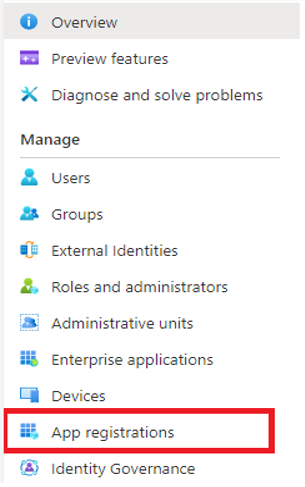
3. Register a new App.

4. Open the newly registered App,

Here, you can get the Client ID.
5. Head over to Certificates and Secrets
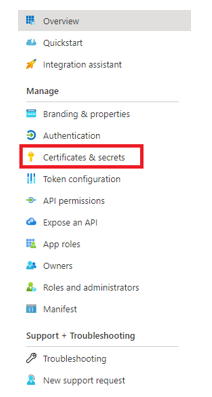
6. Create a Client Secret.

Note: Save the Client Secret at a safer place for future use as it will disappear.
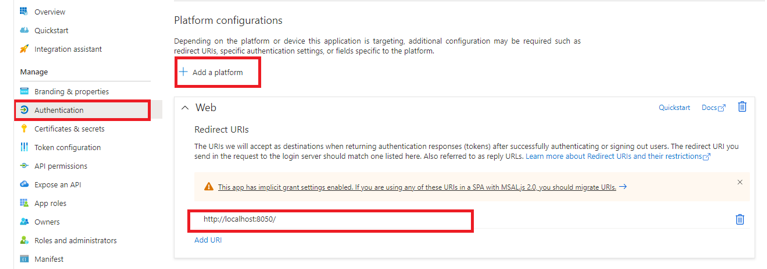
7. Go to Authentication, create a new Web Platform, and add a Redirect URI (http://localhost:8050/)
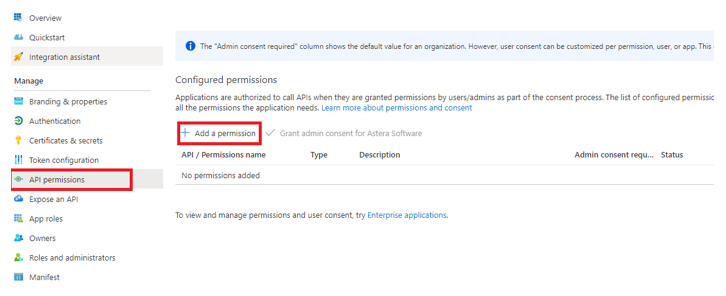
8. Go to App Permissions and add the permissions.
Configuring the Cloud Storage Connection Object for SharePoint
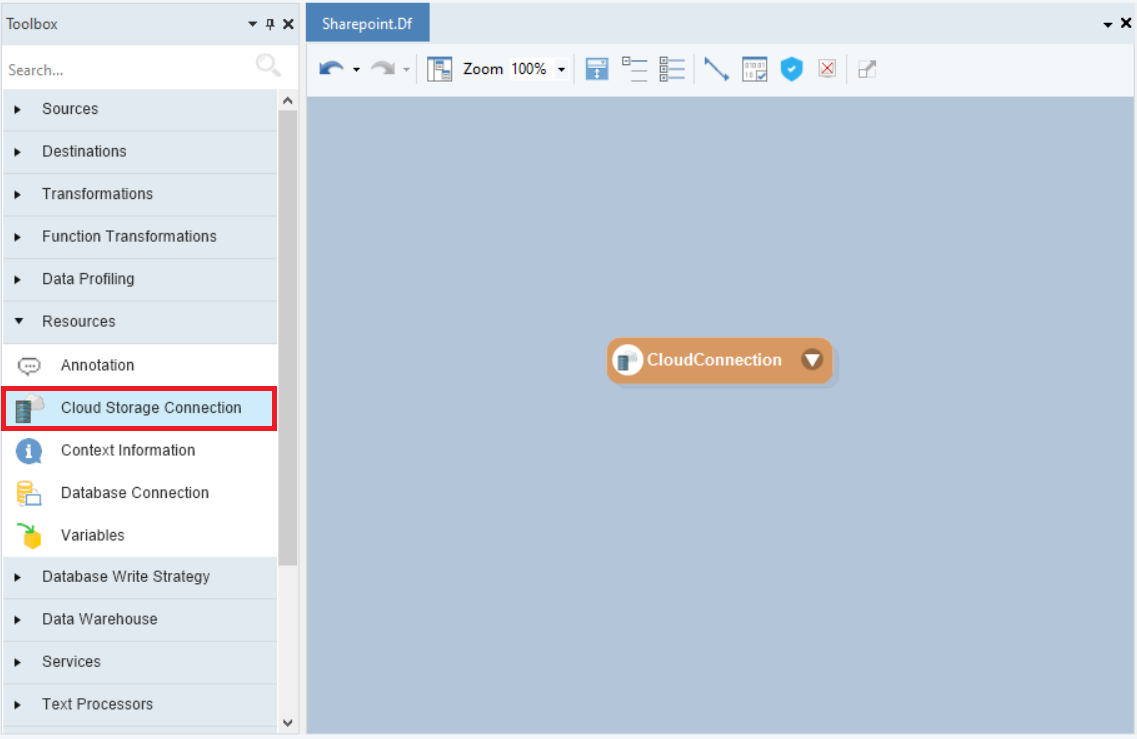
1. To start, drag and drop a Cloud Storage Connection object from the Resources section onto the dataflow.
2. Right-click on the object and select Properties from the context menu.
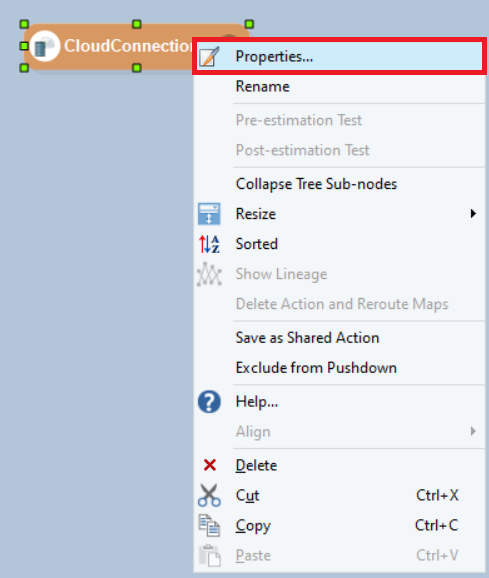
This will open the Properties screen.

3. Select the Provider drop-down menu and click on Microsoft SharePoint Document Library.
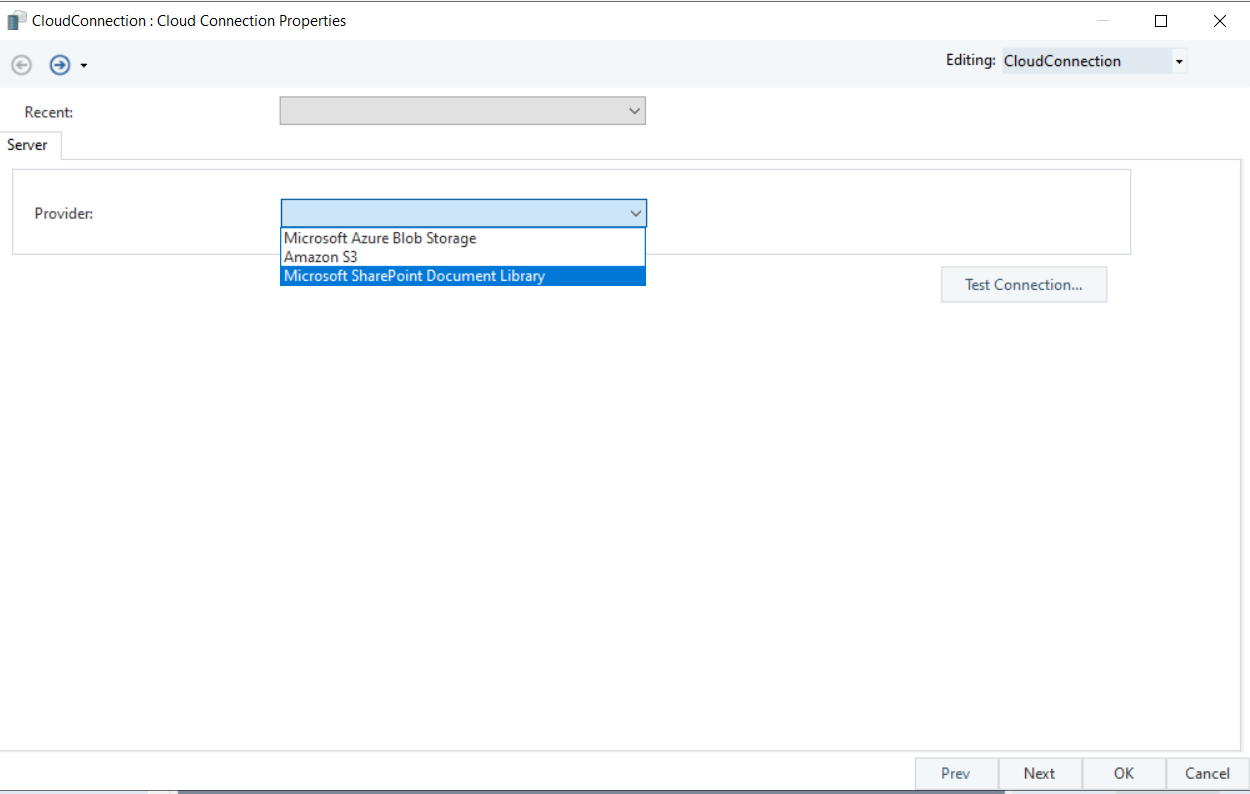
Selecting this will make more options available.
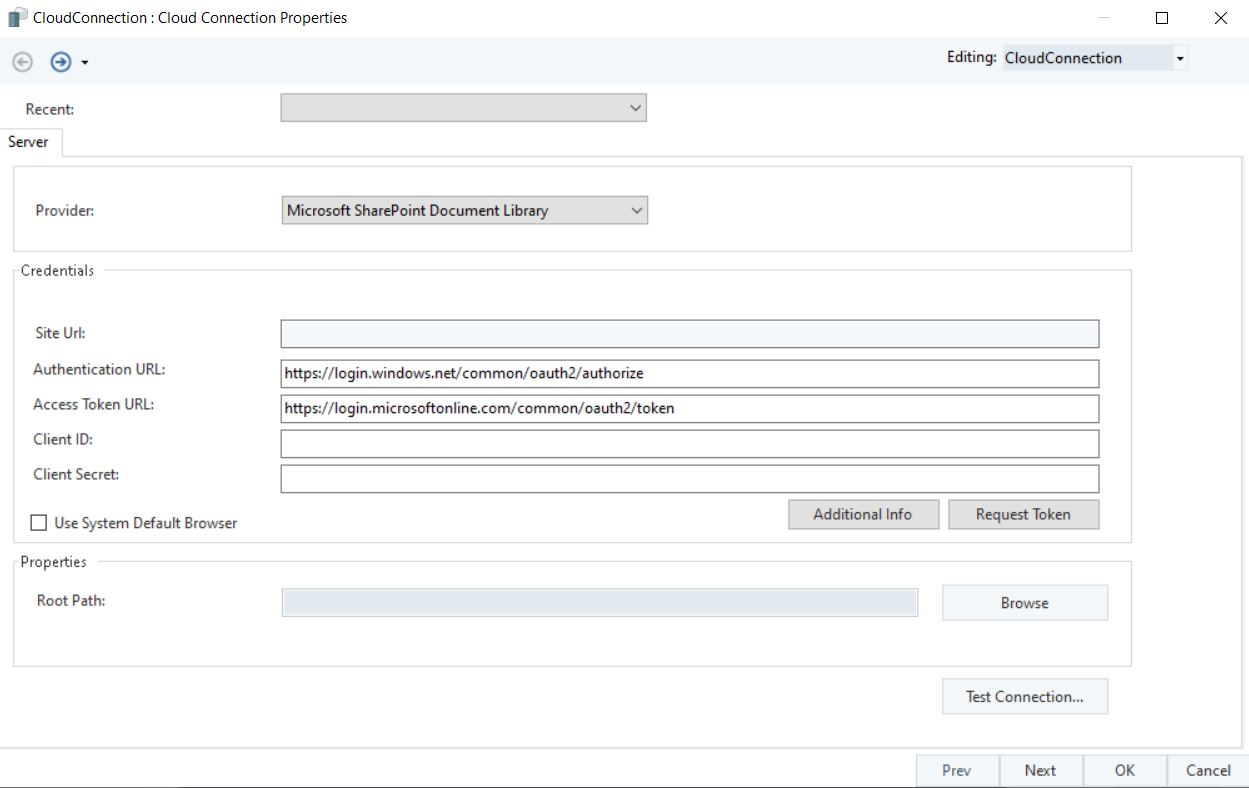
Credentials –
Site URL: This is where the Site URL is to be entered from where the SharePoint connection is going to be established.
Authentication URL: This is where the value of the authentication URL is entered.
Access Token URL: The access token URL, used alongside the authentication URL, is entered here.
Client ID: This is where the Client ID is provided for authentication.
Client Secret: The client secret is provided here for additional authentication for a secure connection.
Use System Default Browser: This checkbox is selected when the user wants the system browser to open, otherwise Astera Centerprise opens a browser in a new window.
Note: In Centerprise, both the Authentication URL and Access Token URL are pre-populated for the SharePoint provider.
Properties –
Root Path: The Root Path is to keep confidential data and information secure from access by unauthorized users. It lets you point out the particular file needed while keeping all the other folders protected.
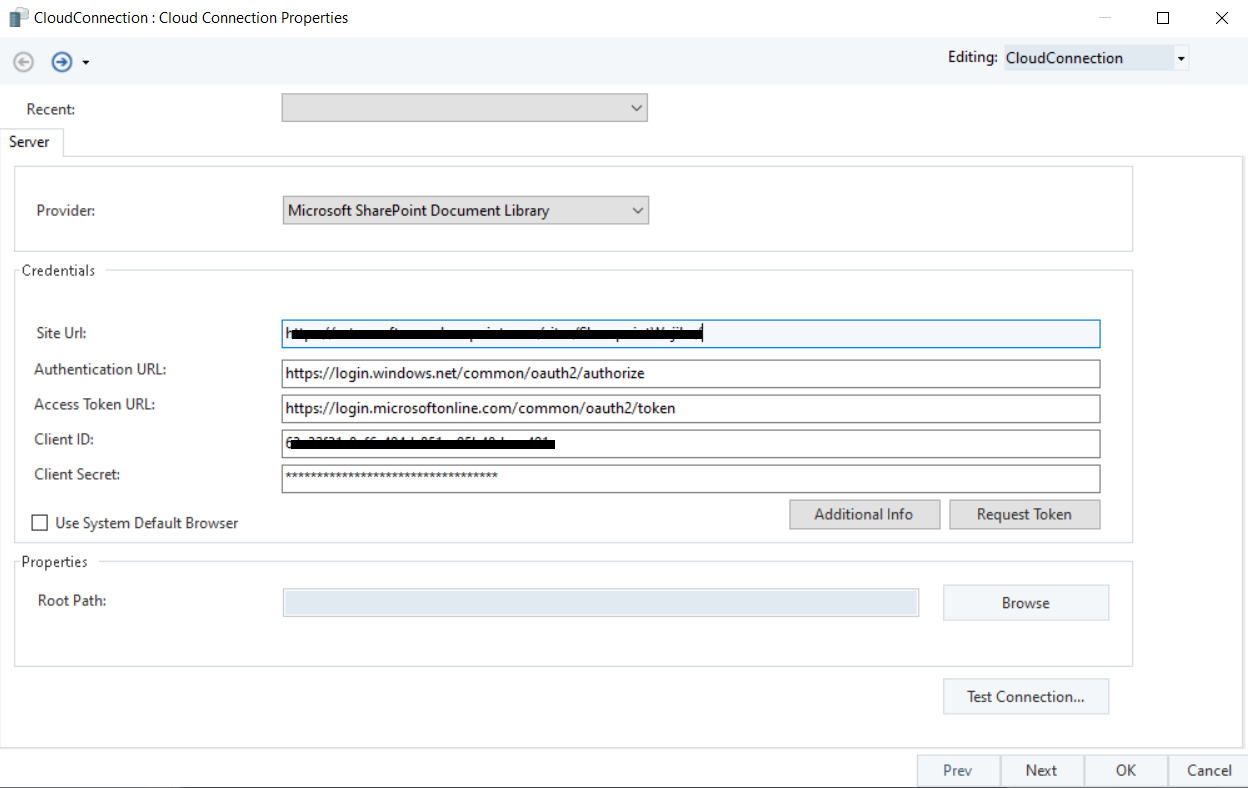
4. Once done, Click on Request Token.
This will provide you with the Access Token and Refresh Token which are used for a secure connection.
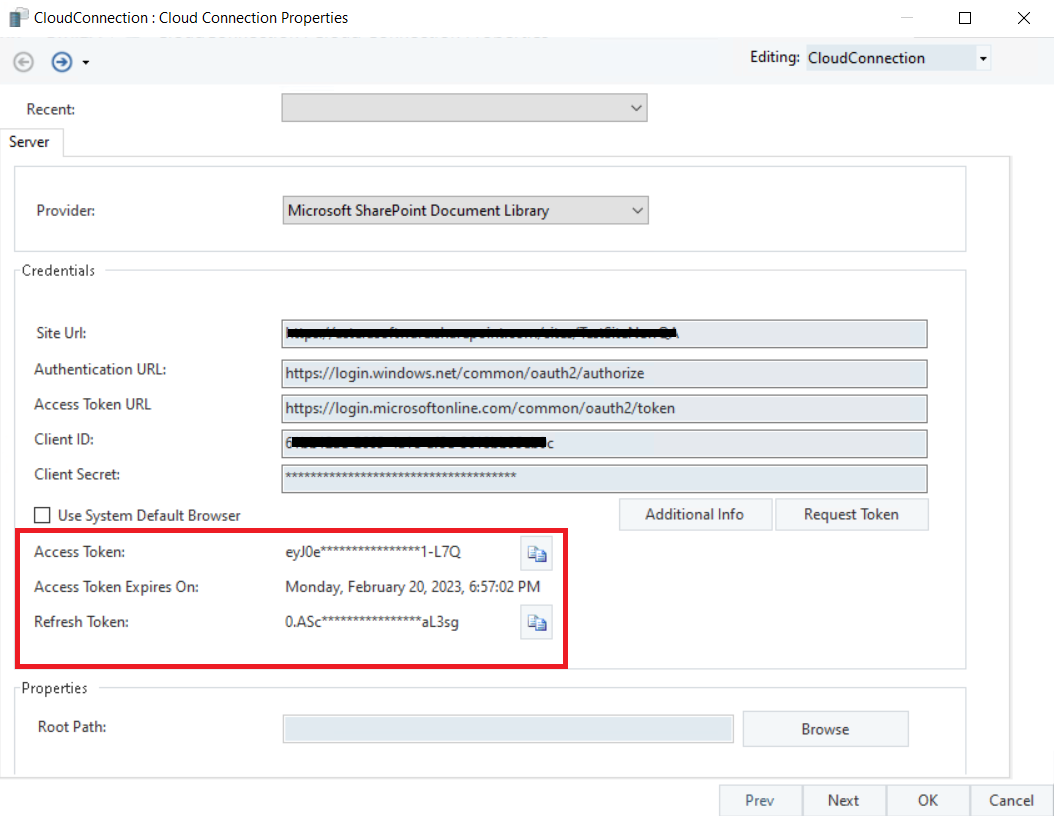
Note: Selecting the Request Token option might open a prompt to log in to your Microsoft account. However, if you have already done that once, it will not open a prompt again.
5. Once done, click on Test Connection to see if the connection has been successfully established with the SharePoint document library.
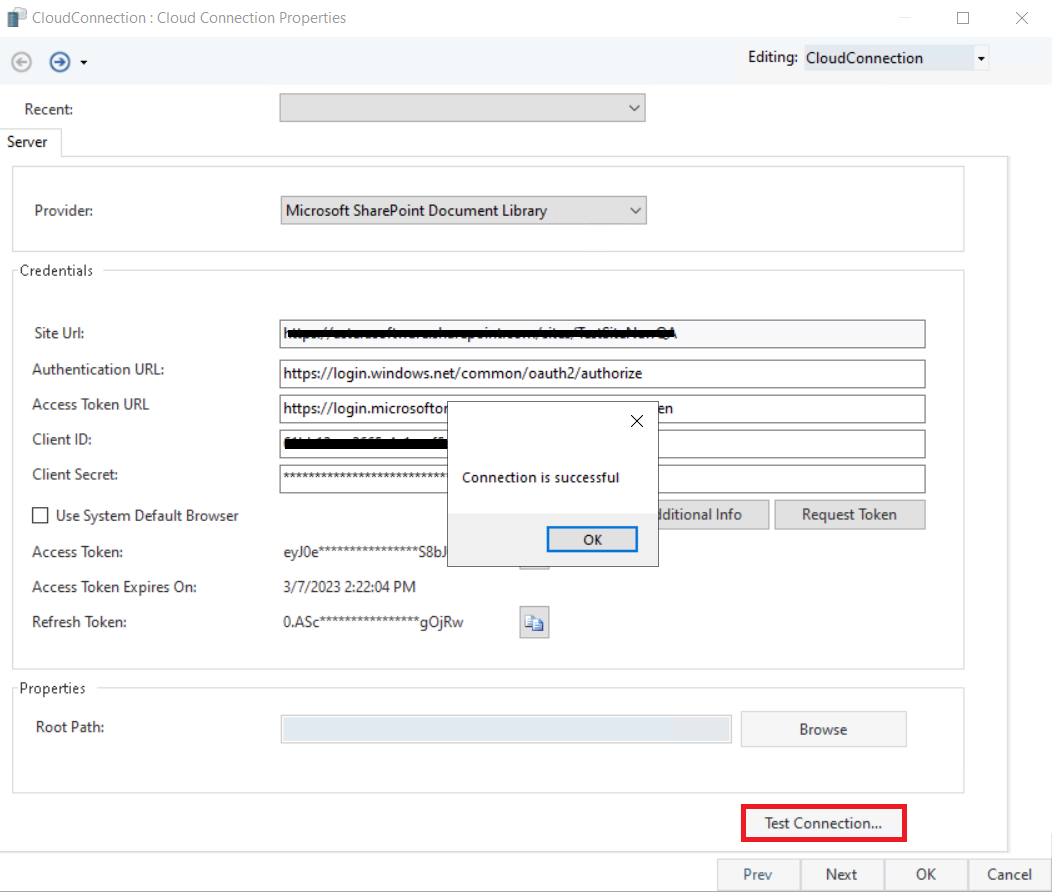
6. Click OK, then click Ok to close the Properties window.
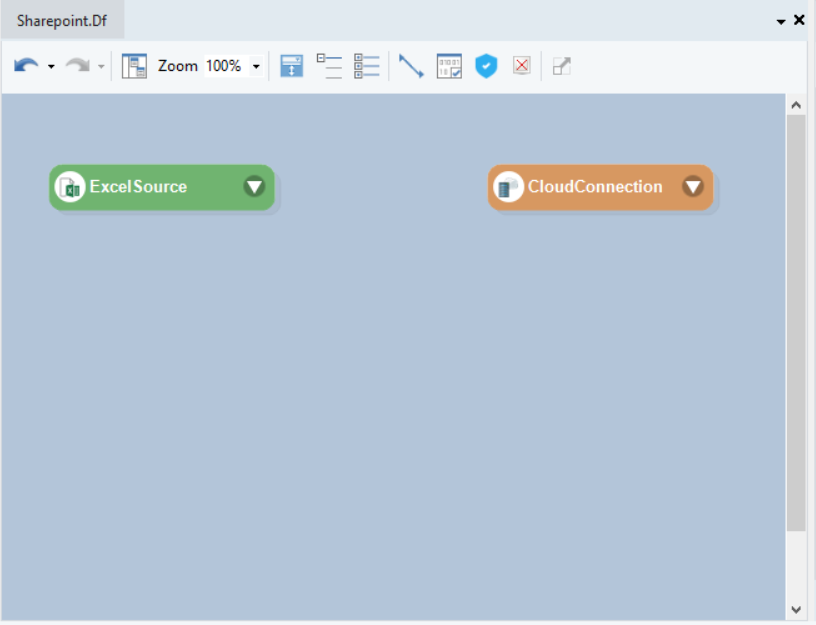
The Cloud Storage Connection object has been configured with the SharePoint Library.
Testing the SharePoint Connection
1. To start, we will drag and drop an Excel Workbook Source from the Sources section of the toolbox onto the dataflow.
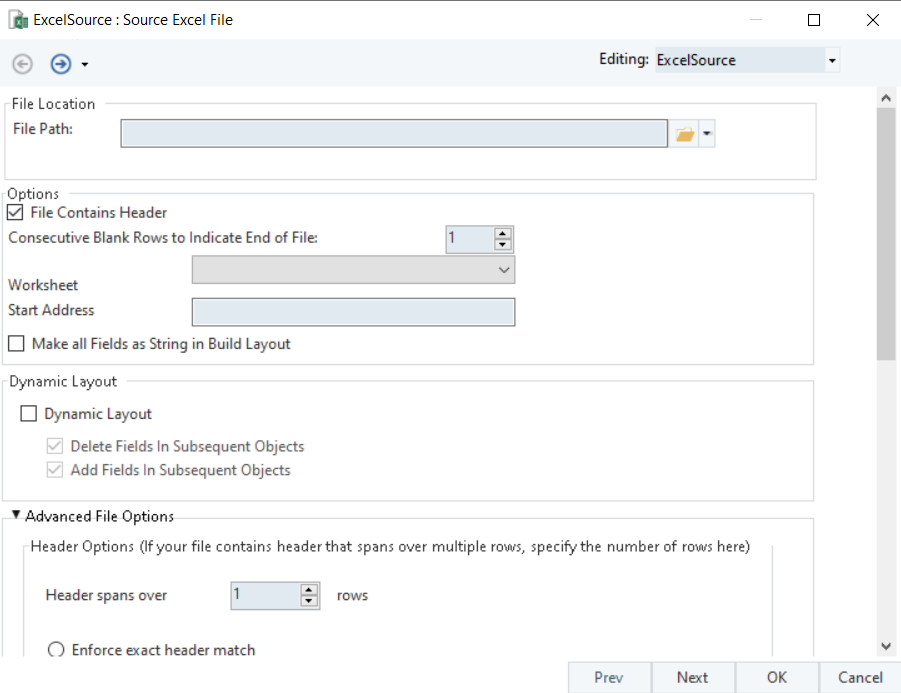
2. Right-click on the Excel Workbook Source object and select Properties from the context menu.
This will open the Properties screen.
3. Select the drop-down option next to the file path browser and select Browse Cloud Files from the menu.
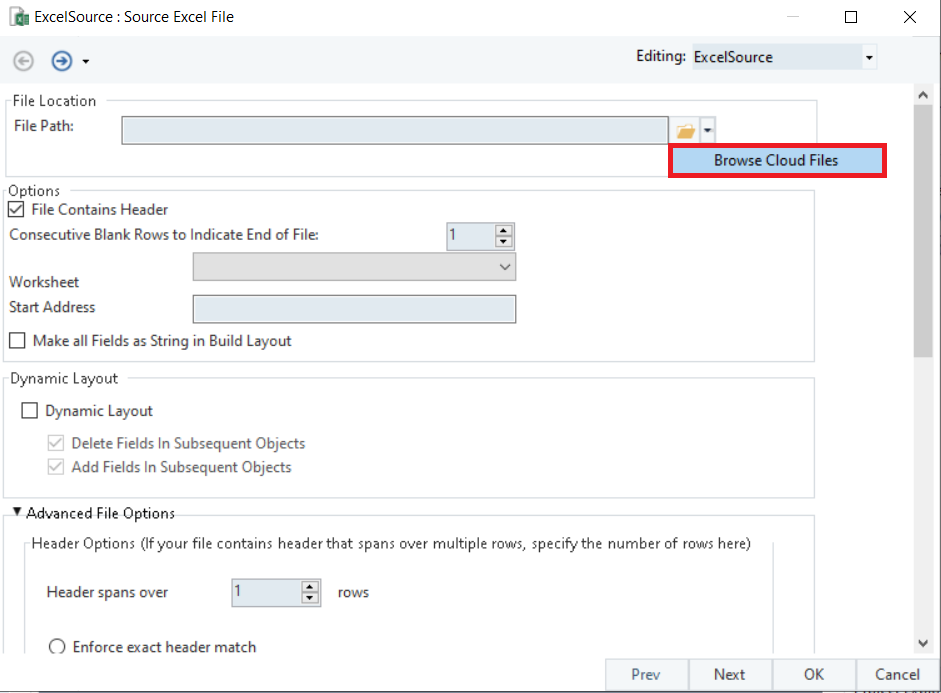
This will open a new window.
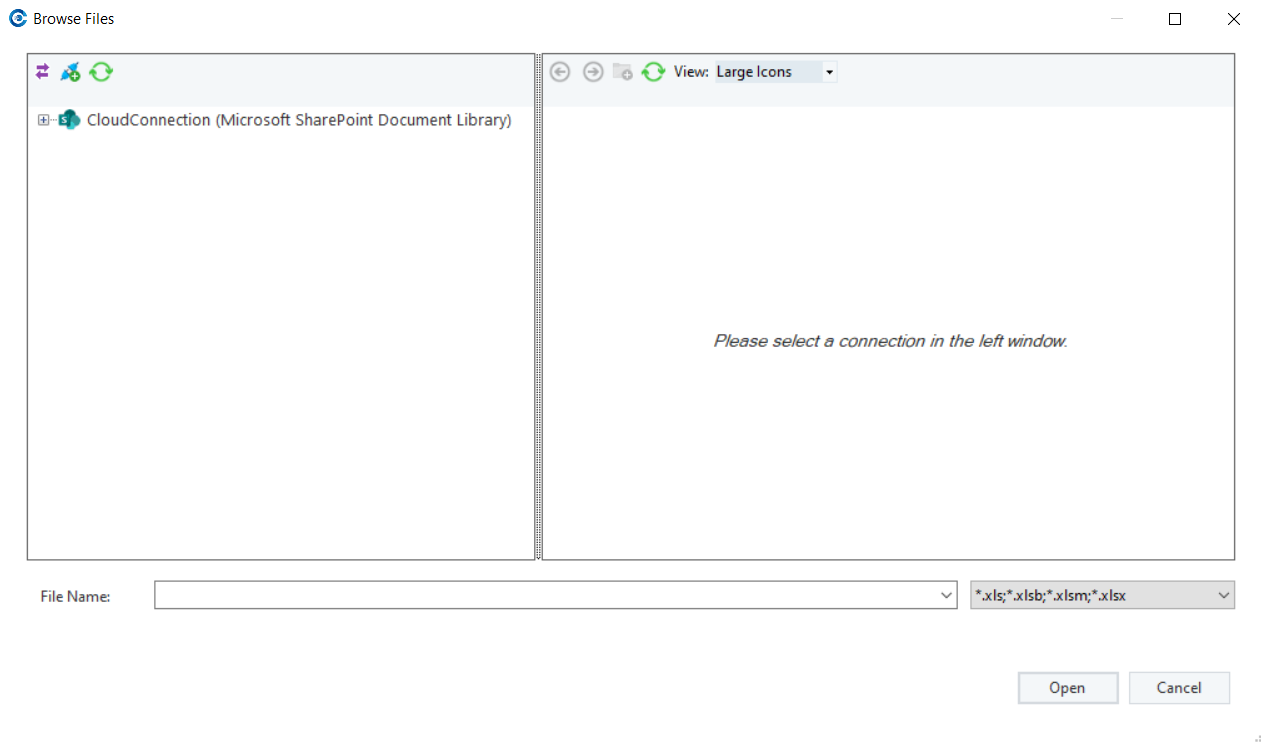
As you can see above, our configured SharePoint connection is available to use files from.
4. Click on the connection and select the appropriate file to use in the connection.
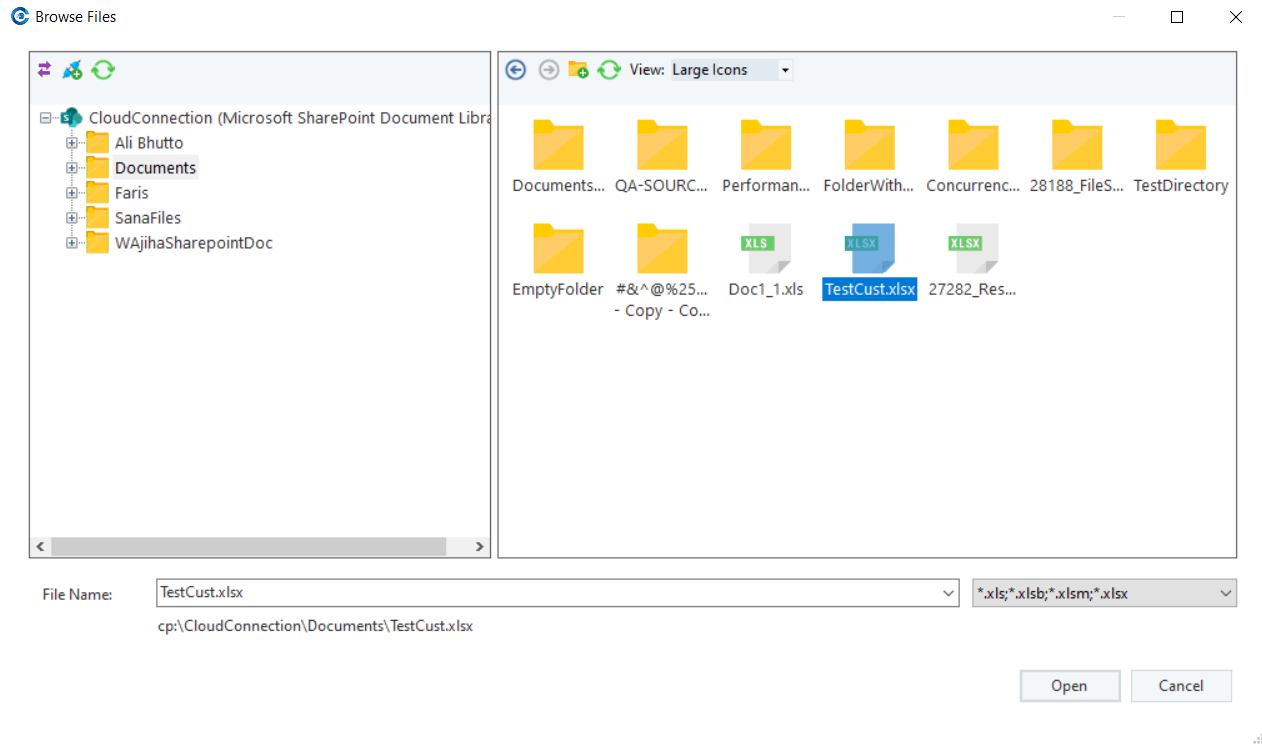
5. Click Open and the file path will be selected.
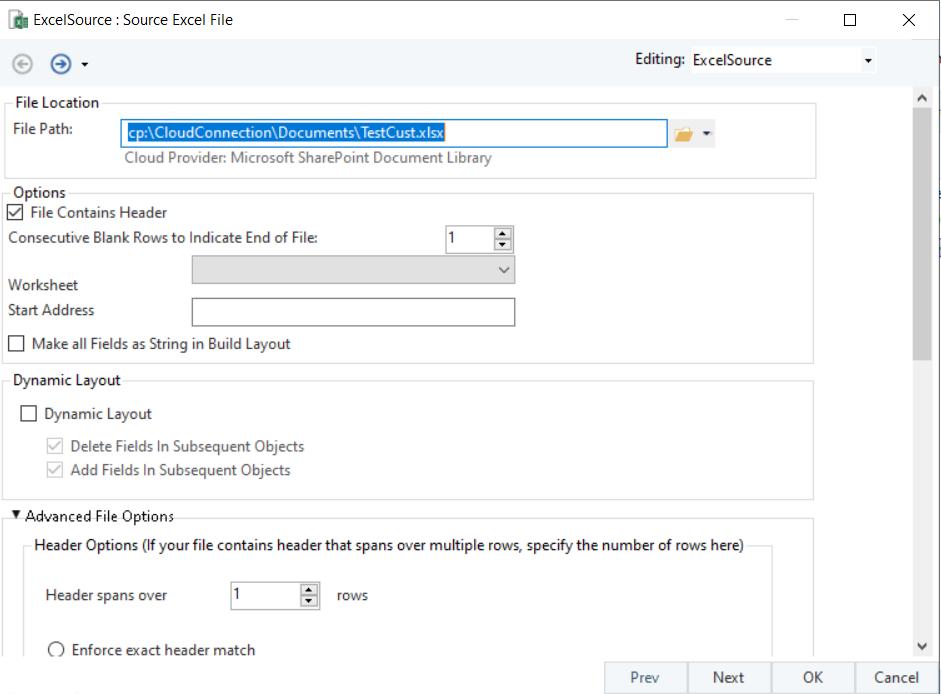
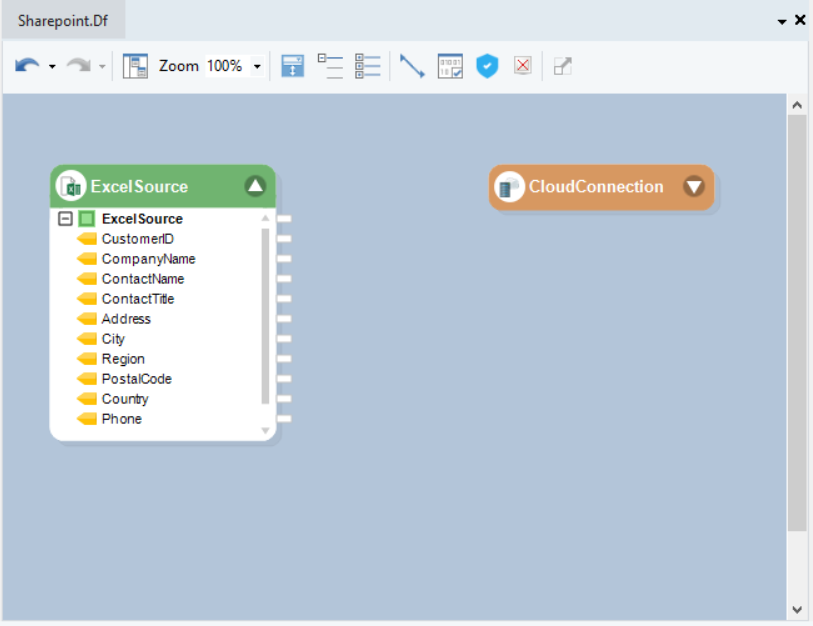
6. Click Ok and the Excel Workbook Source object will be configured with the SharePoint library file.
It can now be used in further ETL applications.
This concludes our discussion on the configuration and working of the SharePoint Cloud Connection in Astera Centerprise.