Send Mail
The Send Mail object can be used to send email notifications to a user or administrator at appropriate junctions in a workflow.
1. First, we will drag-and-drop the Send Mail object onto the workflow from the Toolbox. Right-click on the object’s header and select Properties from the context menu.
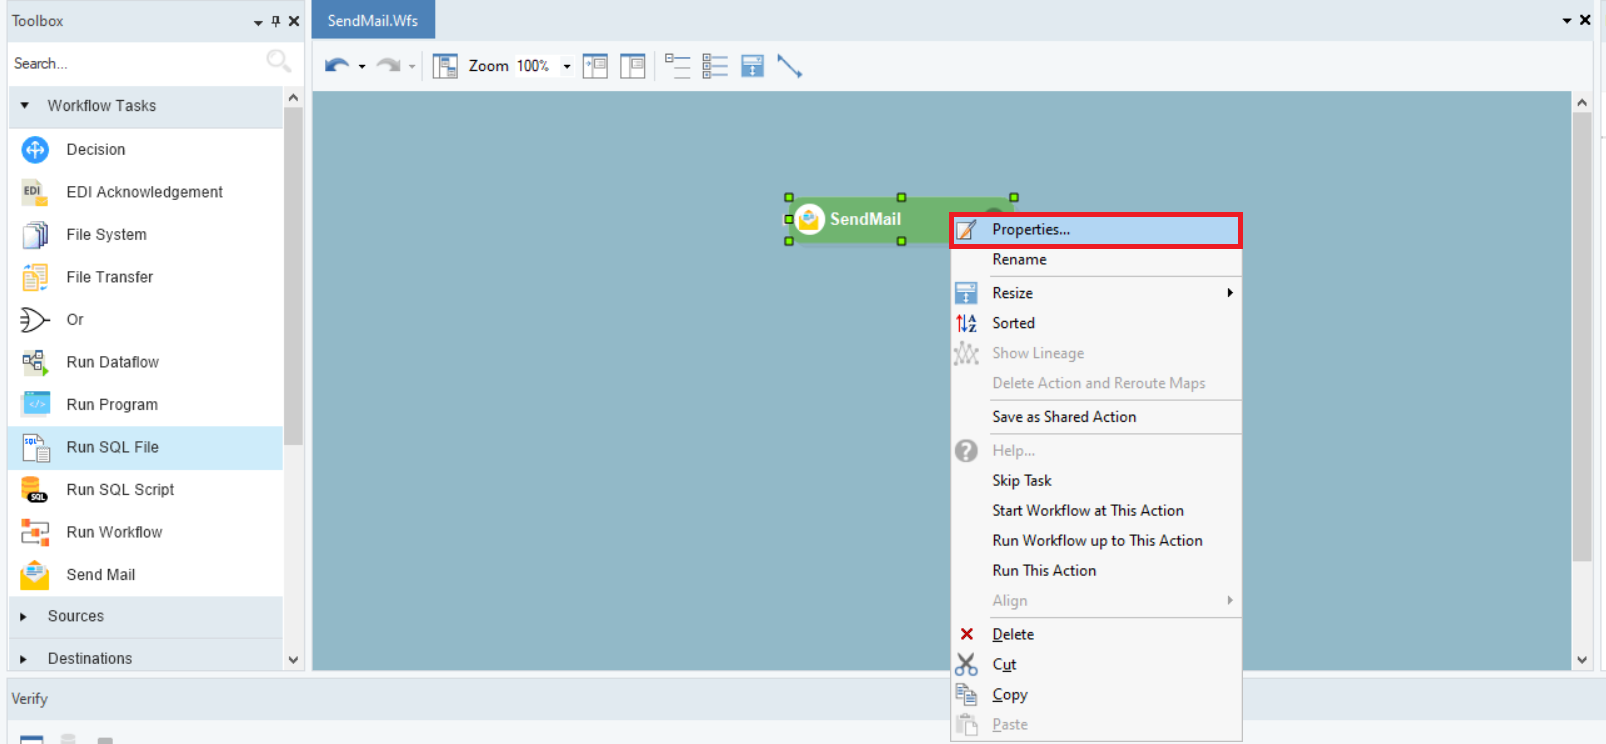
This will open the Properties screen.
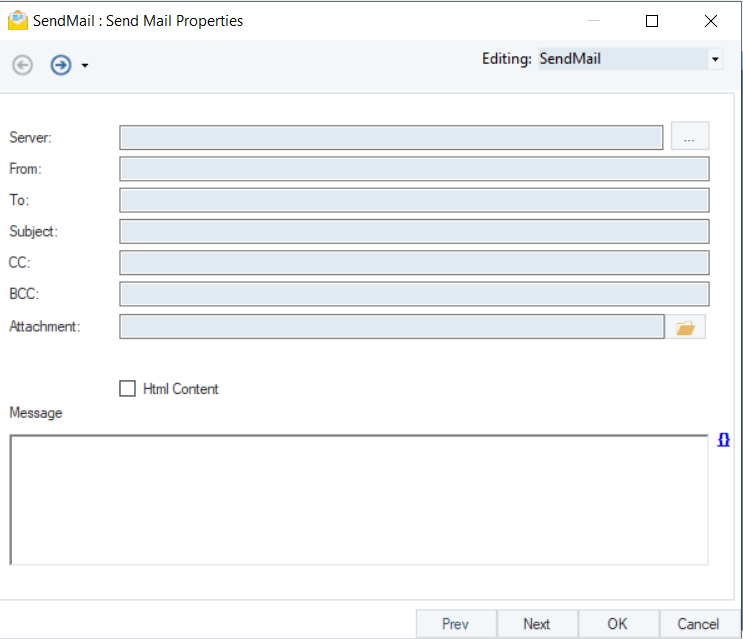
Server: Configure a connection for the email server provider.
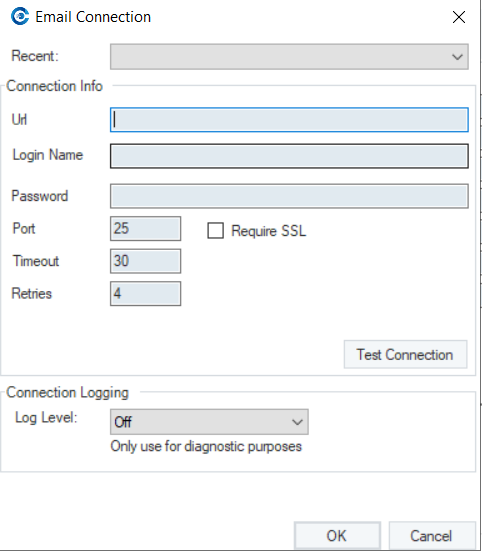
2. Click on the ellipses button next to the Server textbox. This will open a new window where the properties of the server connection can be configured.
 \
\
Url: The address of the mail server on which the connection will be configured.
Login Name: The Hostname
Password: Password of the user.
Port: The port of the mail server on which to configure. Some examples of SMTP provider ports are; 567 for outlook, 25 for Google, etc..
Connection Logging: Connection logging is used to log different types of messages or events between the client and the server. In case of error or debugging purposes, the user can see them.
Centerprise supports 4 types of Connection Logging methods in Centerprise:
Verbose: Captures everything.
Debug: Captures only the content that can be used in debugging.
Info: Captures information and general messages.
Error: Captures only the errors.

3. Once done, click OK and the server properties will be configured.

From: The sender’s email address. It should be the same as the email specified in the connection.
Note: The object has the capability to send a test mail to verify the connection details specified.
Require SSL: Check this box for secure communication with the server.
To: The recipient’s email address.
Subject: Subject of the email.
CC: This allows you to send a copy of the email to any recipient of your choice
BCC: This allows you to add additional recipients to the mail to be sent.
Attachment: Browse a file attachment to be sent in the mail.
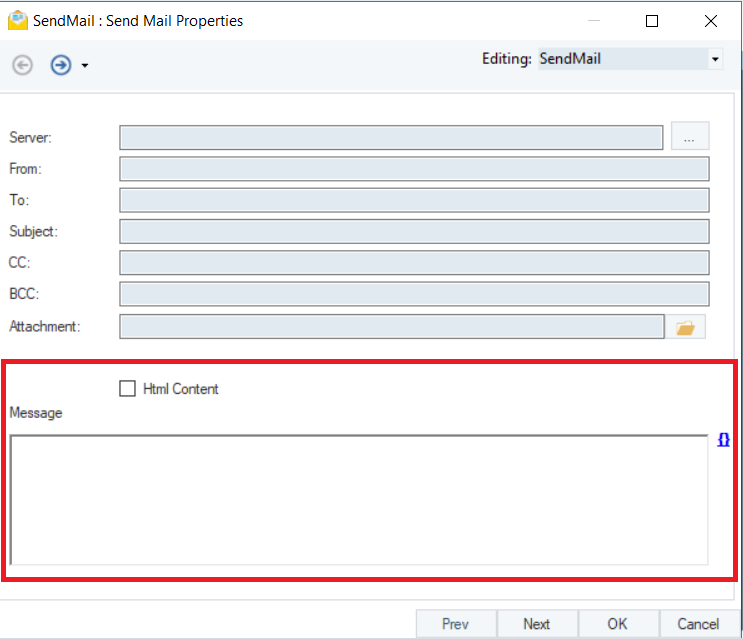
Html Content: Check this box if the email message body is to be defined in an HTML format.
Message: This is where the body of the email is going to be present.
Note: The angular brackets to the right side of the message body tell you that the use of parameters is supported to parameterize the mail body using flow variables.
4. Once done, click OK and you will be led to the Config Parameters screen.
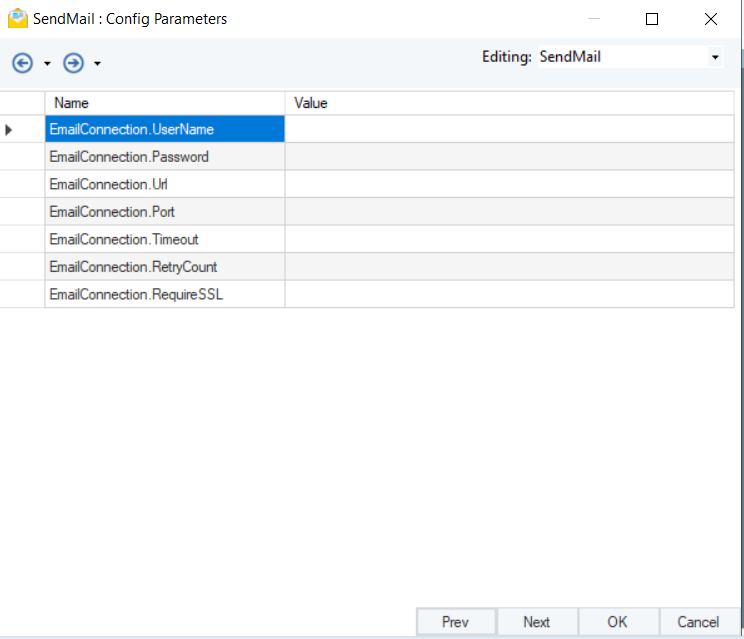
Parameters can provide deployment of flows by eliminating hardcoded values and provide a dynamic way of changing multiple configurations with a simple value change.
Note: Parameters left blank will use their default values assigned on the properties page.
5. Click Next and you will be led to the General Options screen.
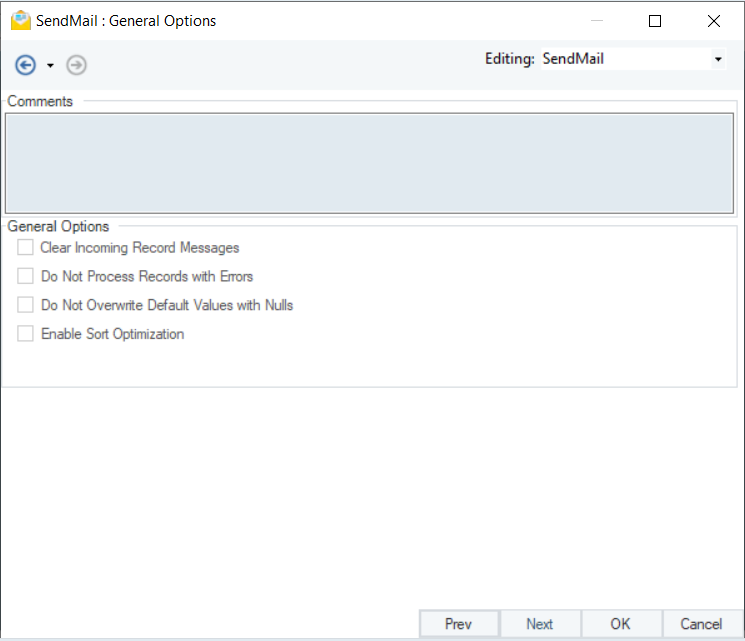
Here, you can add any Comments.
6. Click OK and the Send Mail object will be configured.

This concludes the configuration and working of the Send Mail task in Astera Centerprise.