Tags
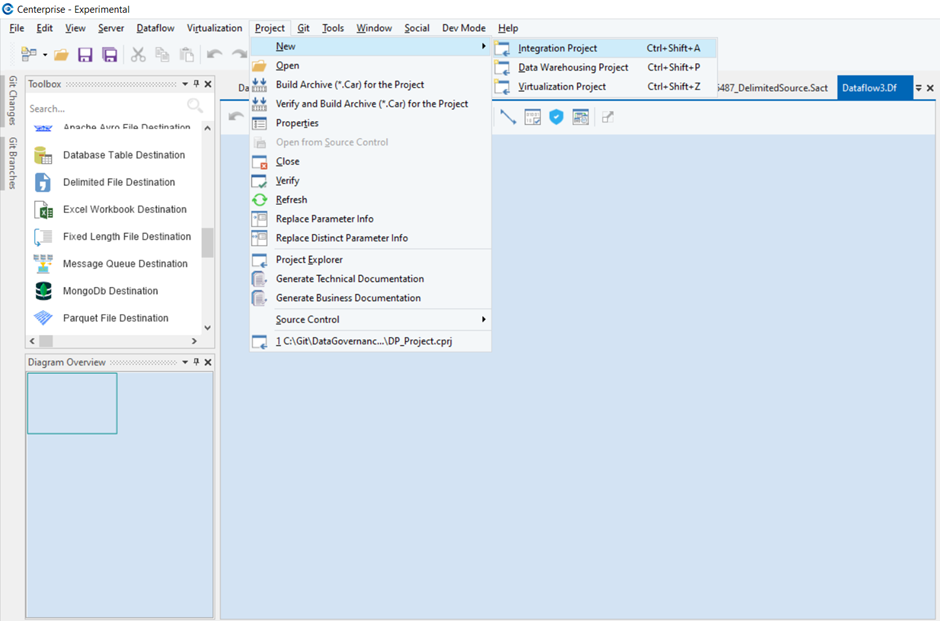
1. Open the Centerprise client application. Then, go to Project > New > Integration Project to create a new integration project.
Note: Data assets can only be deployed from a project.
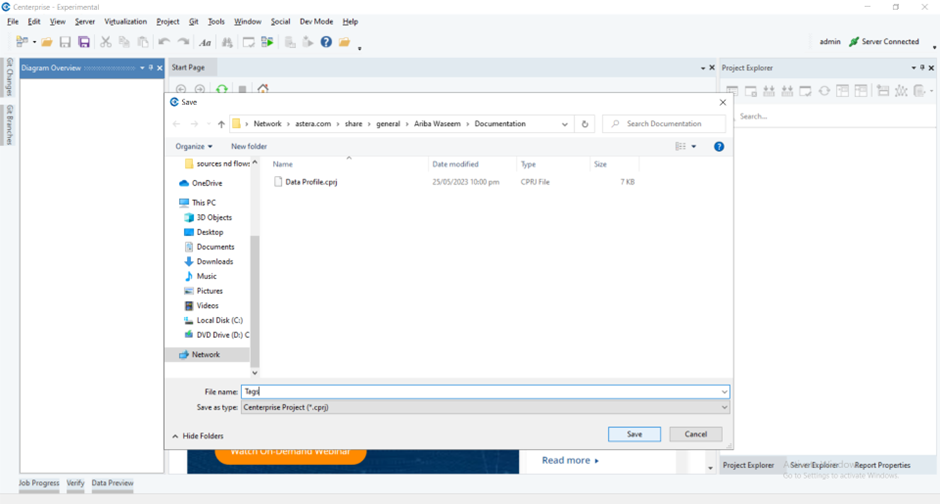
2. Next, we will name this project, “Tags”, and click Save to save this project.
3. Next, in the Project Explorer panel, right-click on the newly created project and select Add > Add New Item.
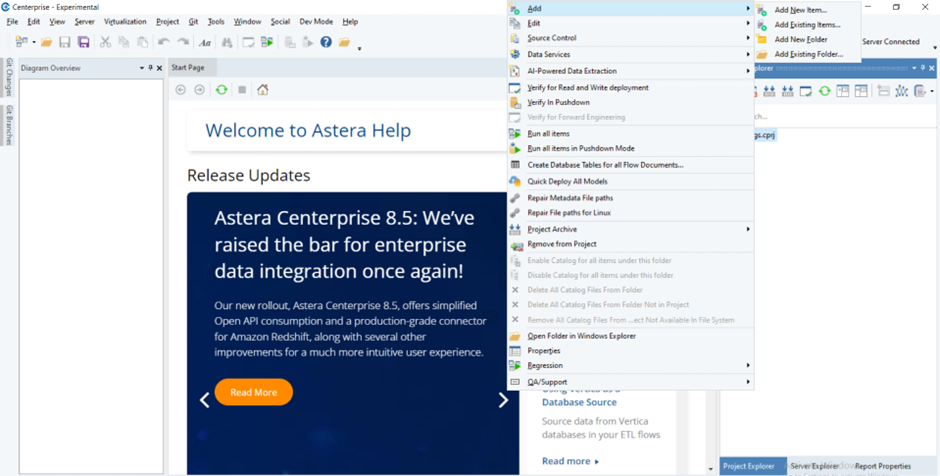
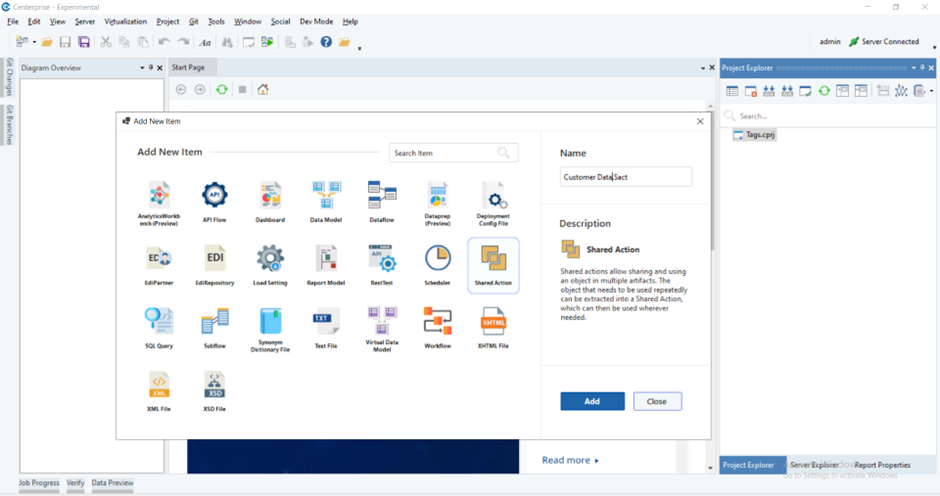
4. In the Add New Item window, select Shared Action and click Add. This item can also be renamed using the Name textbox. This .Sact file will be added to the Project Explorer panel, under the Tags project node.
5. The newly created shared action file will automatically open in the designer. If it doesn’t, right-click on the SharedAction file node in the Project Explorer panel and select Open.

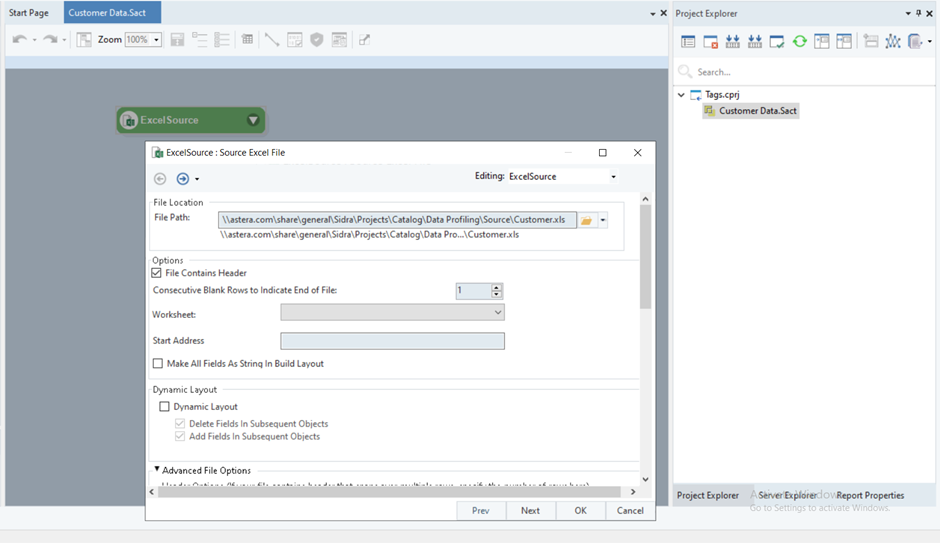
6. Now, we will add a source object onto the designer for the Customer Data.Sact file. This source file can be an Excel, Delimited, Fixed Length, or Database source. For our use case, we have added an Excel file and configured it.
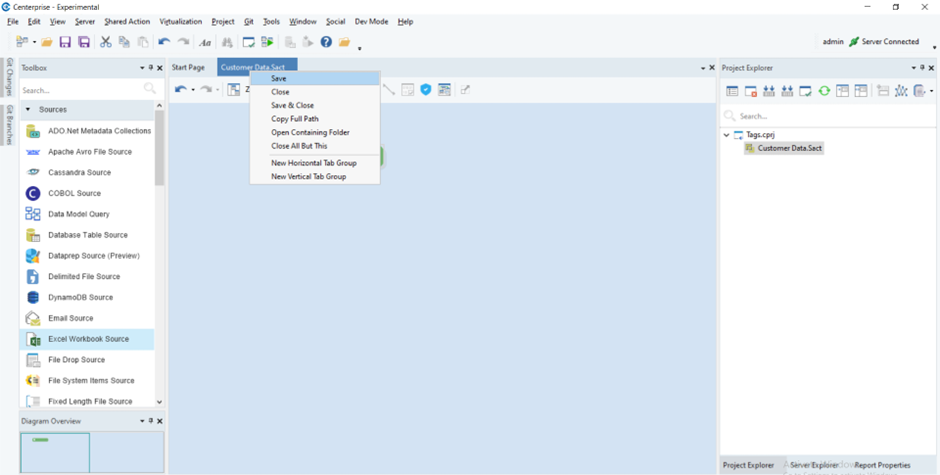
7. Now, right-click on the SharedAction file – Customer Data.Sact – tab under the toolbar and select Save to save the file.
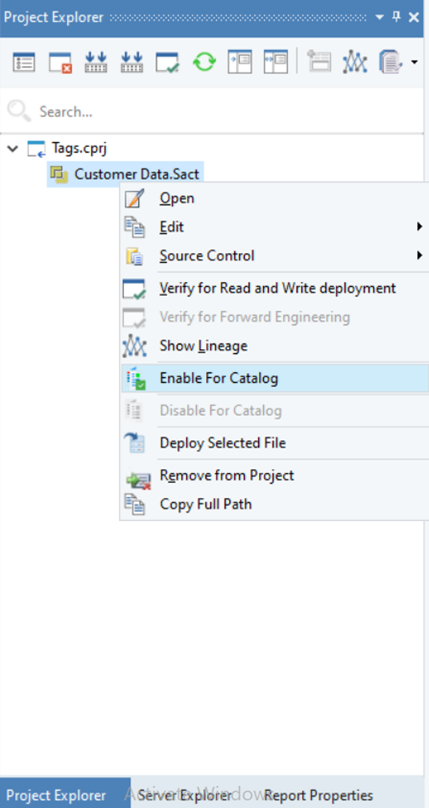
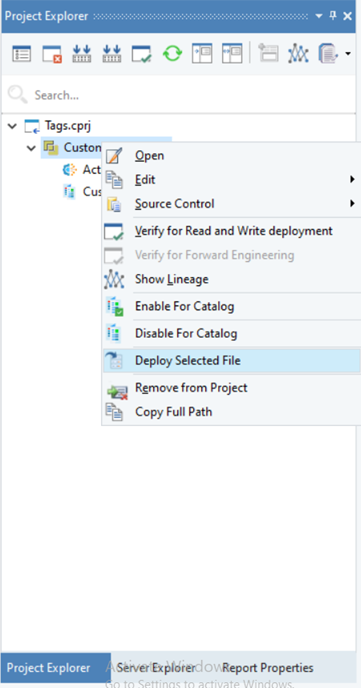
8. Once done, right-click on the SharedAction file node in the Project Explorer panel and select Enable For Catalog. Doing so will add a catalog file to the asset.
9. Save the file again. Next, right-click on the SharedAction file node in the Project Explorer panel and select Deploy Selected File.
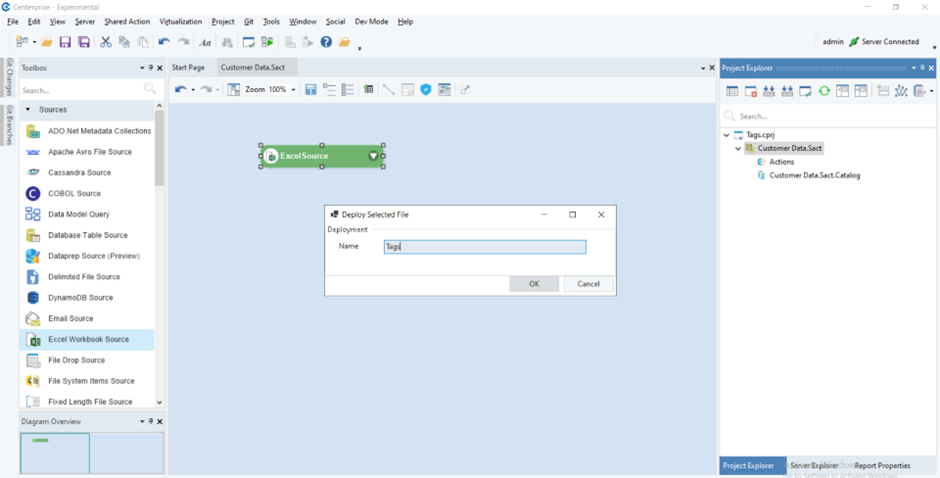
10. A Deploy Selected File window will appear. Here, provide a name for the deployment and click OK to close the window.
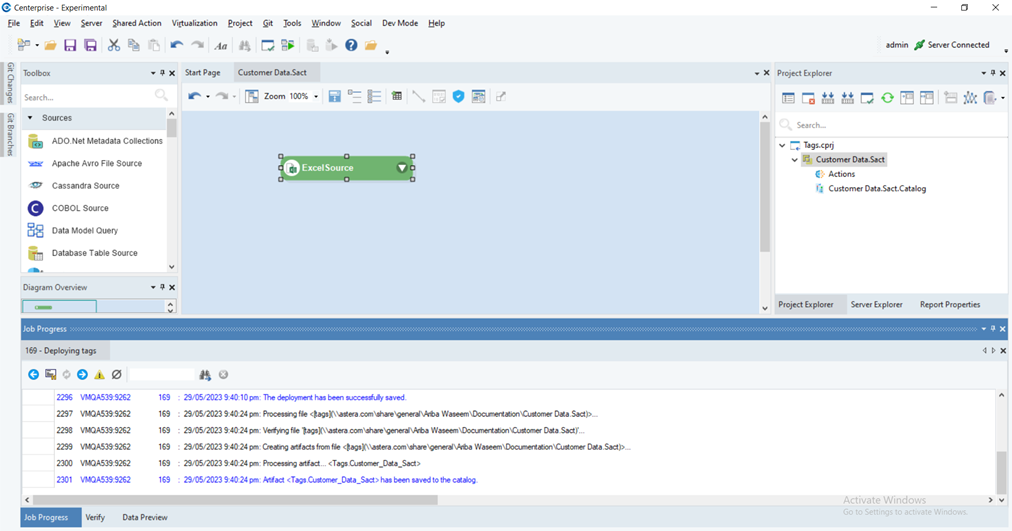
11. A deployment will be created, as evident in the Job Progress window.
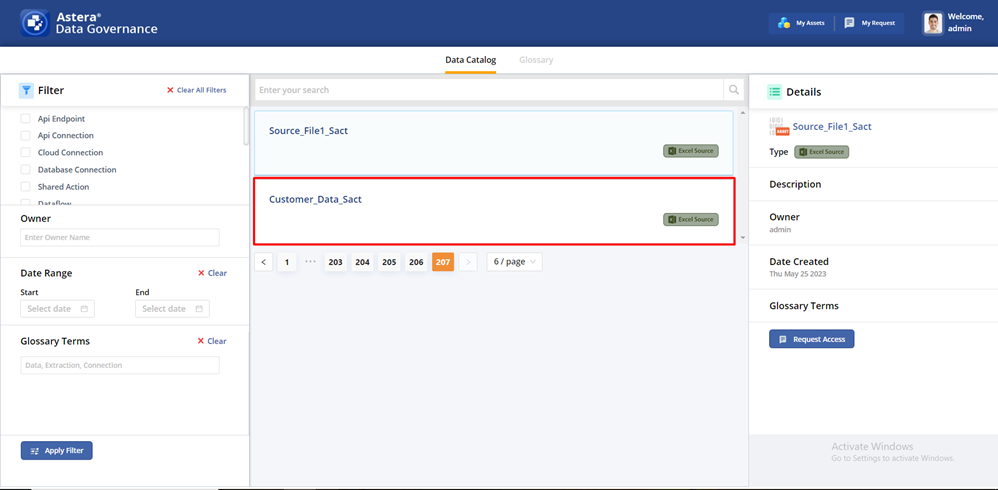
12. Now, navigate to Astera Data Governance’s web application and search for the deployed artifact using the search bar. The searched term is matched against the name and description of the artifact, and if found, the matched artifact is returned in the results. Once found, click the artifact’s name.

How to create and attach Tags/Non-Glossary Terms:
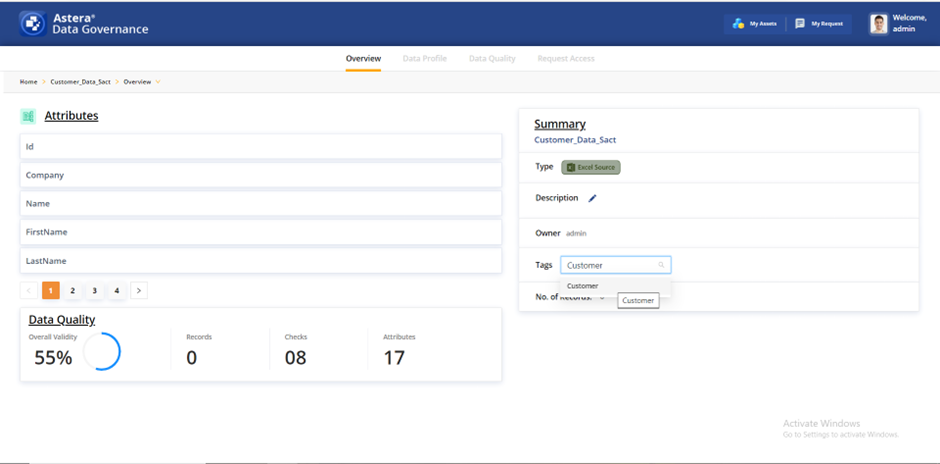
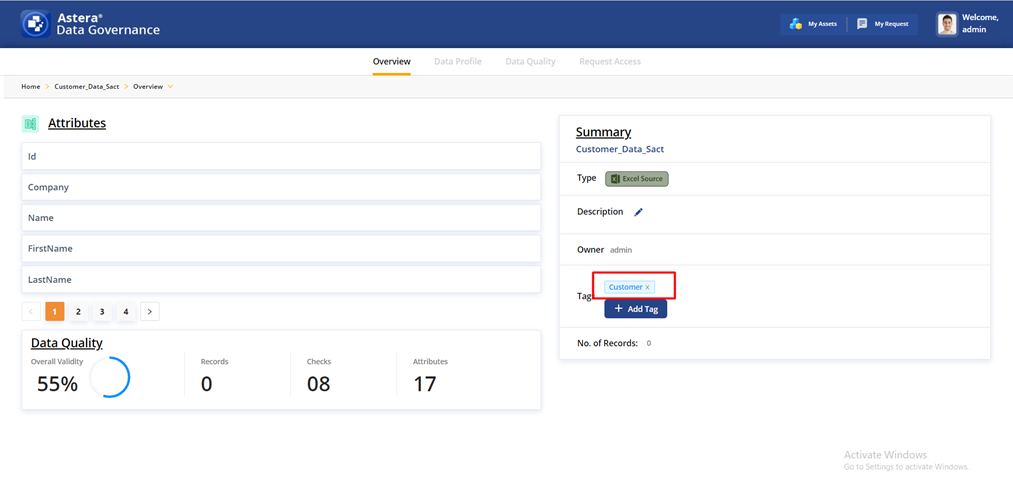
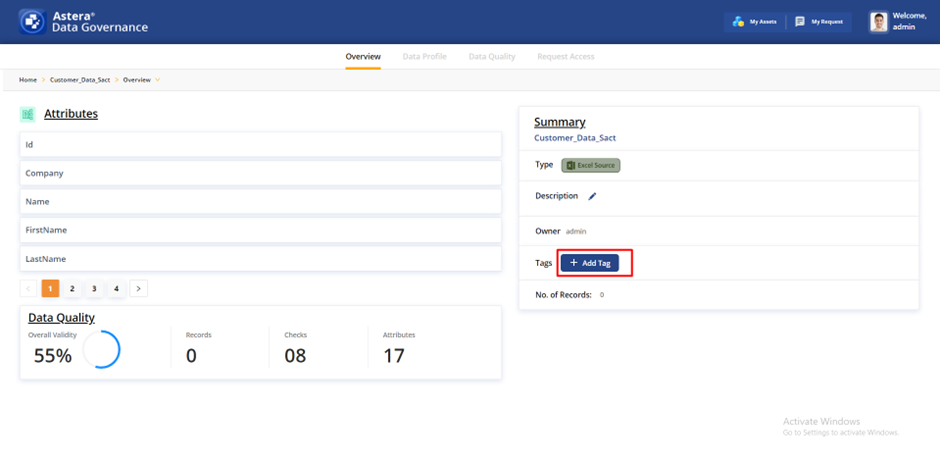
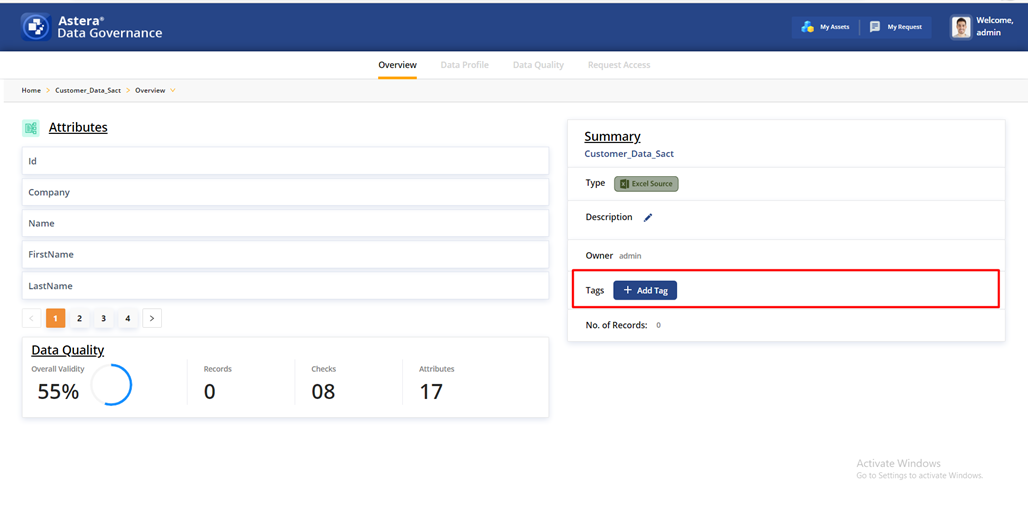
1. Once the artifact’s name is clicked, users will be redirected to an artifact Overview window. Now, click the Add Tag option in the Summary panel on the right.

2. A textbox will appear. Here, we can simply type in a tag, Customer, and select it to attach it to the asset.
3. The tag is attached to the asset and can now be used with other assets too.
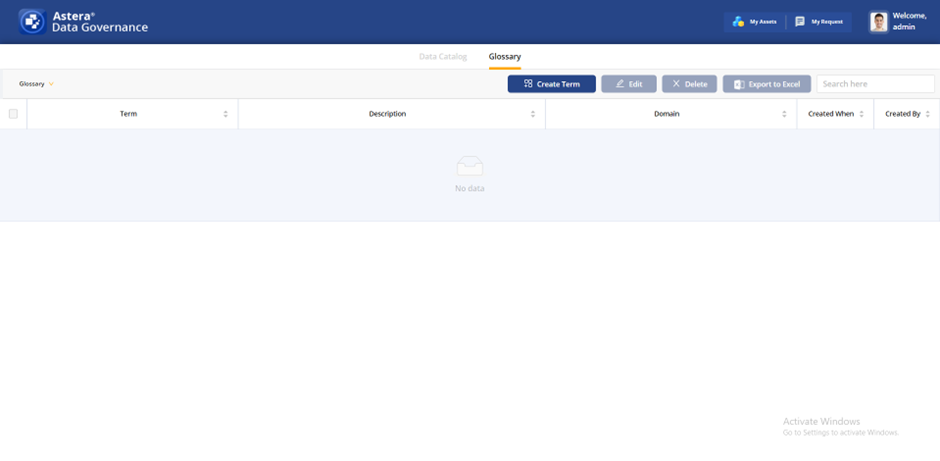
How to Create Glossary Terms:
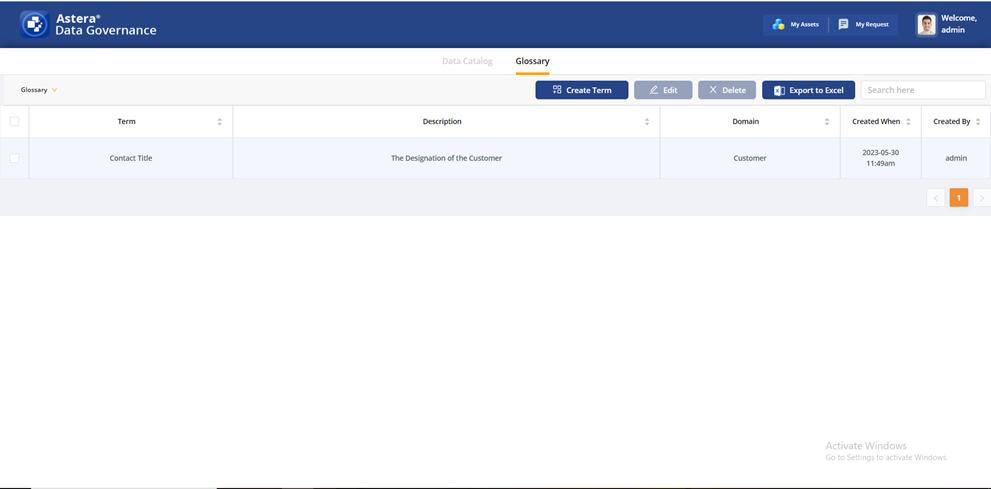
1. On the home page, select the Glossary tab located next to the Data Catalog tab.
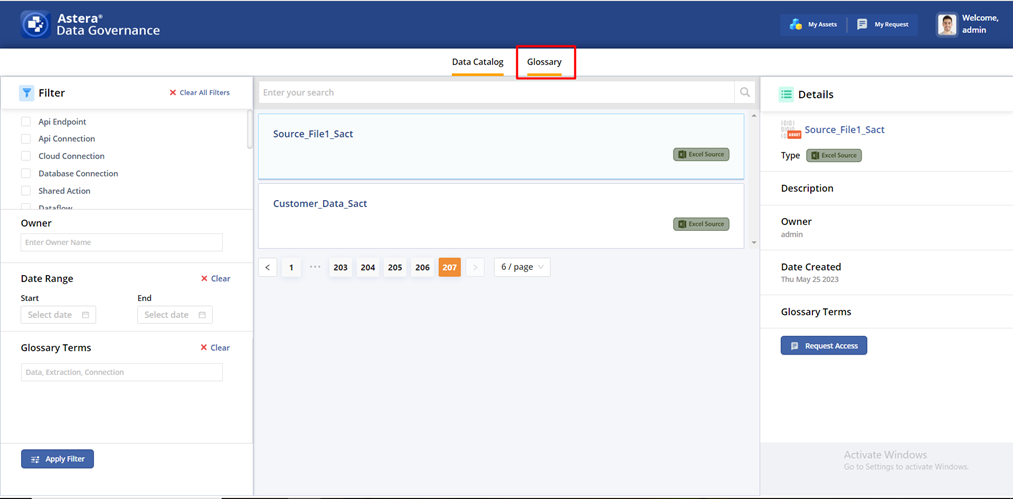
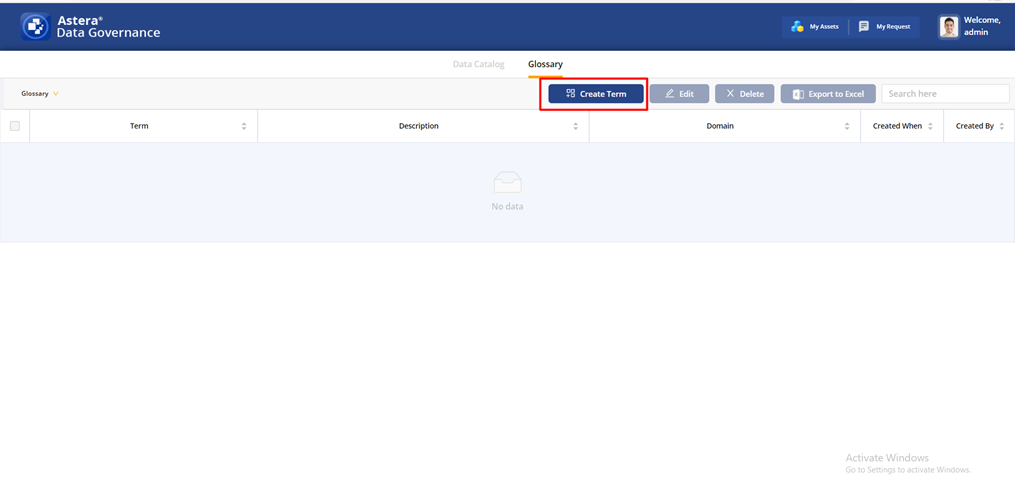
2. Doing so will redirect you to the Glossary page. This page will display an empty grid. We can click on the Create Term option to create a new glossary term.
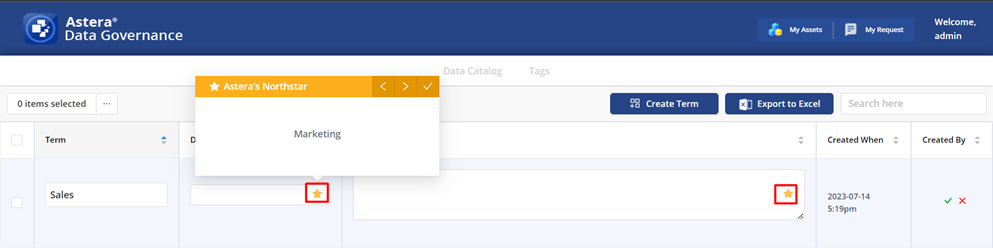
3. Once clicked, a pop-up panel will appear. Here, enter the Name, Description, and Domain (optional) for the asset and click Save.

Note: Users can also click on the star icons in the empty fields for suggestions by Astera NorthStar. This option will provide users with three suggestions related to the Term field, and users can select any one of the suggestions.
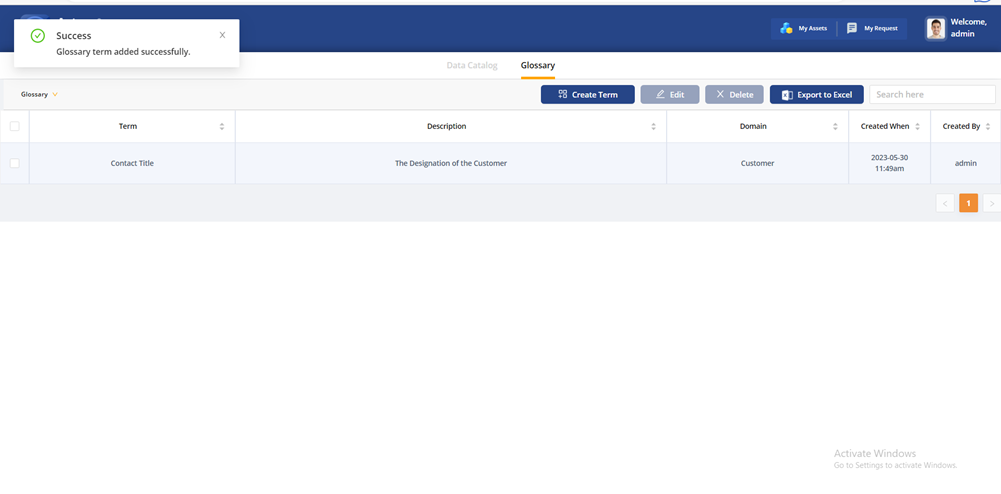
4. Once the glossary term has been created successfully, the user will be notified, and the grid will be populated with the newly created glossary term.
How to attach Glossary Terms to an Asset
5. On the home page, select the artifact that you are working with.
6. Upon selecting this artifact, you will be redirected to the Overview page. Click the Add Tag icon present in the Summary panel on the right.
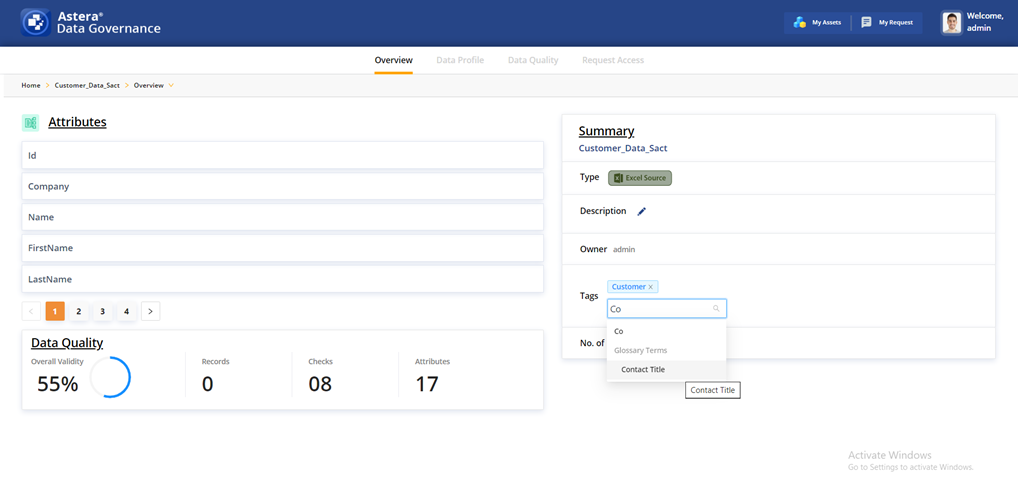
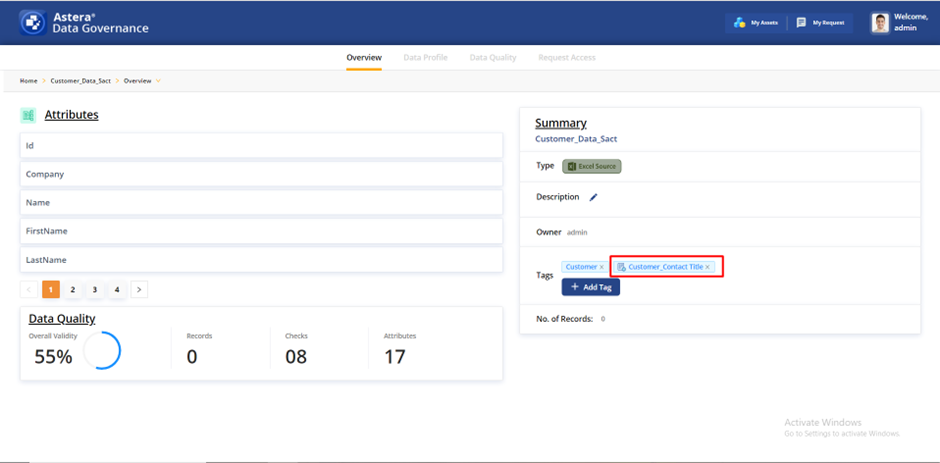
7. A textbox will appear. Here, type in “Co”, and the previously created glossary term will appear in the suggestions. Select the Contact Title term to attach it to the asset.
8. The glossary term will be attached to the asset.
How to Remove Glossary Terms or Tags from an Asset:
1. You can simply remove attached Tags and Glossary Terms by clicking on the small x next to each attached tag/term.
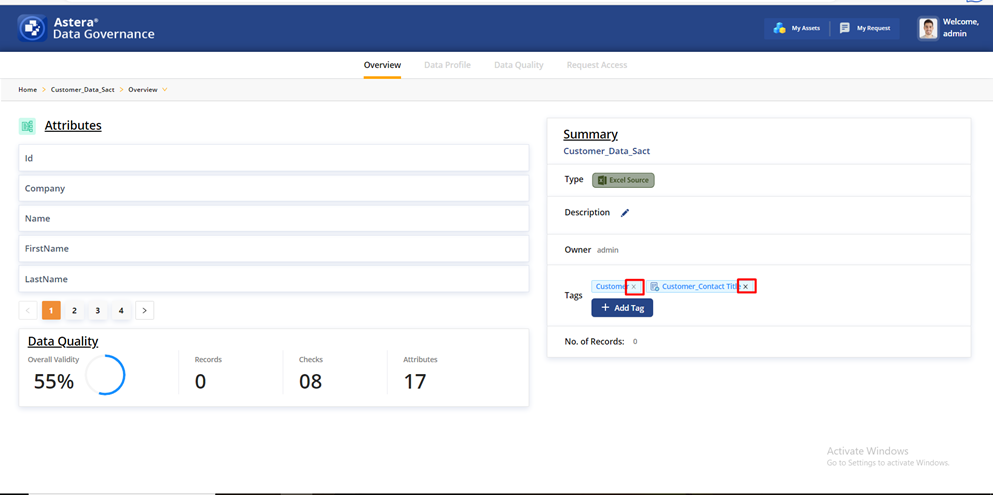
2. Doing so will remove Tags and/or Glossary Terms attached to the asset.
How to Edit a Glossary Term:
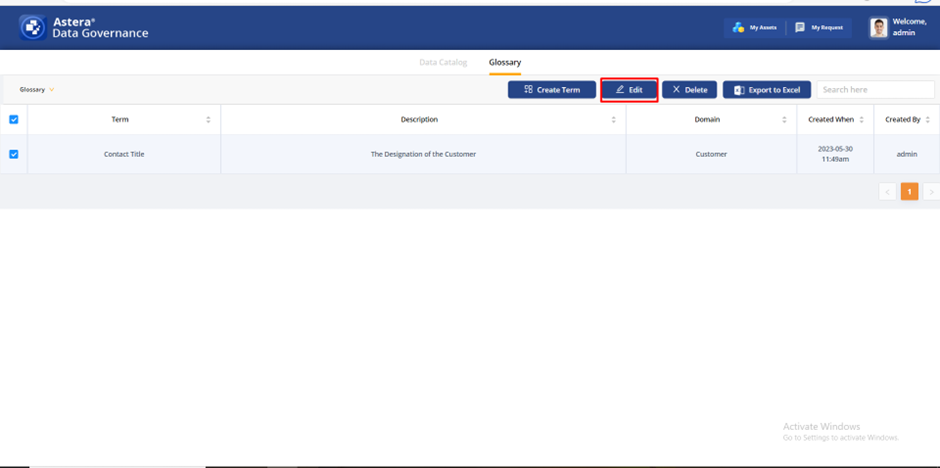
1. Navigate to the Glossary tab from the home page. This page will display a grid on previously created glossary terms. However, the Edit option will be disabled.
2. To enable the Edit option, mark the checkbox present to the left of the glossary term. Once checked, you can select the Edit option.
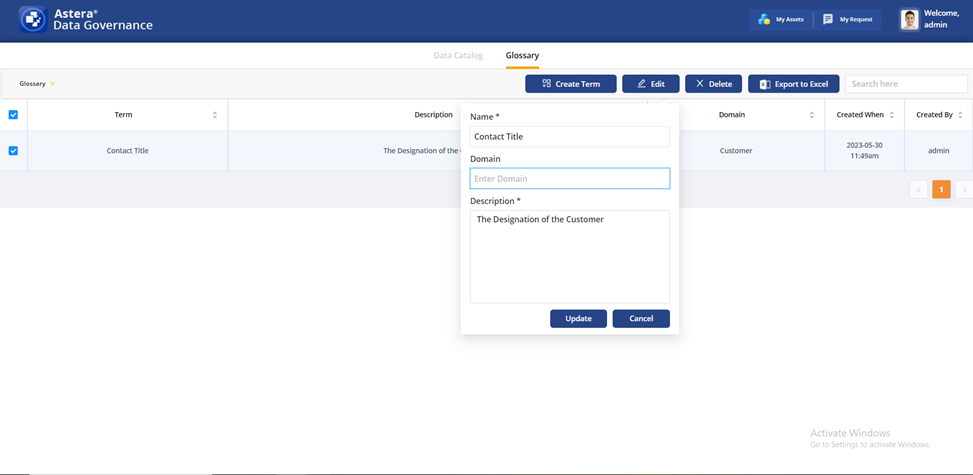
3. Upon clicking, a pop-up panel will appear with previously populated fields. Users can edit these fields. For our use case, we have removed information present in the Domain field. To apply this change, select Update.
4. Once the change has been applied, the user will be notified, and the update will be reflected in the grid.

How to Delete a Glossary Term
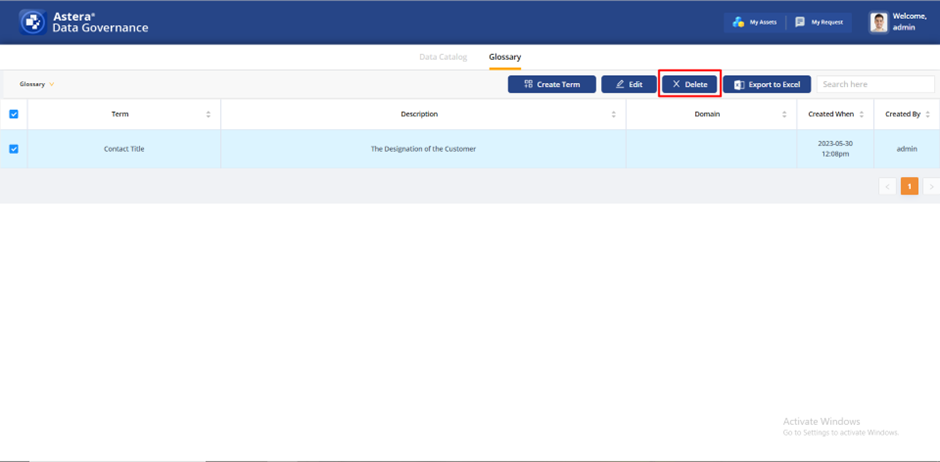
1. Users can simply delete a previously defined glossary term by marking the checkbox located to the left of a term row. Once checked, the Delete option will be enabled.
2. Upon clicking, a pop-up warning panel will appear. Click OK to delete the term.
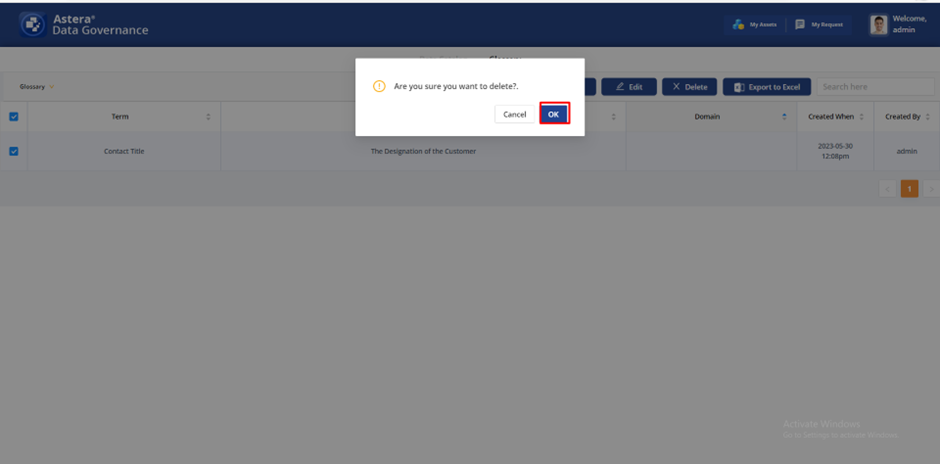
3. The term will be deleted.