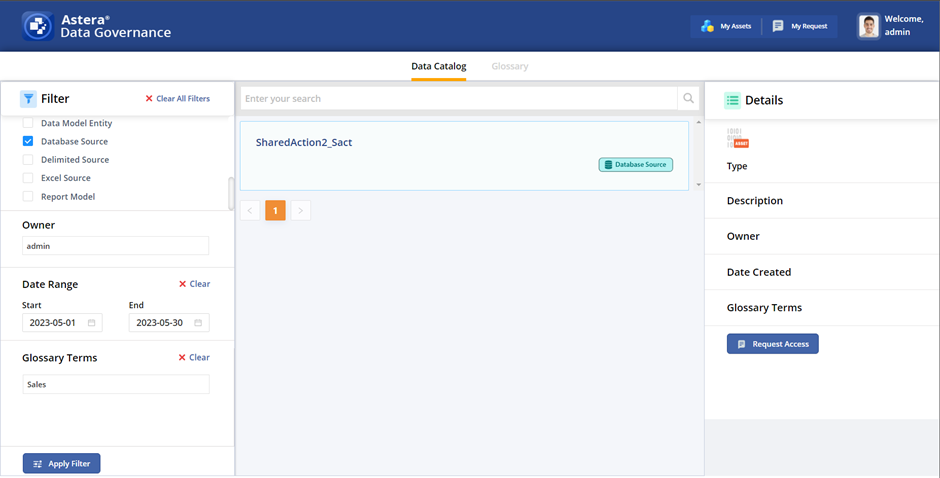
Data Discoverability
1. Open the Centerprise client application.
2. Go to Project > New > Integration Project to create a new integration project.

3. Next, in the Project Explorer panel, right-click on the newly created project and select Add > Add New Item.

4. In the Add New Item window, select Shared Action and click Add. This item can also be renamed using the Name textbox.
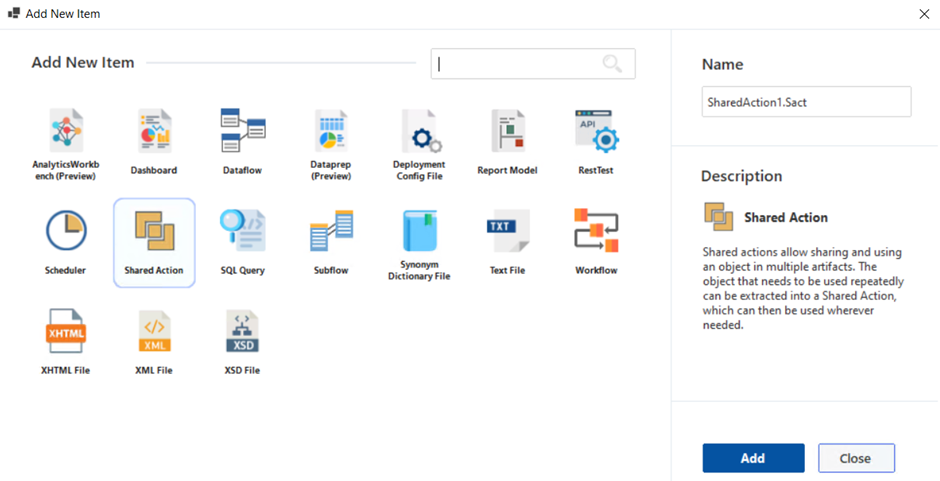
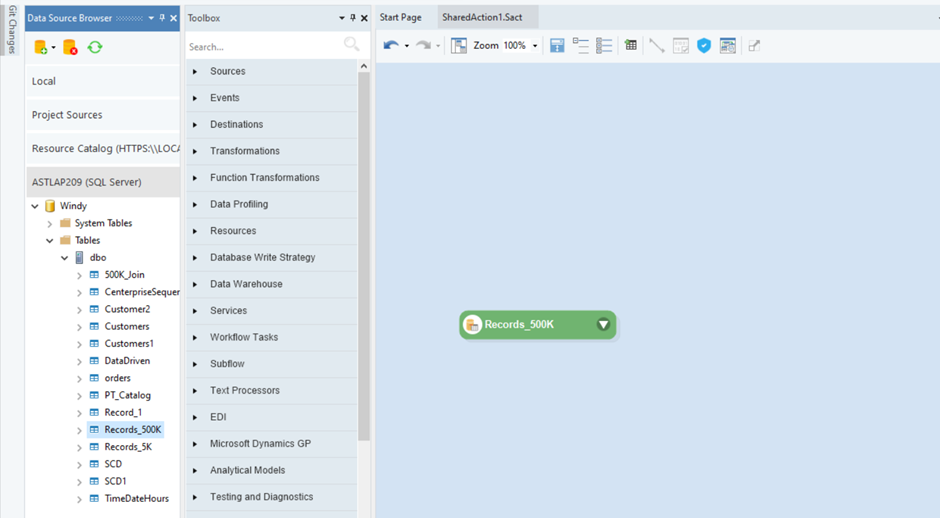
5. Use the Data Source Browser panel and select the Add Data Source > Add Database Connection/Add File Connection option to configure a database/file connection. Once the connection has been established successfully, drag-and-drop the relevant file or database table from the panel onto the designer.
6. Now, right-click on the SharedAction file tab under the toolbar and select Save to save the file. Once done, right-click on the SharedAction file node in the Project Explorer panel and select Enable For Catalog.
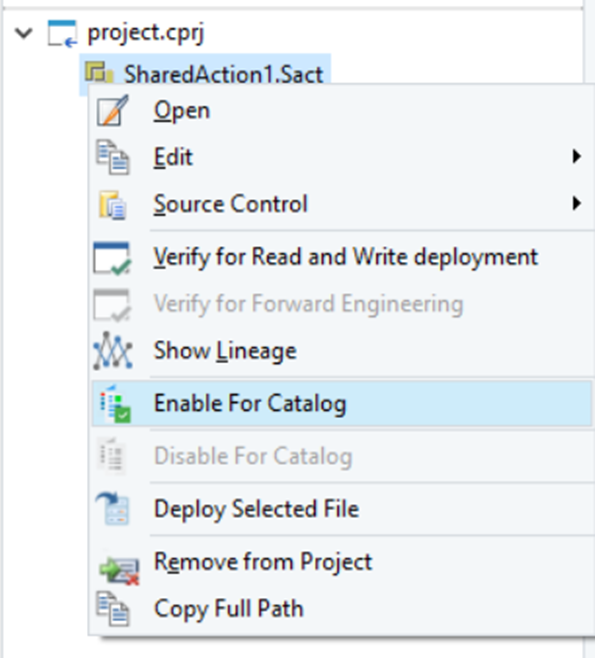
7. Save the file again. Next, right-click on the SharedAction file node in the Project Explorer panel and select Deploy Selected File.
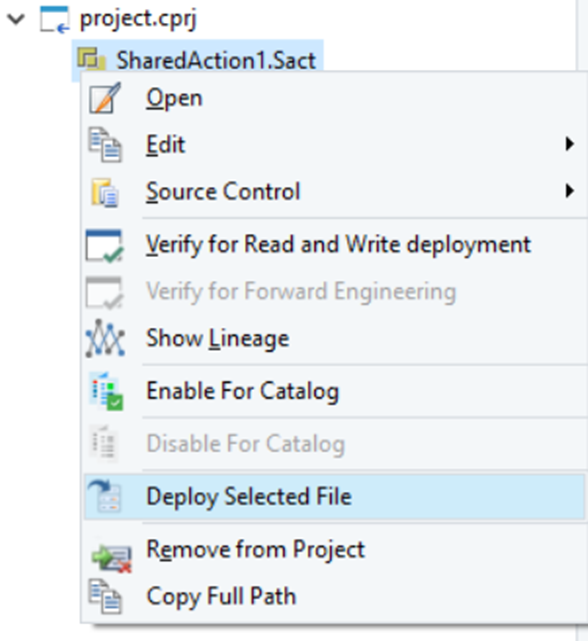
8. A Deploy Selected File window will appear. Here, provide a name for the deployment and click OK to close the window.

9. Now, navigate to Astera Data Governance’s web application and search for the deployed artifact using the search bar. The searched term is matched against the name and description of the artifact, and if found, the matched artifact is returned in the results.
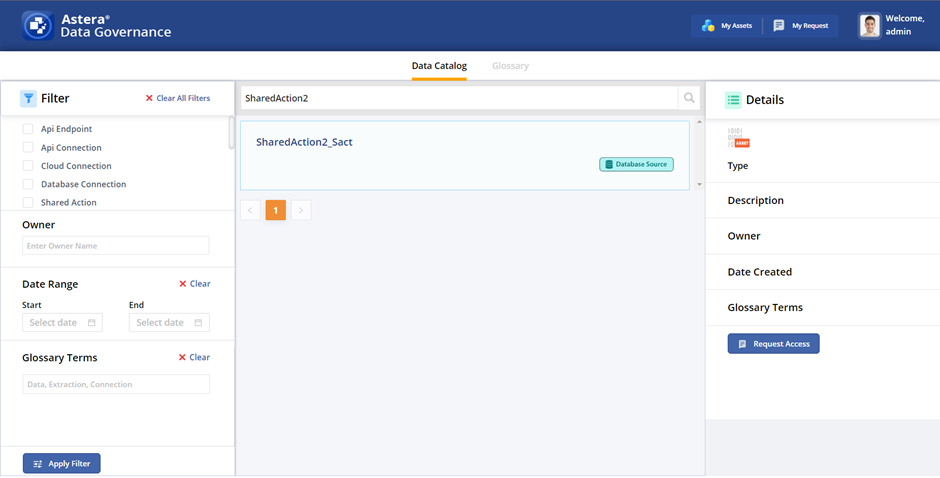
10. Users also have the option to filter out deployed artifacts by specifying the artifact’s type, owner’s name, data range indicating when the artifact was created, and glossary terms or tags attached to the artifact.
