MongoDB Source (Beta)
Astera Centerprise gives the user the ability to use a MongoDB Source as part of the ETL pipeline. MongoDB is a fully cloud-based application data platform.
It is also a NoSQL platform that provides a mechanism of storage and retrieval of data that is modeled in means other than the tabular relations used in relational databases.
It can be configured in accordance with the user application in Astera Centerprise.
Configuring the MongoDB Source in Astera Centerprise
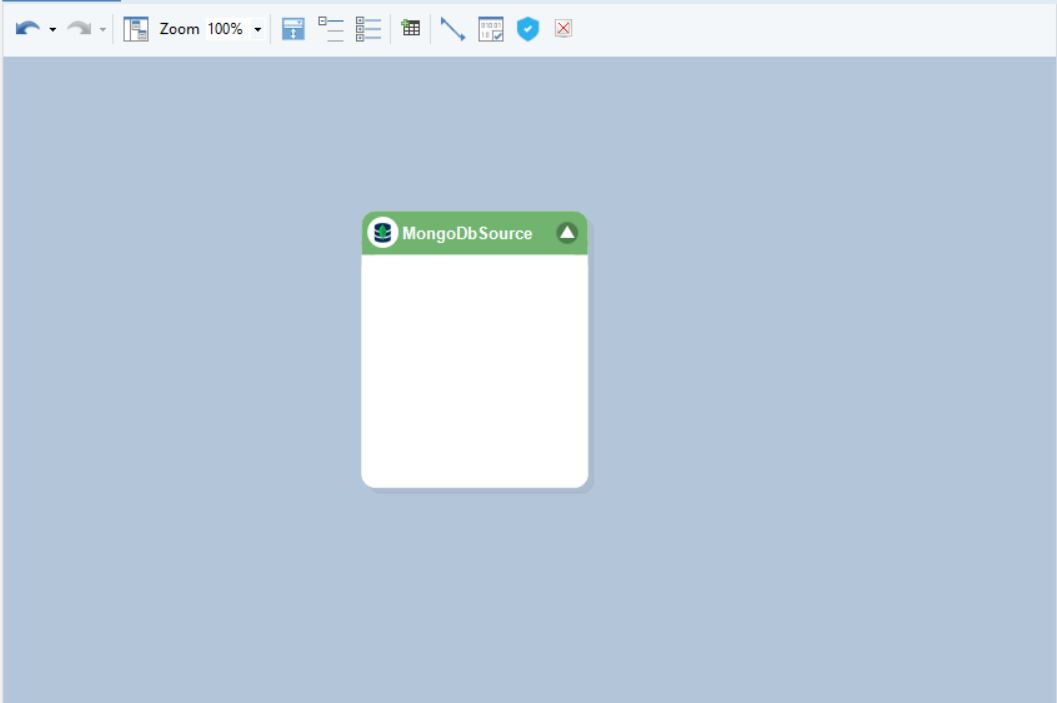
1. To start, drag and drop the MongoDB Source object from the Sources section of the toolbox onto the dataflow.
2. To configure the MongoDB Source object, right-click on it and select Properties from the context menu.
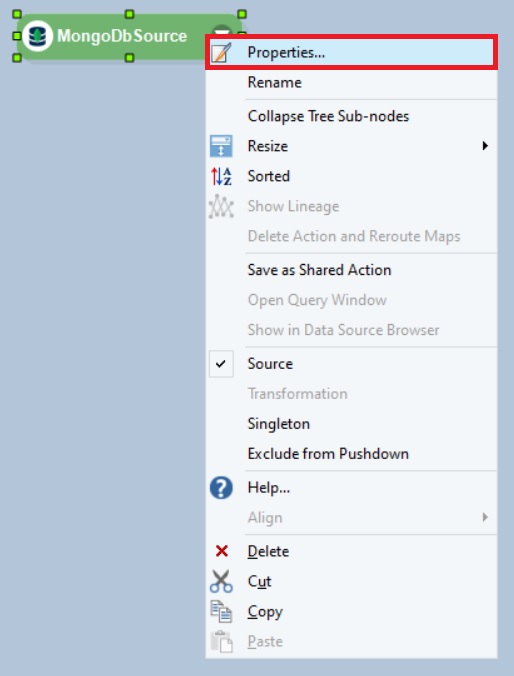
This will open the Properties screen.

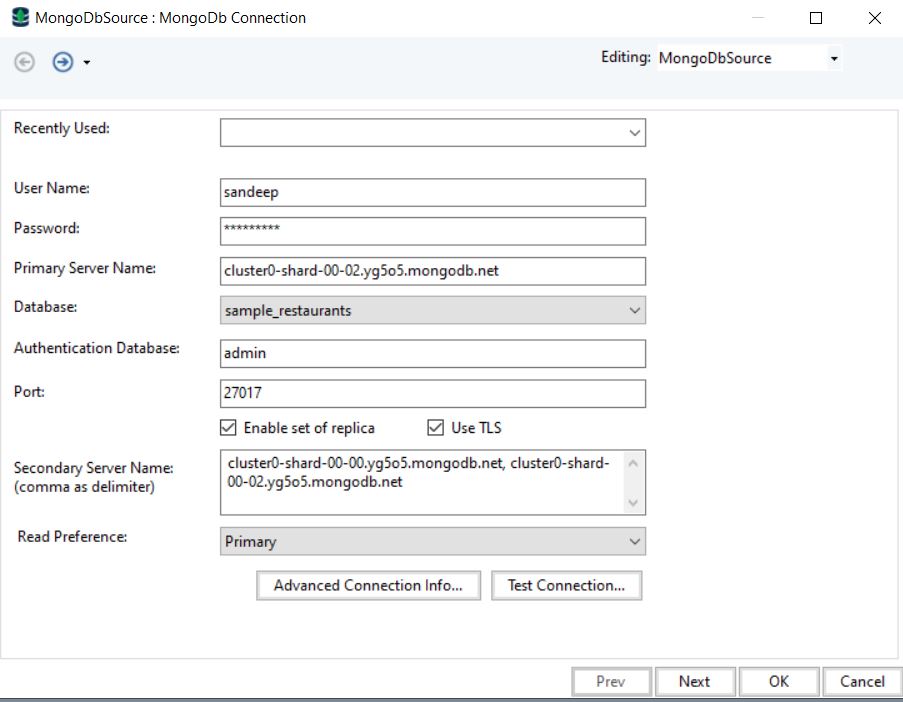
User Name: The name of the user connecting to the MongoDB cluster.
Password: The password of the user connecting to the MongoDB cluster.
Primary Server Name: The address of the primary server cluster for connection.
Database: The database to be selected from the MongoDB server.
Authentication Database: The database used for authentication.
Enable set of replica: Allow the server to access the secondary cluster in case of unavailability of the primary server.
Use TLS: Check this option if you are using TLS authentication.
Secondary Server Name: The address of the secondary server cluster for connection.
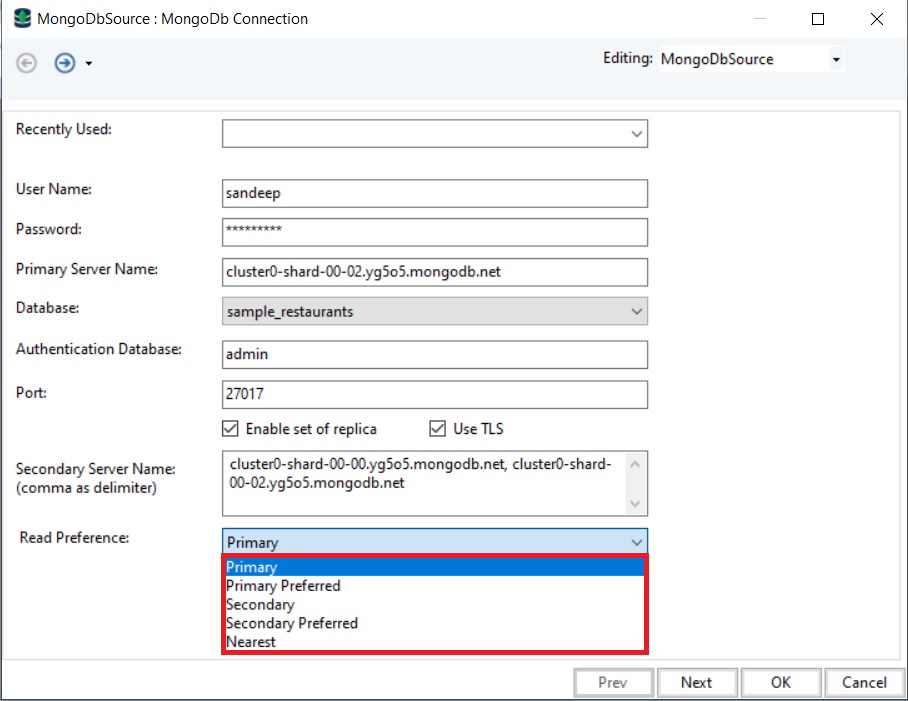
Read Preference –
This drop-down menu allows the user to select which server to be given preference to while reading the data.
Primary: Means that data will only be read from the primary server.
Secondary: Means that data will only be fetched from the secondary server.
Primary Preferred: Means that preference will be given to the primary server but in case of its unavailability, it will fetch data from secondary server.
Secondary Preferred: Means that preference will be given to the secondary server but in case of its unavailability, it will fetch data from the primary server.
Nearest: Means that the preference will be given to the server closest to the connection in region and IP.
Note: You can also select some advanced connection info through the option next to Test Connection.
3. Once the credentials have been filled, you can test the connection by selecting Test Connection.
4. Once done, click Next and you will be led to the MongoDB Collection screen.
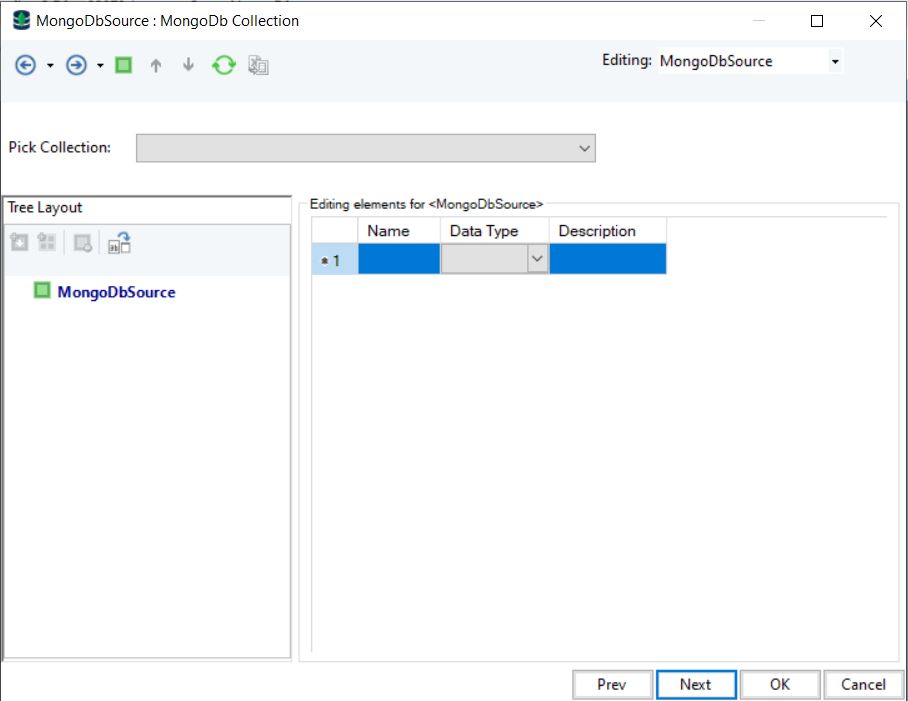
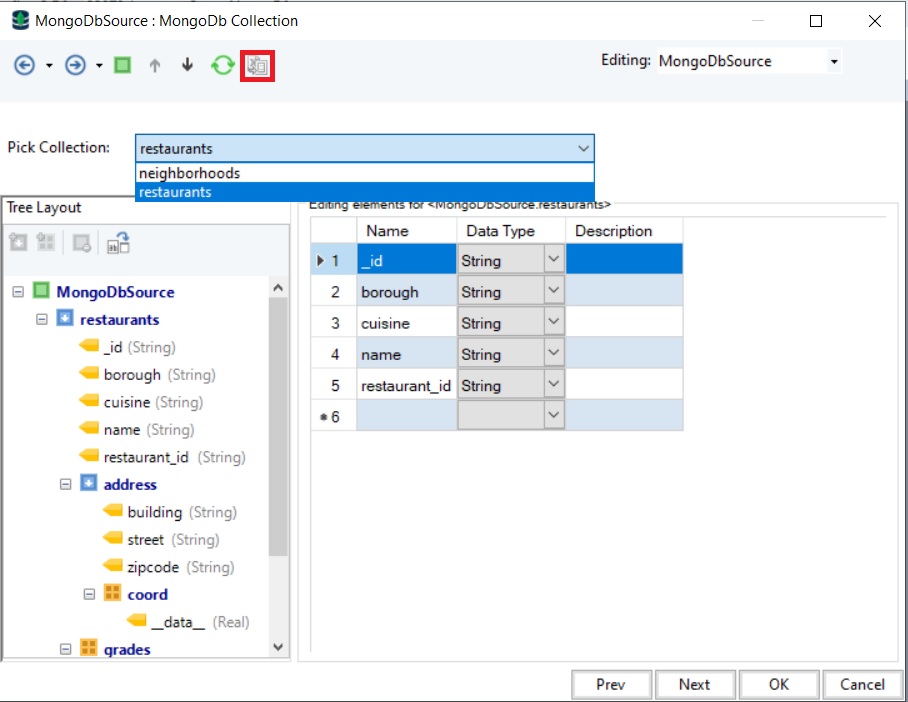
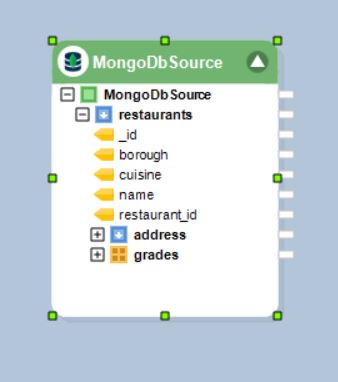
Here, you can pick a collection that you wish to fetch the data from using the Pick Collection drop-down menu.
Once the collection is selected, the layout will be built.

There are three ways to generate the layout,
- Centerprise auto generates layout with respect to the first 100 records by default.
- The user can provide a JSON schema and Centerprise will generate the layout.
- The user can manually create the layout.
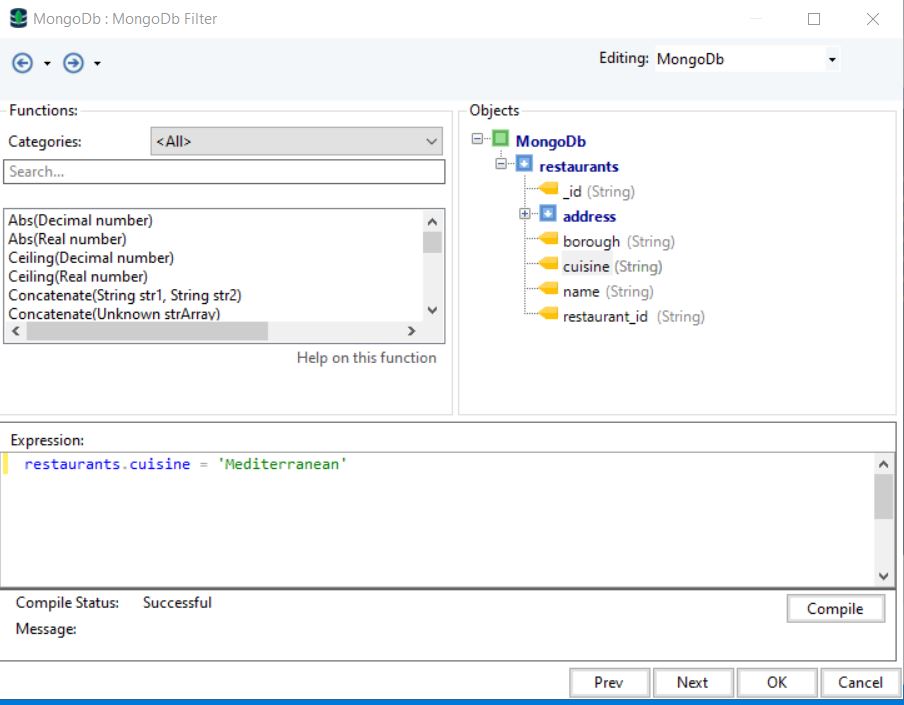
5. Once the layout has been built, click Next and you will be led to the MongoDB Filter screen.
Here, you can provide a query to filter out your records based on some criteria.
Note: Functions cannot be applied to MongoDB fields in the filter screen and we cannot filter records based on a criterion dependent upon array type fields.
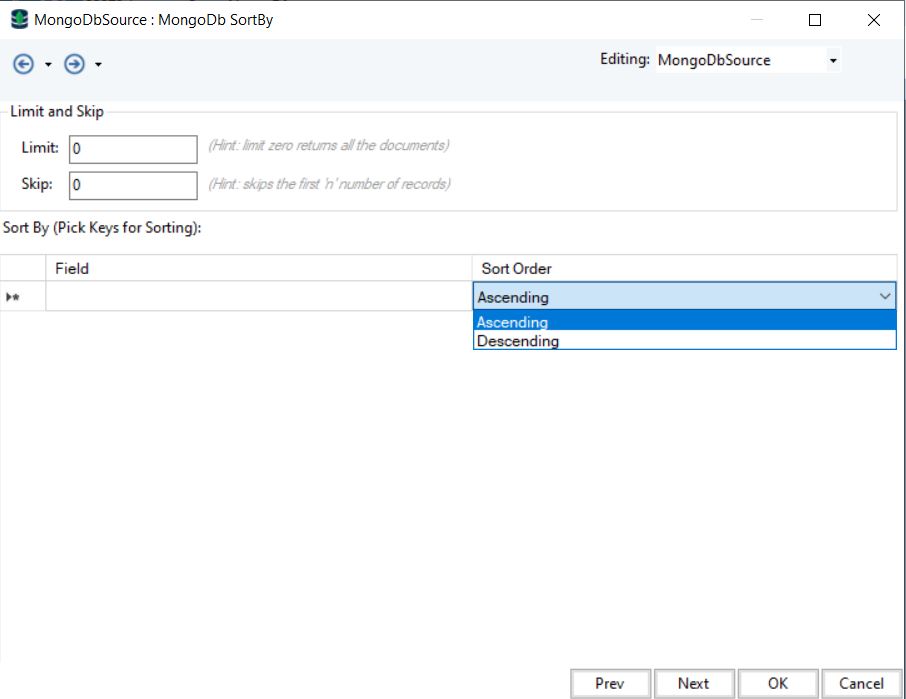
6. Click Next and you will be taken to the MongoDB SortBy screen.
Here, you can set the limit to fetch the specified number of records or provide a number to skip the first ‘n’ number of records.
You can also sort your data based on a single field or a collection of fields.
Note: We cannot sort the data based on array-type fields.
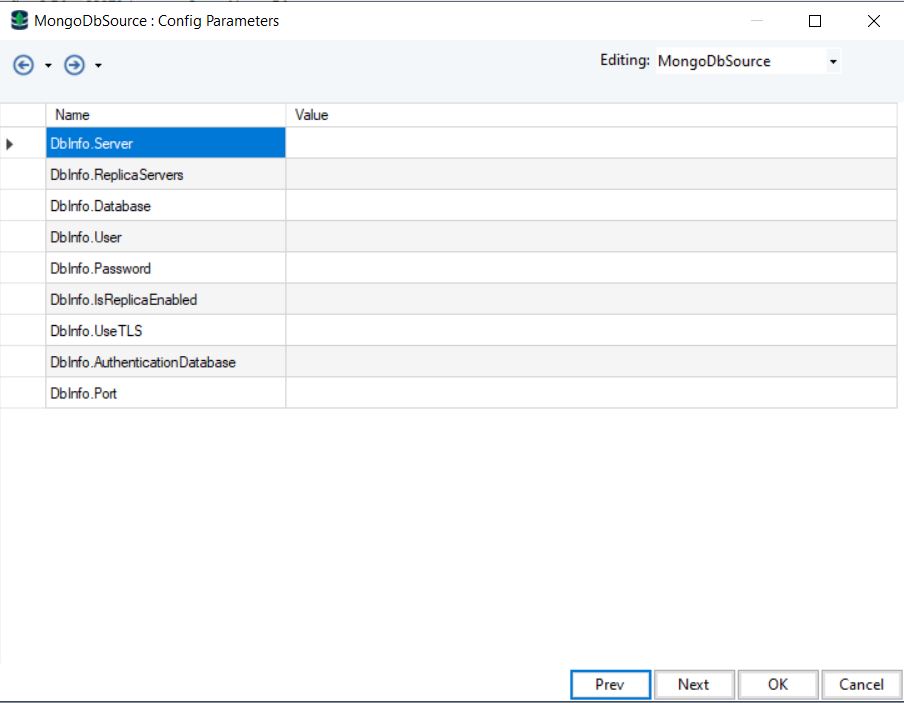
7. Click Next and you will be taken to the Config Parameters screen.
Parameters can provide deployment of flows by eliminating hardcoded values and can also provide a dynamic way of changing multiple configurations with a simple value change.
Note: Parameters left blank will use their default values assigned on the properties page.
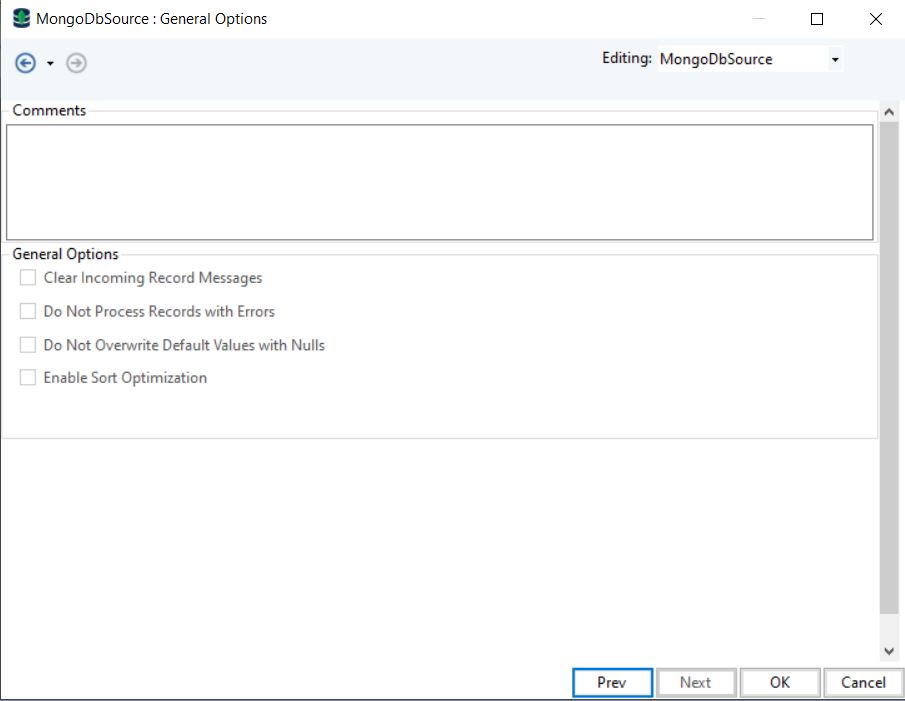
8. Click Next and you will be faced with the General Options screen.
Here, you can add any comments that you wish to add.
9. Click OK and the MongoDB Source object will be configured.
The source data can now be further used in an ETL pipeline with transformation or destination objects.
This concludes our discussion on the MongoDB Source object in Astera Centerprise.