Microsoft Message Queue
Microsoft Message Queue (MSMQ) is a robust messaging platform developed by Microsoft. It enables asynchronous communication between applications, allowing them to exchange messages reliably and securely.
With MSMQ, developers can build distributed systems, decouple components, and enhance scalability. It provides a flexible and efficient solution for queuing and processing messages, ensuring seamless integration and smooth data flow across various software applications.
Types of Queues
MSMQ offers three types of message queues: private, public, and system.
Private queues are local to a computer, while public queues can be accessed over a network. Both types ensure reliable and secure message delivery for diverse communication needs.
System queues are specifically managed by the underlying messaging system or infrastructure. They serve as internal components for managing message delivery and processing.
In Astera Centerprise, the user can read and write from both public and private queues.
Setting Up Microsoft Message Queue on a Windows Machine
1. To start, open the control panel on your windows.
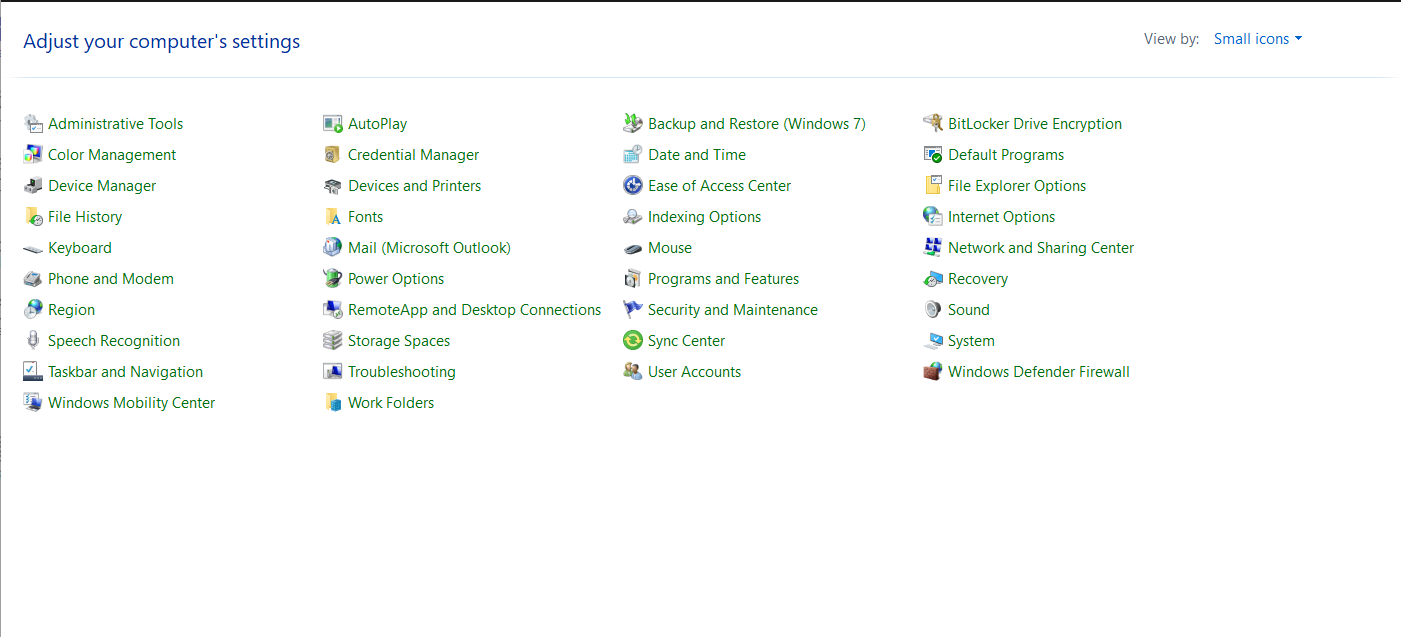
2. Select Programs and Features
This will lead us to a new screen.

3. On the left side of the window, select Turn Windows features on or off
This will open a new window.
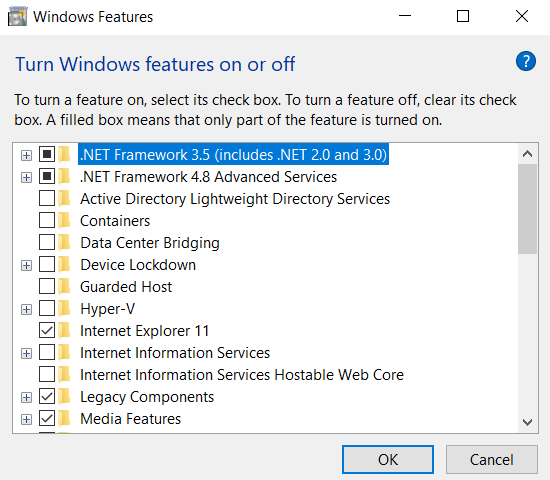
4. Scroll down and select the Microsoft Message Queue (MSMQ) Server package.
By default, it is not selected.
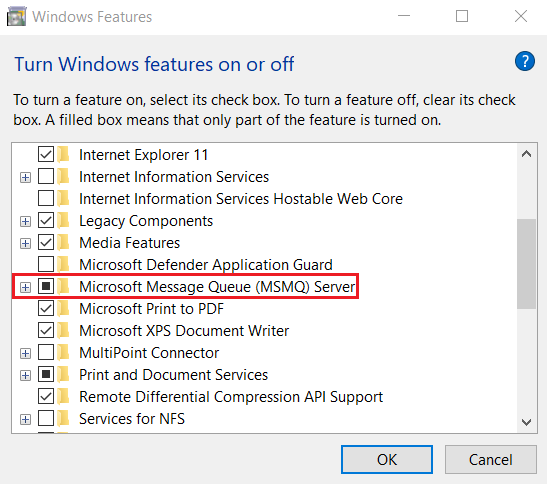
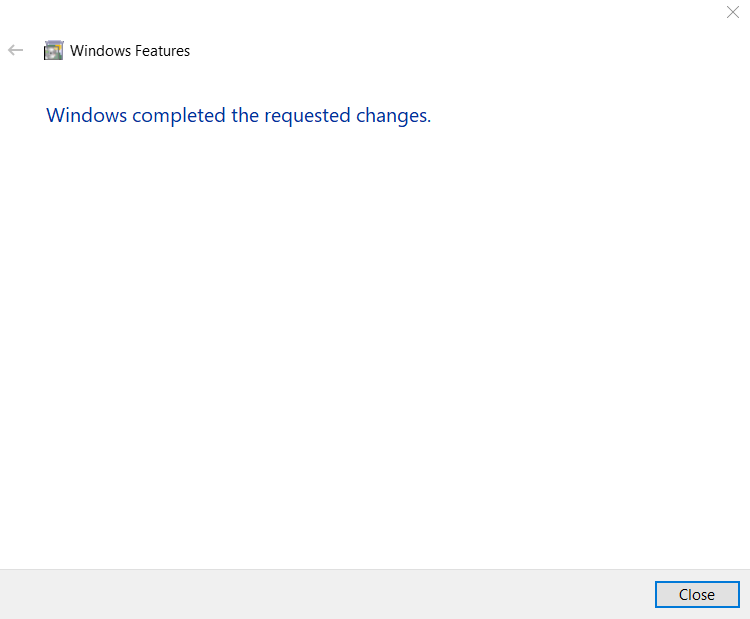
5. Click OK and the package will be installed.
Note: It is important to check whether Message Queuing Server and Message Queuing Triggers are checked before installing.
Once the package is installed, click on Close.
Note: There might be a prompt to restart the machine once the package has been installed.
Testing Microsoft Message Queue
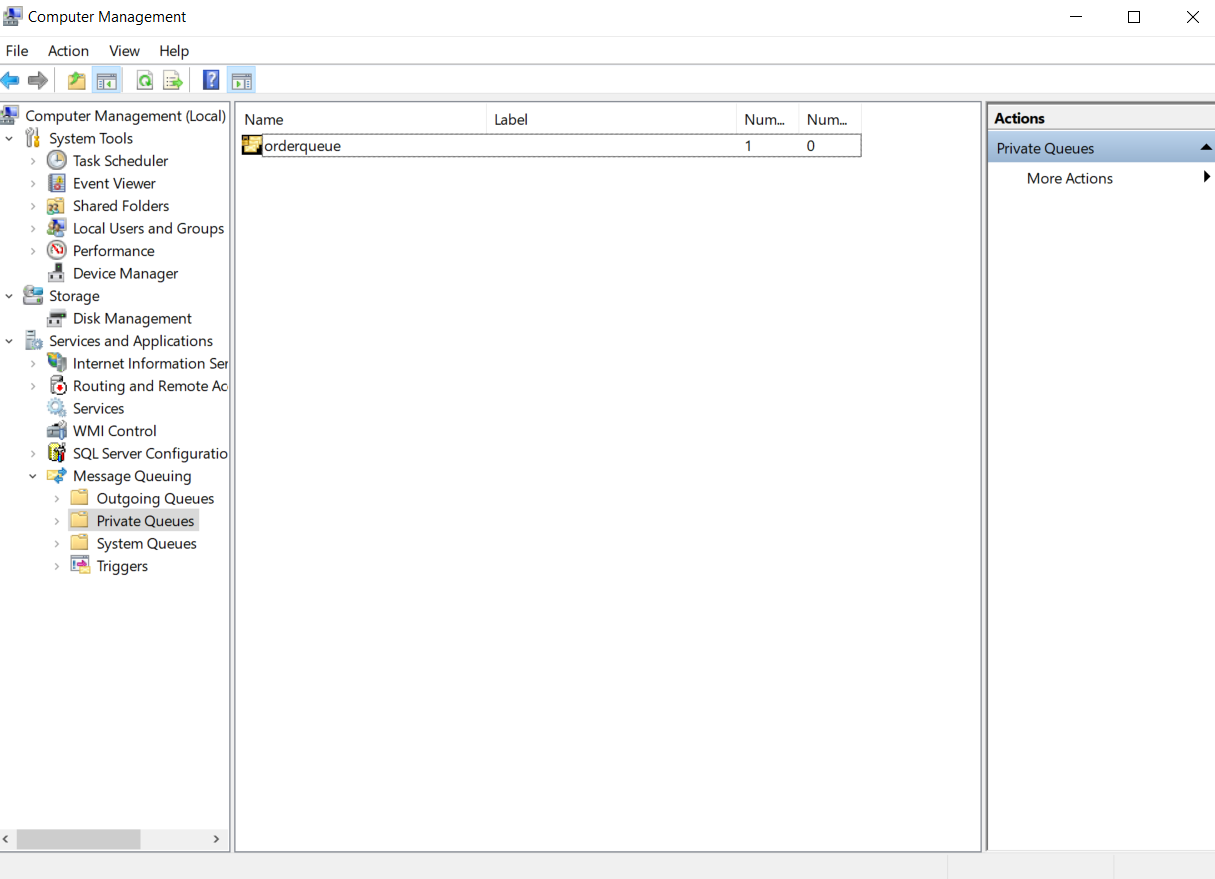
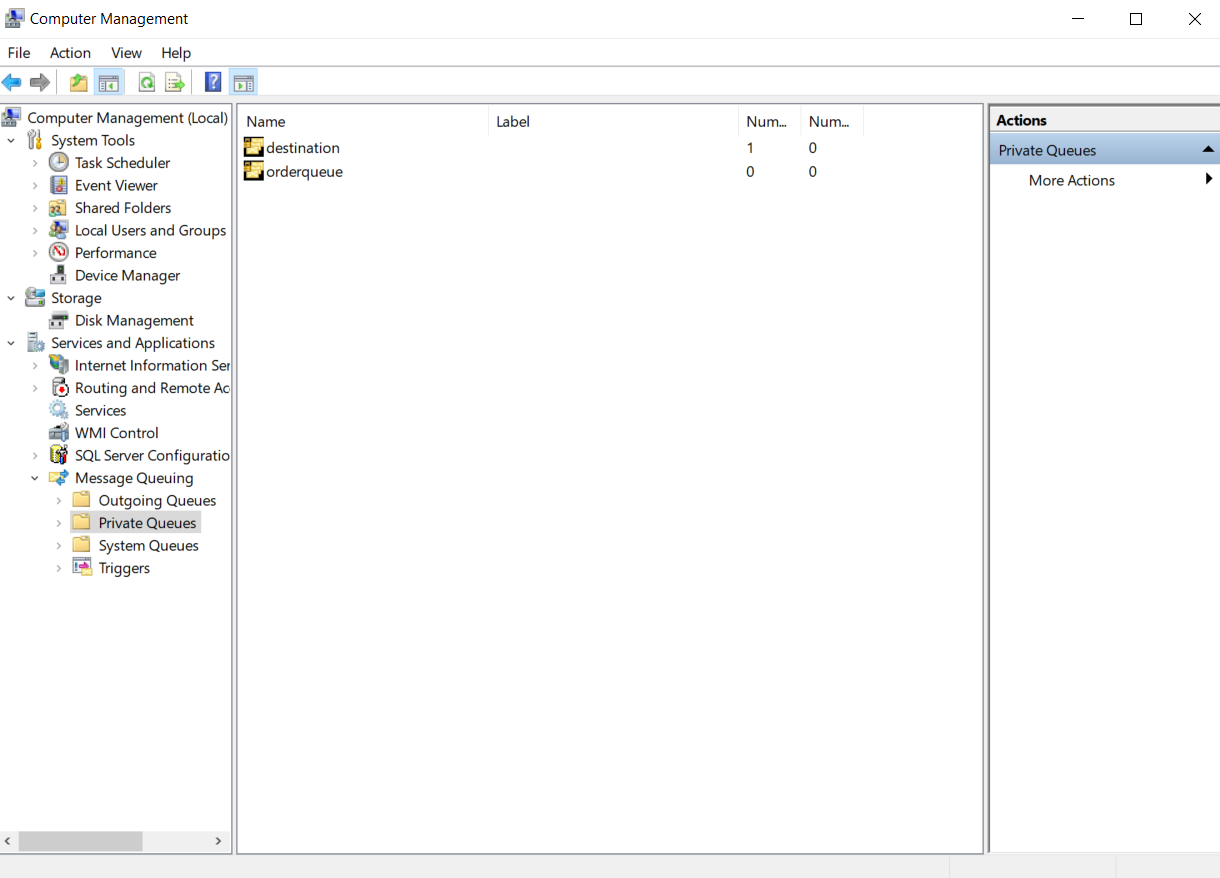
1. Once the message queue package has been installed, head to the Computer Management application on your machine.
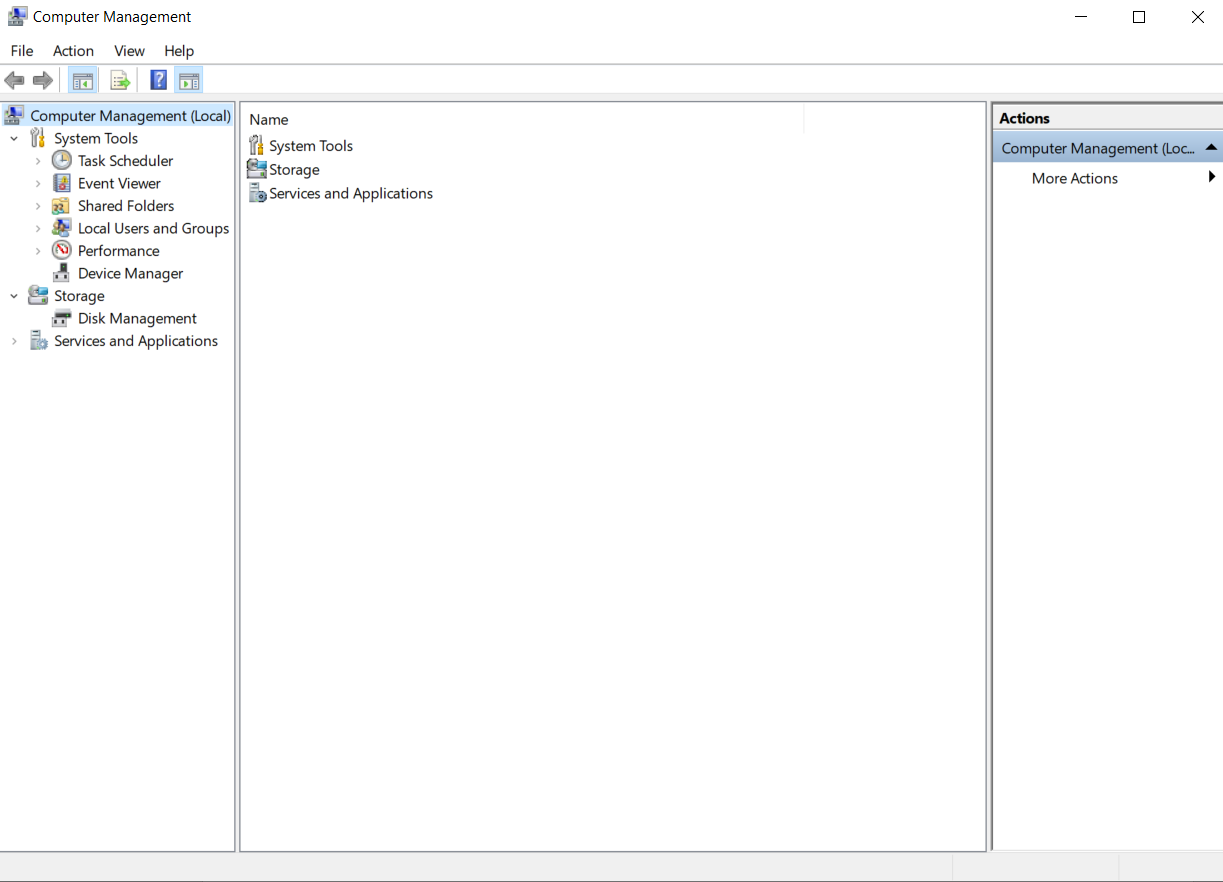
2. In the Services and Applications drop-down, upon expanding, we can see the Message Queue node.
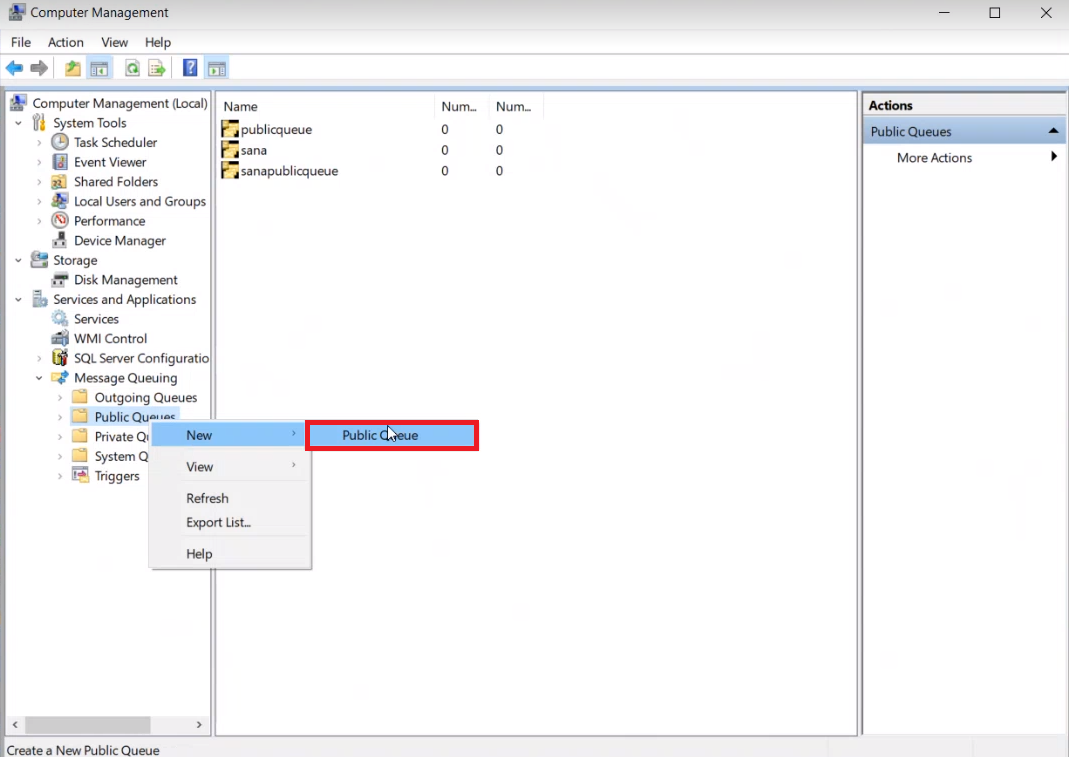
3. To create a new queue, simply right-click on either public or private and select New from the context menu.
4. To check if permissions for a queue have been given to read and write, right-click on the desired queue name and select Properties from the context menu.
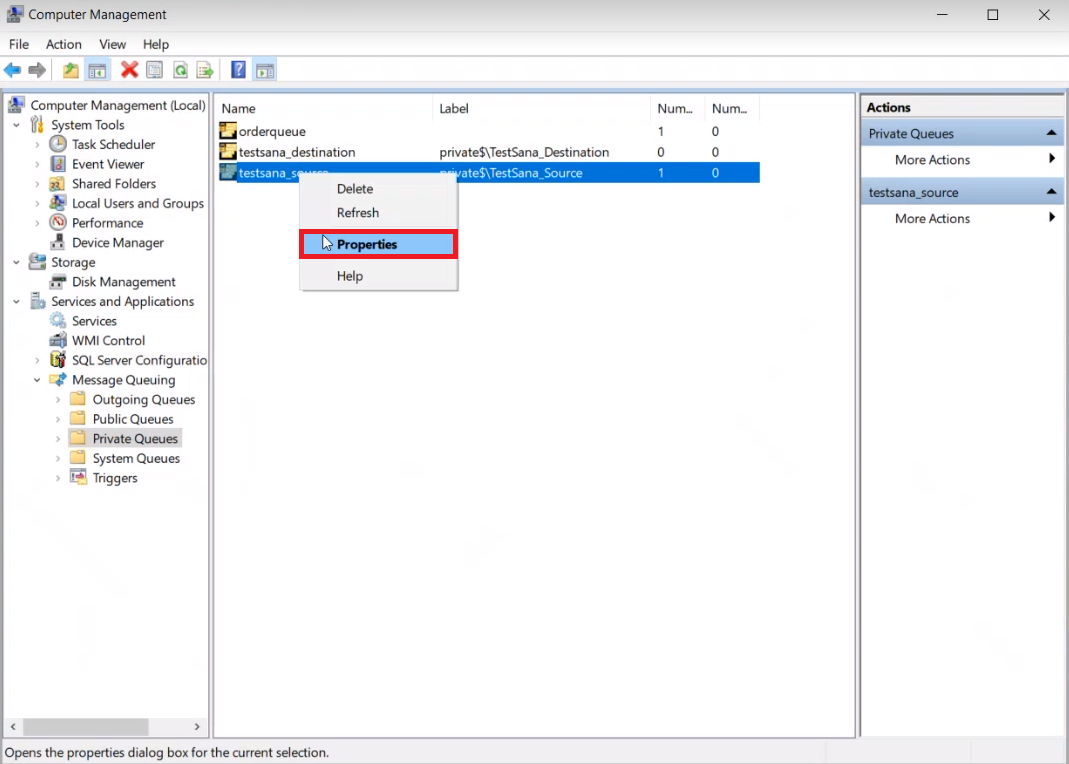
This will open a new window.
5. Head to the Security tab to see if the permissions have been assigned or not.
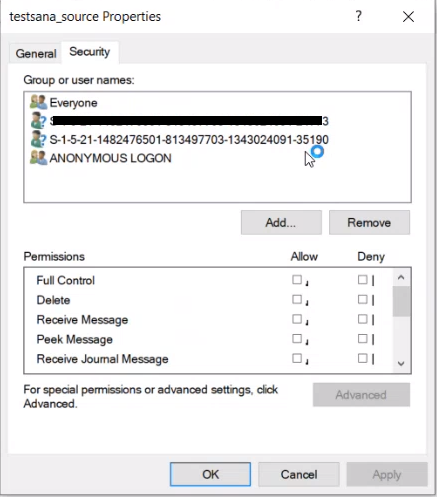
Note: It is a must for the queue to have permission given to the user that is accessing the Centerprise service.
Using the Microsoft Message Queue in Astera Centerprise
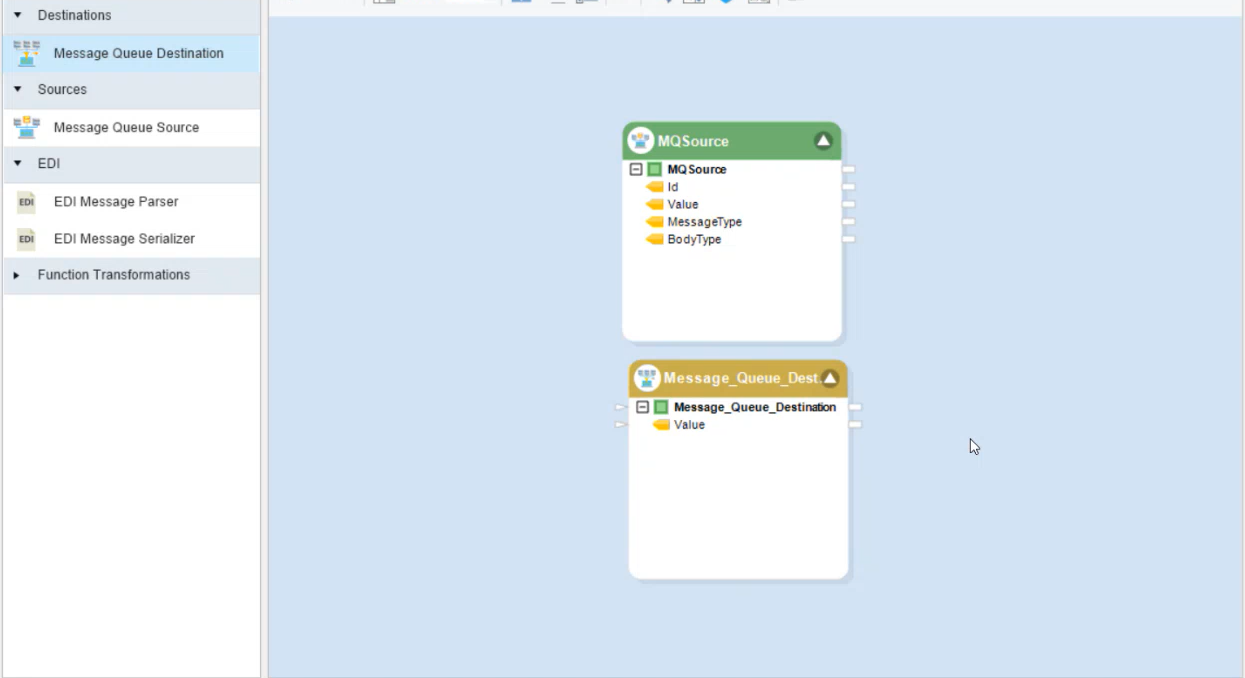
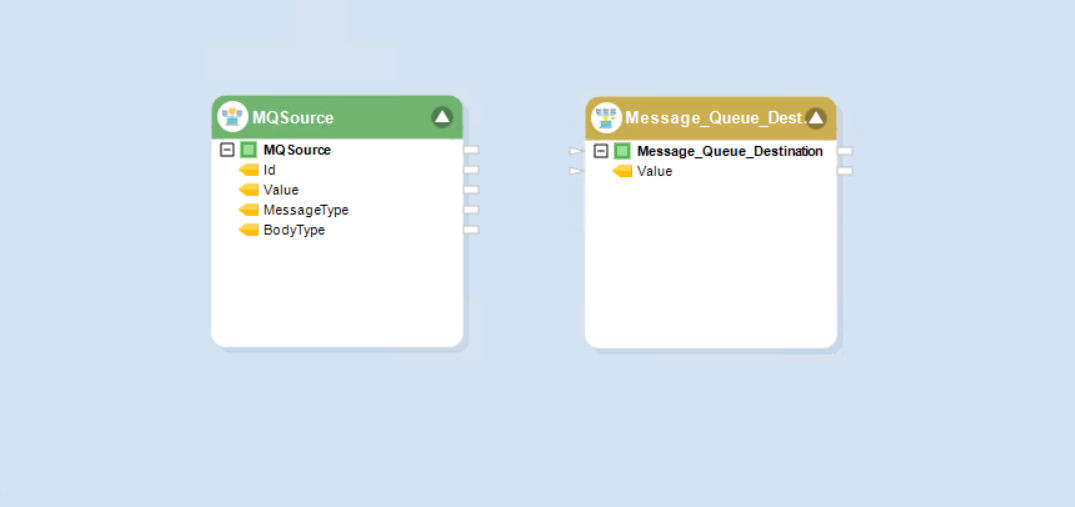
In Astera Centerprise, we have objects for both Message Queue Source and Message Queue Destination.
Note: We can read messages from and write messages to both public and private queues using Centerprise.
1. Right-click on the Message Queue Source object and select properties from the context menu.
This will open a new window.
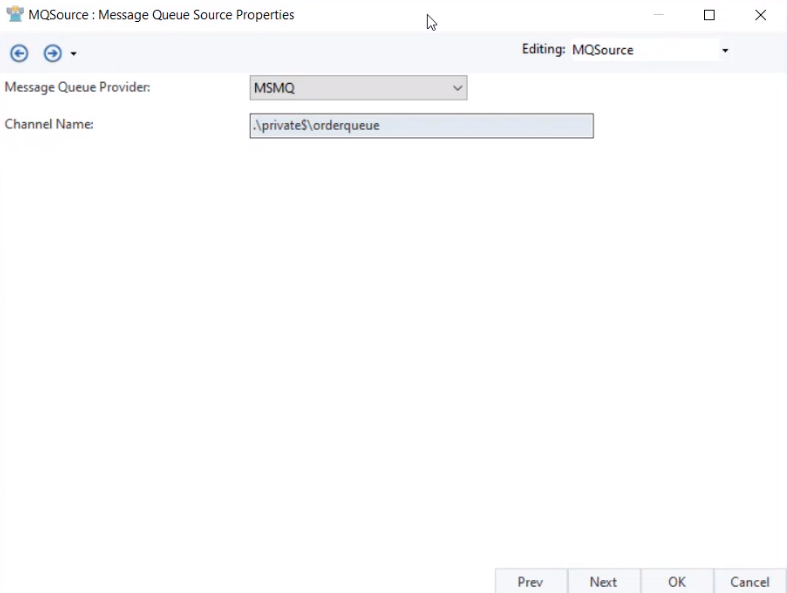
Message Queue Provider: This drop-down lets us select from available message queue providers.
Channel Name: The full name of the queue we are trying to access.
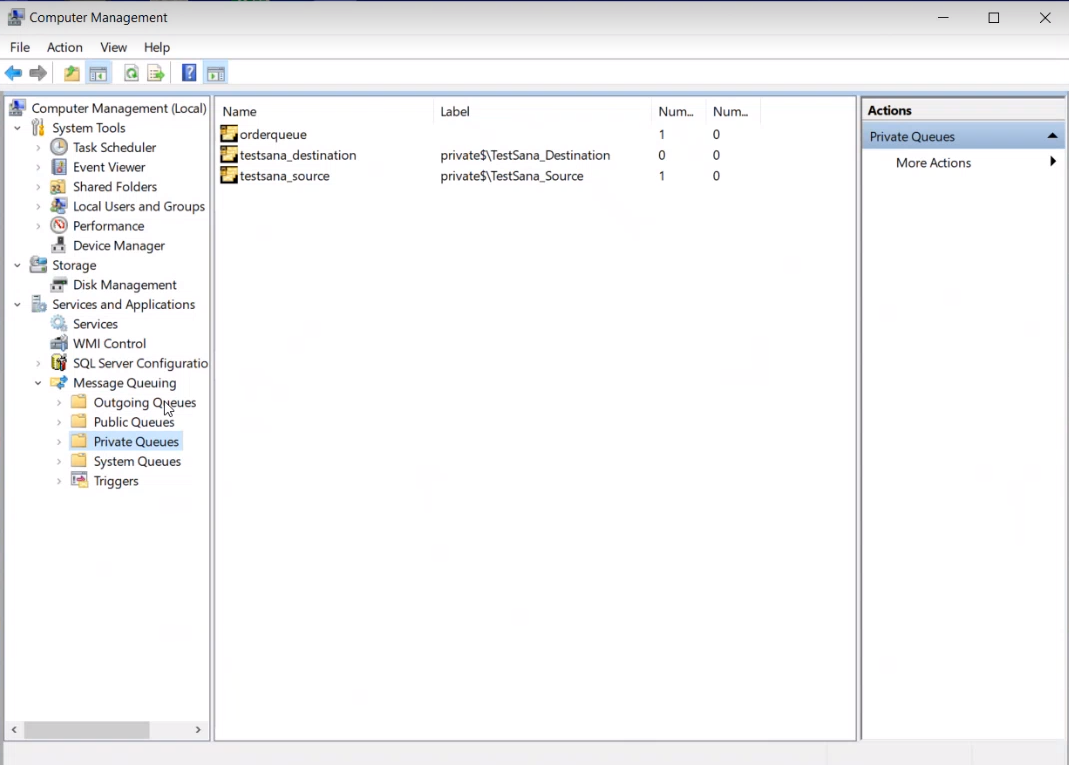
2. As we can see in our management window, there is 1 message present in our required queue.
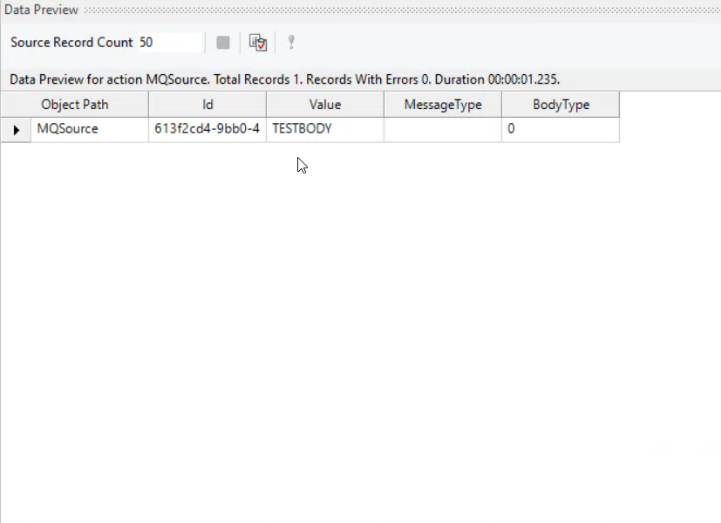
3. Upon previewing the output of our object by right-click> Preview Output, we can see the following result.
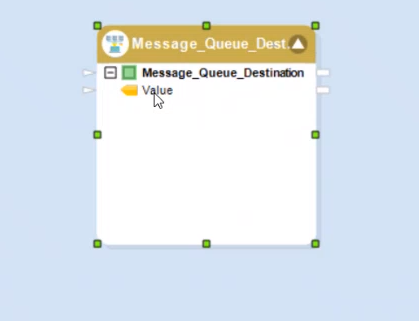
4. Now let’s look at the Message Queue Destination object.
After dragging and dropping the object onto the designer, we see a field inside the Message Queue Destination object by the name of Value.
Note: If using a source other than the Message Queue Source, then the incoming data needs to be serialized before loading to a destination.
5. Right-click on the Message Queue Destination object and select Properties from the context menu.
This will open a new window.
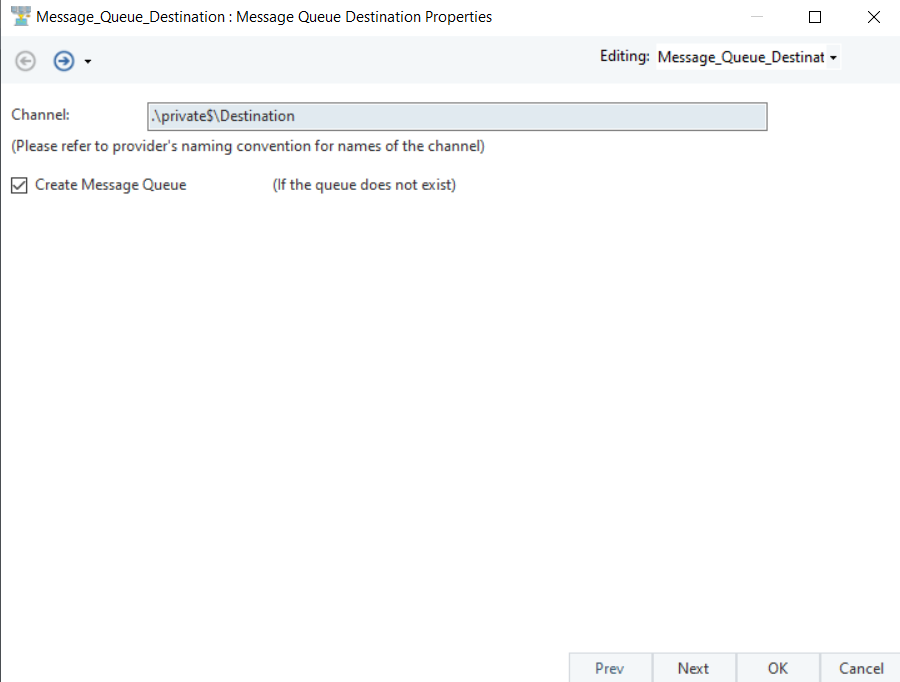
Channel: This is where the user inputs the name of the queue from where the source data is coming.
Create Message Queue: Selecting this checkbox will create a message queue if it is not already created.
6. Click OK and map the Value field from the Message Queue Source onto the value field of the Message Queue Destination.
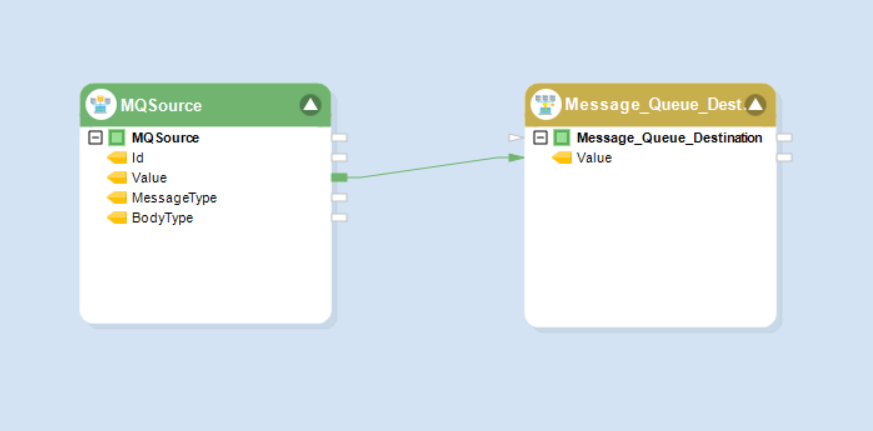
As you can see below, there is a new queue created by the name of Destination with one message that is migrated from the source queue named Order Queue.
This concludes the working of the Message Queue Source and Message Queue Destination objects in Astera Centerprise.