Connecting to Microsoft Azure SQL Server in Astera Centerprise
What is Azure SQL Database?
The Azure SQL Database is a fully managed platform as a service (PaaS) database engine that handles most of the database management functions such as upgrading, patching, backups, and monitoring without user involvement.
In Astera Centerprise, users can access Azure SQL Databases using Database Table Source or Database Table Destination, DB lookup, SQL Statement Lookup, and Database Write Strategies objects. They can also connect with the Run SQL Script task in a workflow.
Use Case
For our use case, we have sample Customer data that we will be using as a source in our Database Table Source object. The data contains information regarding the customers. We aim to connect to our Azure SQL Server through the object and filter out the customer data based on country.
In our case, the country is Germany. Once done, we will then write the filtered data in a new table within our Azure SQL Server instance. To do that, we will start with the configuration of our Database Table Source object.
Azure SQL Server in Astera Centerprise
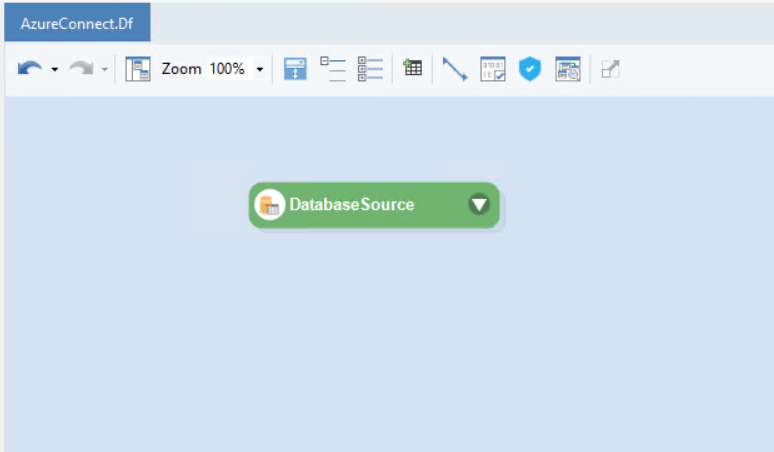
1. To start, drag and drop the Database Table Source object from the toolbox onto the dataflow.
2. Right-click on the object and select Properties from the context menu.
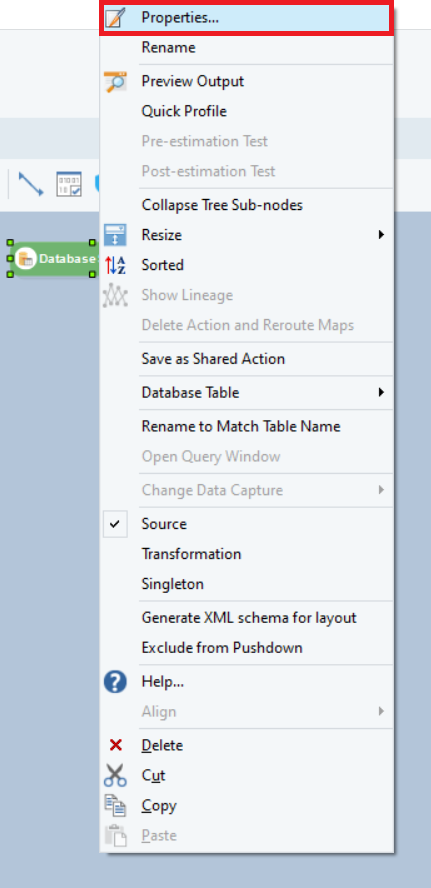
This will open a new window.
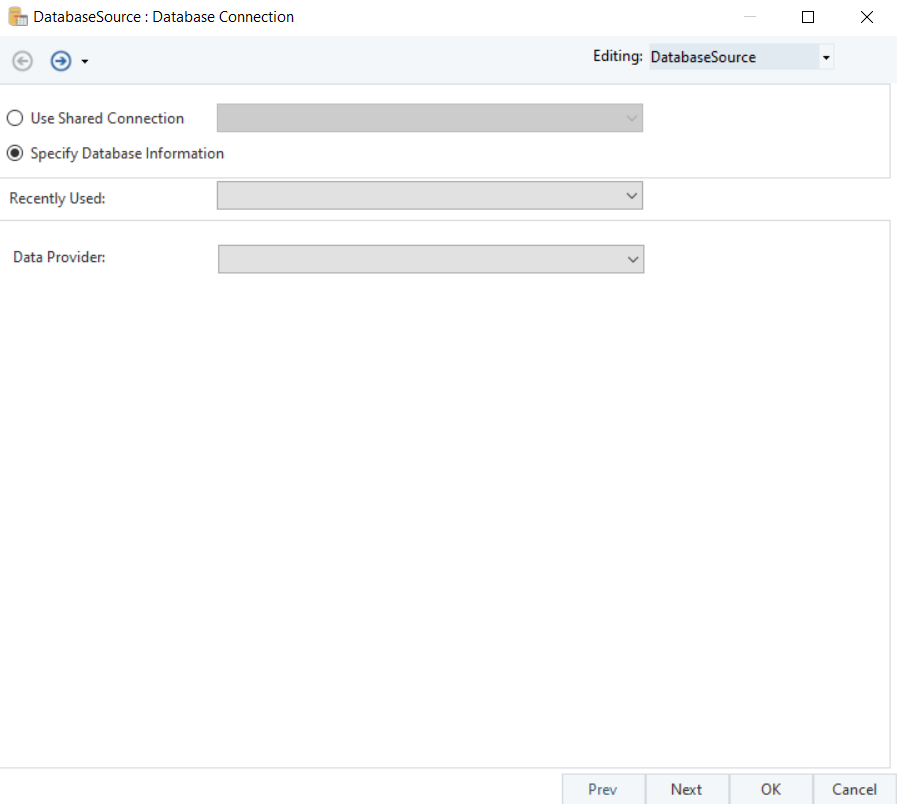
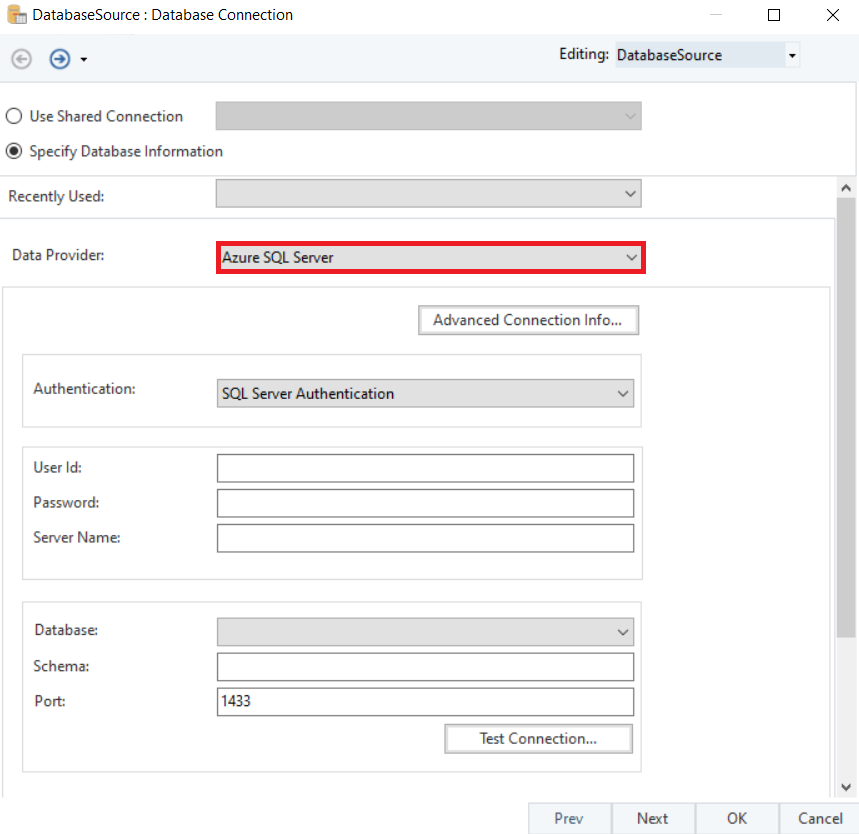
3. From the Data Provider drop-down menu, select Azure SQL Server.
Authentication Types
This drop-down menu shows the following Authentication types,
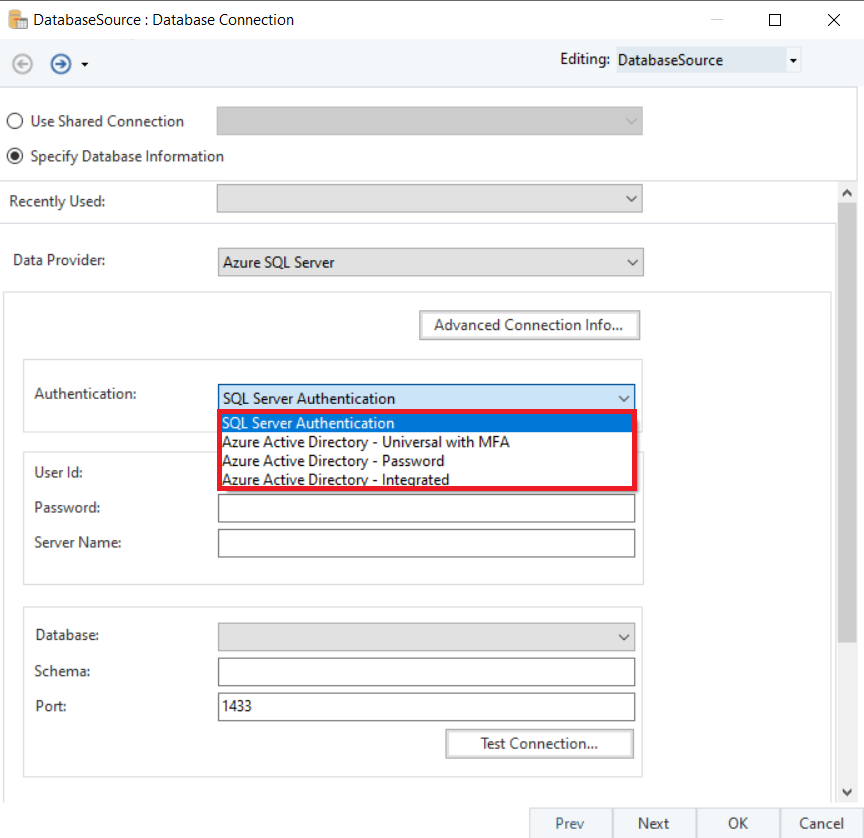
SQL Server Authentication
Clicking on this option gives the following fields,
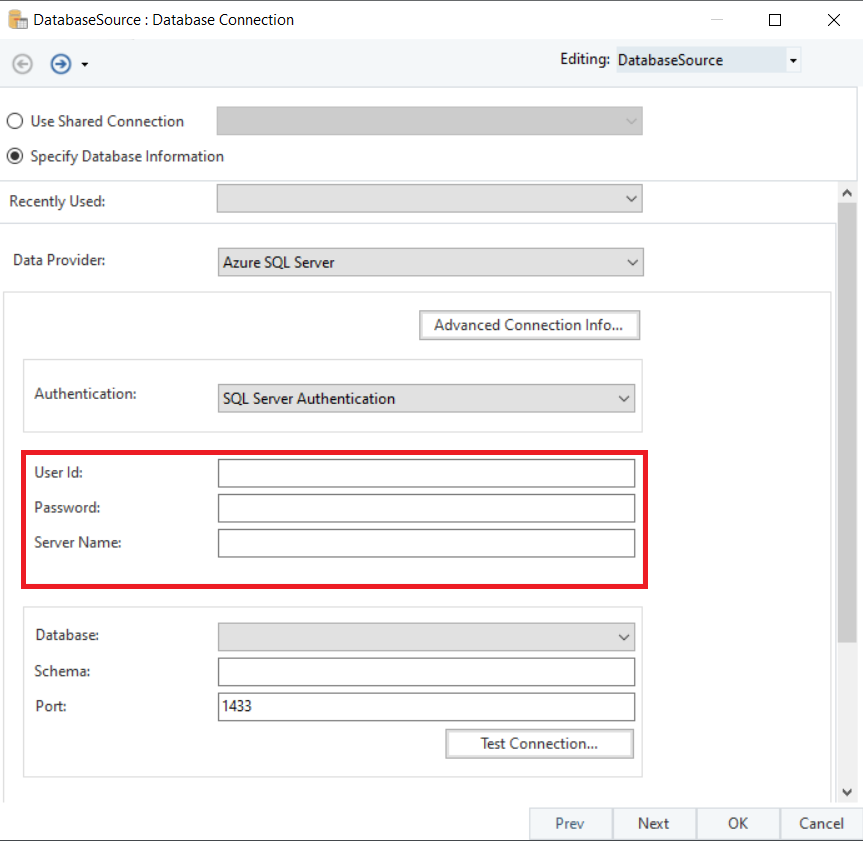
User Id: The Id of the user for authentication.
Password: The password associated with the User Id.
Server Name: The server/host name created on Azure Portal to access the databases.
Azure Active Directory – Universal with MFA
Selecting this option gives the following fields,
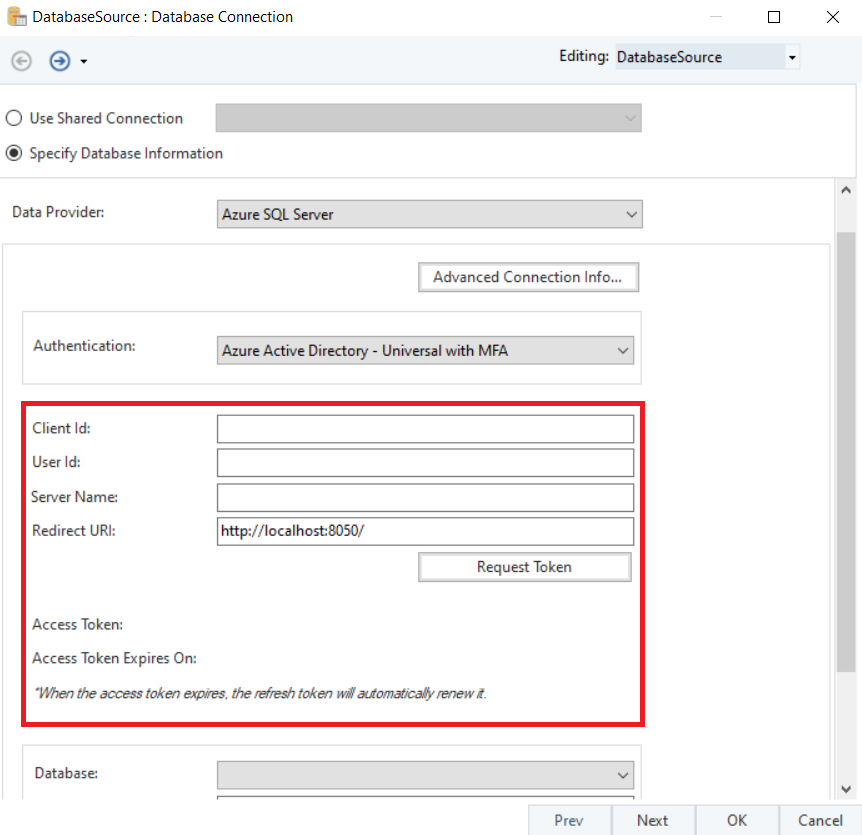
Client Id: A unique application ID assigned to your app by Azure Active Directory when the app is registered.
User Id: The user principal name created in Azure Active Directory.
Server Name: The server/hostname created on Azure Portal to access the databases.
Redirect URI: The location where the Microsoft identity platform redirects a user’s client and sends security tokens after authentication.
Access Token: A security token used to authenticate a user or application to access Azure SQL Databases.
Note: Once an Access token expires, a new one can be requested.
Azure Active Directory – Password
Selecting this option will give the above-mentioned fields with the addition of a new field,
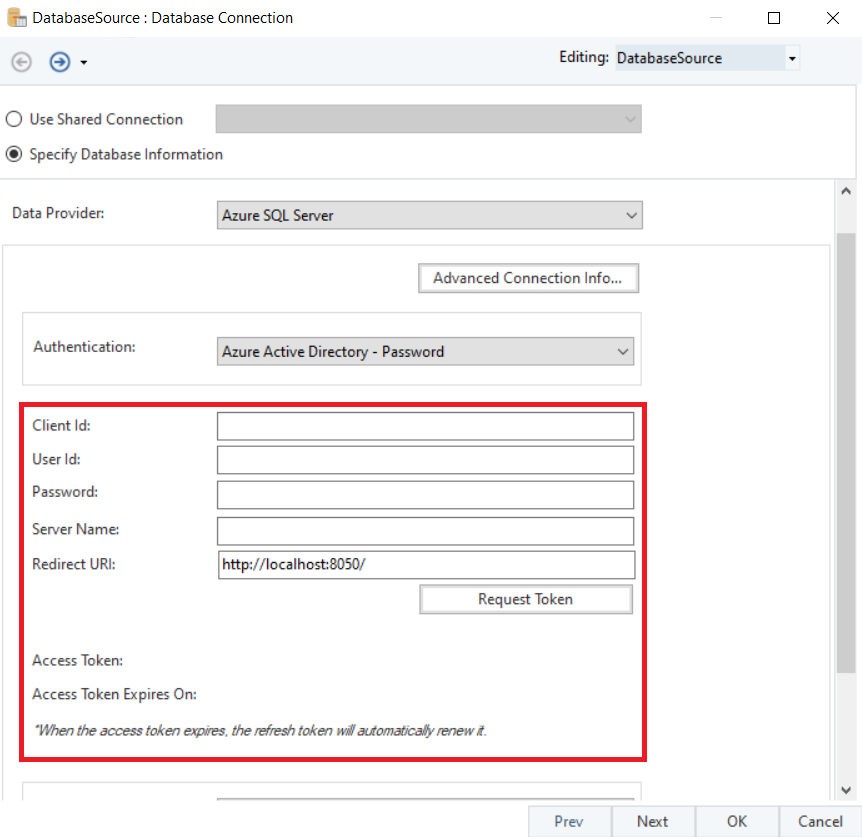
Password: A password set up for the user created in Azure Active Directory.
Azure Active Directory – Integrated
Selecting this option is going to give the following fields,
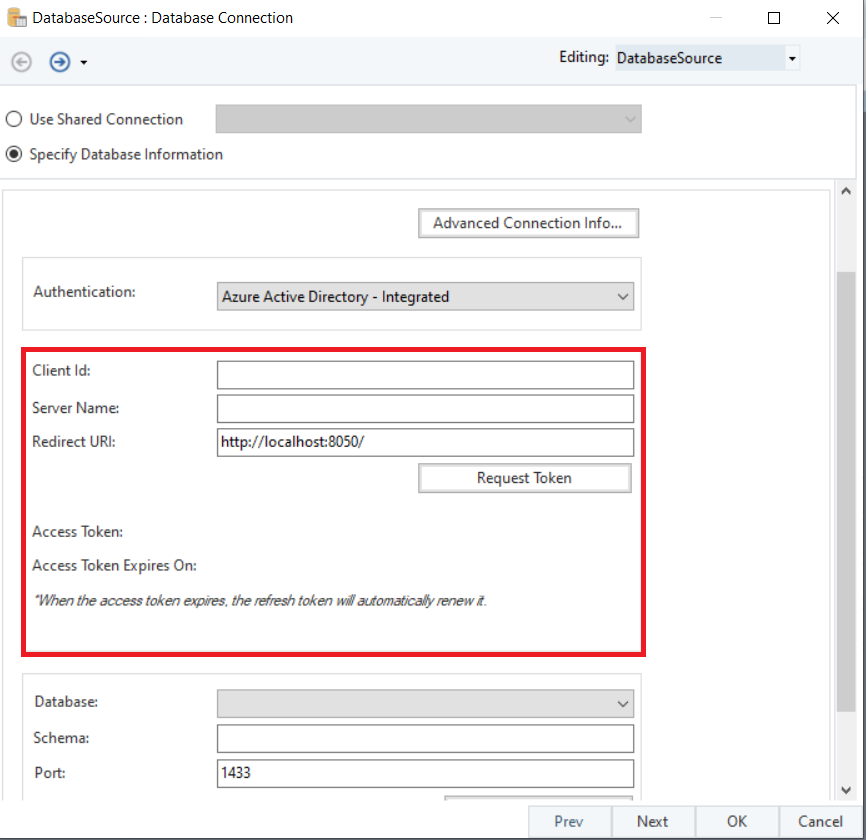
Note: To use Azure Active Directory – Integrated authentication, login to your PC/machine using the user account that is created in the Azure Active Directory and has the necessary permissions.
For more information on the prerequisites of Azure SQL, click here.
For our use case, we have selected the Azure Active Directory – Universal with MFA authentication type.
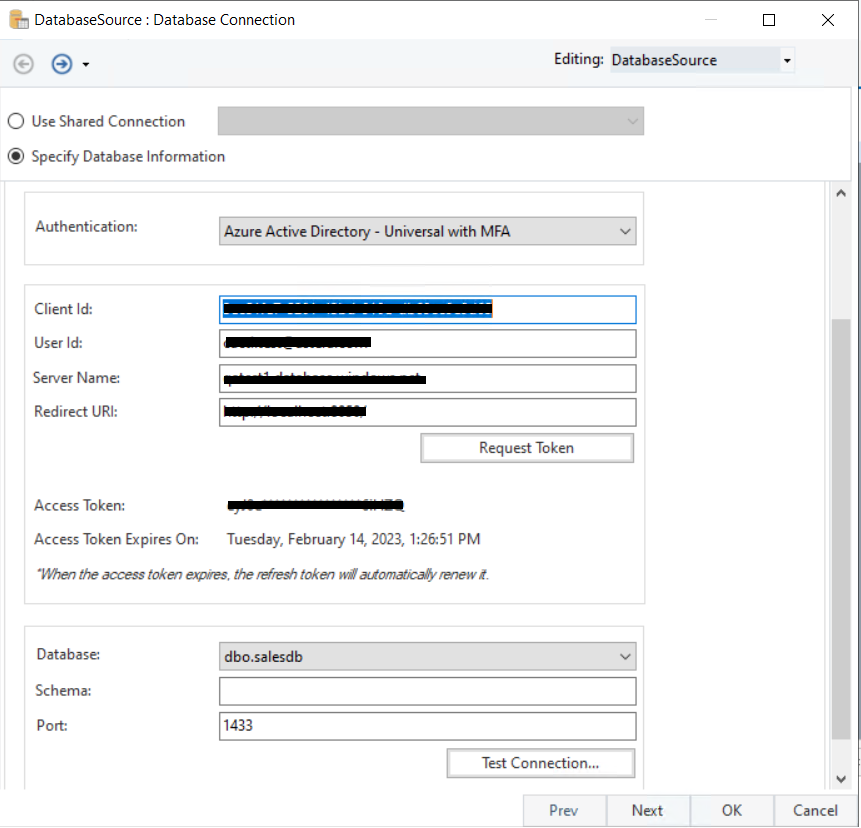
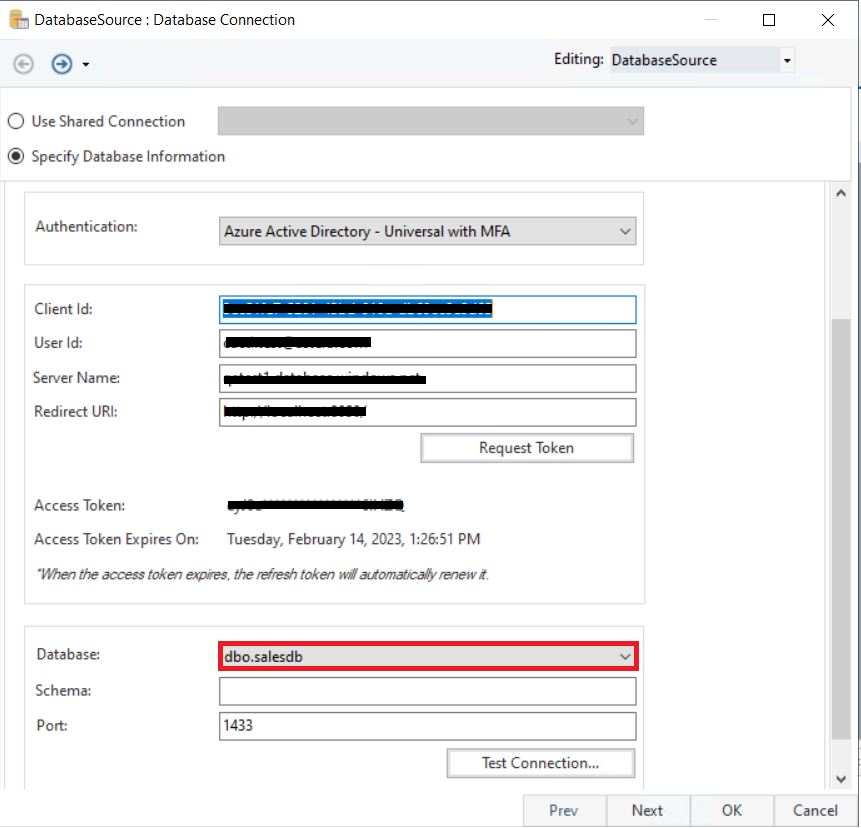
4. Once done, select the database to work on from the Database dropdown menu.
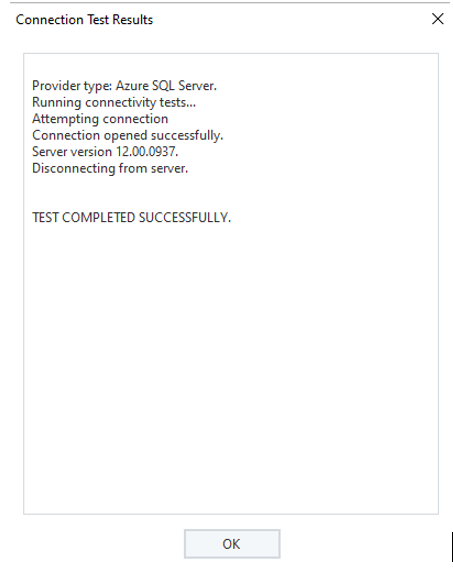
5. Click Next once the connection has been tested.
You will be led to the next screen.
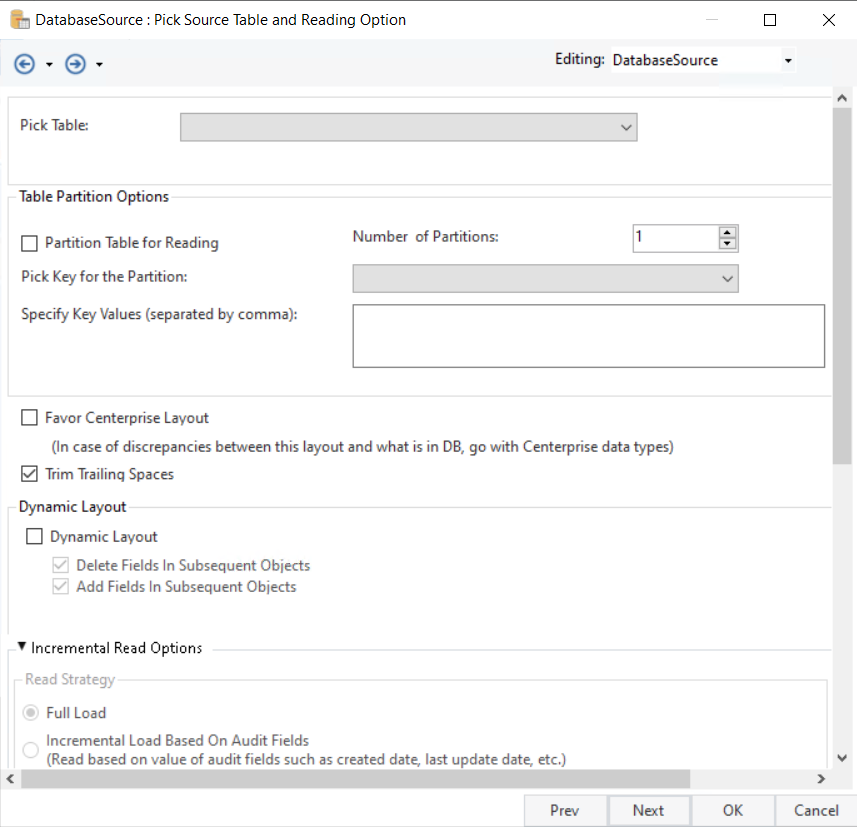
6. Select the Pick Table drop-down and choose a table according to your use case.
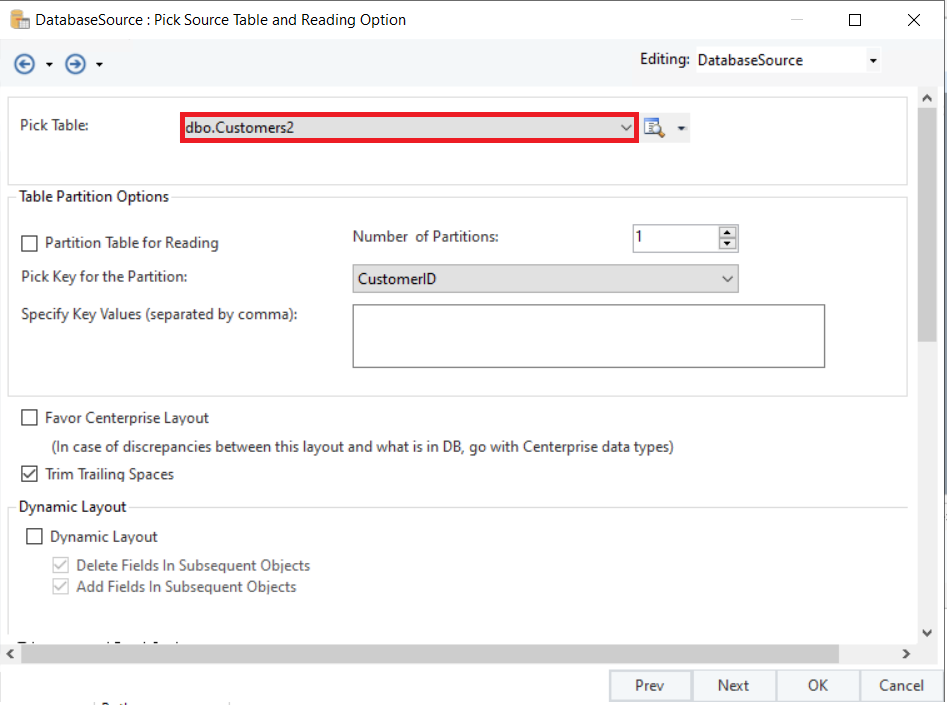
Please visit the Database Table Source documentation to learn about the rest of the options on this screen.
7. Once done, click Next and you will be led to the Layout Builder screen.
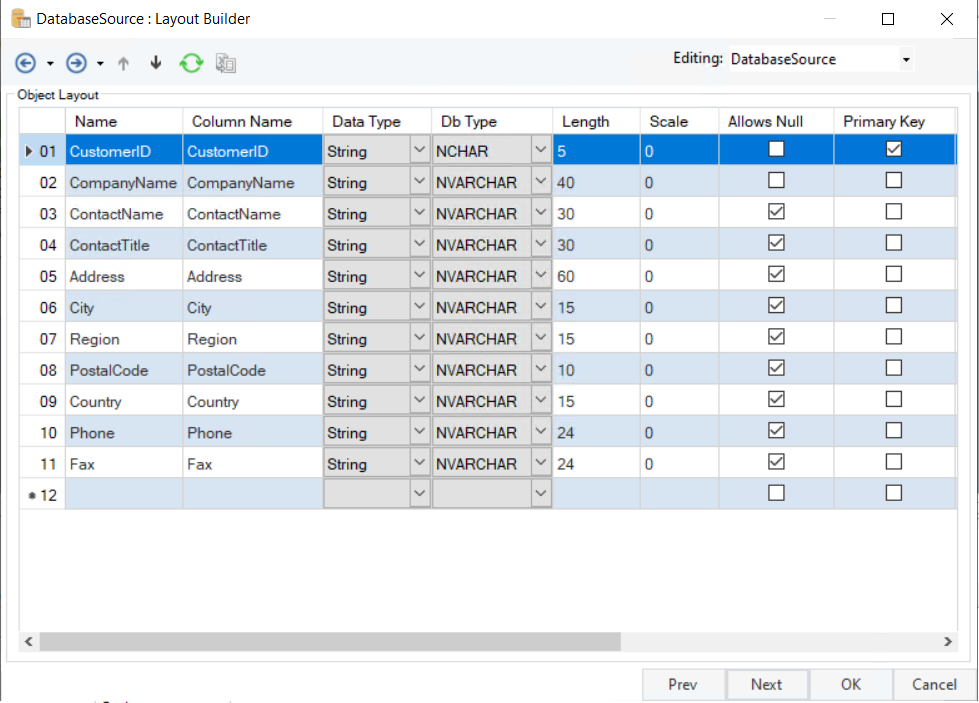
8. Click OK and the Database Table Source object will be configured.

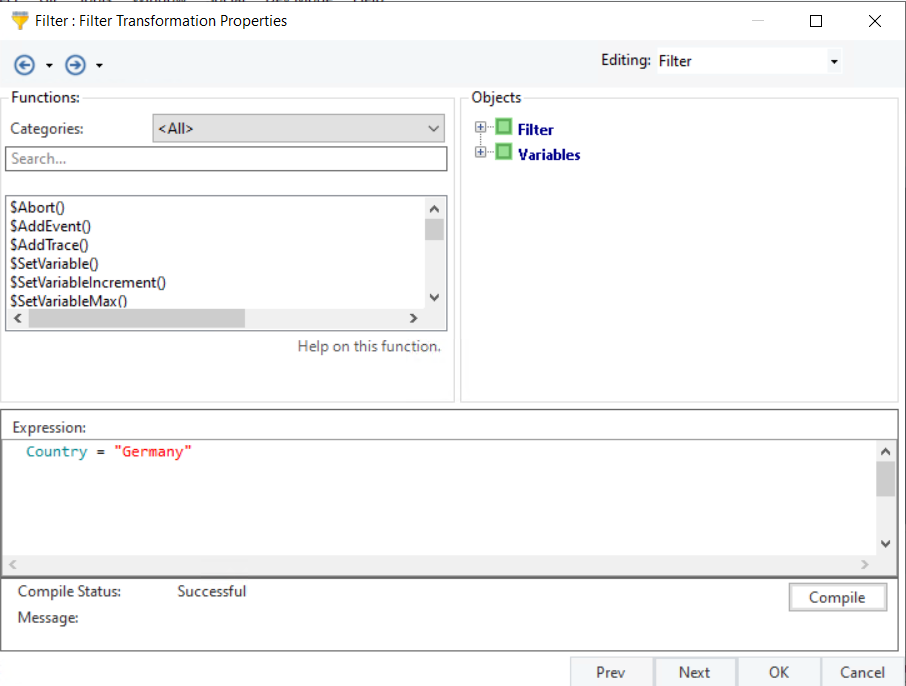
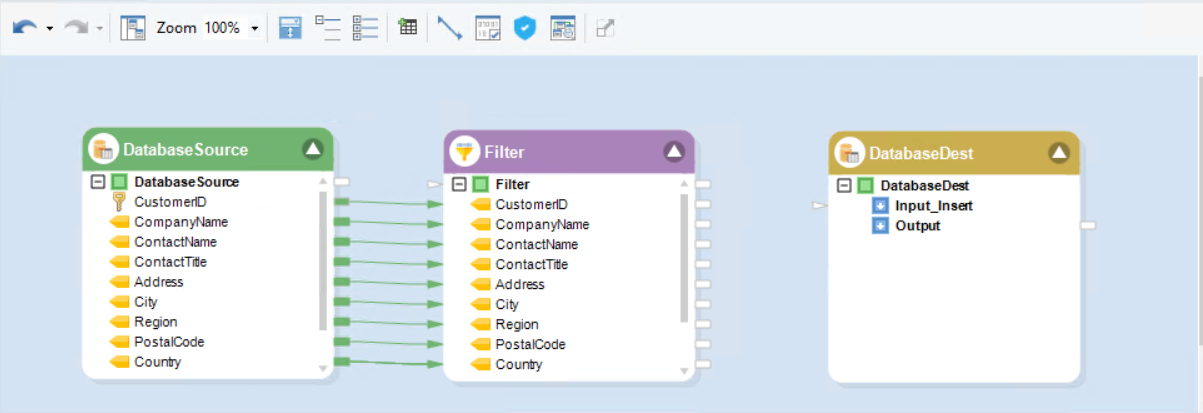
9. Add a Filter transformation object from the toolbox onto the dataflow.
Map all the fields from the Database Source object onto the Filter transformation object.
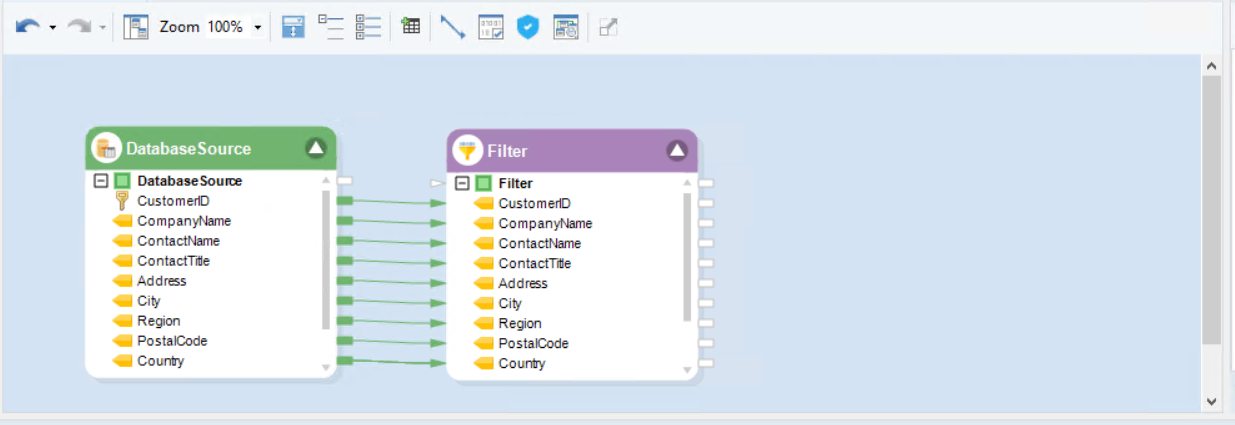
For our use case, we will be filtering out the records that have the country ‘Germany’ in them,
10. Next, drag and drop a Database Table Destination object from the toolbox onto the dataflow.
11. Right-click on the Database Table Destination object and open its properties.
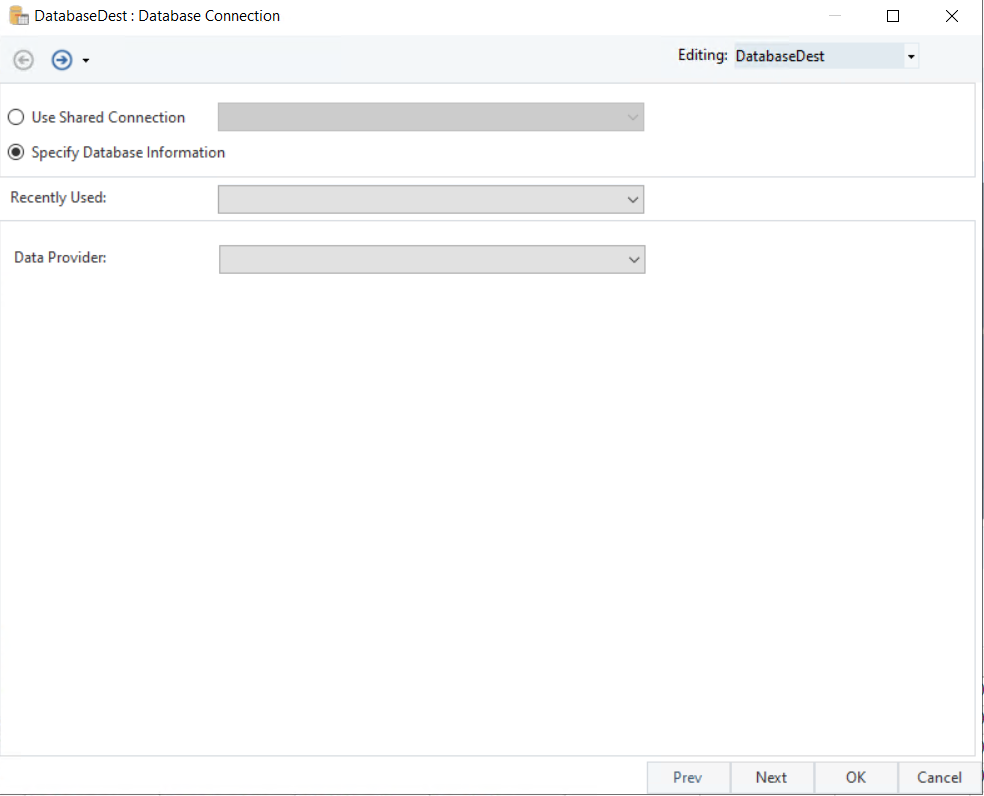
You can either specify a new connection to Azure SQL from the Data Provider dropdown or you can select from the Recently Used dropdown.
For our use case, we will be using the Recently Used dropdown and connecting using SQL Server Authentication,
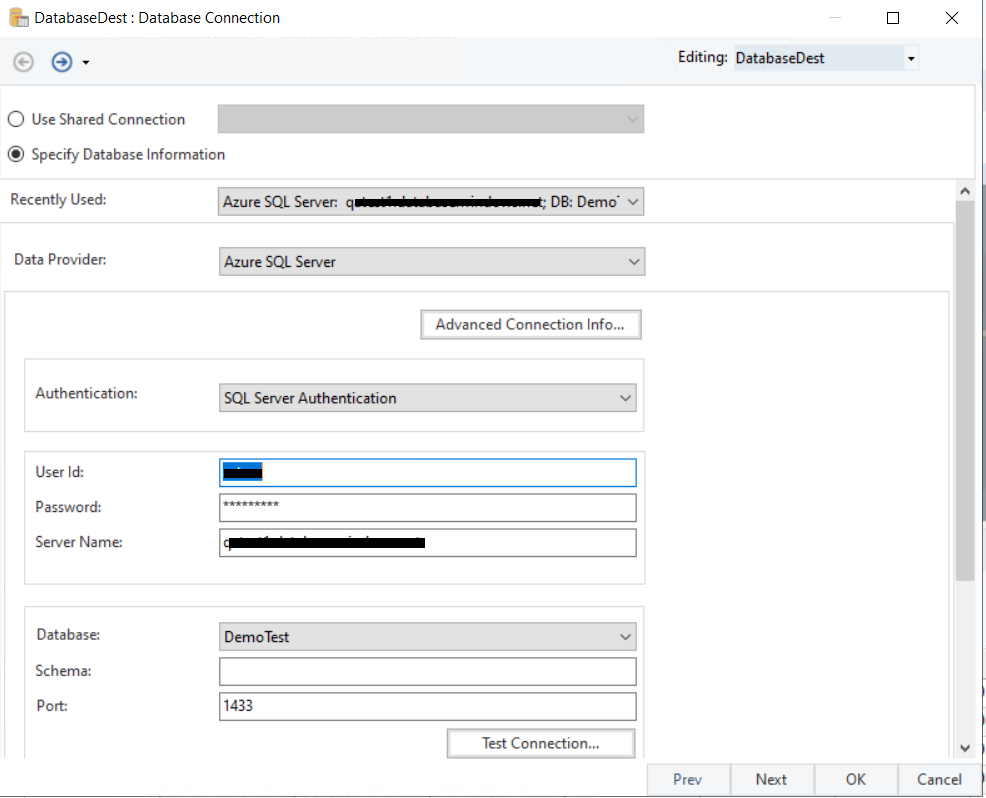
12. Test Connection and click Next.
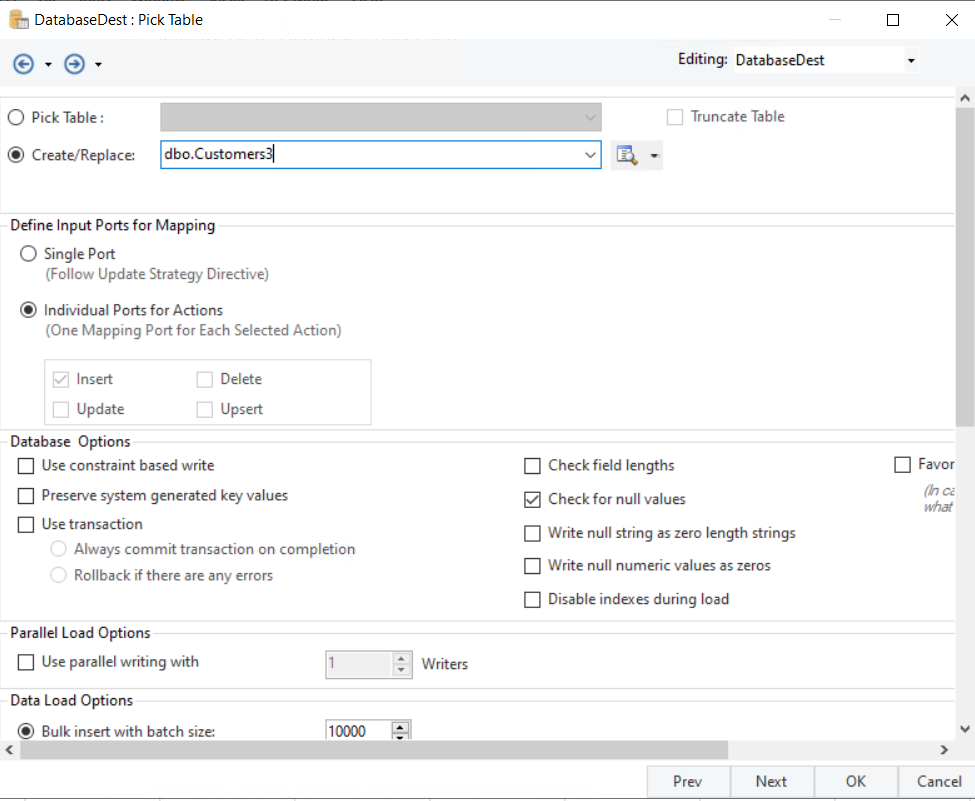
This will open the Pick Table screen,

For our use case, we have selected the Create/Replace option and are adding a new table by the name of ‘Customers3’
13. Map the fields from the Filter transformation object to the Database Table Destination object and run the dataflow.
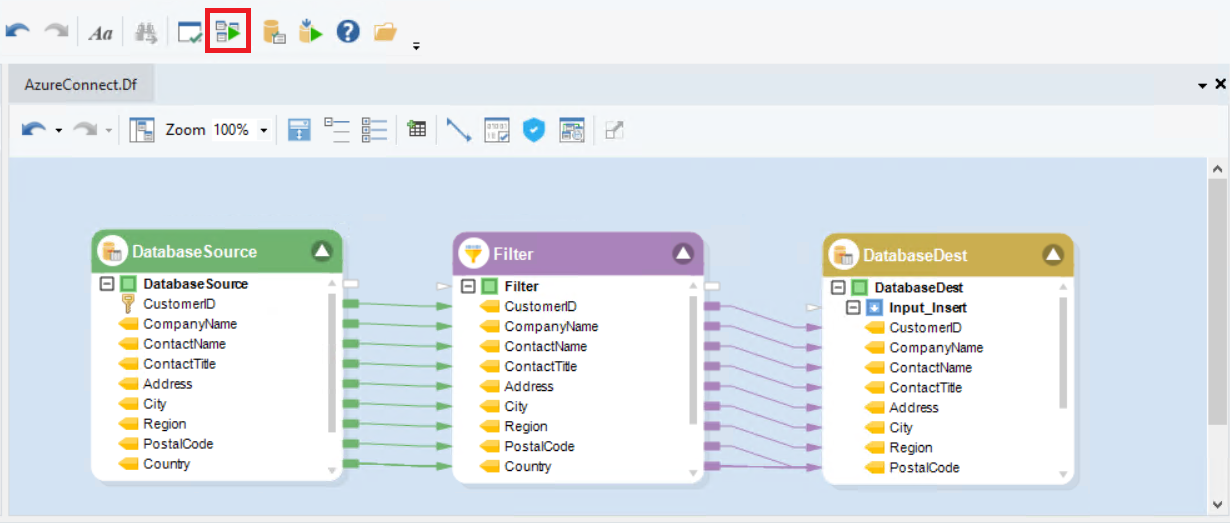
14. Once successfully run, the data will be written to the table present in the destination object.
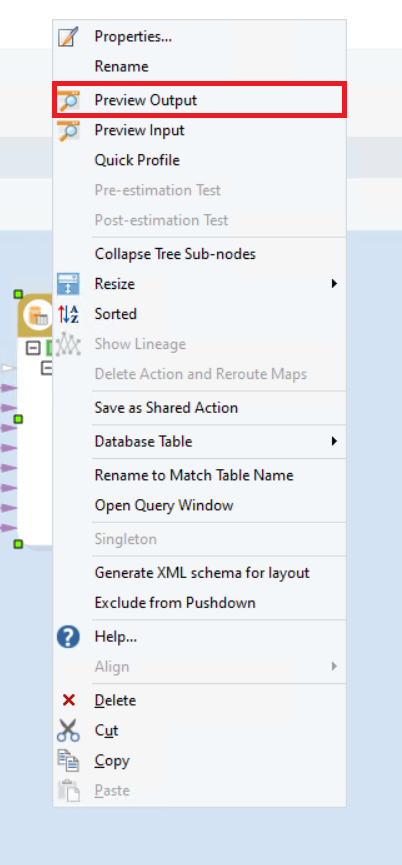
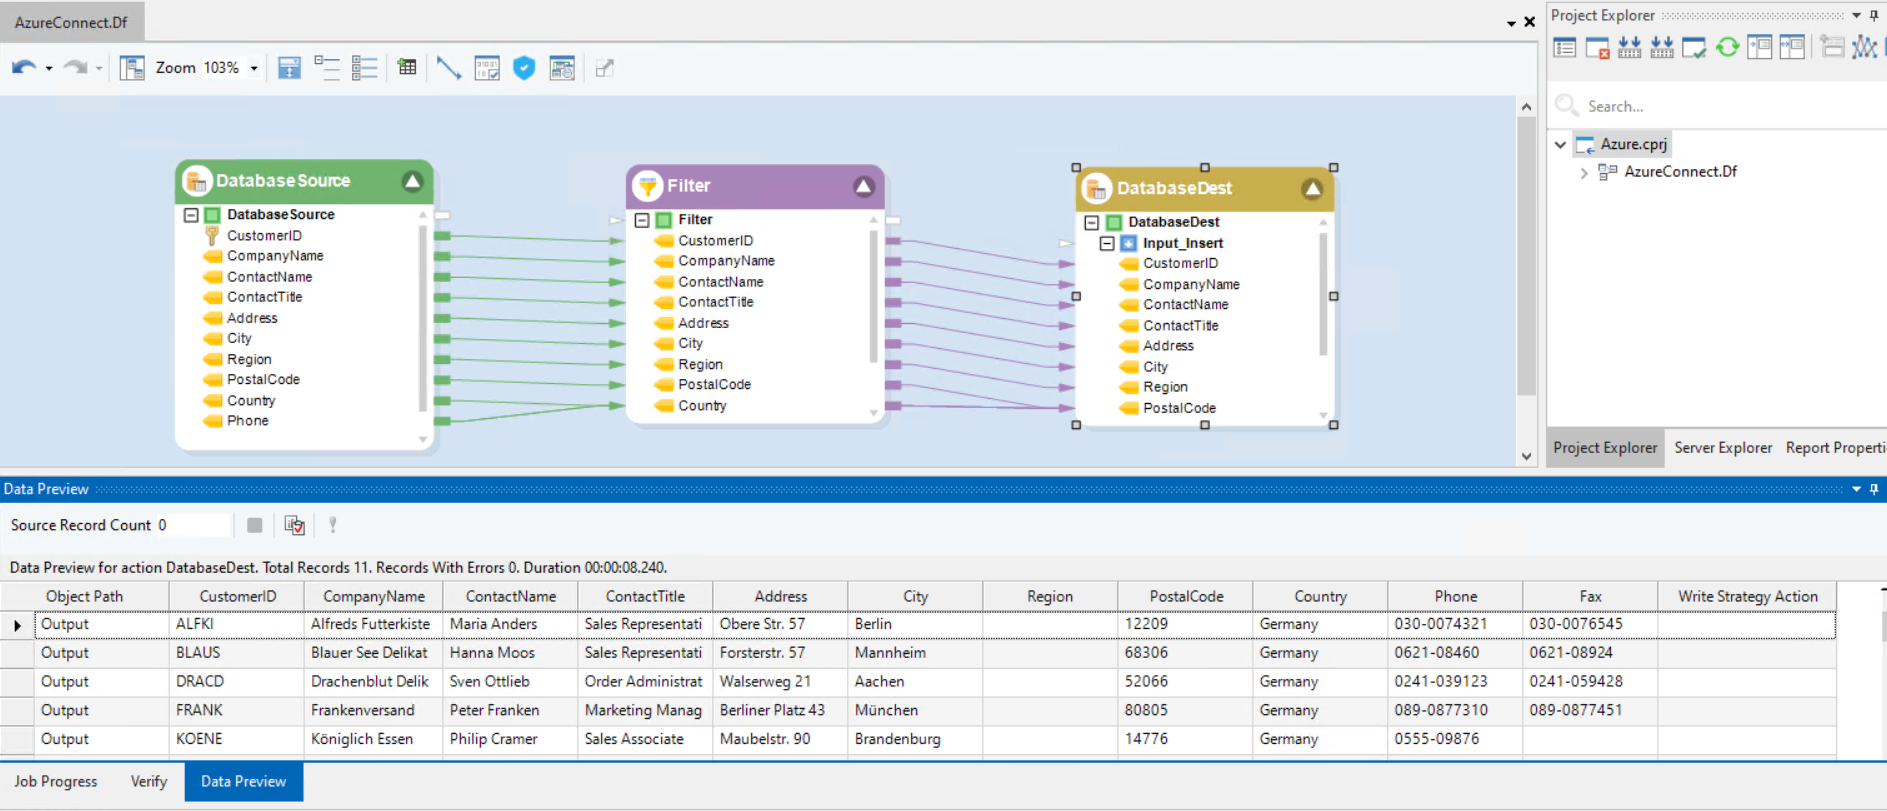
To view the data written to the database, simply right-click on the Database Table Destination object and select Preview Output.
You can see the preview data below,
This concludes the use case and configuration of the Azure SQL Server provider in Astera Centerprise.