Shared Actions
Shared actions in Centerprise allow sharing an item or an action at multiple places. The item that needs to be used repeatedly can be extracted into a Shared Action, which can then be used wherever needed. Moreover, any changes or updates that need to be made to an item can be made only in the Shared Action, and all occurrences of the Shared Action item will automatically accommodate all the changes.
Use Cases
Use Case 1: Database Connection as a Shared Action
A database connection needs to be used over and over again in a project. Instead of creating a new connection every time, we can create a Shared Action for the database connection and use it wherever it is needed within the project.
Creating a Database Connection as a Shared Action
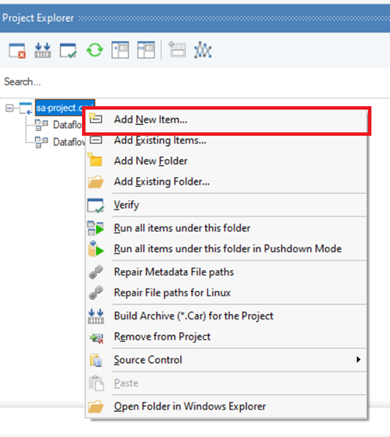
Right-click your project in the Project Explorer and select Add New Item.
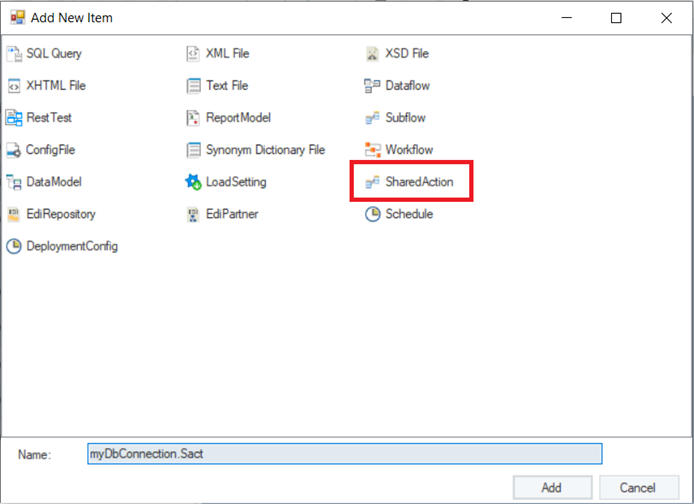
An Add New Item window will open. Select a SharedAction item from the window. Rename your SharedAction item and click Add.
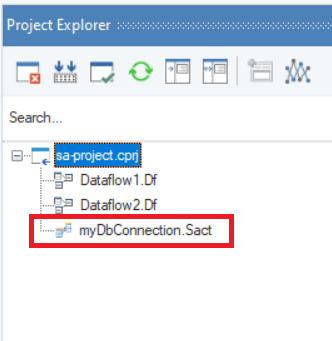
This will add a Shared Action to your project. A Shared Action file has a .Sact extension.
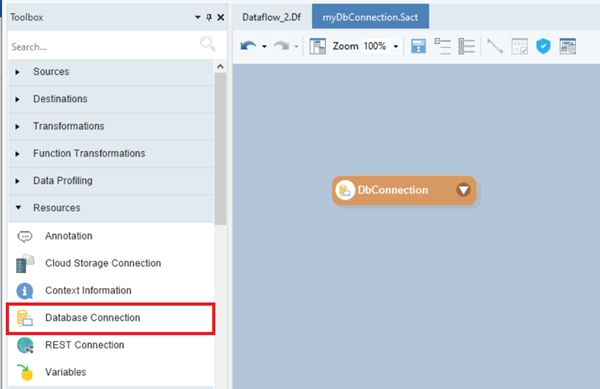
Double-click the newly created Shared Action to open it in the designer. Drag and drop a Database Connection object from Toolbox > Resources onto the designer.
Double-click the DbConnection Object. A DbConnection properties window will open. Add database connection details and click OK.
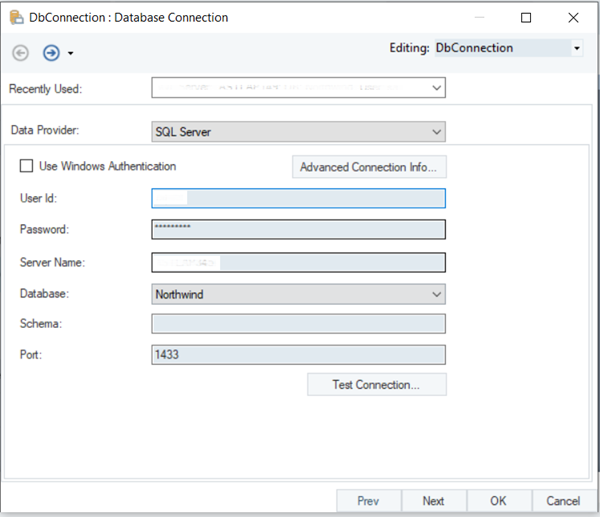
The database connection is now configured as a Shared Action. Press Ctrl + S or go to File > Save to save the Shared Action.
You can now use your Shared Action in any flow within the project.
Using Database Connection Shared Action in a Dataflow
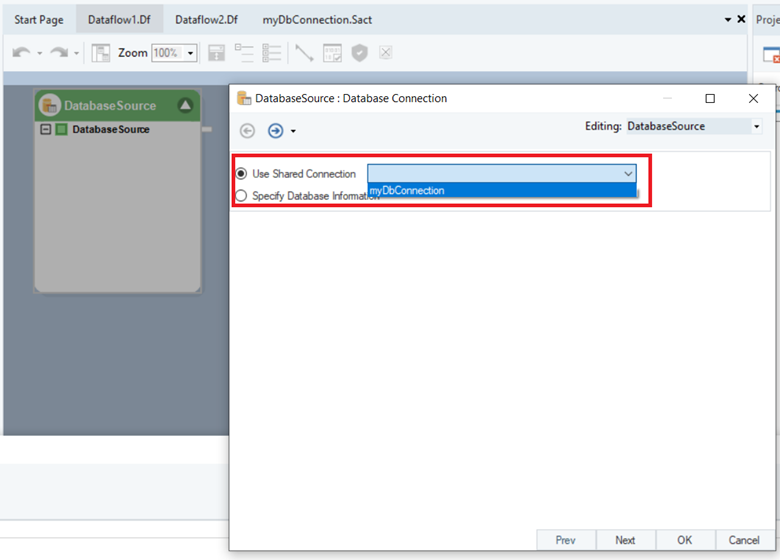
Open a dataflow that uses a DatabaseSource object within your project. Open the DatabaseSource properties window by double-clicking on it.
Select the Use Shared Connection option. The dropdown will show a list of all the database connections saved as a Shared Action.
Similarly, you can use the SharedAction in all dataflows, workflows or subflows within the project. If something changes in your database connection, you will only have to update it in the Shared Action and all the flows using it will automatically accommodate all the changes.
Note: The Database Connection shared action can be used with any other object that supports the usage of shared connections. Some examples of these objects include the SQL Statement Lookup and SQL Query Source objects in a dataflow and the Run SQL Script and Run SQL File objects in a workflow.
Use Case 2: Transformation Object as Shared Action
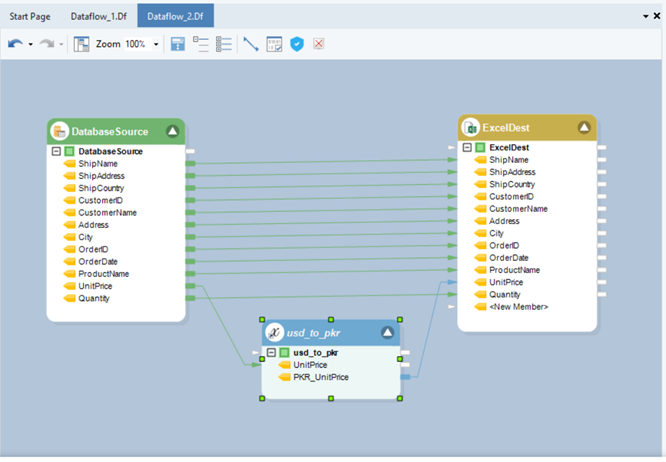
The following dataflow extracts data from a database table using a DatabaseSource object and converts the unit price of an item from USD to PKR using an expression. It then writes the data to an Excel Destination.
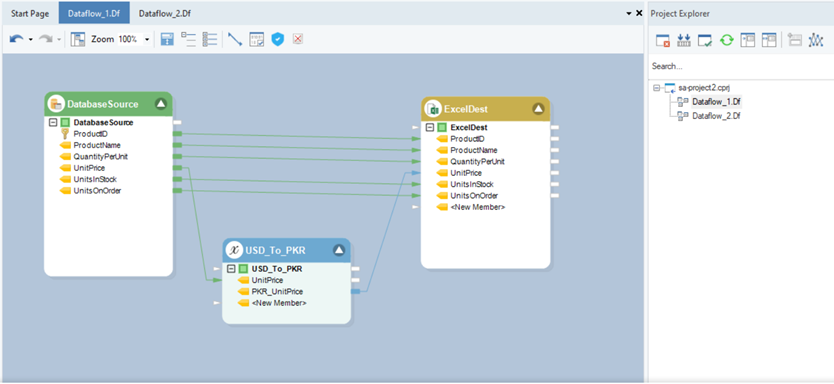
To reuse this Expression in various flows within the project, we can extract the Expression into a Shared Action and use it wherever it is needed.
Saving an Expression as a Shared Action
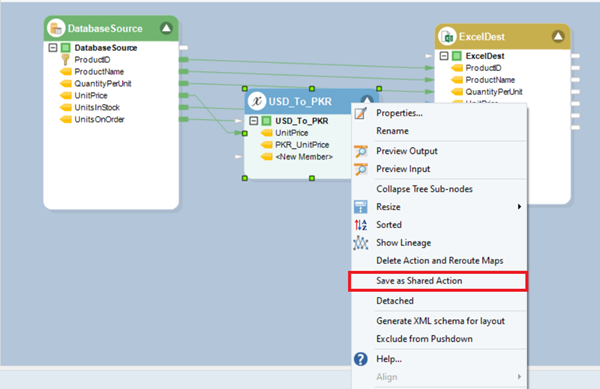
Right-click the Expression object and select Save as Shared Action option.
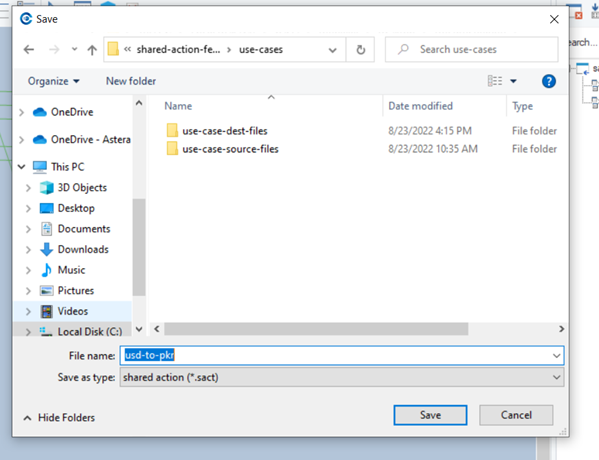
Select a destination where you want to save the Shared Action file and provide a file name. Click Save.
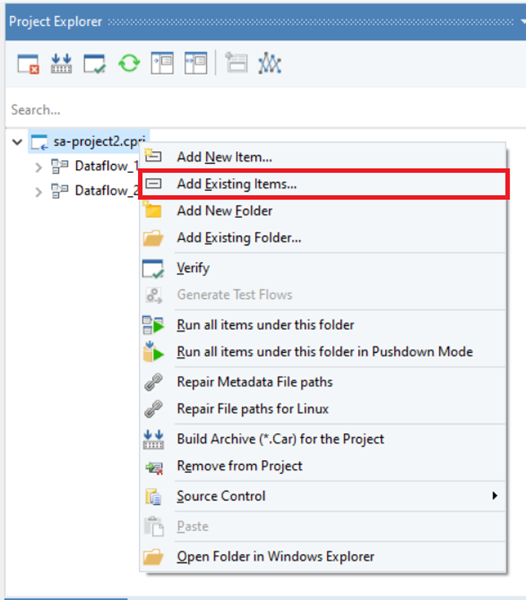
The Shared Action file has been saved. To add it to the project, right-click on your project in the Project Explorer and select Add Existing Items.
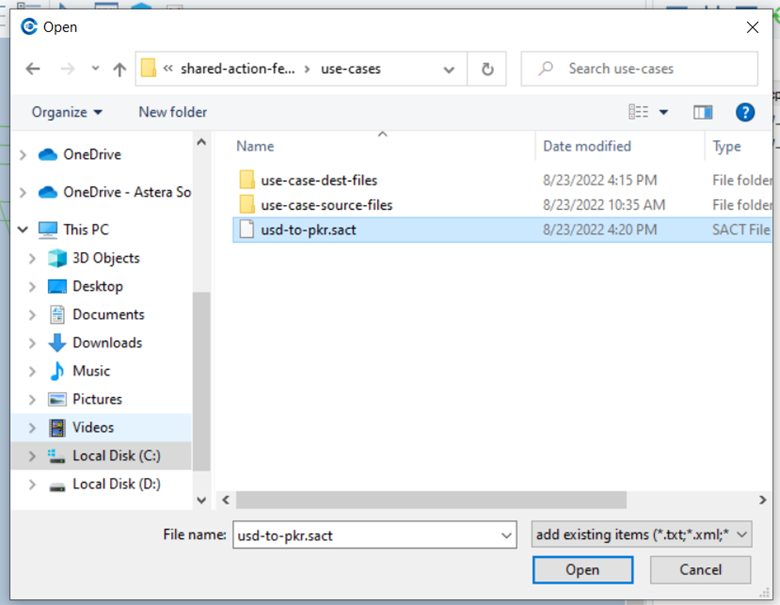
Select the Shared Action file you created from the file explorer window that appears. Click Open.
This will add the Shared Action file to your project.
Note: To use a Shared Action, the Shared Action file must be within the same project where it is needed.
Using a Shared Action
To use the Expression saved as a Shared Action in a flow, drag and drop the Shared Action (.sact file) from the Project Explorer to the designer.
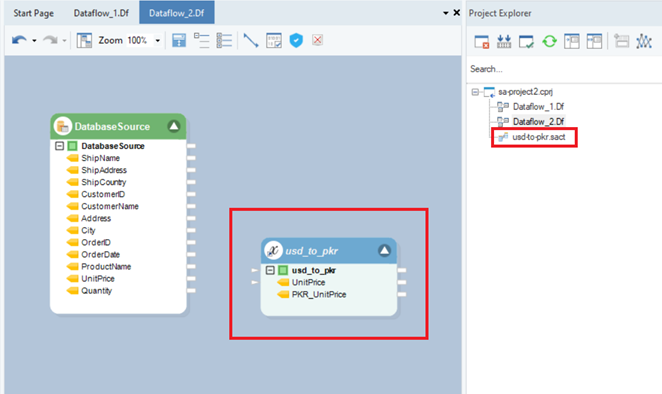
(Notice that the Shared Action object title is italicized.)
We can now use this Shared Action Expression in any other workflow, dataflow or subflow within the same project by dragging and dropping it wherever it is needed.
Now, if we want to make a change to the Expression (let’s say the currency exchange rate changes), we will only have to update the Expression in the Shared Action and all the flows using it will automatically accommodate all the changes.
Changing a Shared Action back to Local Object
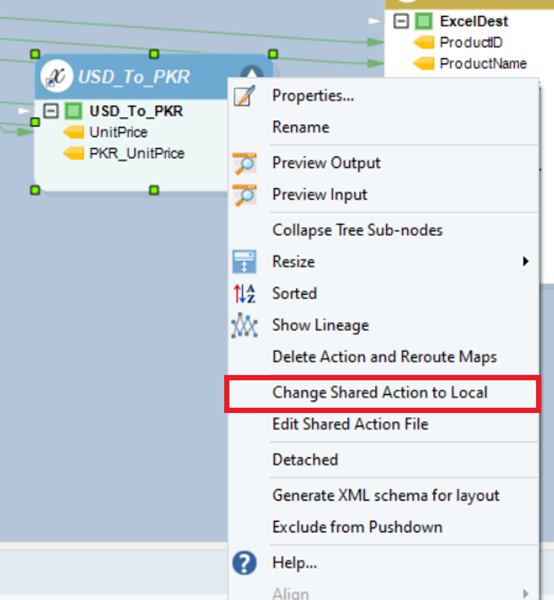
To change a Shared Action back to a local object, right-click the Shared Action object and select Change Shared Action to Local option.
Editing a Shared Action
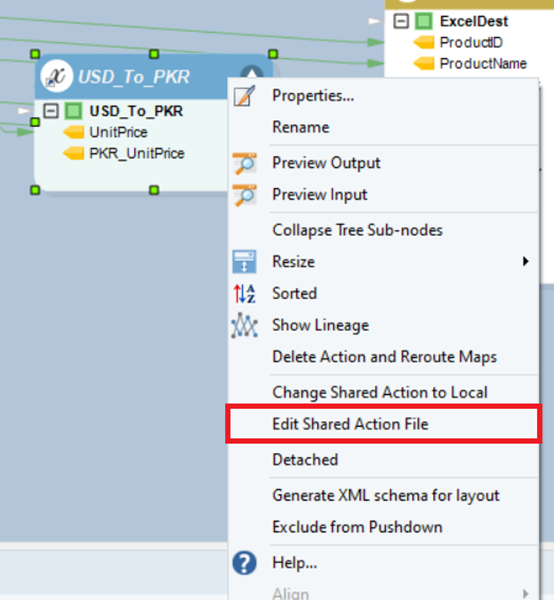
To edit a Shared Action, right-click the Shared Action object and select the Edit Shared Action File option. This will redirect you to the Shared Action file where you can make the desired changes.
Editing Shared Action File Path
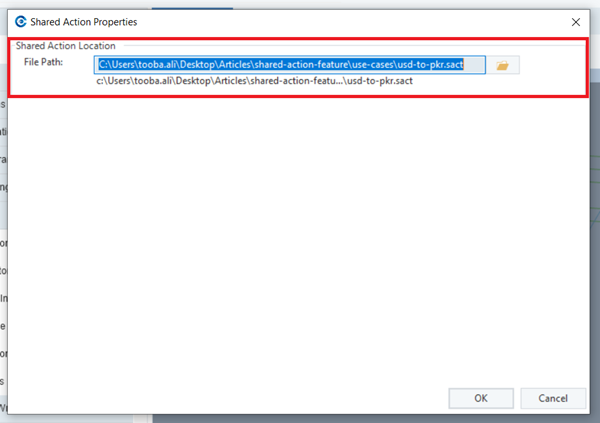
To edit the Shared Action file path, double-click the Shared Action object. You can select a new path by clicking on the File (📂) icon under the Shared Action Location section of Shared Action Properties window.
This concludes our discussion on how to create and use shared actions in a Centerprise project.