Job Monitor
The Job Monitor will show information regarding all the jobs to the user. Whether the jobs are in the state of,
- Active
- Running
- Queued
- Successful
- Ending In Errors
- Terminated By Users
The Job Monitor is responsible for storing information on all the jobs associated with the Astera Centerprise server.
Methods Of Access
There are a few ways to access the Job Monitor on your version of Astera Centerprise,
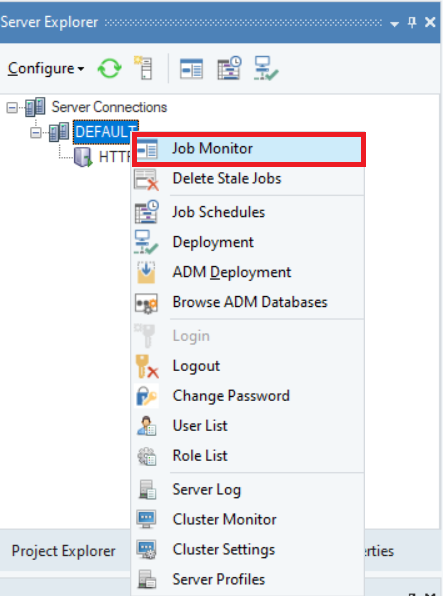
Through Server Explorer
The Job Monitor can be accessed through the Server Explorer. Simply,
- Go to the Server Explorer panel, right-click the Default node, and select Job Monitor from the context menu.
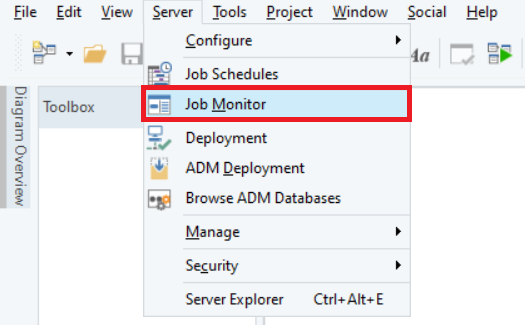
Through Centerprise Top Toolbar
The Job Monitor can be accessed through the main menu. Simply,
- Click on the Server column on the main menu, and select Job Monitor from the drop-down options.
Job Monitor Toolbar Options
There are options present on the toolbar of the Job Monitor itself.

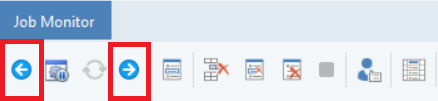
Show Latest Jobs First/Show Oldest Jobs First: This option will sort all the jobs on the monitor according to the most recent and oldest.
The left-facing arrow sorts the latest jobs towards the top, and the right-facing arrow sorts the oldest jobs towards the top.
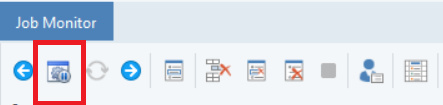
Pause Auto-Refresh of Job Monitor: By default, this feature is selected. It will keep the Job Monitor list from automatically refreshing every time a new job is executed while the Job Monitor is open.
Unselecting this option will update the Job Monitor list during run-time as jobs are running, scheduled, executed, or failed. It will reset all the filters as well.
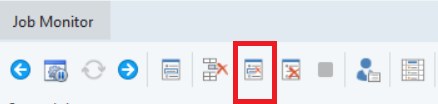
Show Job Trace for Selected Item: Selecting this option opens the job progress window. Inside it, we can see the jobs’ steps to end in success/error.
The job trace shows us the details of the job.

Clear Job Queue: Clear all the jobs that have been put up in a queue to run.
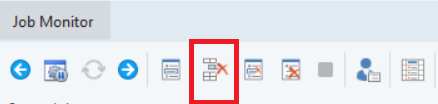
Delete Selected Jobs: All the highlighted jobs are going to be deleted.
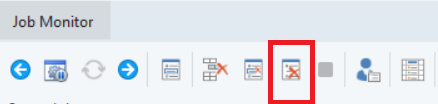
Delete All Completed Jobs: All jobs which have already completed their execution will be deleted.
Jobs that are currently running will not be deleted.
Show Root Level Jobs Only: Selecting this will only display information on root-level jobs. A root-level job is one that does not have a parent assigned.
Job Monitor Filters
Servers: To select which server the Job Monitor will display information from.

Status: To filter out jobs based on their status, i.e., Active, Successful, Ending in Errors, etc.
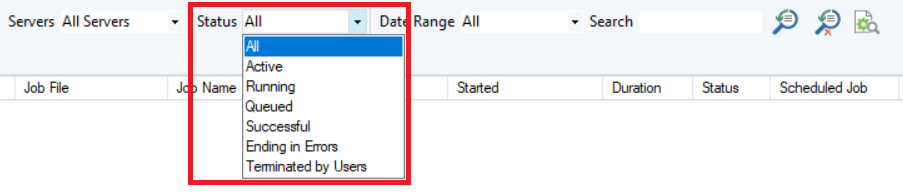
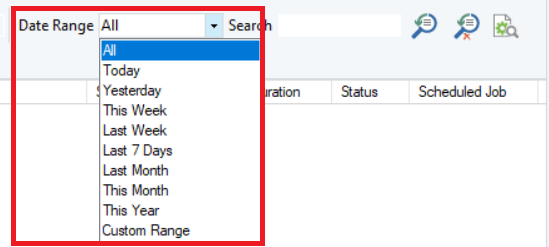
Date Range: Filtering jobs based on period, i.e., Today, Yesterday, last month, etc.
Note: There is also a Custom Range option where the user can provide any custom Date Range of their choosing. It will then view only the jobs that fall in that range.
Advanced Search Options
This option allows the user to extract information from the Job Monitor based on a specific search. It gives the user the ability to retrieve information on a particular search from many options.

Clicking on this will open a separate panel with additional options,
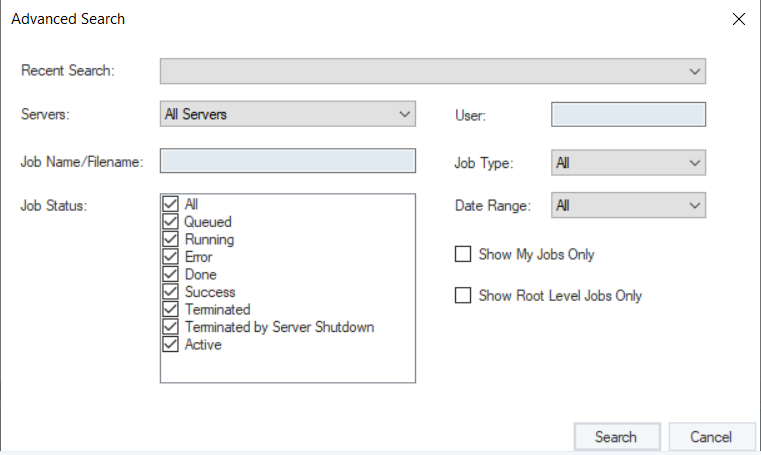
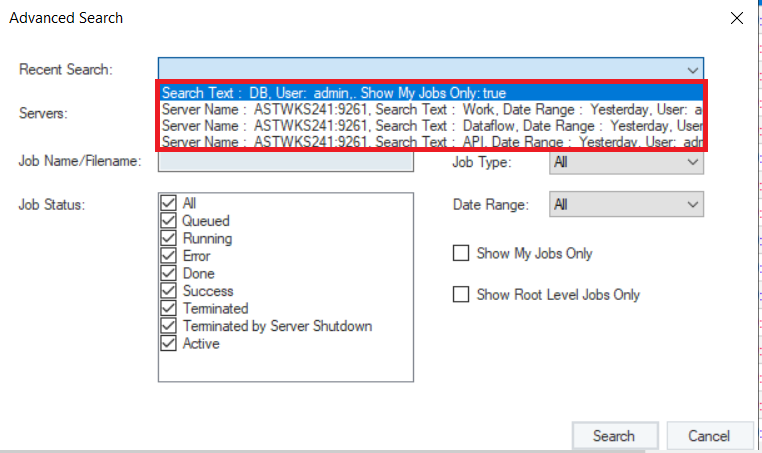
Recent Search: To navigate to a previous search that was already made.
Server: Select the server from which to pull up job information.

Additional Options
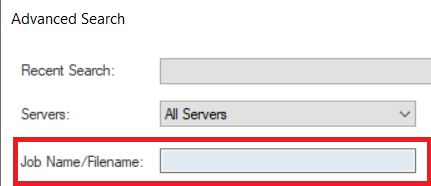
- Enter the Job Name/File Name to search for it.
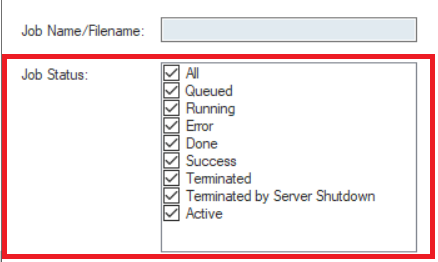
- Select from a list of options under which to search the job, i.e., Active, Error, Success, etc., based on the status of the job.
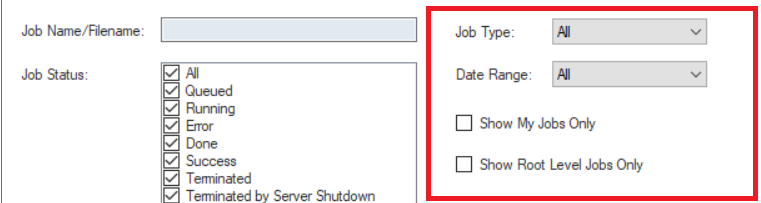
- Other options include Job Type filter, Date Range filter, and checkboxes for My Jobs Only and Root Level Jobs Only
Once done, select Search, and it will return the desired results.
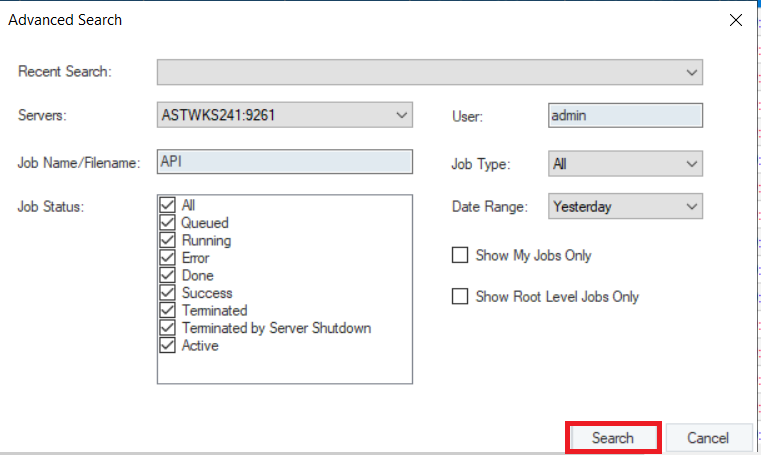
The results are then returned.
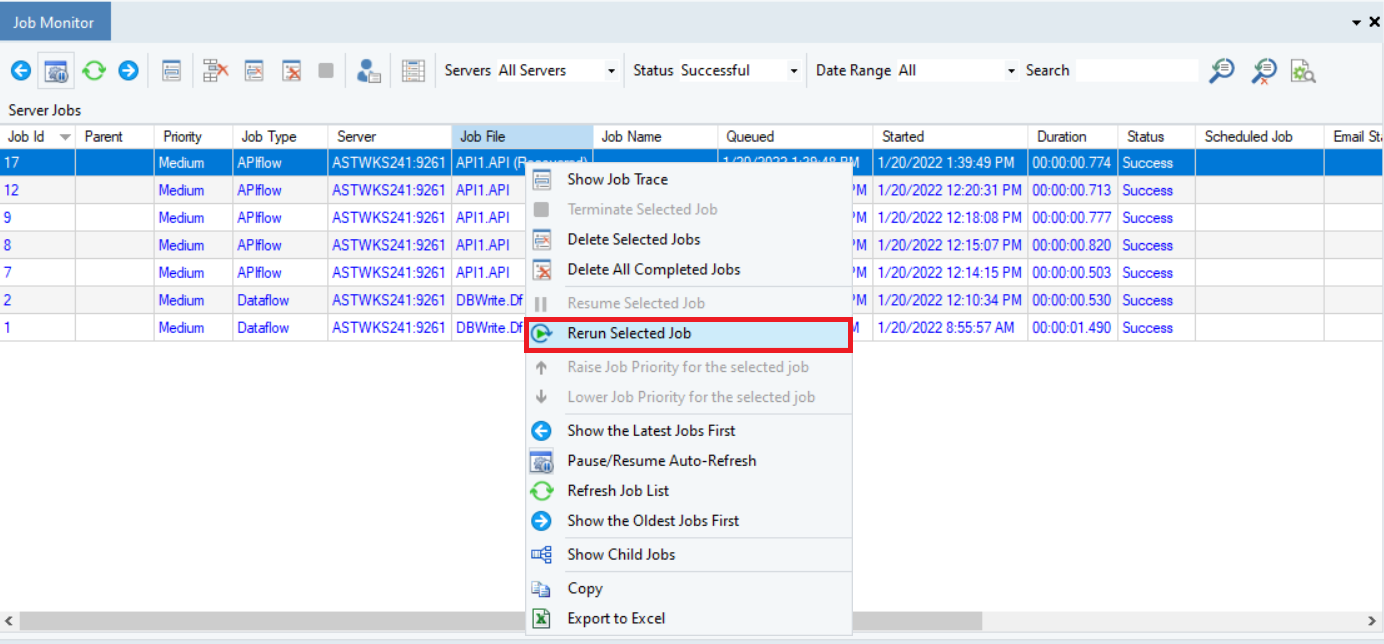
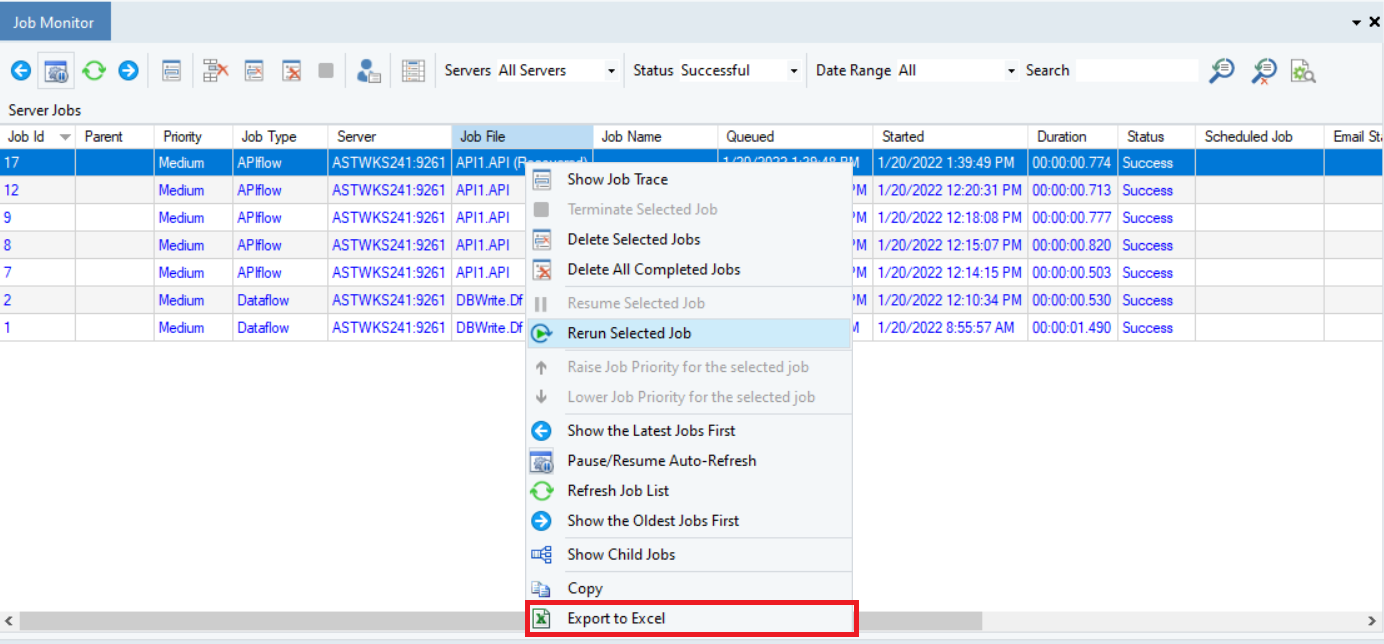
Job Monitor Context Menu
The Job Monitor context menu can be accessed by right-clicking anywhere on any job. The context menu can be opened after selecting multiple jobs too.
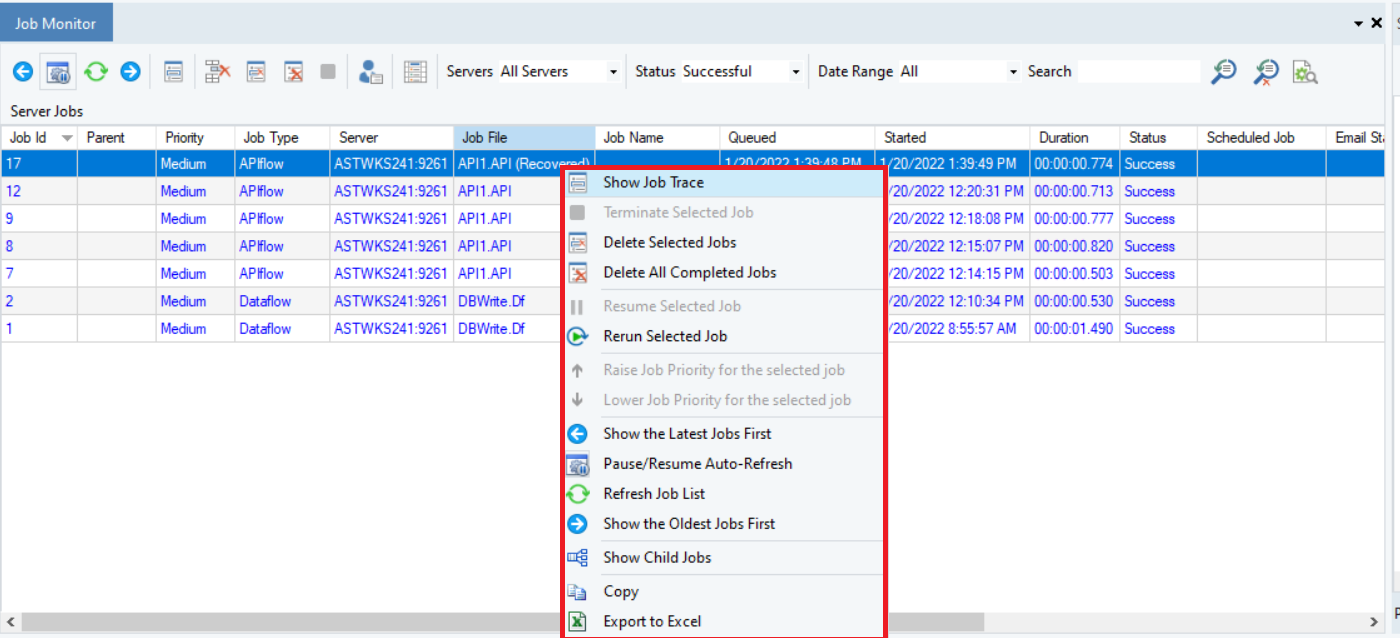
Rerun Selected Job: This option is to rerun any selected job.
Note: This option is not available when multiple jobs are selected.
Raise/Lower Job Priority for the Selected Job: To increase or decrease the priority for any selected job. This will place the job higher or lower on the monitor.
It is only available when the job is in a running state.
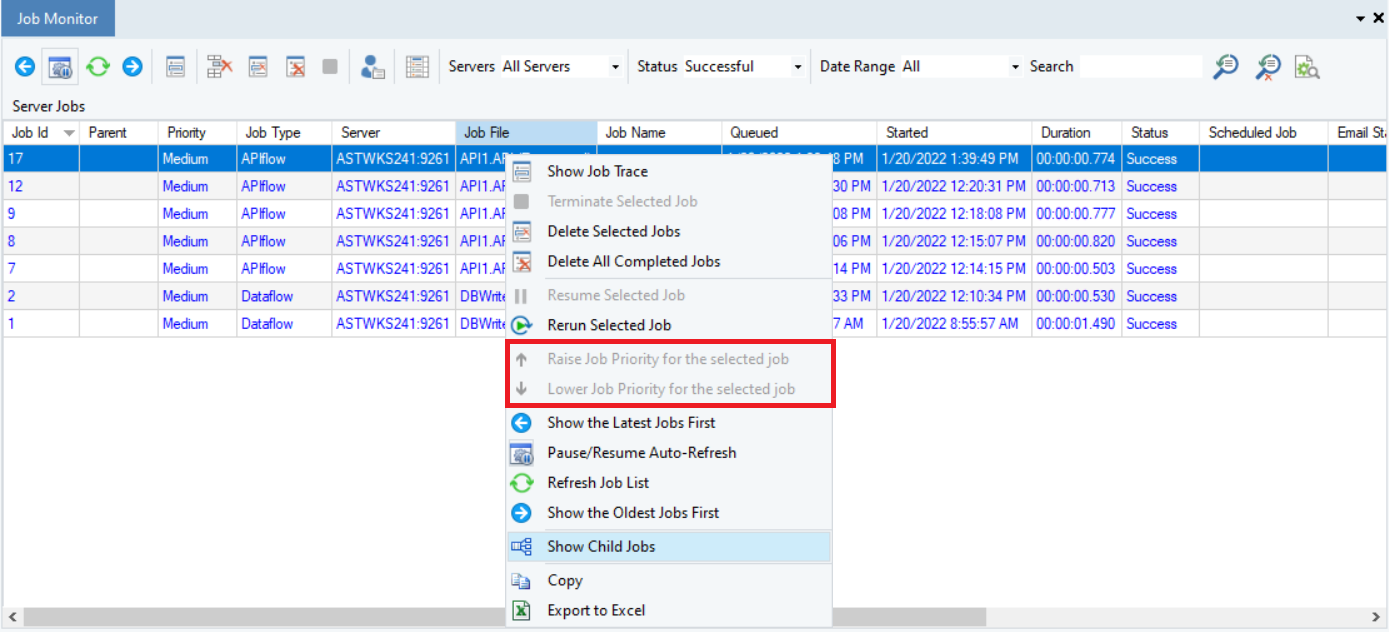
Show Child Jobs: Selecting this option will show all child jobs associated with a particular parent job.
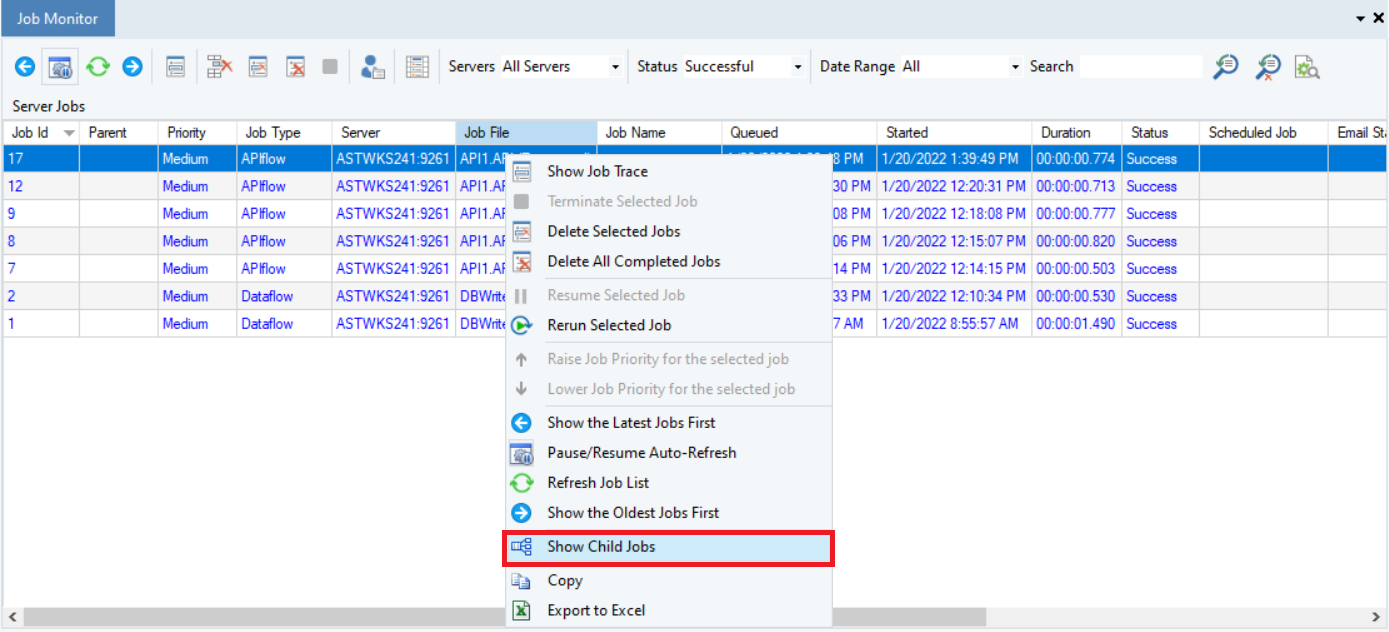
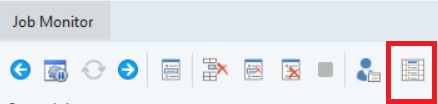
Export To Excel: To export all the jobs in the Job Monitor to an Excel sheet at a location of your choosing.
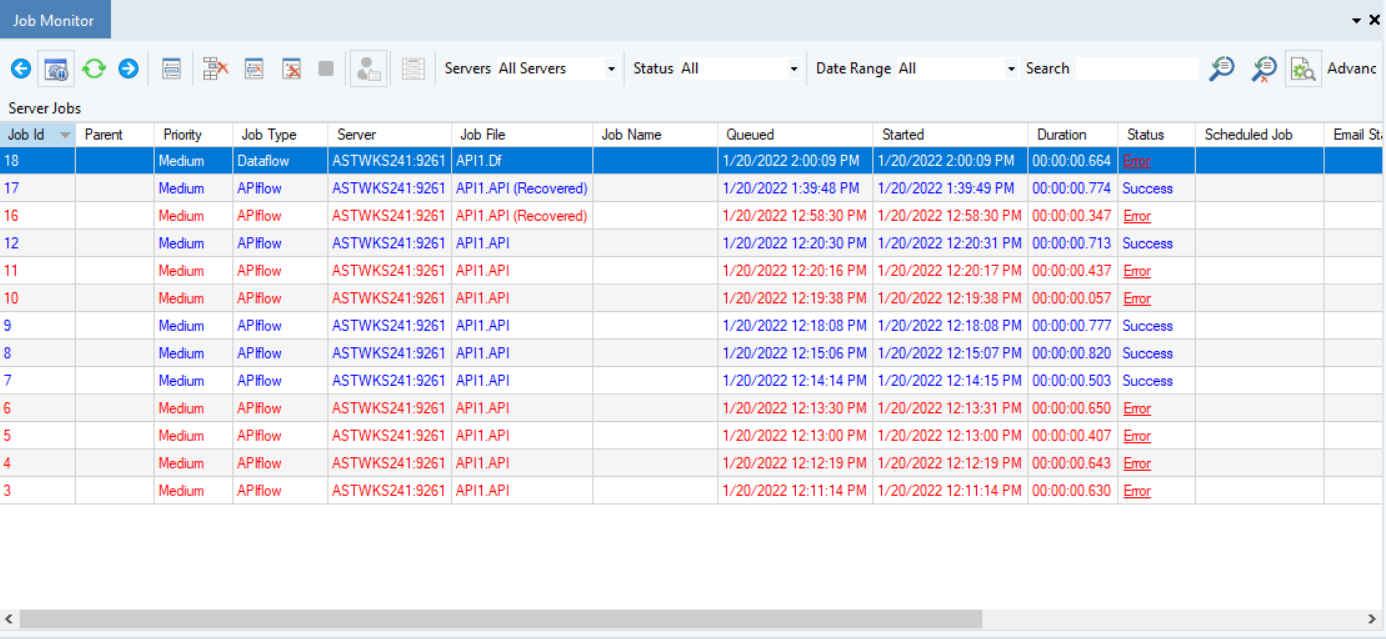
Job Monitor Columns
These columns, given in the Job Monitor section itself, contain an extensive set of information regarding each job.

Job Id: Every Job has a unique Job Id to identify it.
Parent: To signify the parent node of a particular job.
Priority: The level of priority for a given job.
Job Type: To differentiate between types, i.e., Dataflow, Workflow, etc.
Server: Signifies the server on which the job was run.
Job File: The name of the job file.
Job Name: A name that was assigned to the job.
Queued: Timestamp for when a particular job was queued.
Started: Timestamp for when a particular job started
Duration: Signifies how long the job lasted.
Status: The job status, i.e., success, terminated, etc.
Scheduled Job: Displays the scheduled job ID of the scheduled job that ran.
Email Status: Displays the status of the email sent on job conditions if any.
Records Read: The number of records read per job.
Error Records: The number of errors read per job.
Warning Records: The number of warnings read per job.
User: To signify which user performed a particular job.
This concludes our discussion on the Job Monitor in Astera Centerprise.