Data Driven
Data Driven Write Strategy is a set level functionality, which means that the entire incoming dataset must flow through it. It allows a user to stamp a database directive on the record so that when it reaches its destination, it will be loaded according to that directive to perform the specified write action. You can specify multiple rules within the properties of a Data Driven write strategy object. These rules are tried against each record from top to bottom. If a record passes the first rule, it will not be tried against the next rule(s).
Use-Case
Assume a scenario in which Orders data from a Database Table Source is written to a Database Table Destination. We want to DELETE those records where ShippedDate is before the year 2000 and declare those records where Freight is less than 10 as ERROR. We will use the Data Driven write strategy object to achieve this task.
How to Work with Data Driven Write Strategy
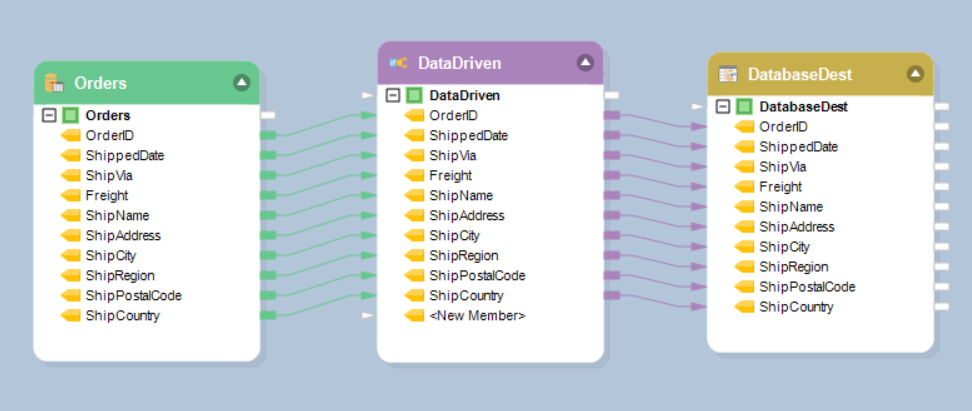
1. Drag-and-drop the Data Driven object from Toolbox > Database Write Strategy > Data Driven onto the dataflow designer and map the source data to the Data Driven object.
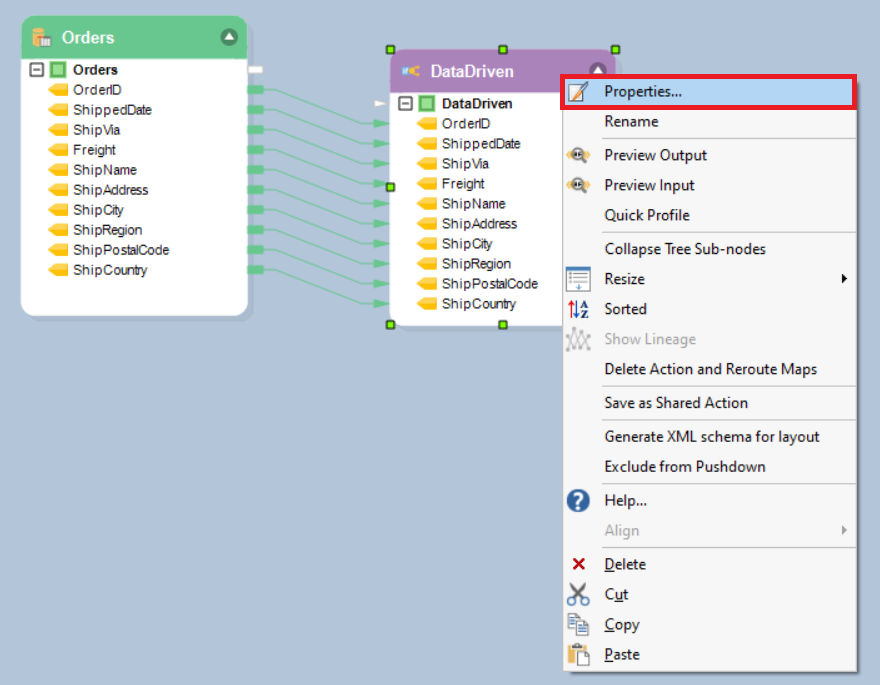
2. Right-click on the header of the Data Driven object and select Properties.
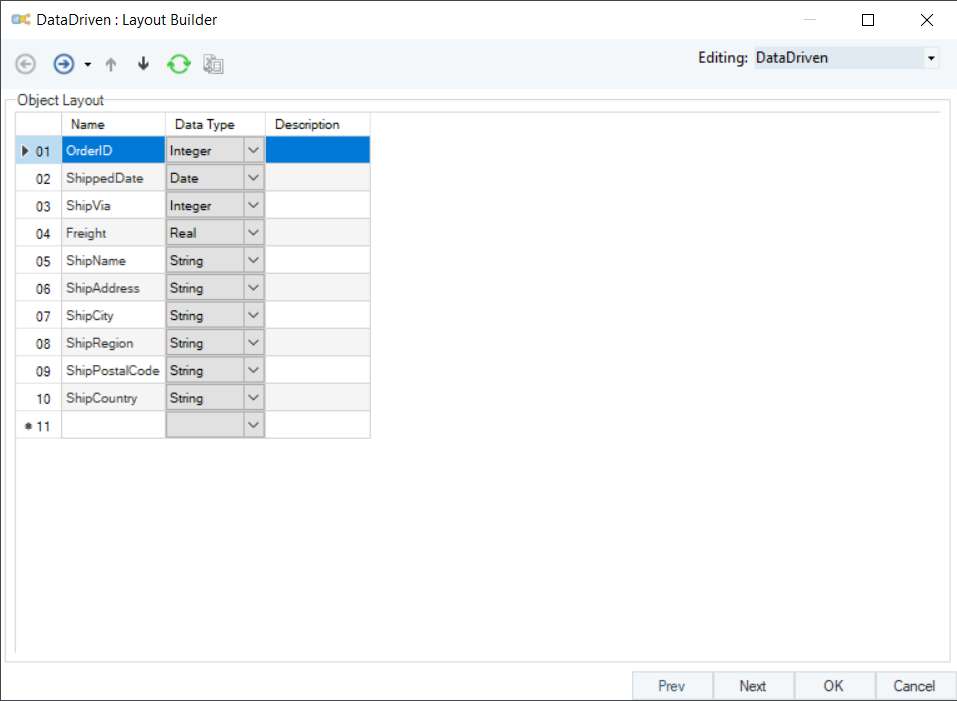
3. A Layout Builder window will open where you can modify your layout. Click Next.
4. The next window is the Data Driven Write Strategy Conditions window, where you can specify rules to route your data. Click on the fx option to enable the Expression Builder.
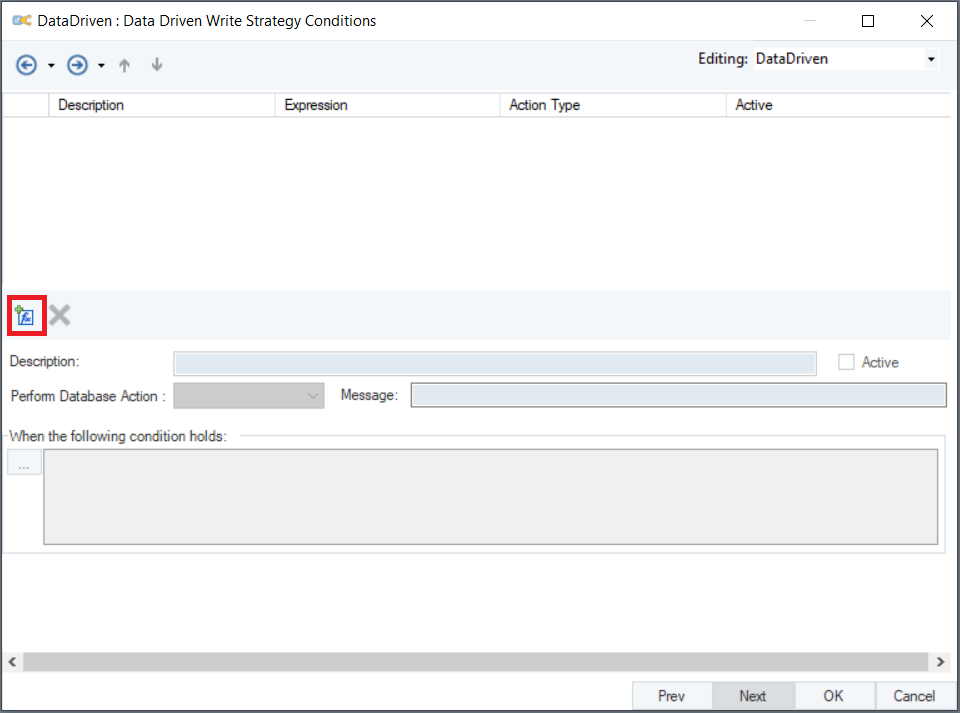
Once you select this option, the Expression Builder will be enabled.
5. Now, specify the following rules in the Expression Builder and select Database Action Type as ERROR for the Freight rule and DELETE for the Date rule.
- Year(ShippedDate) < 2000
- Freight < 10
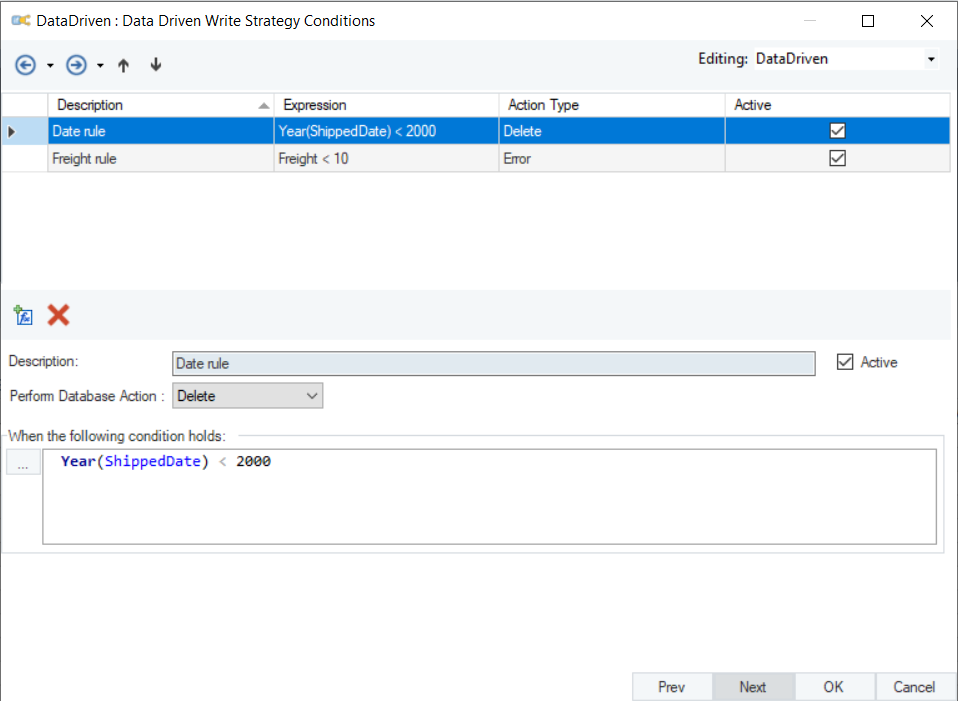
There are five Database actions: Insert, Update, Delete, Skip and Error. From these, you can select the action you want to be taken for a certain rule.
6. Once you are done specifying the rule(s), click OK.
You can now write your data to a Database Table Destination.
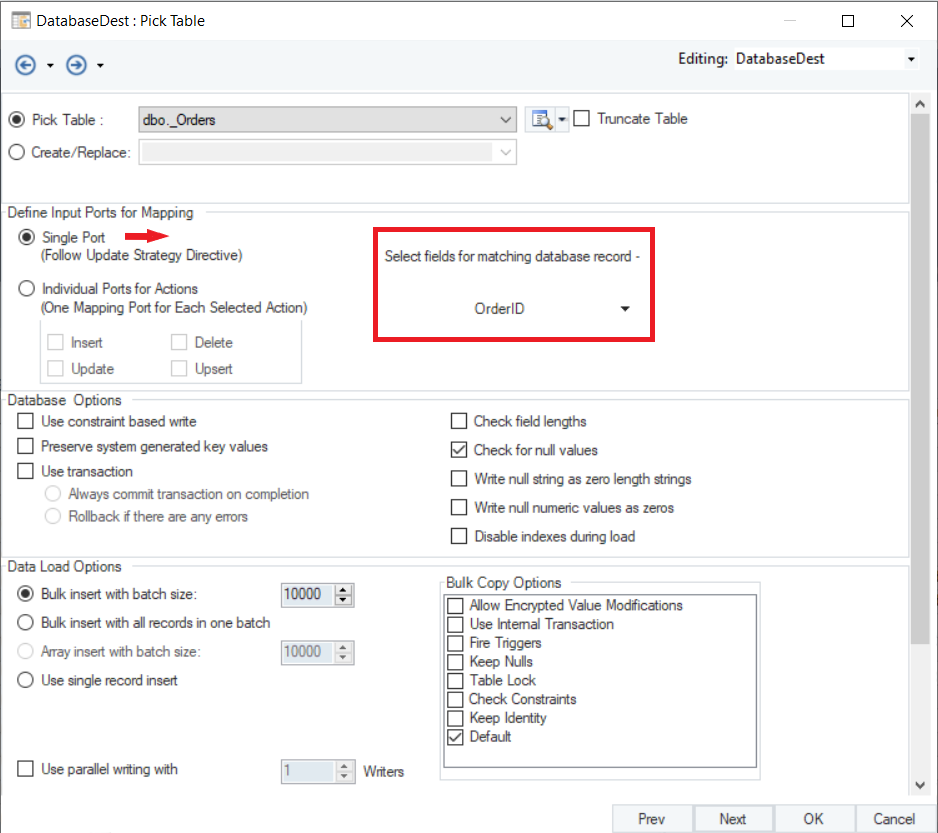
It is important to note here that while working with Database Write Strategies, Single Port is selected. Once you check the Single Port option in the Database Table Destination object, a box will appear in which you will have to specify a field for matching database record. In our case, we will select OrderID.
7. We have successfully configured the settings and built the layout.
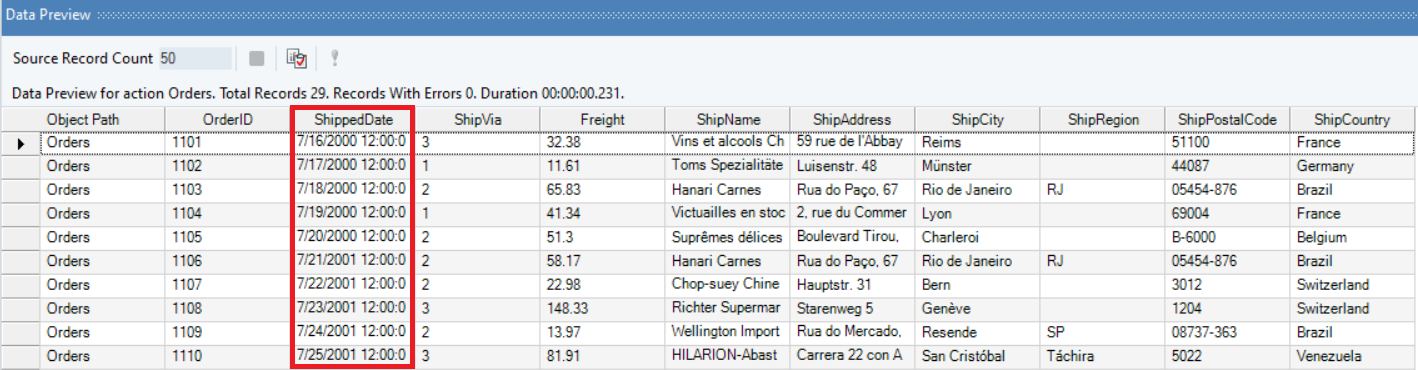
8. Let’s preview the output.
Data Driven output:

You can see that Centerprise has appended an error message with the records where Freight is less than 10. You can create an error log of these records or load them into a database if you want.
Note: Since, the Freight rule is our second rule, only those records which have failed against the first rule would be declared as an error. Which is why the error message only appears with records where both, ShippedDate is greater than 2000, and Freight is less than 10.
Now, whenever you access the same database table, you will see that the records where ShippedDate is before the year 2000 would be deleted.
This concludes using the Data Driven Write Strategy in Astera Centerprise.