Connecting to Google BigQuery
What is Google BigQuery?
Google BigQuery is a serverless, highly scalable data warehouse that comes with a built-in query engine. The query engine can run SQL queries on terabytes of data in a matter of seconds, and on petabytes in minutes.
This kind of performance is achieved without having to manage any infrastructure and without having to create or rebuild indexes.
In Astera Centerprise, users can connect with Google BigQuery as a database source or destination. As a source, both flat and hierarchical data can be read. For destination, only flat data can be written to Google BigQuery as of now.
Use Case
For our use case, we will be using the Database Table Source object to connect to the Google BigQuery provider. For authentication, we will be making use of a service account. We will be taking sample data, which will be loaded in a hierarchical format.
Next, we will then transform the data by applying an Expression transformation object to replace the ‘+’ in the phone numbers with ‘00’.
We are flattening hierarchical data from the Database Table Source using BigQuery as the destination.
The flattened data is loaded into a new table on the same BigQuery instance.
Connecting to Google BigQuery in Astera Centerprise
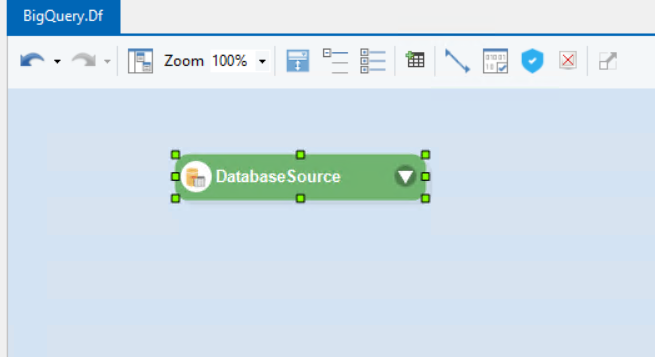
1. Drag and drop the Database Table Source object from the toolbox onto the dataflow.
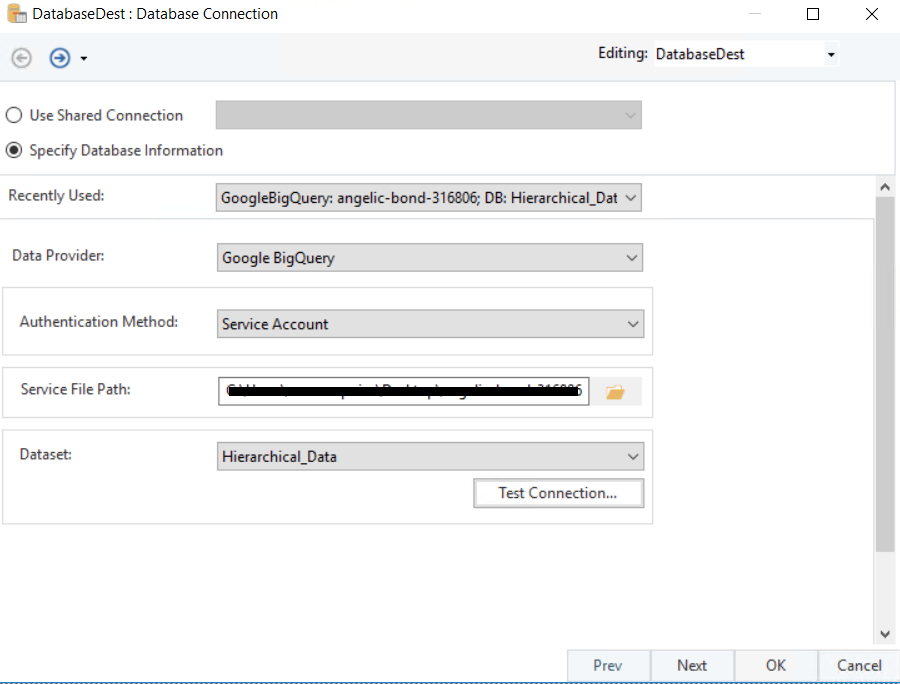
2. Right-Click on the Database Table Source object and select Properties from the context menu.
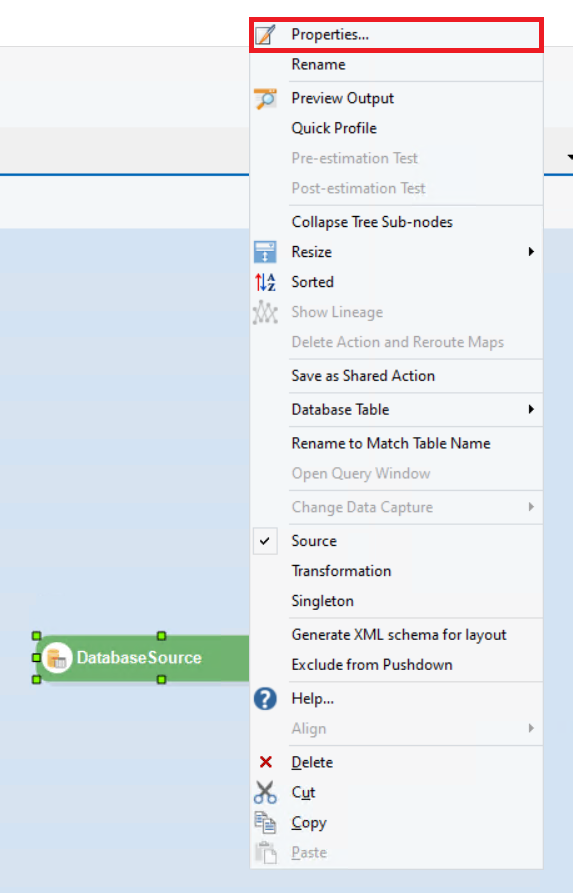
This will open a new window.
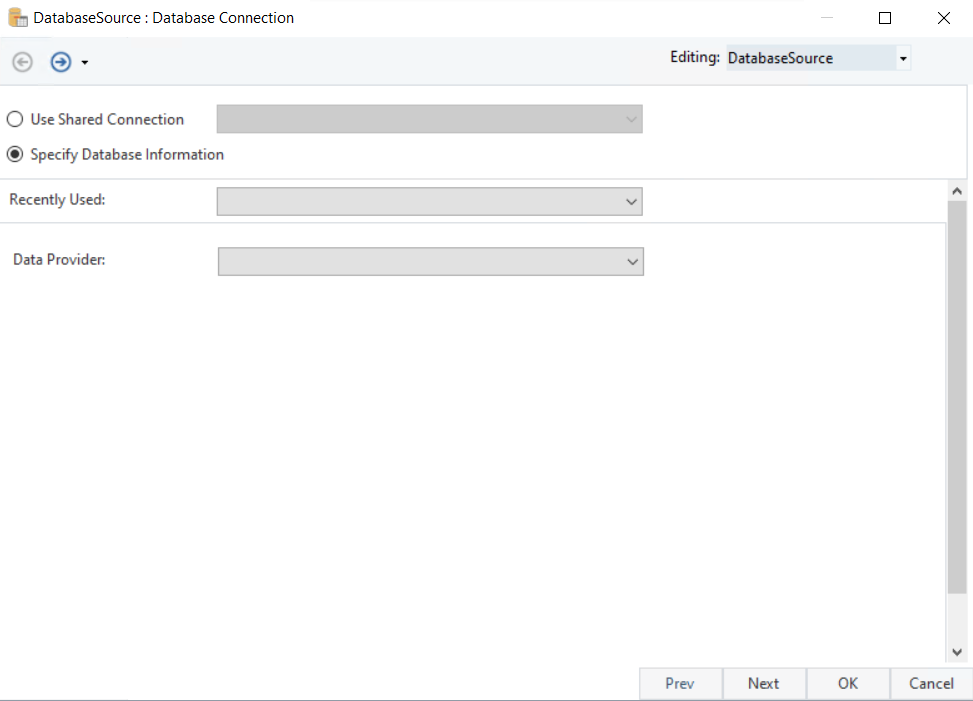
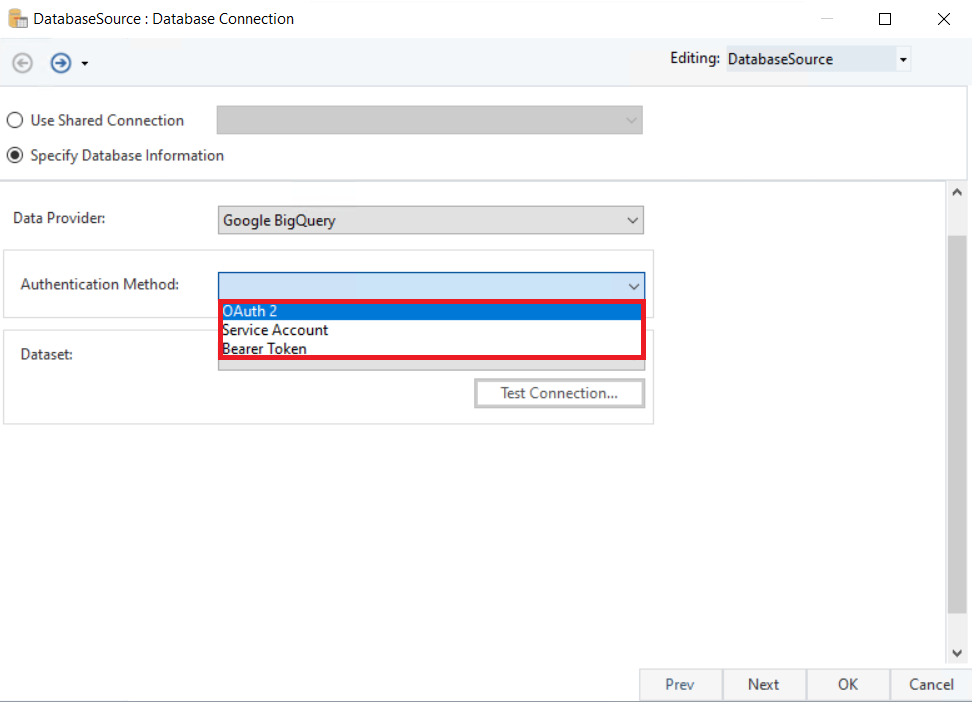
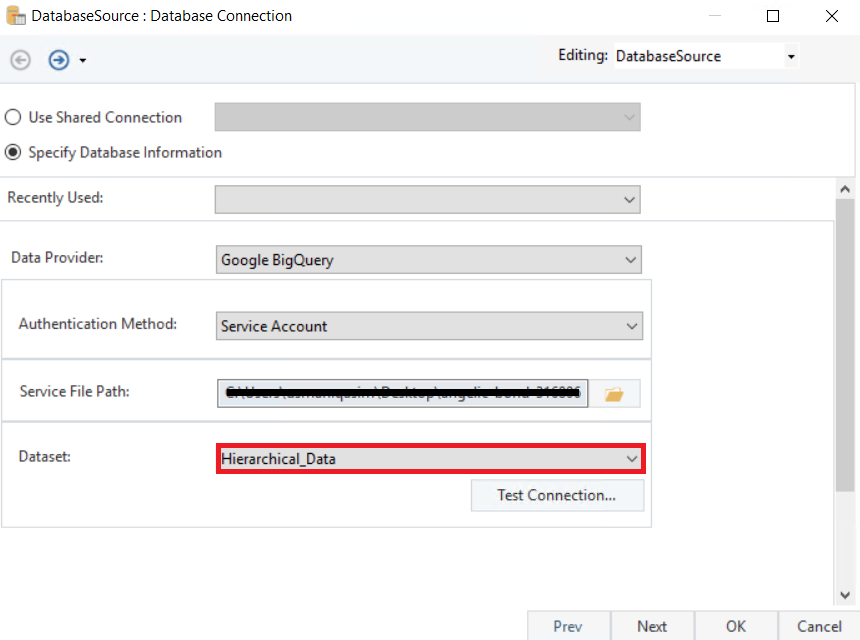
3. From the Data Provider dropdown, select Google BigQuery
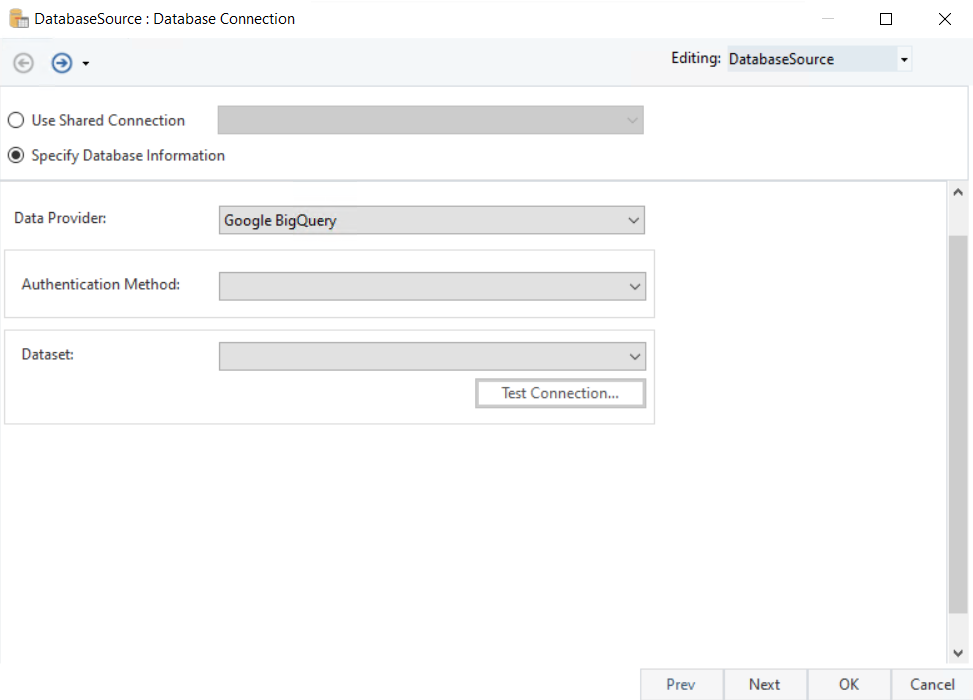
The Google BigQuery connector offers three authentication methods,
- OAuth2
- Service Account
- Bearer Token
Authentication Types
OAuth 2
Selecting the OAuth 2 option will give us the following fields on the screen,
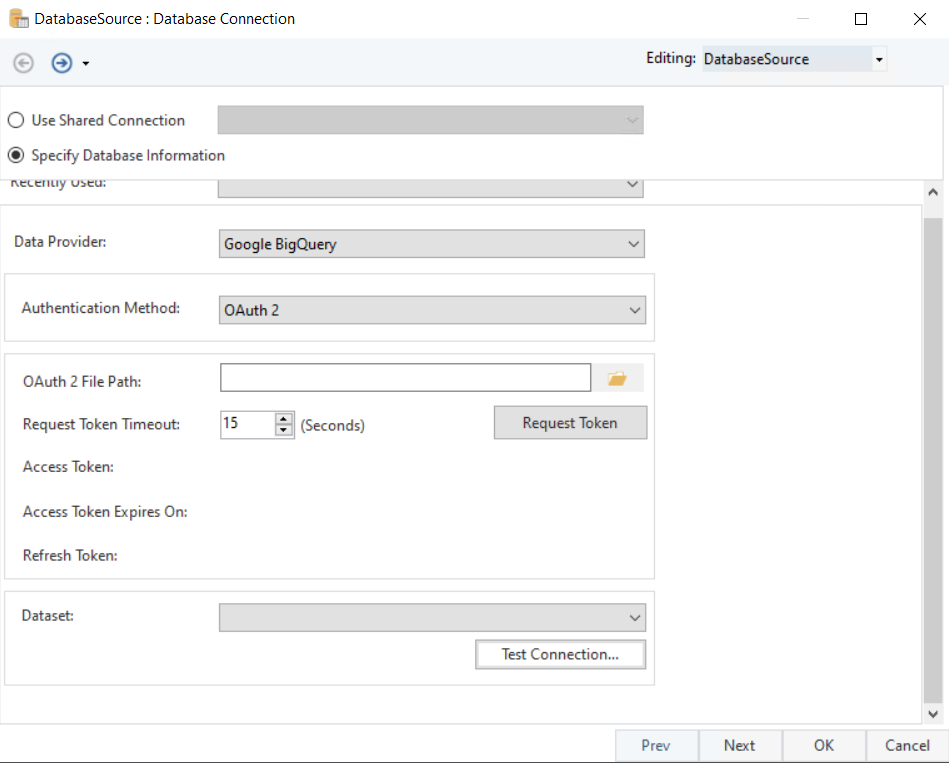
OAuth 2 File Path: This is where we provide the path to the OAuth 2 authentication file generated from the Google Cloud Platform.
Request Token Timeout: It determines how long the server waits for an access token to be generated before giving a timeout.
Access Token: A security token used to authenticate a user or application to access the Google Cloud Platform.
Refresh Token: A token used to obtain a new access token after the original access token has expired.
Service Account
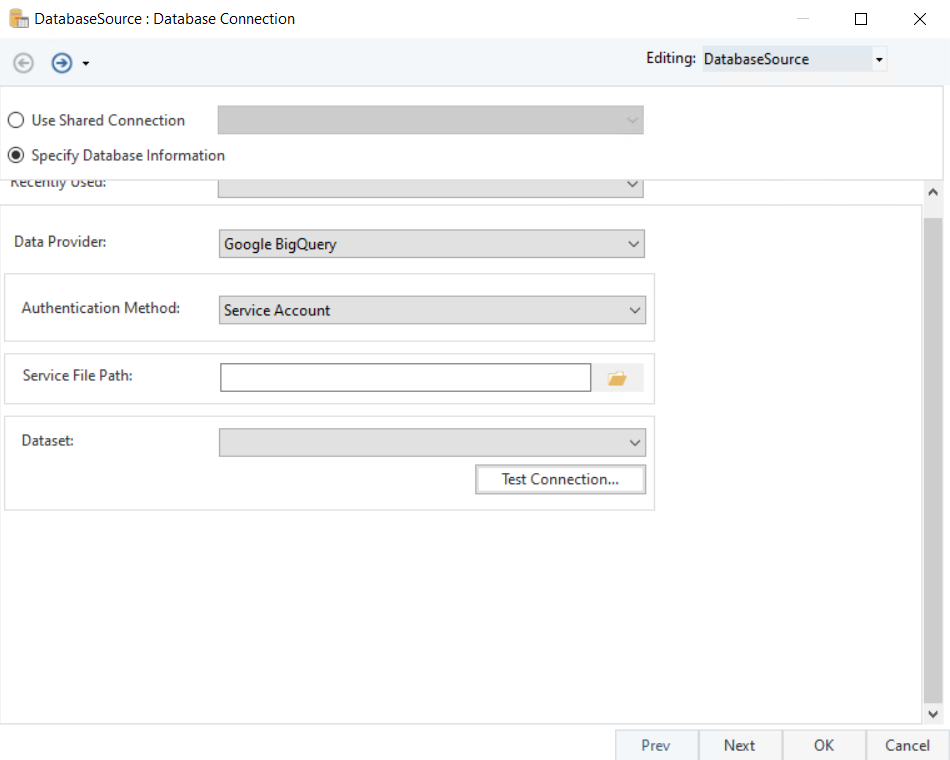
Service File Path: The service file generated from the Google Cloud Platform will be used here.
Bearer Token

Project ID: The ID associated with the project created on Google Cloud Console.
Client ID: A unique identifier assigned to an application or service that needs to access resources or information from Google APIs.
Client Secret: A secret string used to authenticate and authorize access to resources from Google APIs along with Client ID.
Access Token: A security token used to authenticate a user or application to access the Google Cloud Platform.
Refresh Token: A token used to obtain a new access token after the original has expired.
Redirect URI: An endpoint where the authorization server sends the response to an authorization request made by a client application.
For our use case, we have selected the Service Account authentication type.
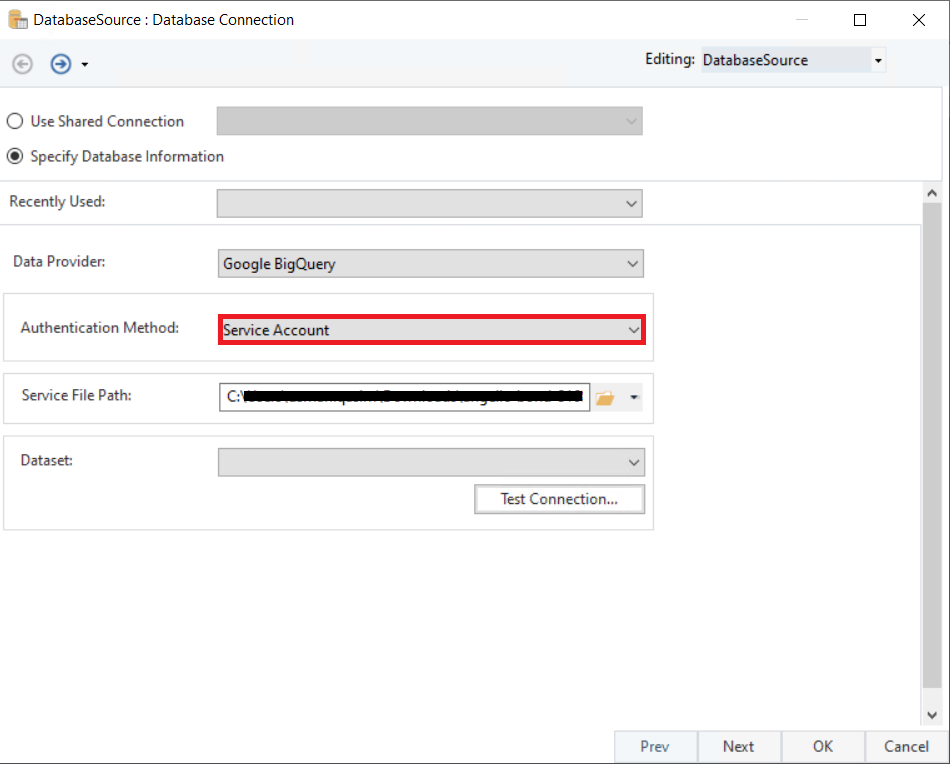
4. Next, we will select a Dataset from the Dataset dropdown menu.
This dropdown menu contains all the datasets present,
5. Click Next and you will be taken to the Pick Source Table and Reading option screen.
Here, we have selected a table from the drop-down menu,
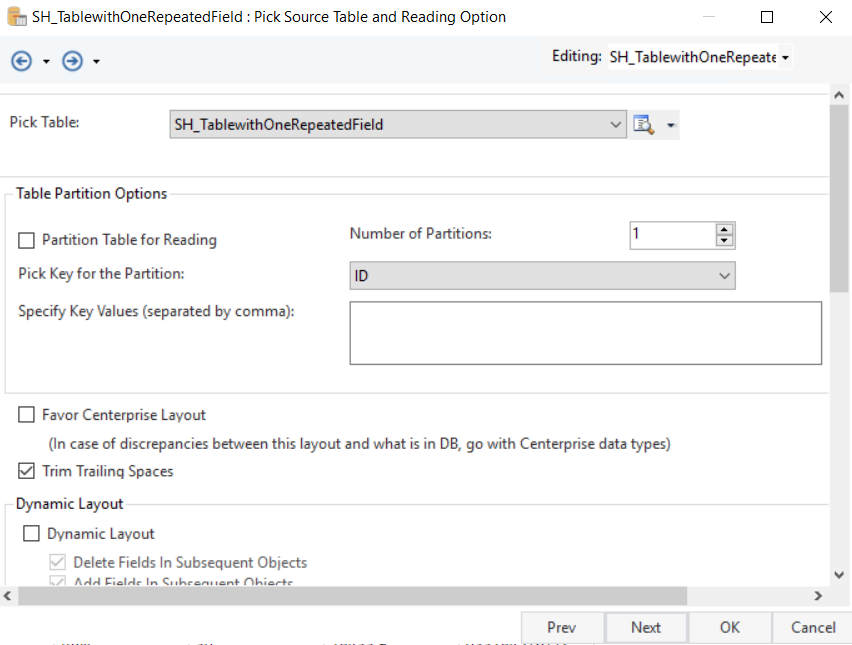
Please visit the Database Table Source documentation to learn about the rest of the options on this screen.
6. Click Next and you will be led to the Layout Builder screen.
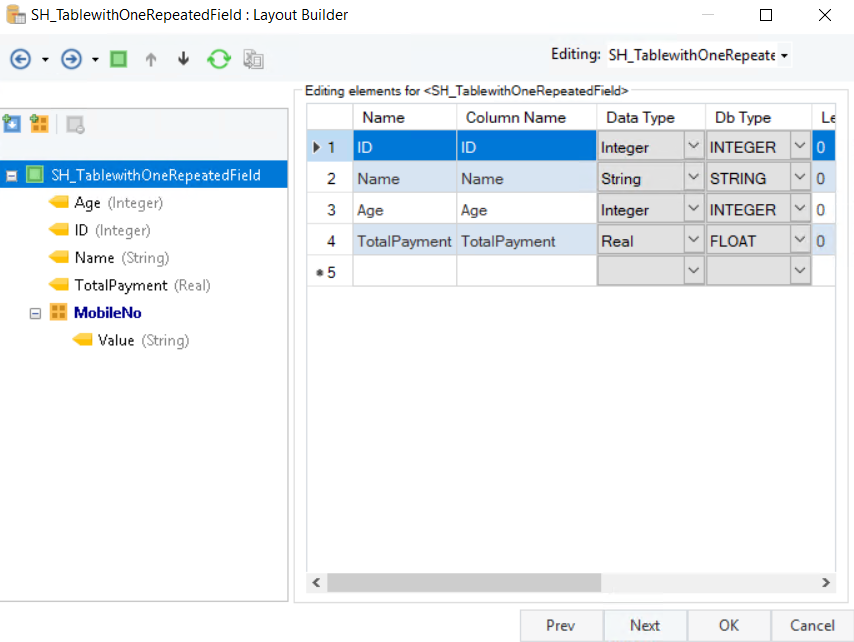
7. Click OK and the Database Table Source object will be configured.
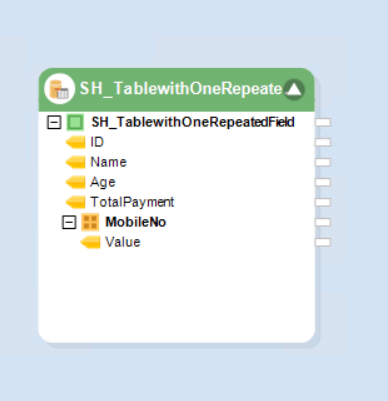
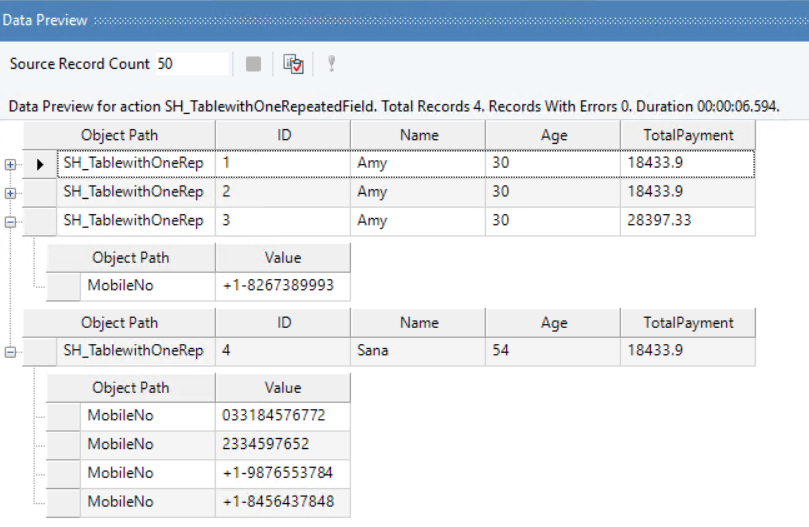
8. To preview the output and check our source data, right-click on the object and select Preview Output from the context menu.
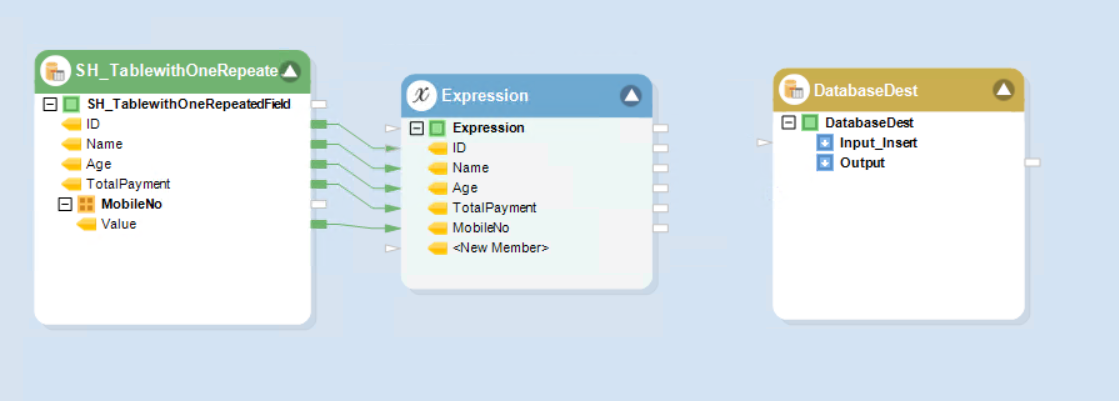
9. Drag and drop an Expression transformation object onto the dataflow.

10. Map the required fields to the Expression object, then open its properties.
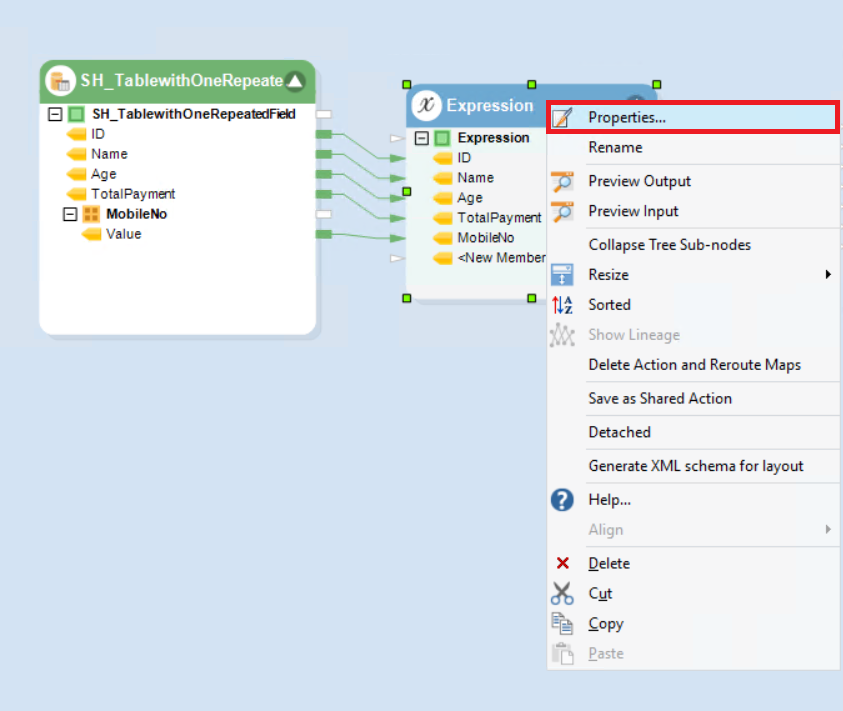
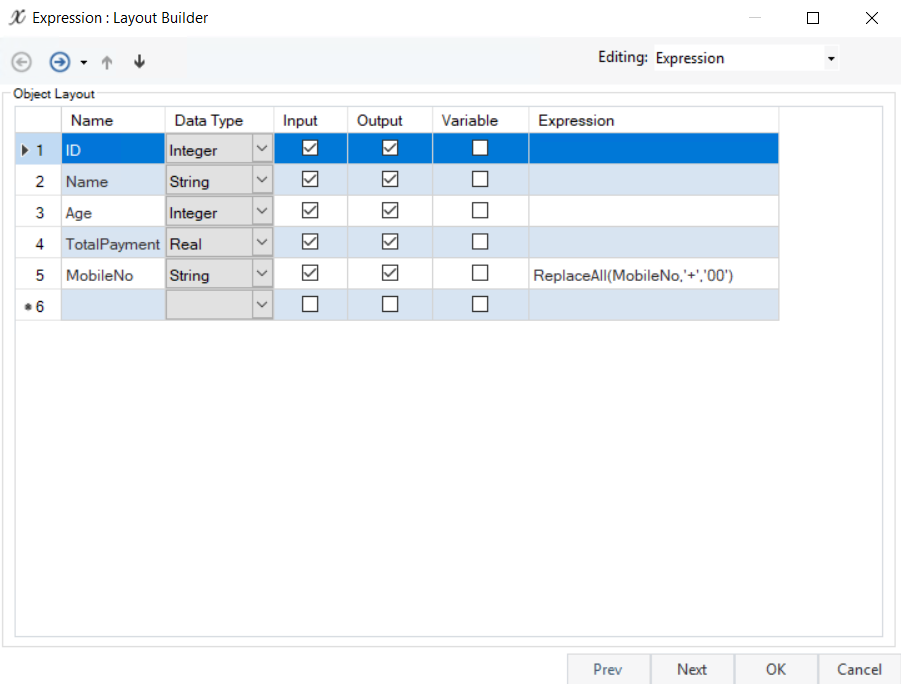
11. In the Properties section, select the “MobileNo” field and add an expression to it*.*
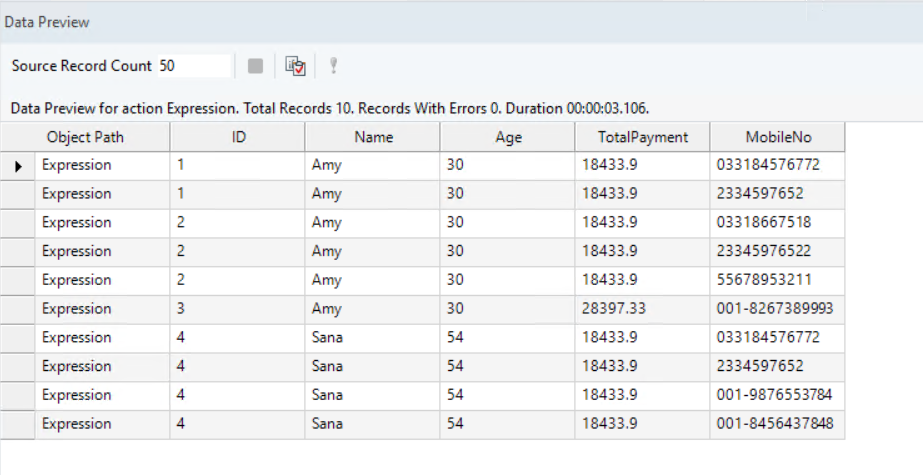
12. To check the result of our expression, right-click on the Expression object and select Preview Output from the context menu.
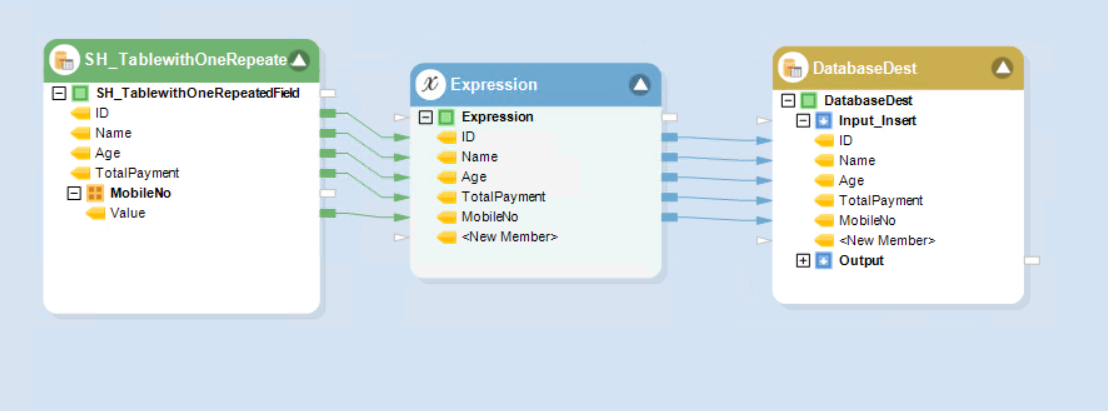
13. Click Ok and drag and drop a Database Table Destination object onto the dataflow.
14. Configure the Database Table Destination object with the same Google BigQuery provider and click Next.
15. We will create a new table, map our Expression object to it and run the dataflow.
In our use case, flat data has been created at the destination end of the dataflow.
This concludes the configuration of the Database Table Source object with the Google BigQuery provider in Astera Centerprise.
Google BigQuery Guidelines
For flat data (Non-hierarchical data)
The following objects will work for flat data when dragged and dropped onto the designer,
- DB Lookup
- SQL Query Source
- SQL Statement Lookup
- Run SQL Script
- Database Destination
Flat data also works for,
- Table Partitioning
- Pushdown
- Query Window
For flat and hierarchical data
The following objects will work for flat and hierarchical data when dragged and dropped onto the designer,
- Database Table Source
Datatypes Supported
- String
- Bytes
- Integer
- Float
- Numeric
- BigNumeric
- Boolean
- TimeStamp
- Date
- Time
- DateTime
- Record
- JSON
Note: Repeated Fields will be displayed in Collection nodes
Datatypes Not Supported
- Geography
- Image
- Base64
- GUID