Email Source
The Email Source object in Astera Centerprise enables users to retrieve data from emails and process the incoming email attachments.
Getting Email Source Object
In this section, we will cover how to get the Email Source object onto the dataflow designer from the Toolbox.
1. To get an Email Source object from the Toolbox, go to Toolbox > Sources > Email Source. If you are unable to see the Toolbox, go to View > Toolbox or press Ctrl + Alt + X.
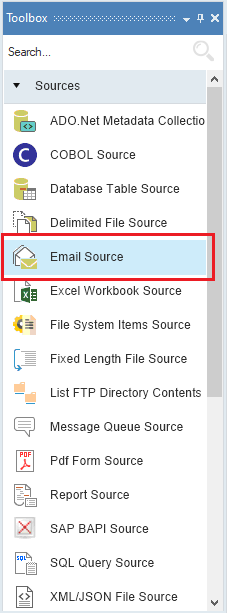
2. Drag-and-drop the Email Source object onto the designer.
You can see some built-in fields and an Attachments node.
Configuring the Email Source Object
1. Double-click on the header of the Email source object to go to the Properties window
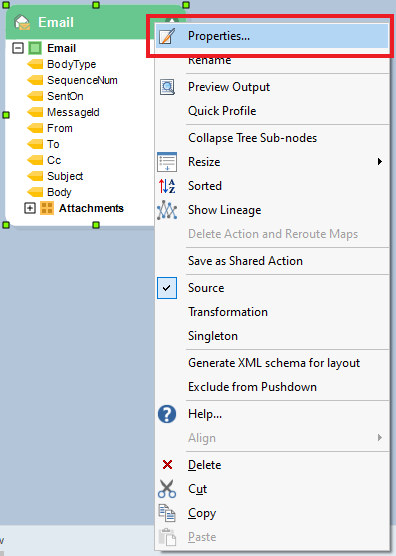
A configuration window for the Email Source object will open. The Email Connection window is where you will specify the connection details.
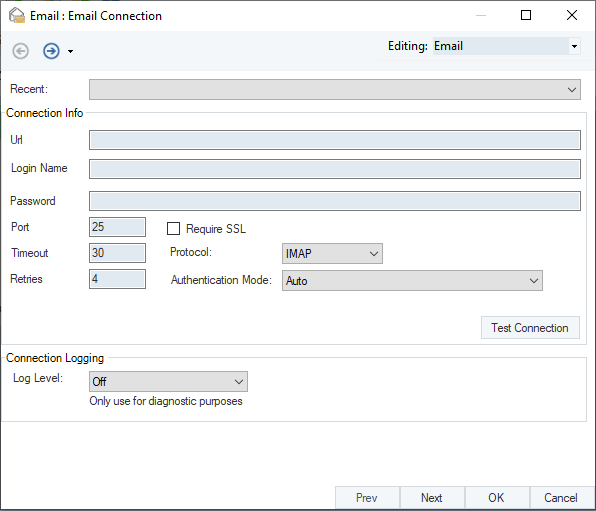
2. If you have configured email settings before, you can access the configured settings from the drop-down list next to the Recent option*.* Otherwise, provide server settings for the mailing platform that you want to use. In this case, we are using an Outlook server.
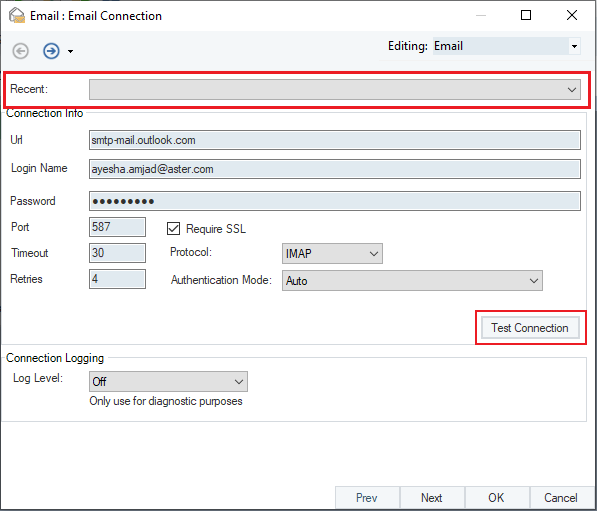
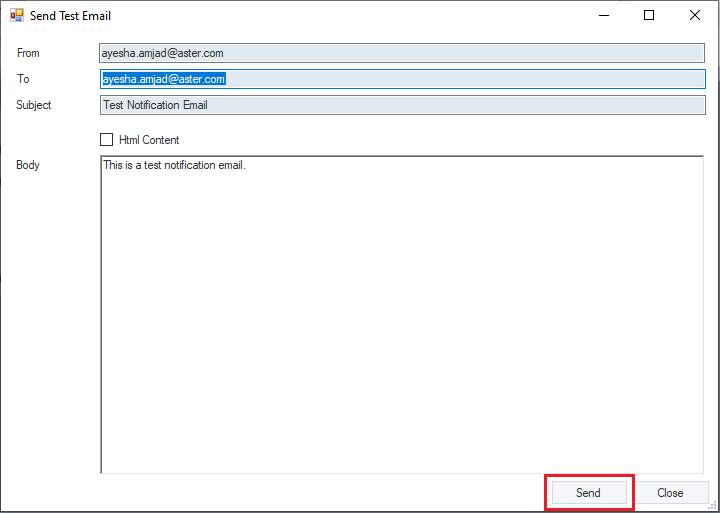
Test your connection by clicking on Test Connection, this will give you the option to send a test mail to the login email.
4. Click Next. This is the Email Source Properties window. There are two important parts in this window:
- Download attachment options
- Email reading options
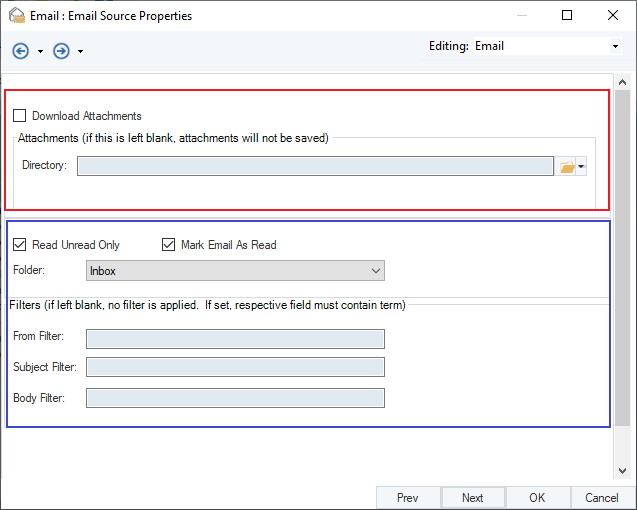
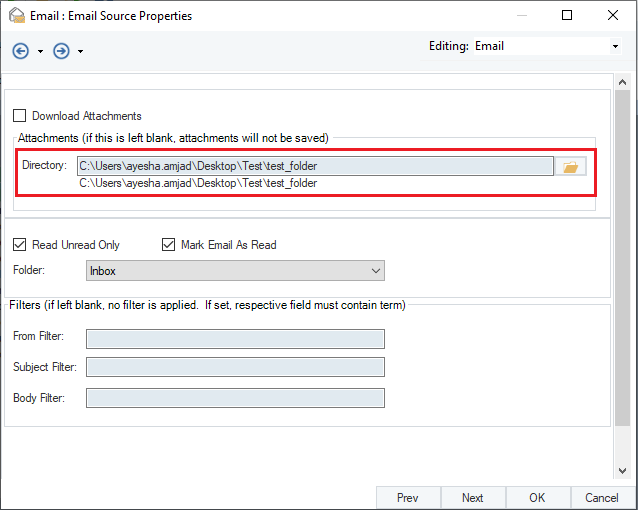
5. Check the Download Attachments option if you want to download the contents of your email. Specify the directory where you want to save the email attachments, in the provided field next to Directory.
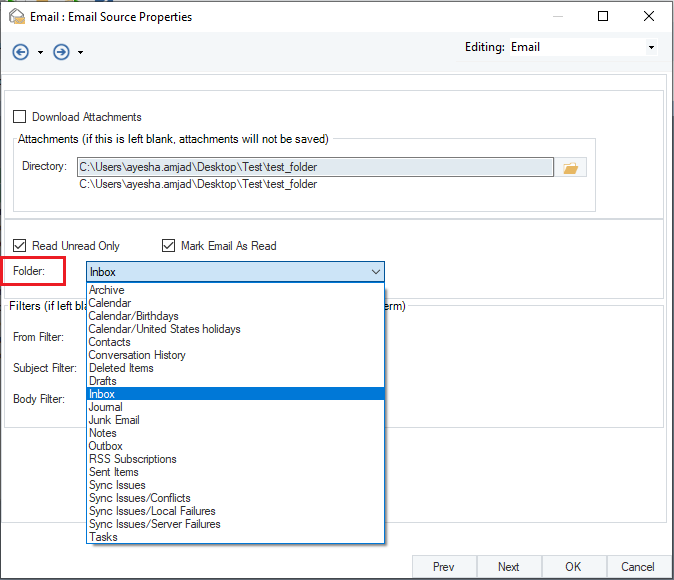
6. The second part of the Email Source Properties window has the email reading options that you can work with to configure various settings.
- Read Unread Only – Check this option if you only want to process unread emails.
- Mark Email as Read – Check this option if you want to mark processed emails as read.
- Folder – From the drop-down list next to Folder, you can select the specific folder to check, for example, Inbox, Outbox, Sent Items etc.
- Filters - You can apply various filters to only process specific emails in the folder.
o From Filter: Filters out emails based on the sender’s email address
o Subject Filter: Filters out emails based on the text of the subject line
o Body Filter: Filters out emails based on the body text
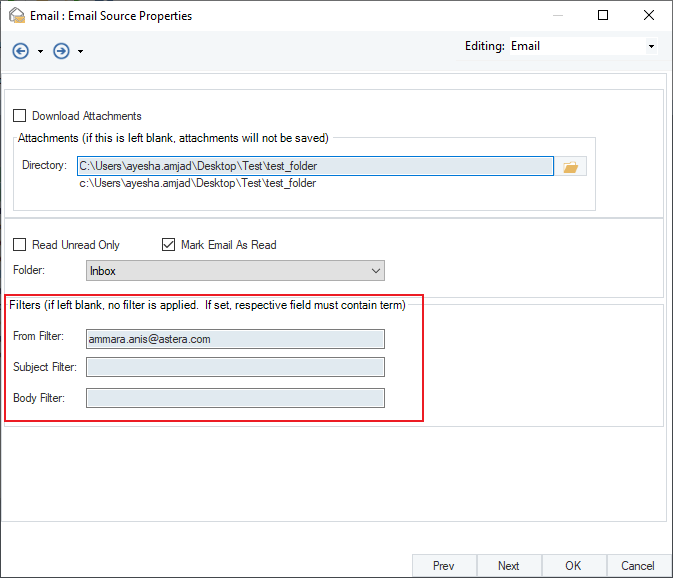
Click OK.
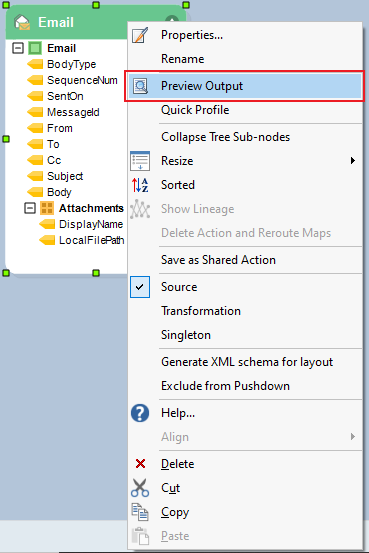
7. Right-click on the Email Source object’s header and select Preview Output from the context menu.
A Data Preview window will open and will show you the preview of the extracted data.
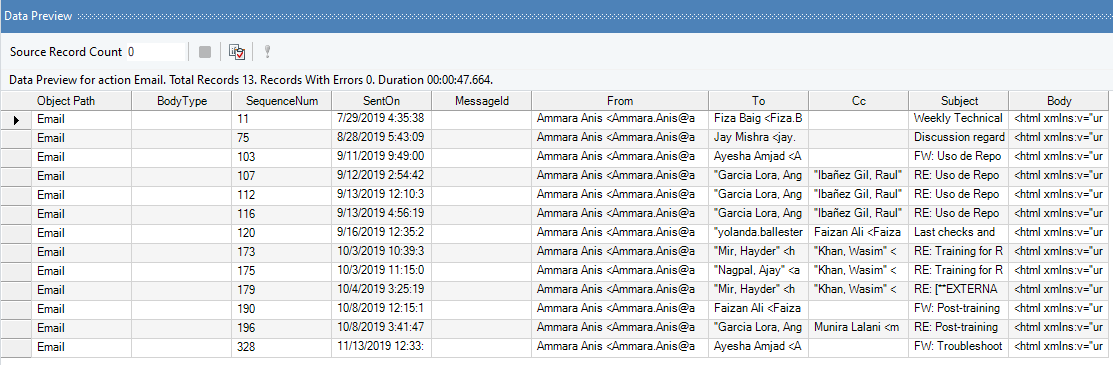
Notice that the output only contains emails from the email address specified in the Filter section.